Flooring Removal and Installation Tips

Last updated February 18, 2025
A Note From The Home Depot
From bathrooms to basements, updating the floors in your home is a big project that can transform any space. Depending on your home's age and the flooring type you need to remove and install, this DIY project will take a few weekends to complete. But whether you rent or purchase the tools and equipment, it won’t break your budget. Follow our quick tips for DIY flooring removal and installation.
Table of Contents
Flooring Removal 101
Step 1: Safety
Step 2: Clear the Area and Prep the Room
Step 3: Removing Flooring
Step 4: Remove Adhesive and Mortar
Install Flooring with Rental Equipment
Flooring Removal 101

Flooring removal can be a tough job. But The Home Depot’s one-stop shop can cover everything you need, like rental tools and equipment, materials and flooring.
Step 1: Safety

The first step in a flooring removal project is to assess the safety of the flooring you’re pulling up. If you’re remodeling an older fixer-upper that had vinyl or linoleum flooring installed prior to 1980, it may contain asbestos. In this case, you’ll need to contact a local asbestos abatement officer to test the flooring. Flooring that is contaminated with asbestos is best left to the professionals.
Step 2: Clear the Area and Prep the Room

Next, empty the room of furniture and appliances. If you’re removing the flooring in a kitchen or bathroom, turn off water supplies. You should also remove all appliances, like refrigerators, ovens, pedestal sinks, vanities and toilets.
Once the room is empty, carefully remove the baseboards from the wall with a trim puller. You may prefer to use a prybar and rubber mallet. Little by little, work the trim free from the wall. If you plan to reuse the trim, mark the back with its location in the room. You can then reinstall it after your new flooring installation.
Step 3: Removing Flooring

Every type of flooring removal is different. Here’s how to tackle your project, whether you have laminate, tile or carpet.
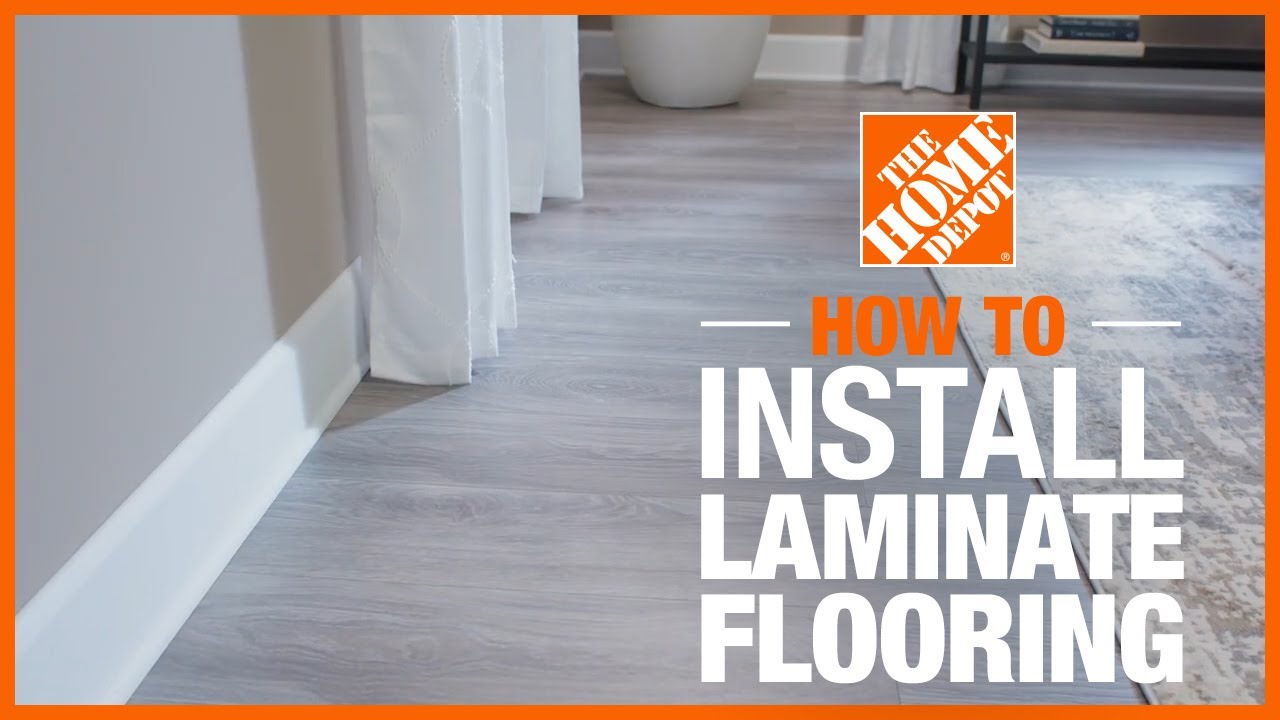
Laminate:
- Start in the middle of the room when removing laminate flooring.
- Use a utility knife to cut down the middle of the flooring.
- Make secondary cuts in strips, 12 inches parallel to the first cut.
- Gently lift one end of the flooring and roll the strips up for disposal.
- Use a prybar to help lift stuck flooring.
Note: If you want to finish the job even faster, consider a floor stripper rental. A pro flooring stripper can remove large amounts of laminate or vinyl flooring at one time.
Tile: Removing tile takes a bit more heavy-duty demo work. However, you can break up the tile as you go. Use a combination of a breaker and hammer cart for large areas. For tight spots, you can use a demo hammer rental.
Carpet: Removing carpet is the easiest flooring to strip.
- Pick a corner and use a strong set of pliers to pull it from the tack strip.
- Continue pulling the carpet, cutting it into long strips. Then, roll it up and haul it away.
- Continue the same process for the padding underneath.
- Don’t forget to pull up the tack strips around the border of the room once you’re finished.
Step 4: Remove Adhesive and Mortar

If you tackle flooring removal with laminate or tile, you may find residual adhesive and mortar left over on the subfloor. Depending on the subfloor type underneath, a floor stripper or floor maintainer with the proper attachment can make quick work of the task.
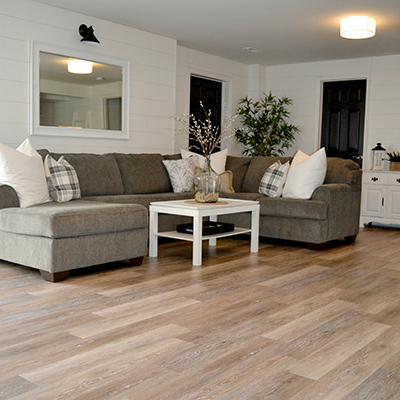
Install Flooring with Rental Equipment

A new flooring installation can transform any space. Depending on the room size, this DIY project may take a weekend, or a few weeks to complete. You won't break your budget when purchasing the new flooring and materials.
Even better, The Home Depot carries the rental installation equipment you need, like floor strippers and attachments. But be sure to always consult the operations manual before using your rental equipment.
If you’re installing tile, rent tile saws to make fast and easy cuts. Similarly, our laminate cutter is ideal for cutting laminate planks to the perfect size and a tile roller is perfect for ensuring a tight fit. Installing hardwoods is also easy with rentals, like floor staplers and floor nailers. From new laminate to tile and hardwood, The Home Depot is your one-stop shop for materials and rental equipment.
This post was created in partnership with The Home Depot. The author may have received compensation for this article and associated images or video, potentially in the form of products and/or services. All expressed opinions and experiences are the author’s own words.