Garage Glow Up

Last updated August 21, 2024

After ditching the nine to five life with her husband, Else Kerkmann knew it was time to pursue a more fulfilling path. Thus, her eponymous blog was created. There, Else takes her readers along for the ride as she renovates her chalet style farmhouse and new tiny home. In addition to the renovation of her homes, Else loves sharing big and small DIY projects, colorful murals, trailer flips, and farm life.
A Note From The Home Depot
Looking for a way to organize your cluttered garage? Here to make it easier is Else Kerkmann! She walks us through remodeling the most dreary place in your home to becoming the most organized and fun location.
Table of Contents
Before
Step One
Step Two
Step Three
Step Four

Before

It’s still hard for me to believe this is the same garage. In one week, I was able to take this neglected old space and give it the glow up it deserves. I don’t think this space had been touched since it was built in 1978 and it shows.
Step One

The first critical step to refinishing these floors was to clean and etch. This cleaning solution was included in the Rust-Oleum RockSolid
garage floor coating kit and was pretty straightforward. I highly recommend using a squeegee to speed along the dry time. I already had an extension pole , so I just picked up one of the squeegee attachments that click right onto the end.

Once the floor was dry, I applied the two-part Rustoleum Concrete Patch and Repair. It’s a two-part epoxy product that’s sold separately. Most garages in our area have a few fine cracks, but this 45-year-old garage slab was in bad shape. I knew this was going to be a critical step and I’m glad I took the time to complete this step not only because it made a huge difference, but it was also fun. I felt like a kid playing with putty.

One of the hardest parts of this process was the patience it required in waiting for each step to dry thoroughly. Not an easy feat when your garage contents are outside under tarps while rain is in the forecast.
Now that the filled cracks were dry, I was ready for the final step. I’m not going to lie. I was super nervous about this. I had studied so many tutorials and read the directions about 15 times, but I was sure it had to be harder than people were describing. But guess what? It wasn’t hard at all. It was super straightforward and extremely satisfying. After combining the two-part solution and shaking it up thoroughly in the provided pouch, I was ready to literally paint/roll it on the floor. Then my inner child was able to come out and play when I got to sprinkle the decorative color chips on the wet floors.
One key tip is to ensure the temperatures are within the recommended range. Since I was doing this in the fall, I had to warm up my garage with two heaters to maintain a temperature that would allow the polycuramine to cure. Even with that, the dry time was double what it would have been had I applied the product in the summer months.


Step Two
If you’ve ever tuned in to my blog, you know that my designs are never lacking in color. If you’re reluctant to use color in your home but curious about it, the garage is such a great place to start. This space is going to be my workshop/maker space, so I knew I wanted it to be bold, fun, and inspiring. The BEHR Paint line offers so many vibrant color options making the selection process quite painless. I also tried out Wooster brushes (Shortcut Hook and Hold) for the first time and I’m hooked. The shorter handle worked well for my smaller hands to grip.

When I first saw the bold colors on the ceiling, I was a little worried this room was going to look like a daycare for toddlers, but once I started moving the red Husky shelving in and my bright green International Tool Bench, the vision started to come together.

One of my primary goals as I’ve been renovating our 1970’s home, is to help my house shine! It was so dull and drab, and I really feel like it deserves to be a happy space. Hence the “Shine On” mural! While this may look intimidating to some, it’s a pretty simple process. I used a free editing app to create a design on my phone and then projected the image onto the way. Trace and paint! It’s that simple.


Step Three
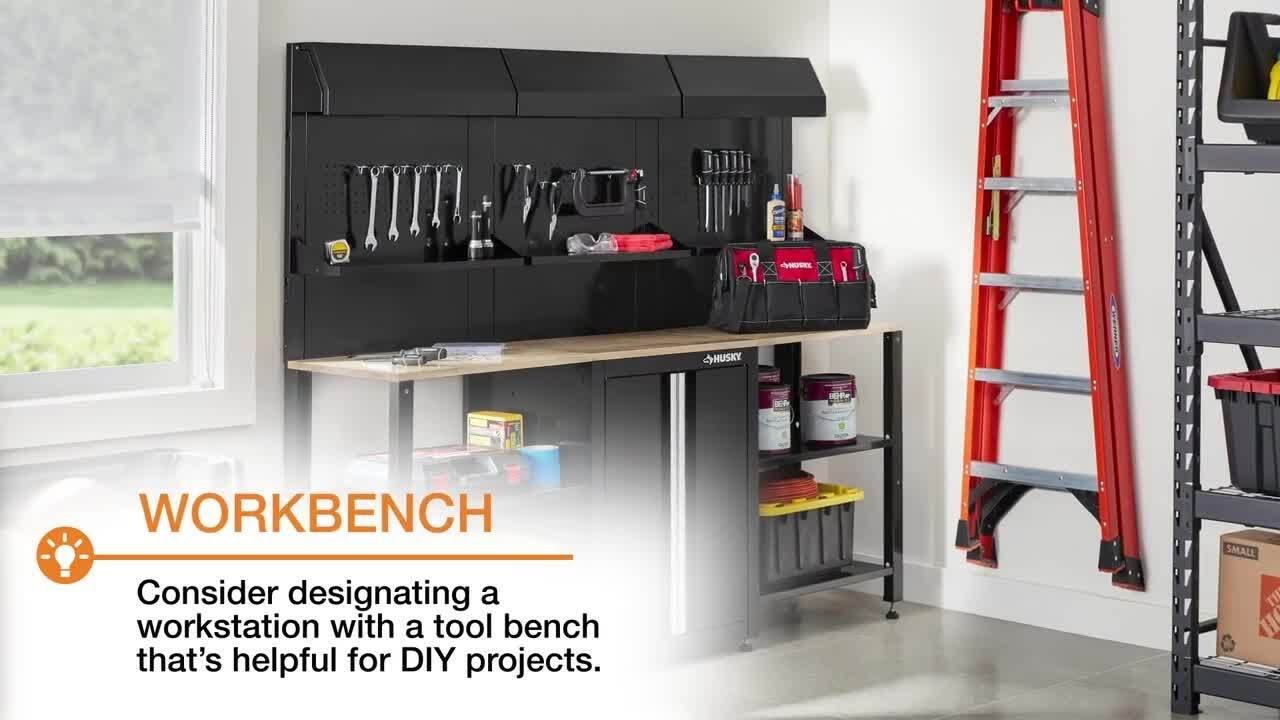
This workbench is another element I’ve been dreaming of. Having a proper workspace for my new Dewalt table saw and other woodworking tools are going to save me so much time and hassle as I tackle my endless home renovation projects. For this project, I opted to follow some simple plans I found when searching on the Internet. It came with shopping and cut list which made the whole process so easy. It also reduced the amount of waste I may have ended up with had I not had a well-thought-out plan. Putting it on wheels was a must so I can roll it outside for cutting to keep the dust levels down in my shiny new space. The only downside to this project is that I didn’t have the workbench to use for making the workbench! HA!


Step Four
Next, it was time to bring everything back in just in time to beat the rain! As I renovate my home, it’s my goal to make each space super organized. Garage organization is key. Not only to maintain my sanity, but also to prevent me from purchasing things I already have. We have triplicates off so many tools because we couldn’t find the one we already have. Now I have a clean and clear system that works.
These heavy duty 27 Gallon HDX totes are my go to for storage. They fit well on the shelves and don’t crack like so many other totes I’ve used before.
And can we talk about the shelving? These Husky shelves are a dream. They were super simple to install, and they are built to withstand way more weight than I will ever need to store. We have a saying in our household “buy nice or buy twice”. I don’t ever see us having to replace these.
I previously had a tool bench with two drawers, which meant most of my tools ended up piled up in 5-gallon buckets and I never knew where anything was. No excuses now with this super functional and super cute International tool bench. One of my favorite features is the integrated power strip on the side. To say my hubby is jealous is an understatement.


This post was created in partnership with The Home Depot. The author may have received compensation for this article and associated images or video, potentially in the form of products and/or services. All expressed opinions and experiences are the author’s own words.