Glam Pipe Shelving and Lighting Ideas

Last updated August 21, 2024

A performing songwriter by trade, Jen Woodhouse has released three albums, toured the world, and has licensed her music to national television shows, commercials, and films, including Keeping Up with the Kardashians, MTV’s The Real World and Road Rules, Starbucks, United Way, and more. Most recently, Jen has added ‘DIY Blogger’ to her eclectic resume. A musician, military wife, and mother to two young children, Jen authors The House of Wood as her creative outlet for all things DIY and design, where she documents her adventures in woodworking, furniture and interior design, and home decor. Jen’s work has been featured on Elle Decor, House Beautiful, Good Housekeeping, Country Living, and Apartment Therapy. Jen is a TV spokesperson for Hometalk, the largest home and garden community on the web and has worked with such brands as The Home Depot, RYOBI Tools, Minwax, Kreg, General Electric, among others. In addition to designing and drawing up plans with in-depth tutorials on her blog, Jen is a charismatic and engaging speaker. She was invited to speak at the Haven Conference in Atlanta, Georgia last year. This year, she will be returning as a speaker at the Haven Conference, as well as the Snap Conference in Salt Lake City, Utah.
A Note From The Home Depot
This pipe shelving project has a glamorous look, but is super practical with its attached lighting.
Jenn Woodhouse, of The House of Wood, built shelving unit using black iron pipe, 1 x 10 boards, spray paint and LED light bulbs. Follow along with her tutorial to build your own glam pipe shelves.
Table of Contents
Step 1: Clean and Spray Paint the Pipe Parts
Step 2: Assemble the Pipe Parts and Thread the Lamp Cord
Step 3: Connect the Lamp Wires
Step 4: Hang the Shelf on the Wall
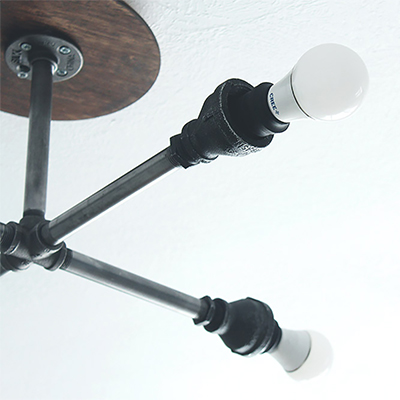
The Completed DIY Lighted Pipe Shelf
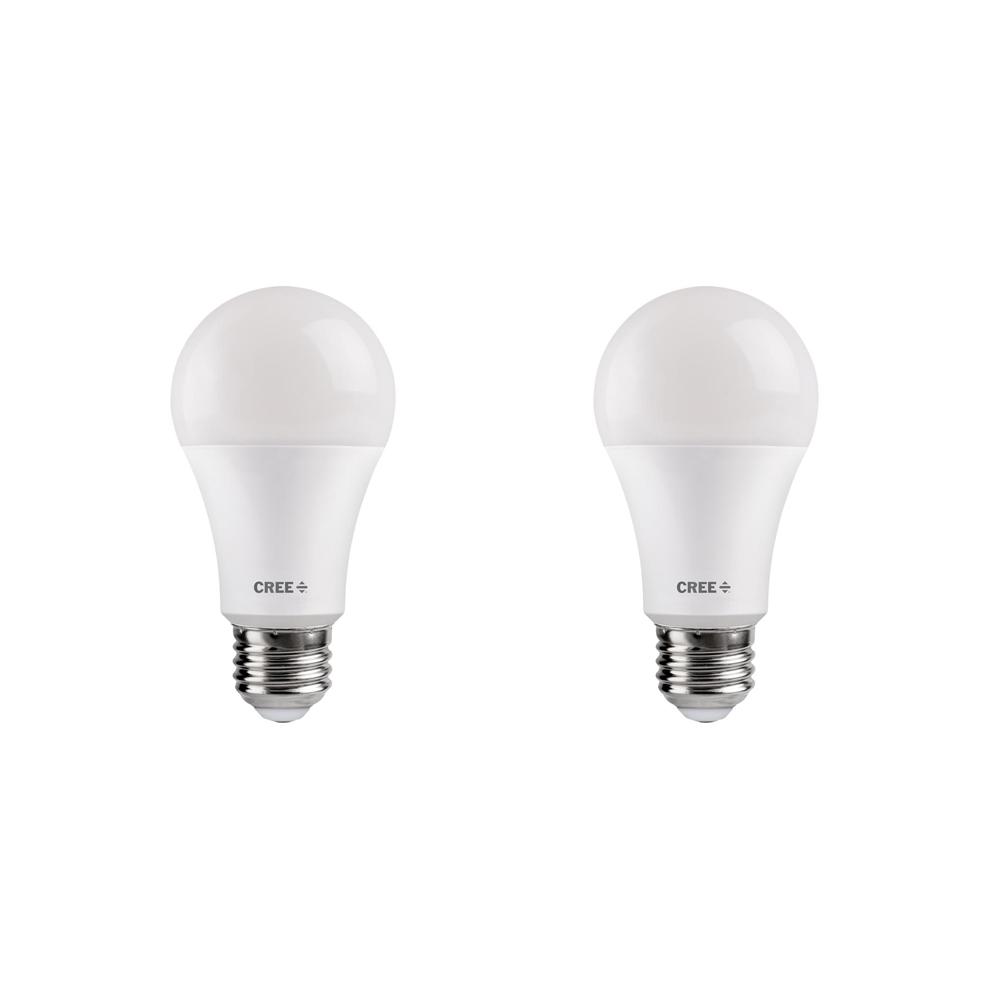
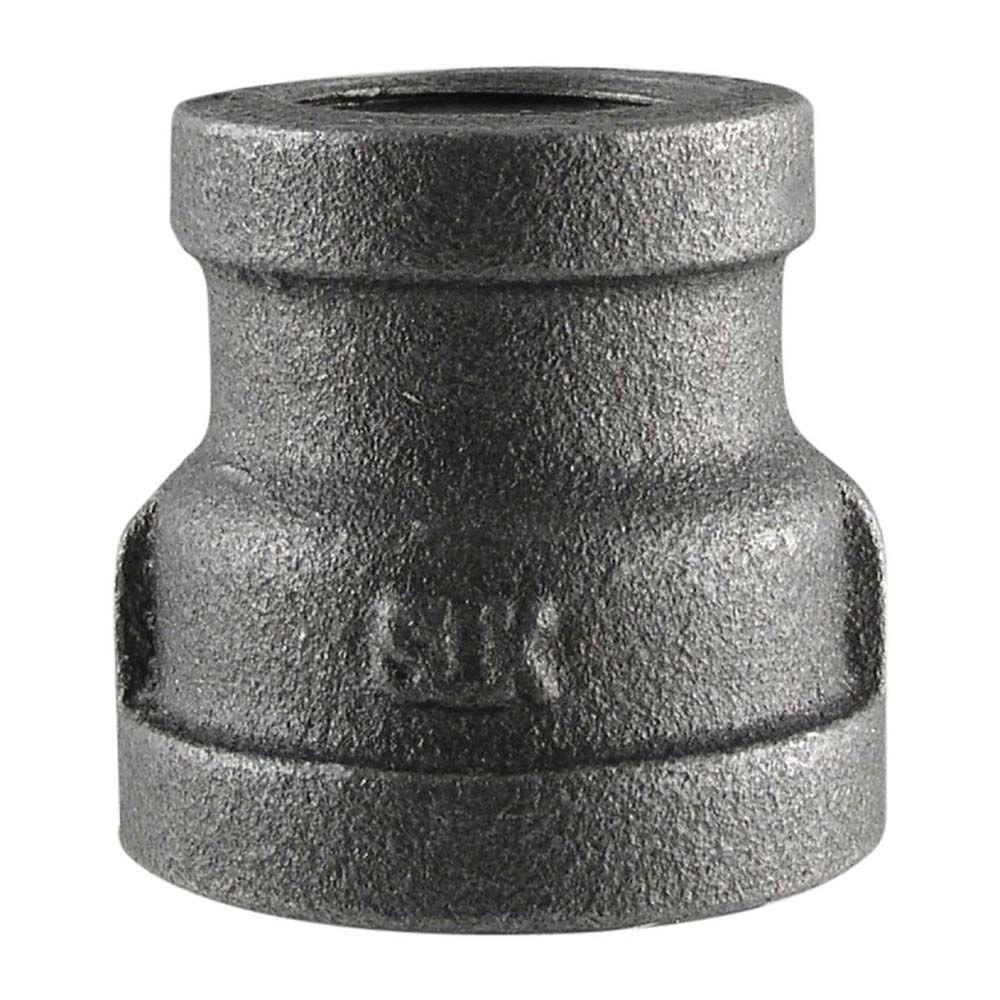
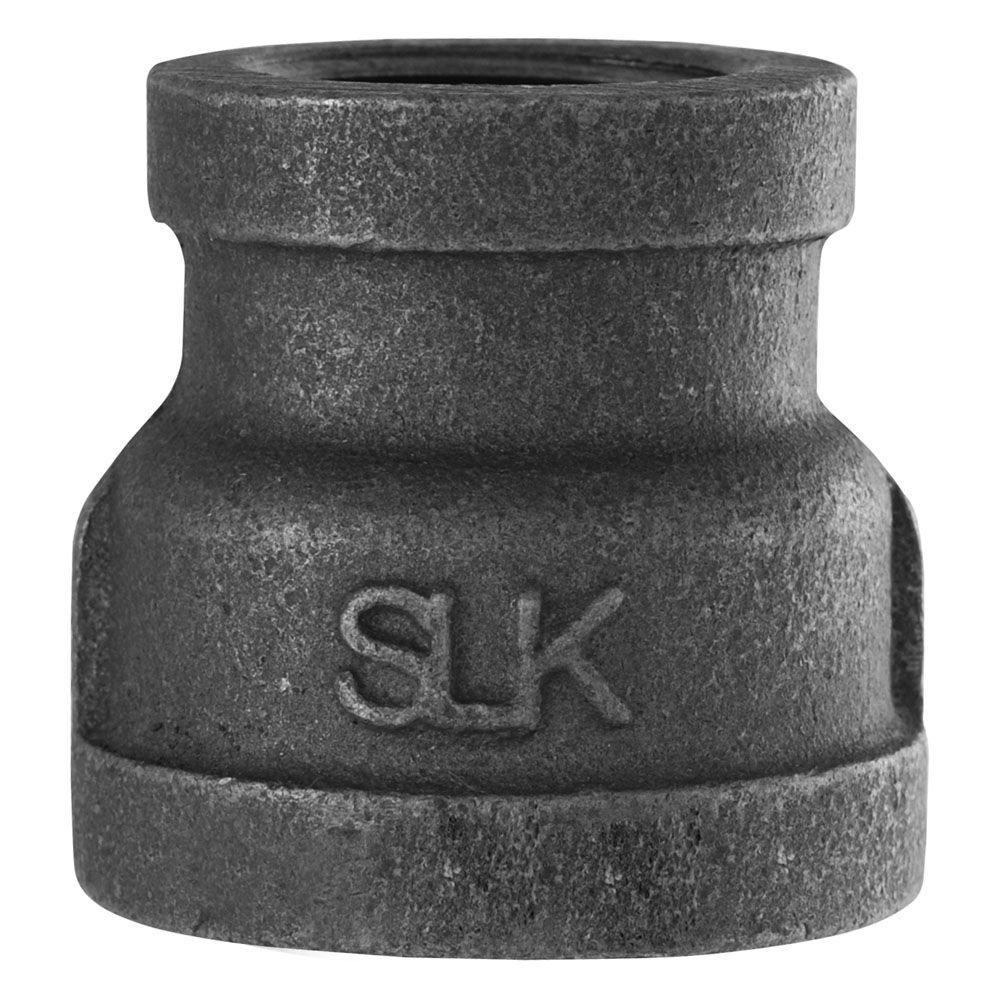
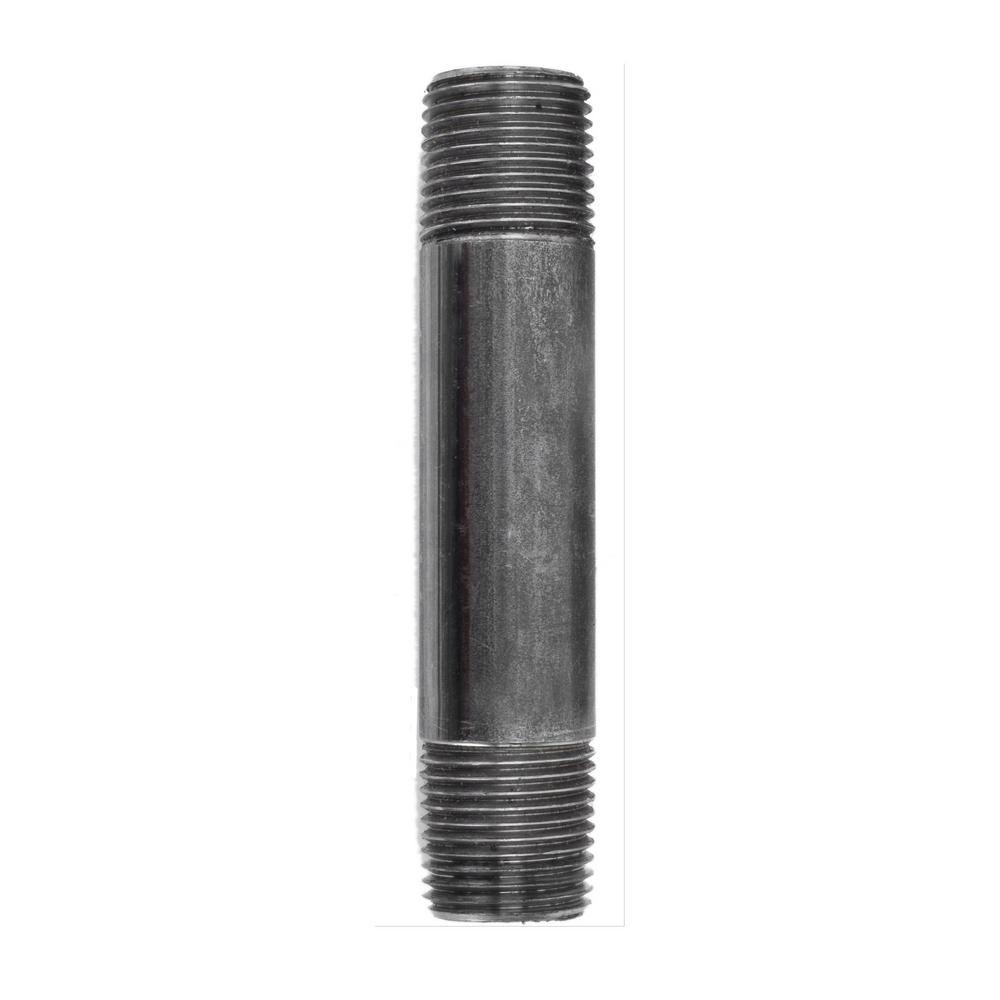
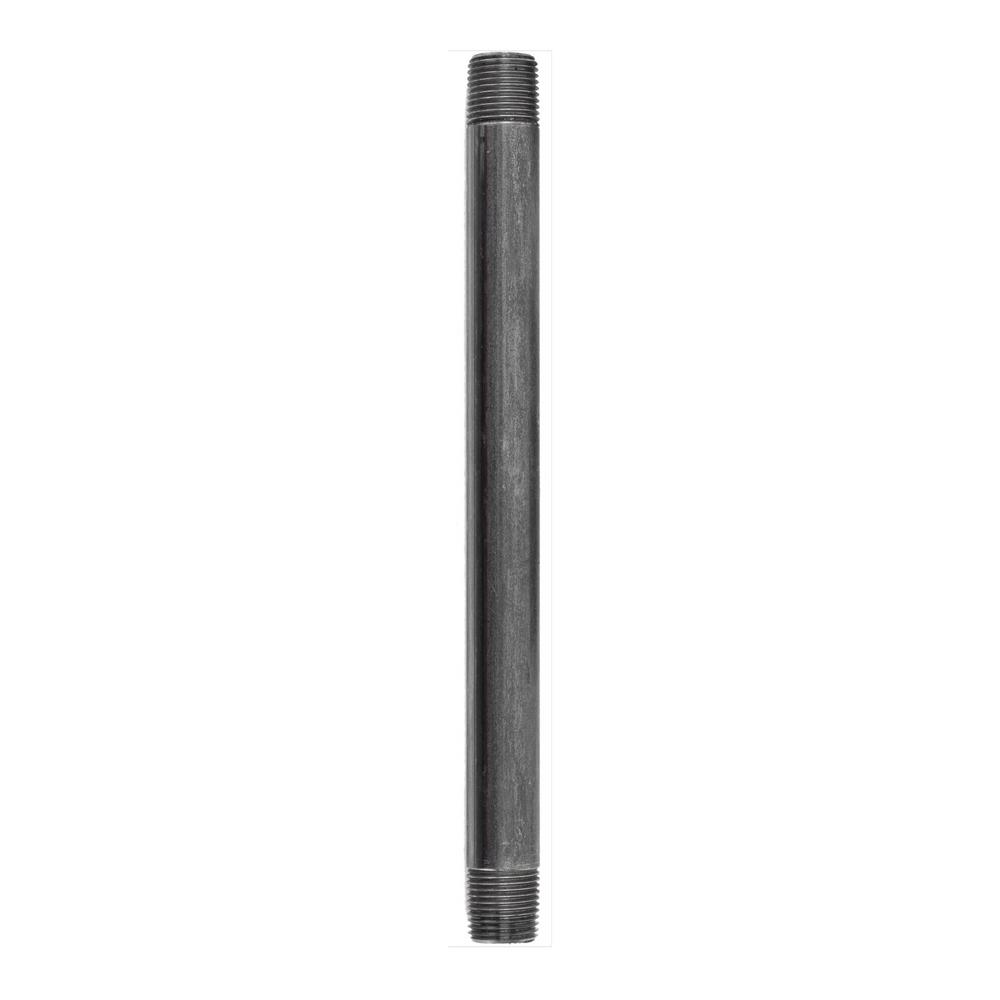
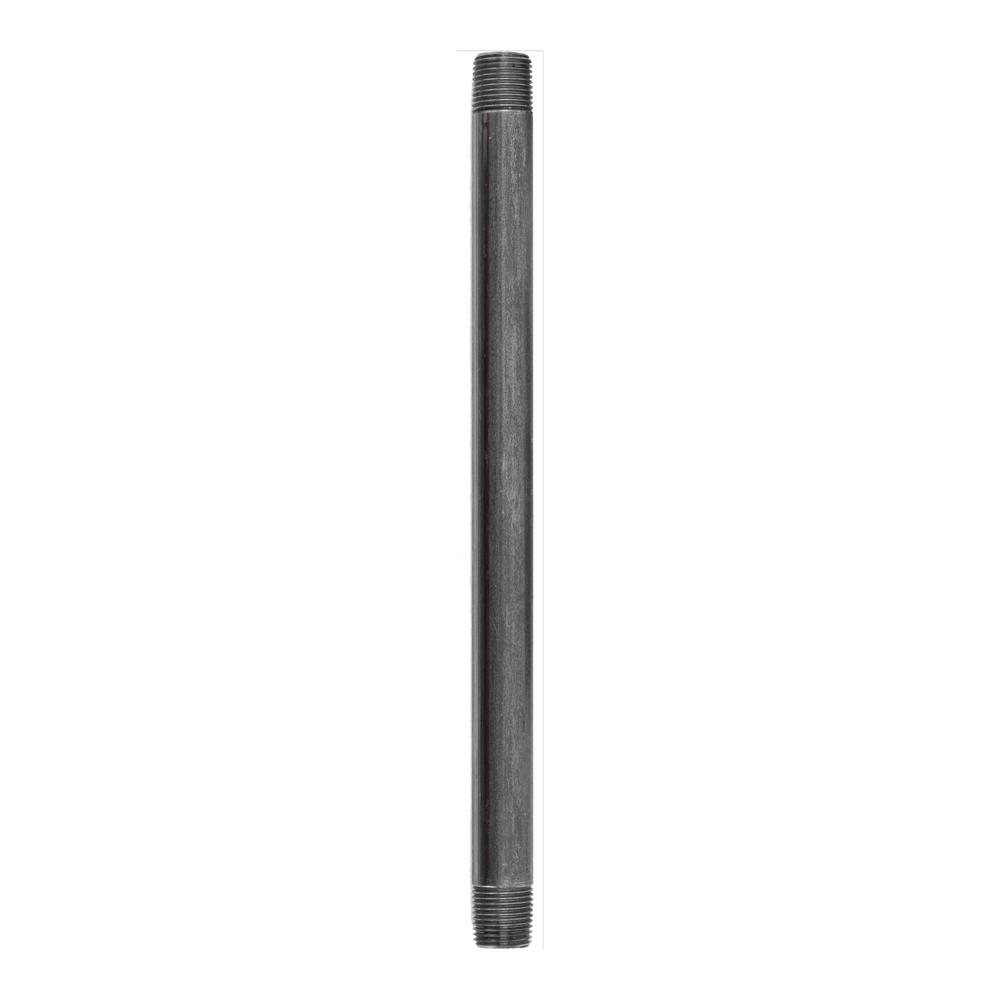
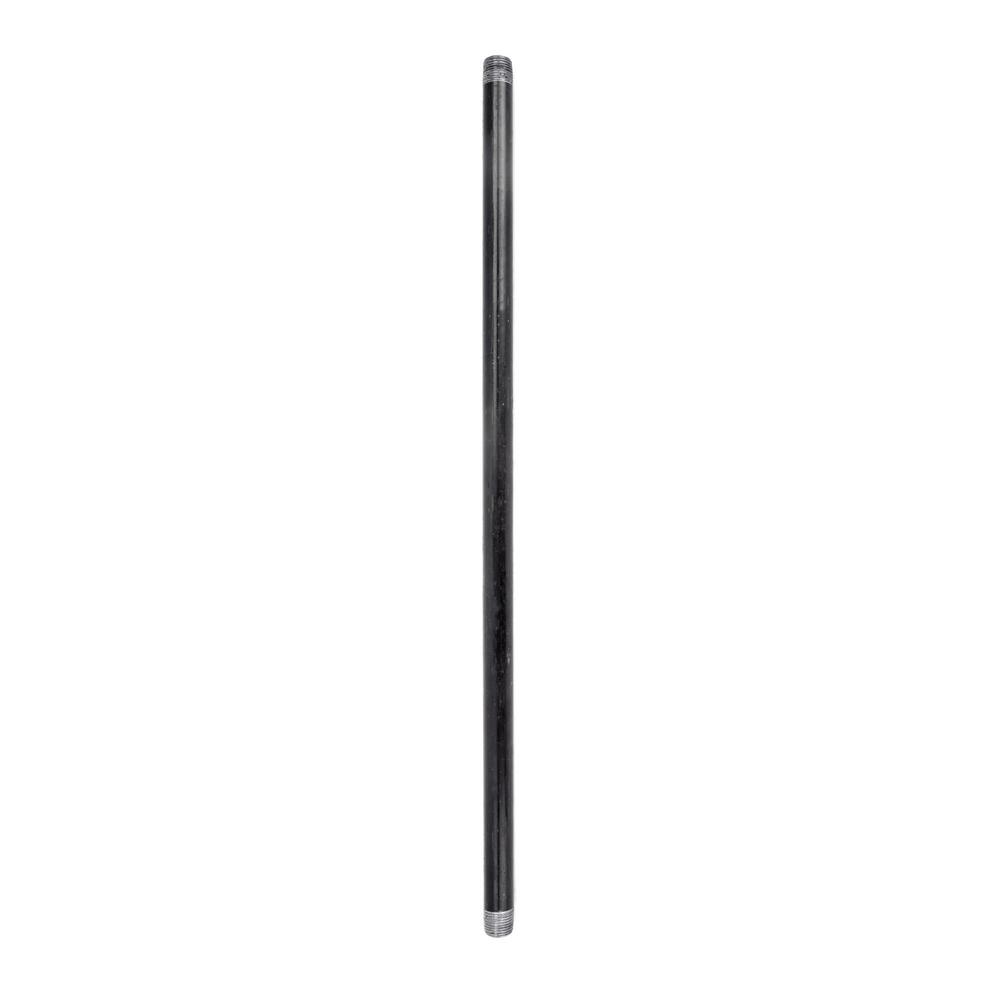
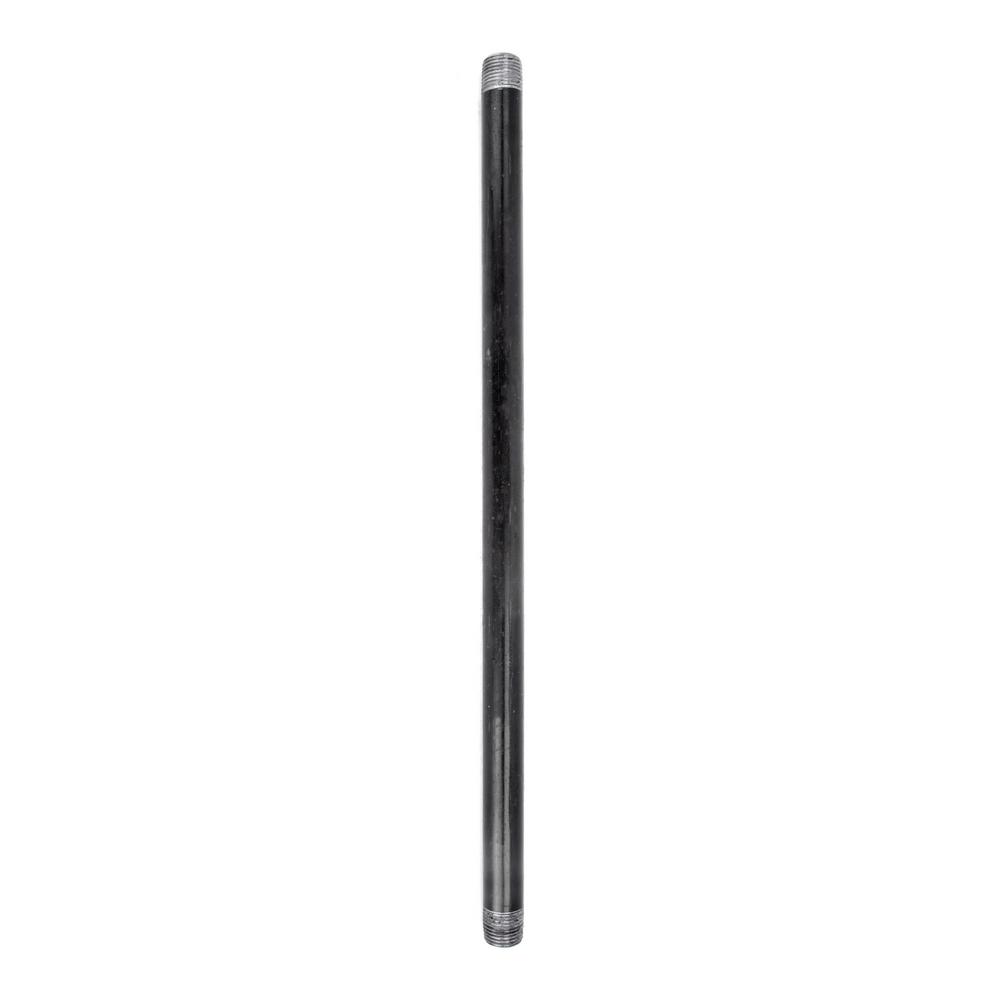
With just a few supplies from the plumbing and lighting department, you can make this beautiful and functional DIY lighted pipe shelving. LDR Industries has released a trendy new line of black pipe materials and Pipe Décor kits. Black iron pipe would have looked a bit heavy and masculine in my space, so I customized it by spray-painting the pipe pieces a pretty metallic gold. Cree’s new LED light bulbs enhance the color of the room with its soft white glow, providing high-quality, affordable lighting.

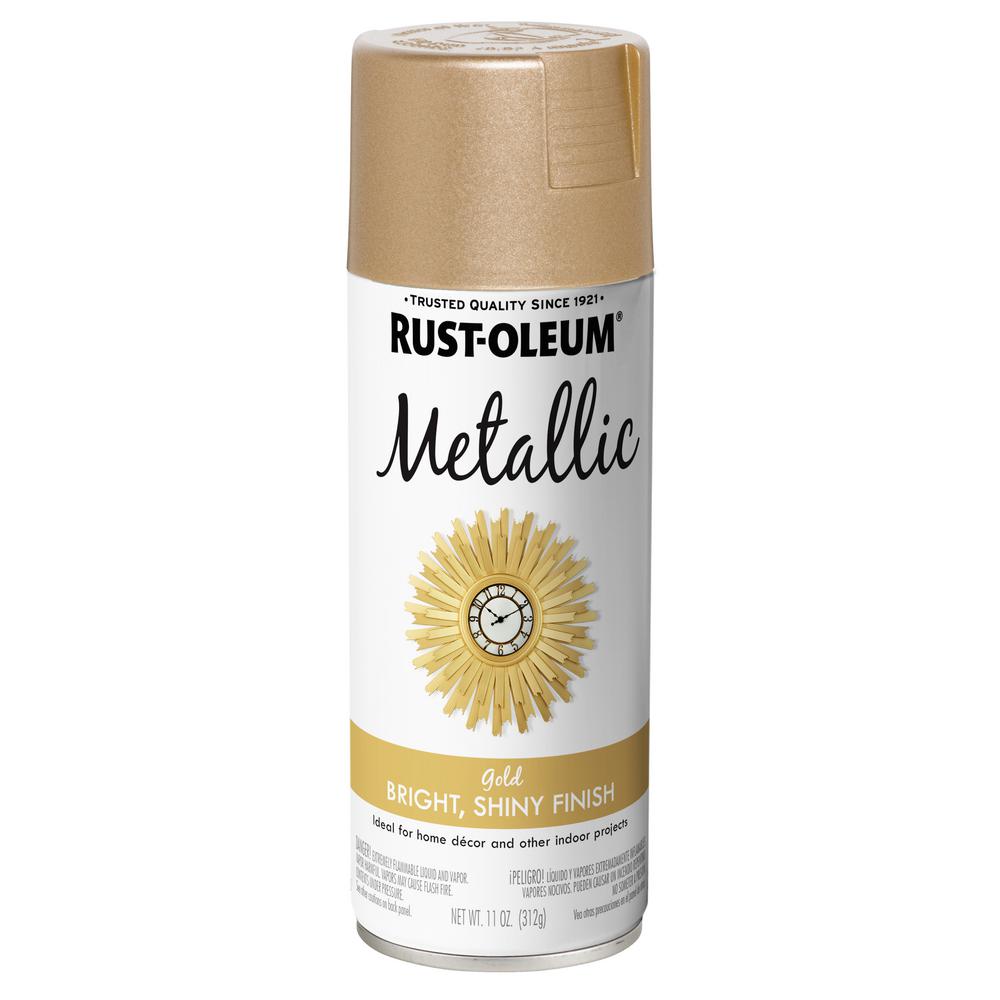
Step 1: Clean and Spray Paint the Pipe Parts
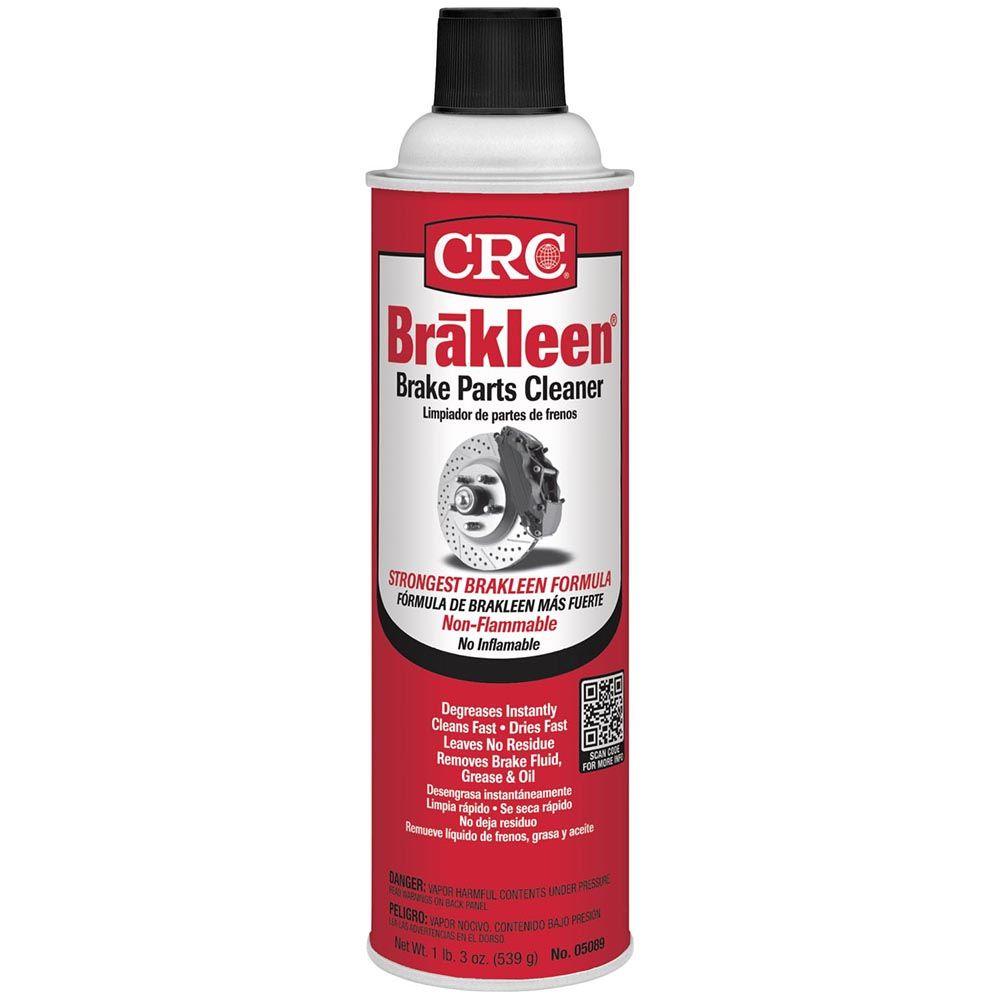
I used brake cleaner to clean the black pipe, then I spray-painted them with Rust-Oleum’s Metallic Gold Spray Paint. While the pipe parts were drying, I cut my 1 x 10 ft. boards to length with a circular saw. You may want to cut your shelves to fit your space; mine are 44 in. long. I sanded all the rough edges with 150-grit sandpaper, then followed with 220-grit. I removed the dust and debris and painted the shelves with a white semi-gloss latex interior paint.


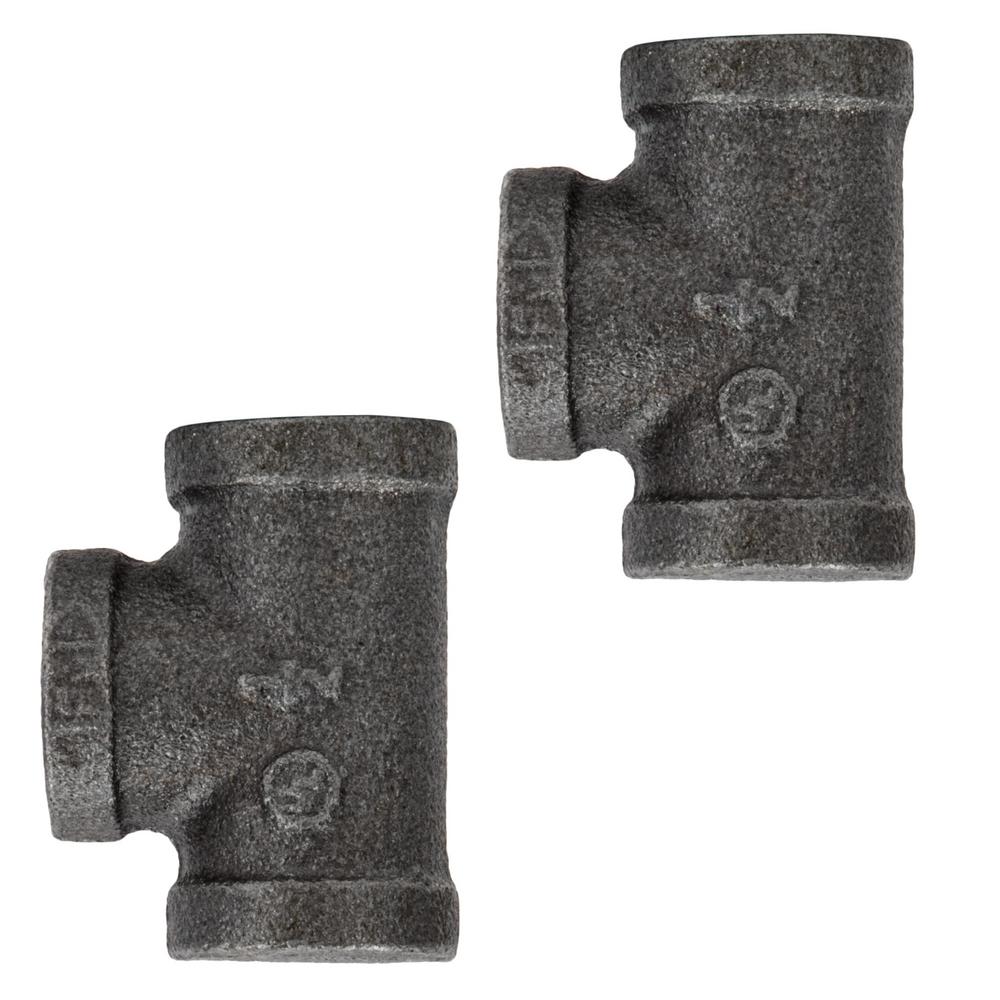
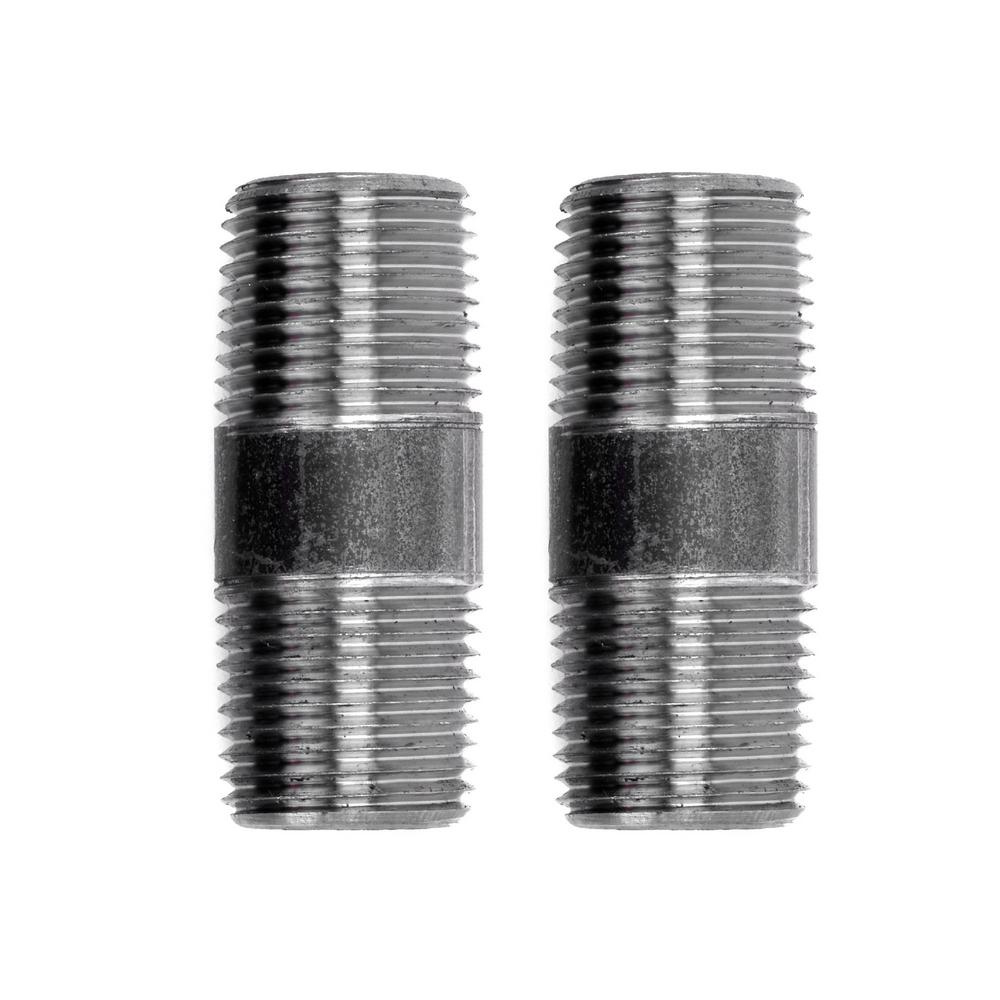
Step 2: Assemble the Pipe Parts and Thread the Lamp Cord
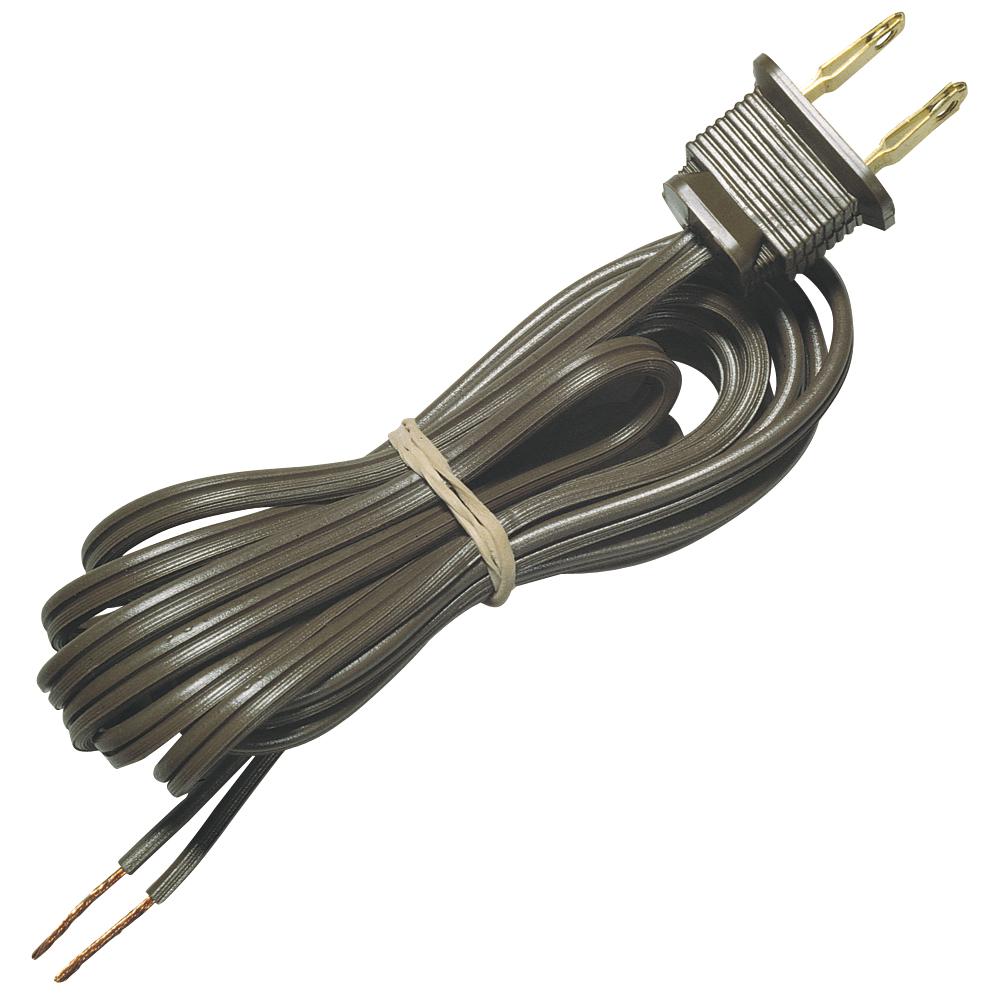
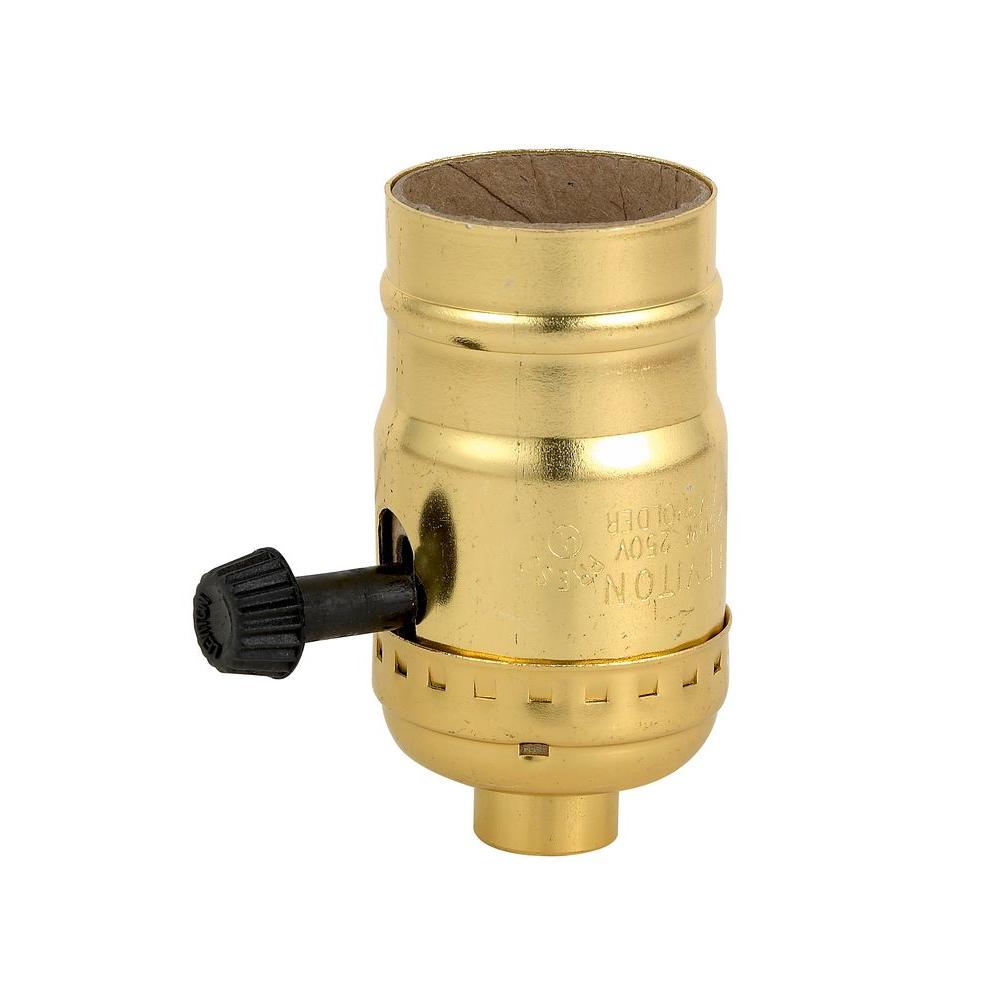
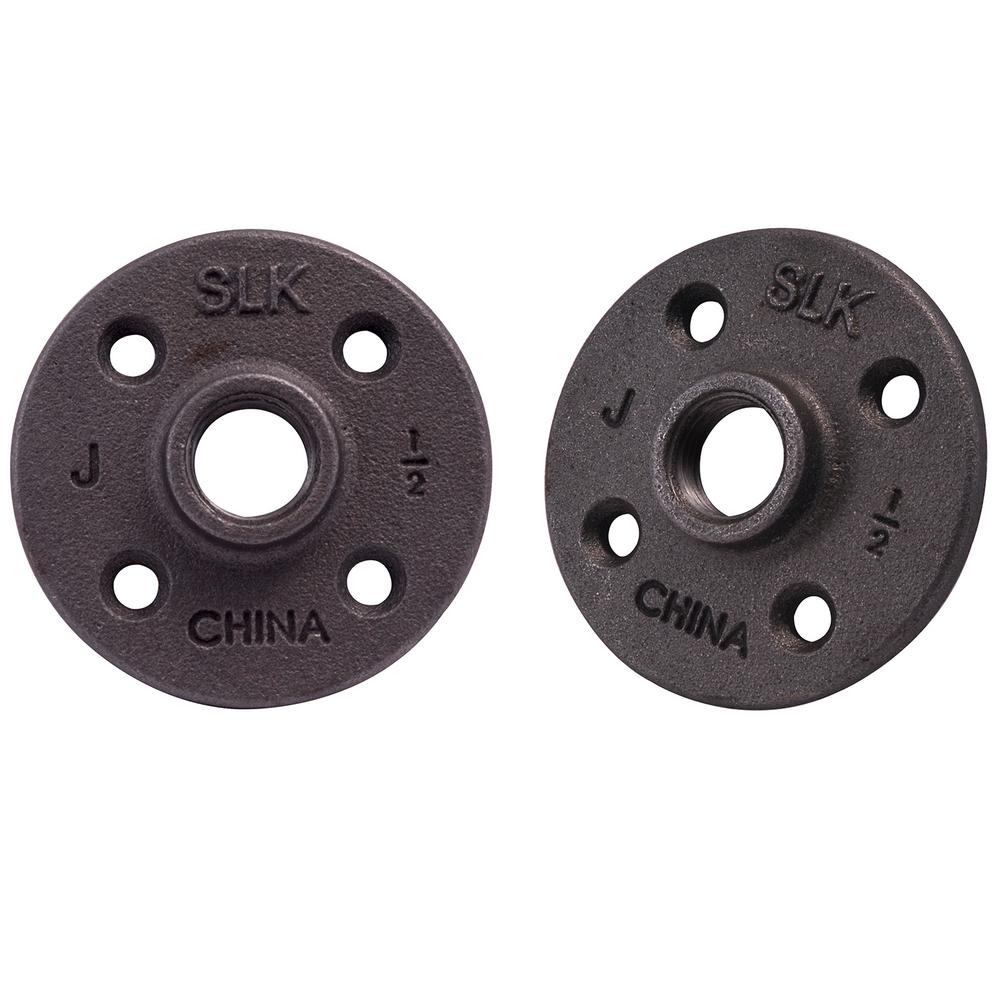
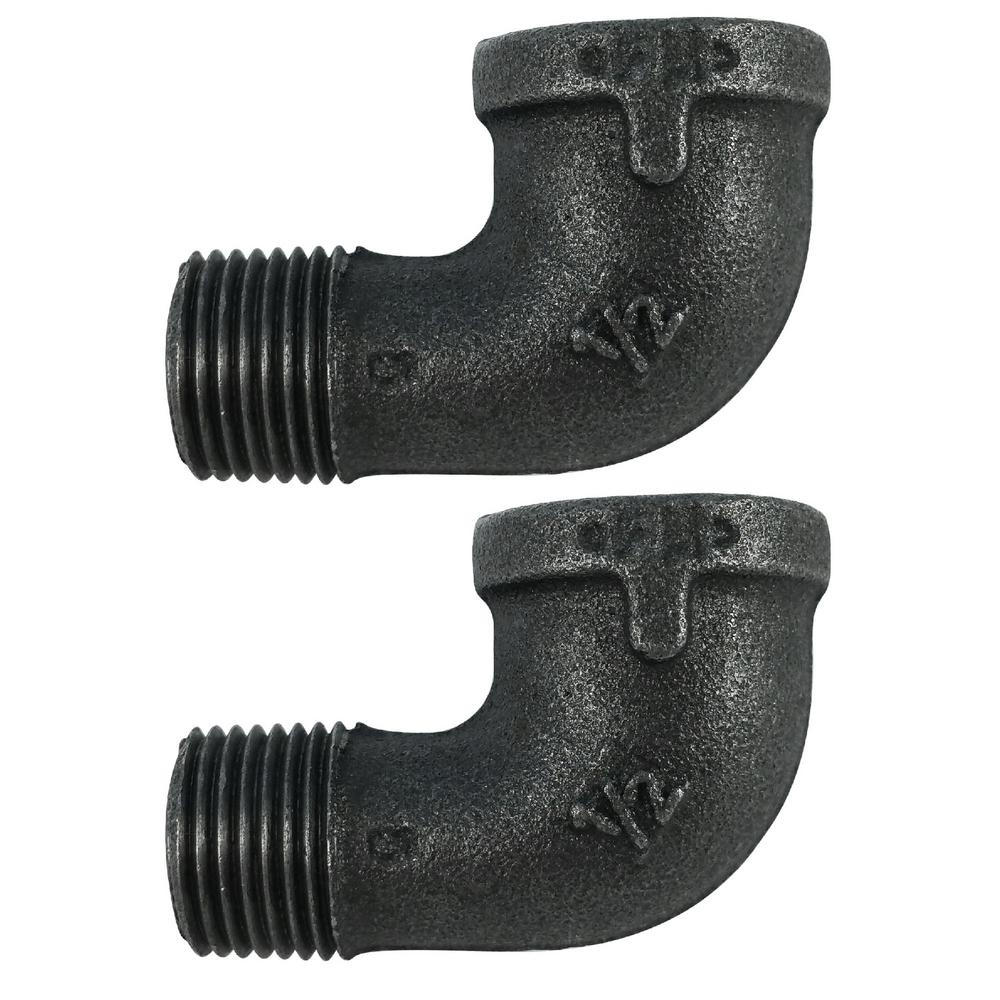
I recommend running the lamp cord through the pipe parts as you assemble them. Don’t screw the parts on tightly in case you need to make adjustments later. Once you’ve run the lamp cord all the way through to the reducer couplings, it’s time to connect the wire to the light socket.


Step 3: Connect the Lamp Wires
*Disclaimer: if you don’t feel comfortable completing the electrical portion of this project, I recommend that you hire a licensed electrician to perform the following steps.
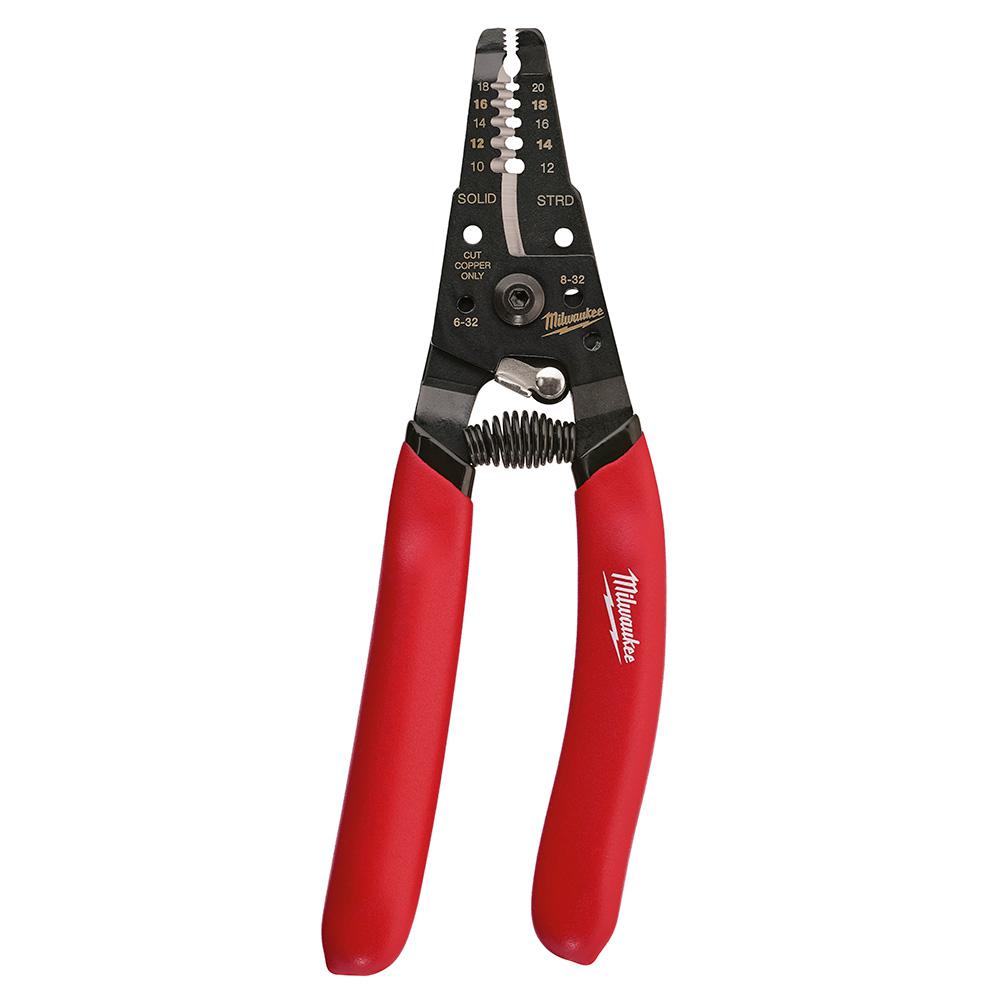
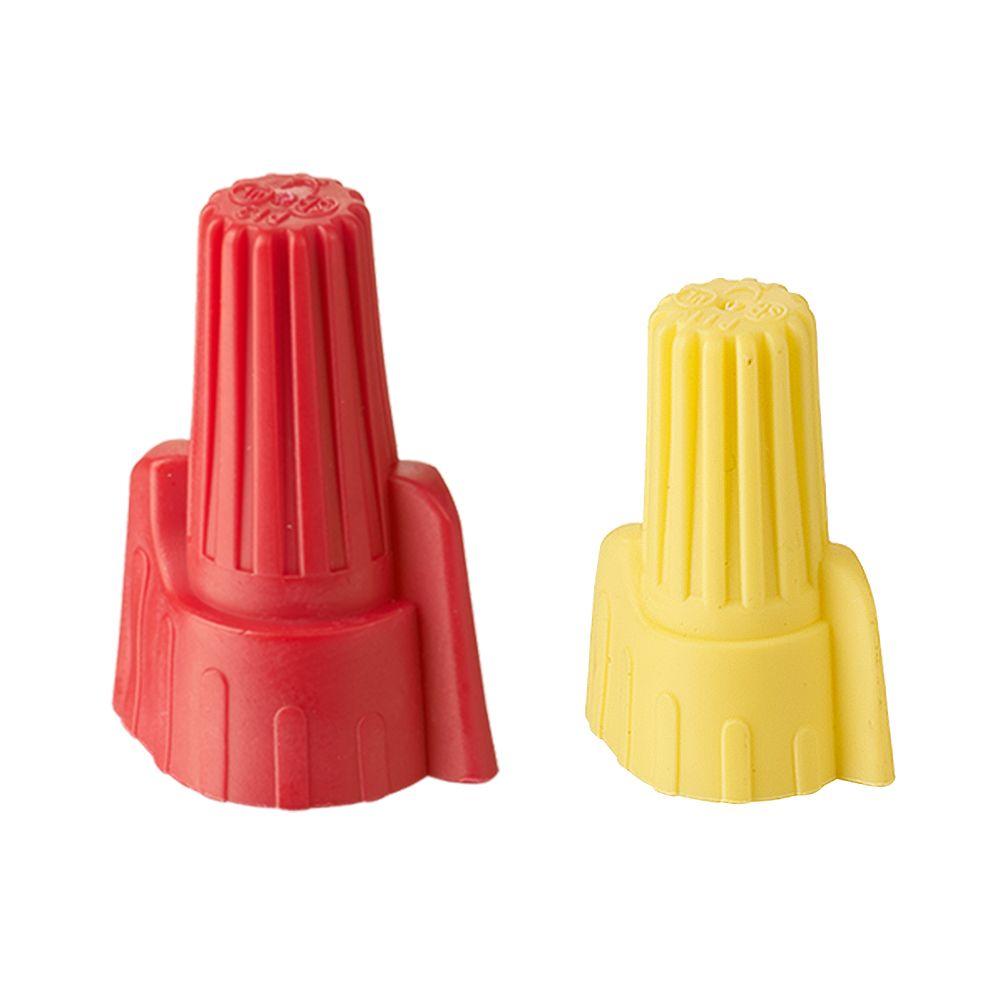
Make sure the cord is unplugged while you’re working. The lamp cord and socket will each have two wires. Connect the black wire to the hot wire and the white wire to the neutral wire by twisting the wires together. Screw on a wire connector, ensuring that there are no exposed wires.


Feed the wires and connectors into the pipe parts. I found that they fit best in the 90-degree elbow pieces.
This is what one side of the shelf should look like when you’re done. Tighten all connections and prepare to hang on the wall.

Step 4: Hang the Shelf on the Wall
Using a stud finder, locate the studs in the wall or use heavy duty drywall anchors to hang the shelf up. Slide the shelves into place. You may choose to attach the shelf to the pipe with ½ in. pipe straps.
I attached a power strip under the bottom shelf, screwed in the light bulbs and plugged the lamps in, hiding the wires along the underside of the bottom shelf.
The Completed DIY Lighted Pipe Shelf


Find materials for this pipe shelving project in the Pipe and Fittings, Lumber and LED Light Bulbs sections at The Home Depot. Follow our Projects Using Pipe board on Pinterest for more pipe fitting projects and ideas.
This post was created in partnership with The Home Depot. The author may have received compensation for this article and associated images or video, potentially in the form of products and/or services. All expressed opinions and experiences are the author’s own words.