Guide to a Complete Garage Makeover

Last updated August 21, 2024

Jane is the blogger behind A Taste of Koko, Austin's top food and travel blog that features the hottest restaurants and weekend getaways.
A Note From The Home Depot
The garage is often the most cluttered part of any house. Jane Ko of Taste of Koko was tired of having miscellaneous items pile up in her garage. After taking the time to clean and create an organized storage system, Jane brought her garage makeover dreams to life.
Check out these five simple steps that will help you transform your garage into the space that’s perfect for you.
Table of Contents
Before the Makeover
Step 1: Purge & Clean
Step 2: Plan & Sketch
Step 3: Paint
Step 4: Installation
Step 5: Organize

Ever since I moved into my home in 2013, the garage immediately became the spot where miscellaneous items would go but never came back out. The garage became an eyesore every time I pulled in to park my car. Talk about embarrassing when my neighbors would walk by and peek in.
When the new year started, my goal to tackle the garage and have my first home project to be a garage makeover came to life. Purge, clean, and organize. I’m so excited to partner with The Home Depot on this garage makeover transformation!
Before the Makeover

Here’s what my garage looked like beforehand. Piles and piles of products, boxes of product, old appliances, old furniture. It was a miracle that I could find anything.
Step 1: Purge & Clean
First, I went through everything and started throwing away broken or unusable items, and straight up trash. I took anything in good shape to the local donation center.
Step 2: Plan & Sketch

Making a blueprint of the garage was super helpful. I was able to visualize the space and make sure new shelving would fit. By measuring your walls and ceilings, you can then estimate how much paint you’ll need to buy too!
Step 3: Paint


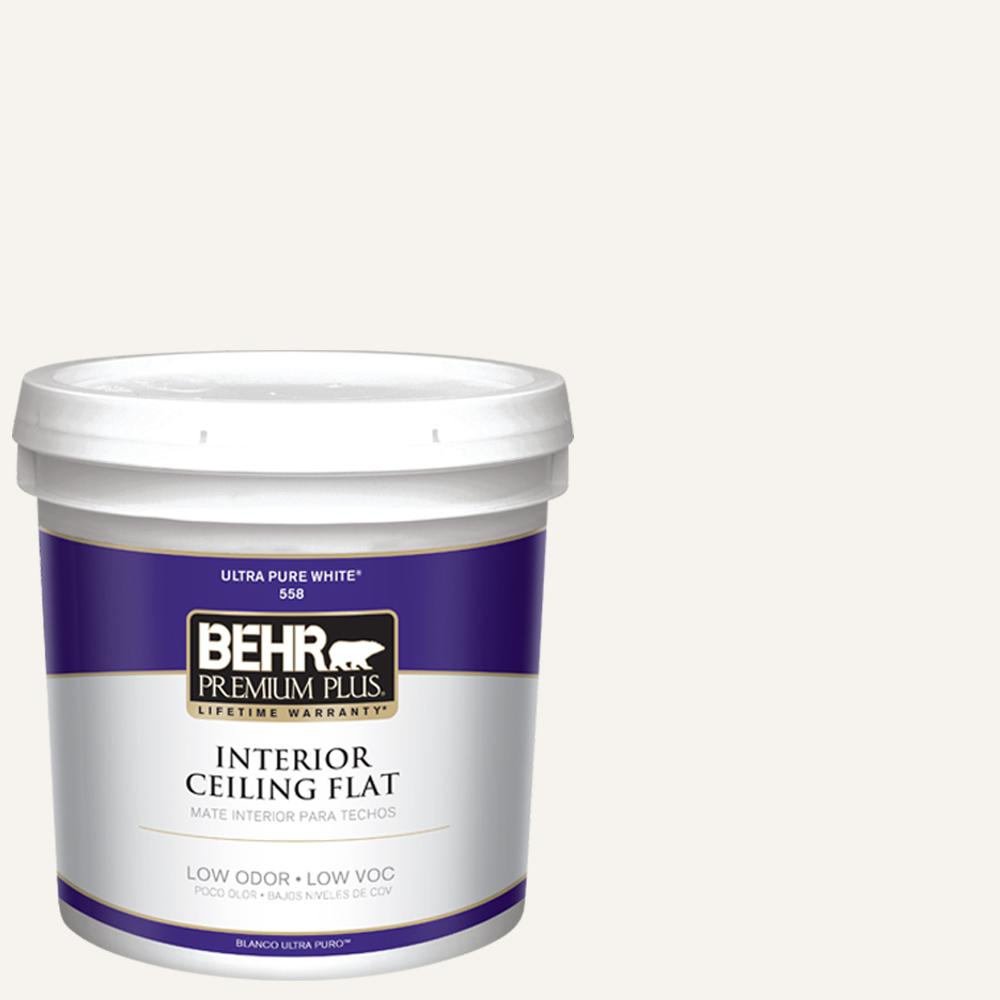
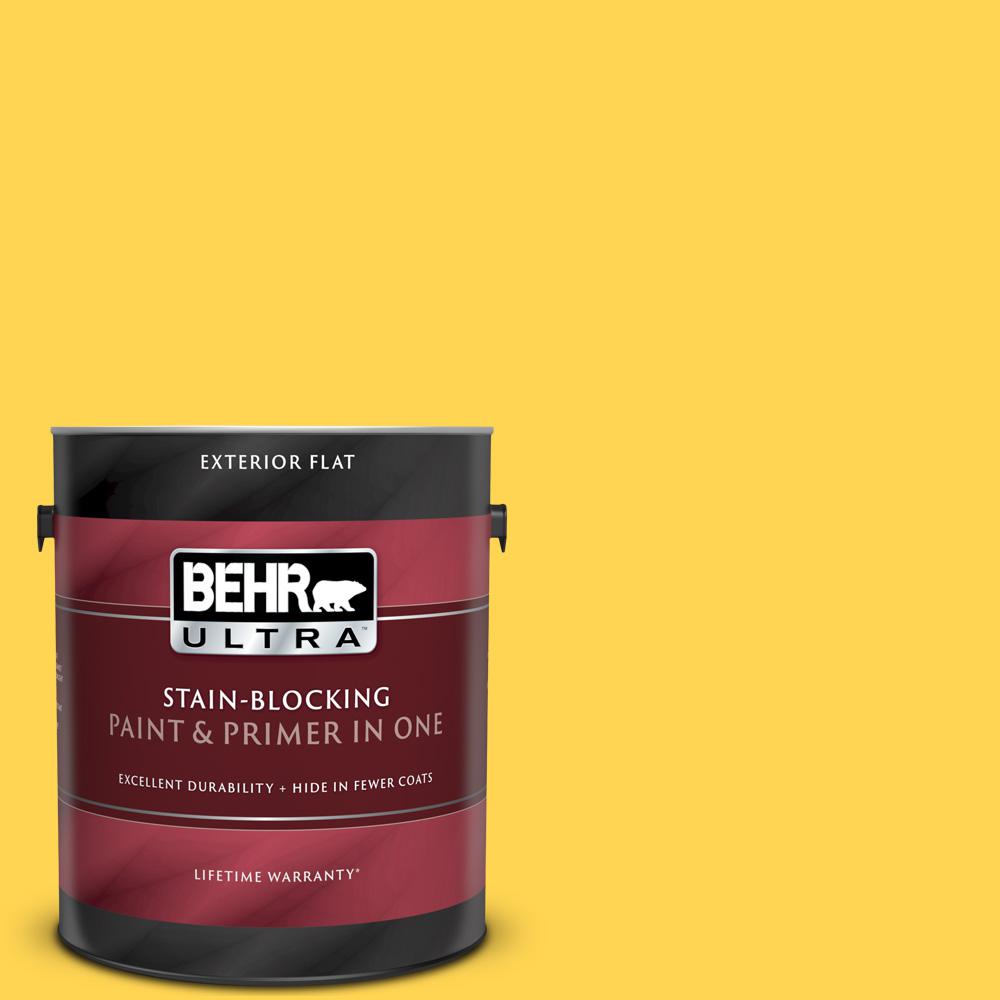
The home builders didn’t bother painting the garage when I bought the home. I’ve always hated those white stripes. I knew I wanted to paint the garage with a pop of color, so I went to The Home Depot to pick up paint samples. Yellow stuck out to me—when was the last time you saw a yellow garage? I picked BEHR Paint in Buzz In for the walls and BEHR ceiling paint in white.
Make sure to use a primer. Otherwise, you’ll have to do several coats of paint.
Step 4: Installation


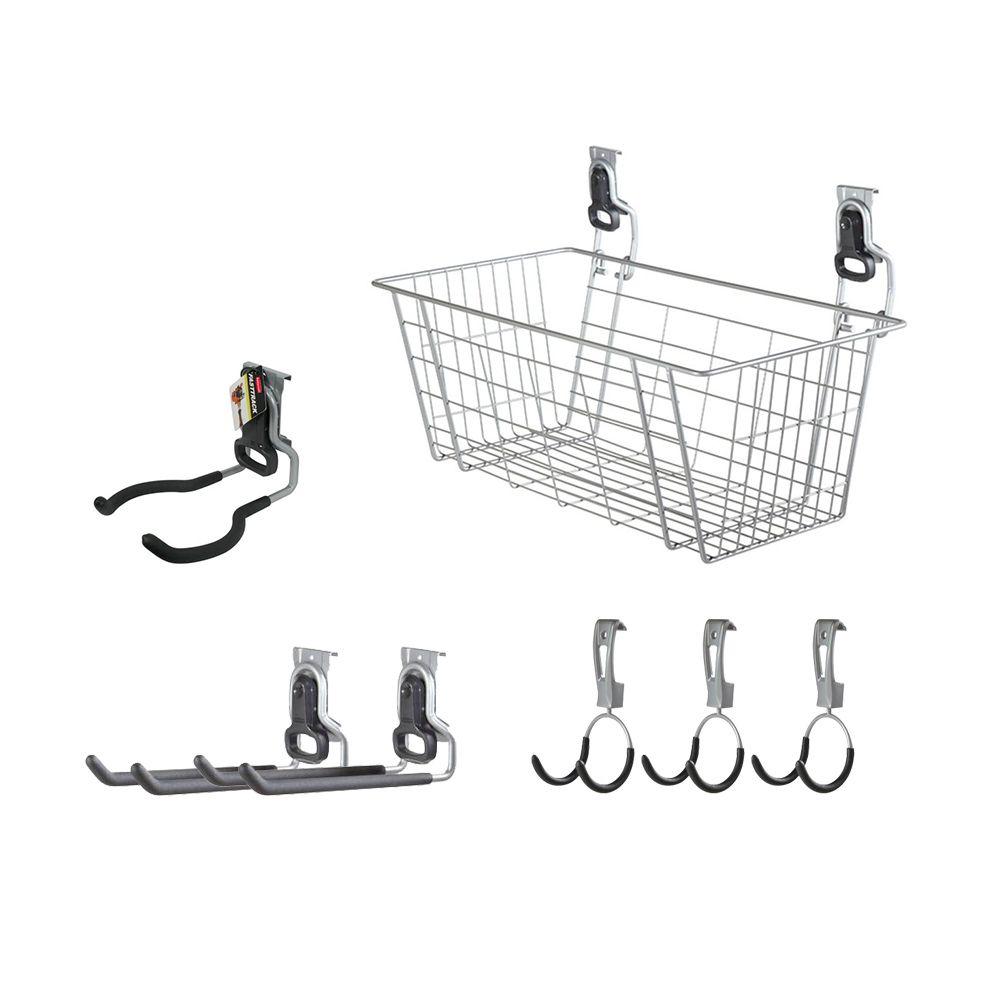
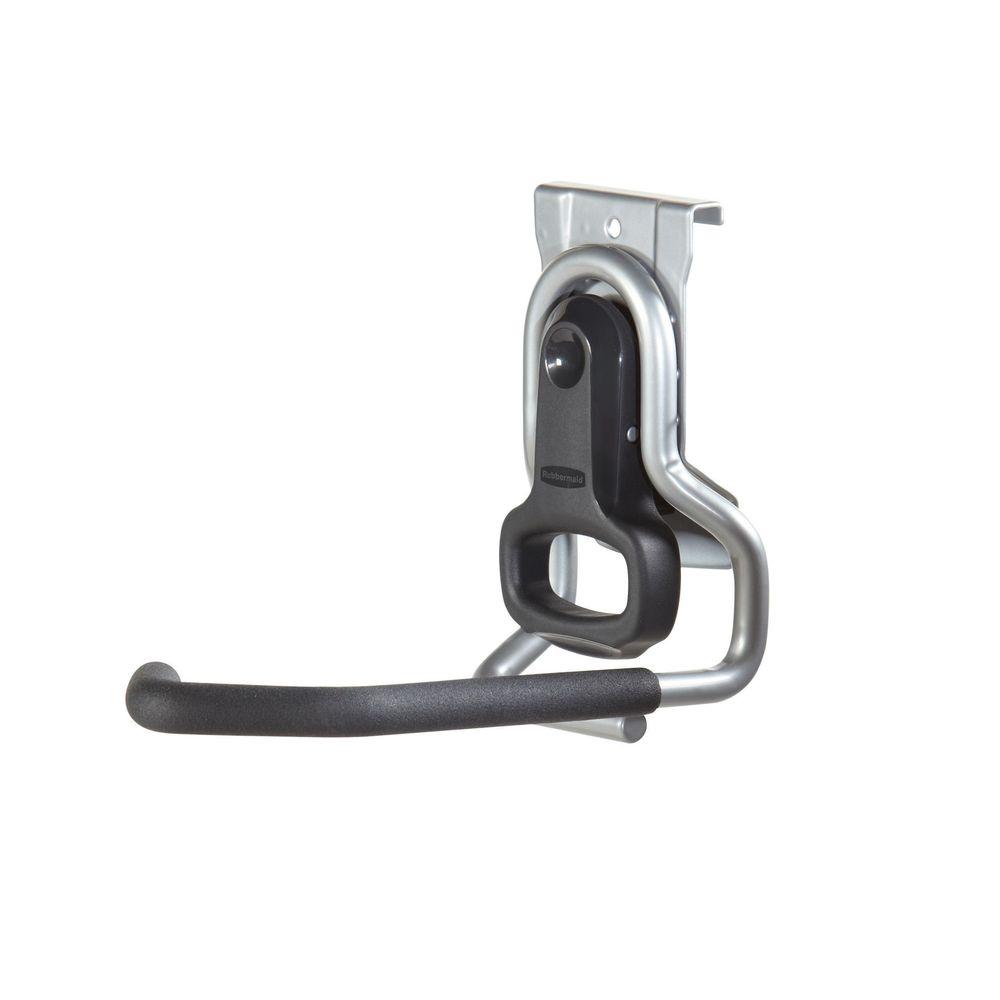
The Rubbermaid FastTrack system was my top choice because of the easy installation and customization.


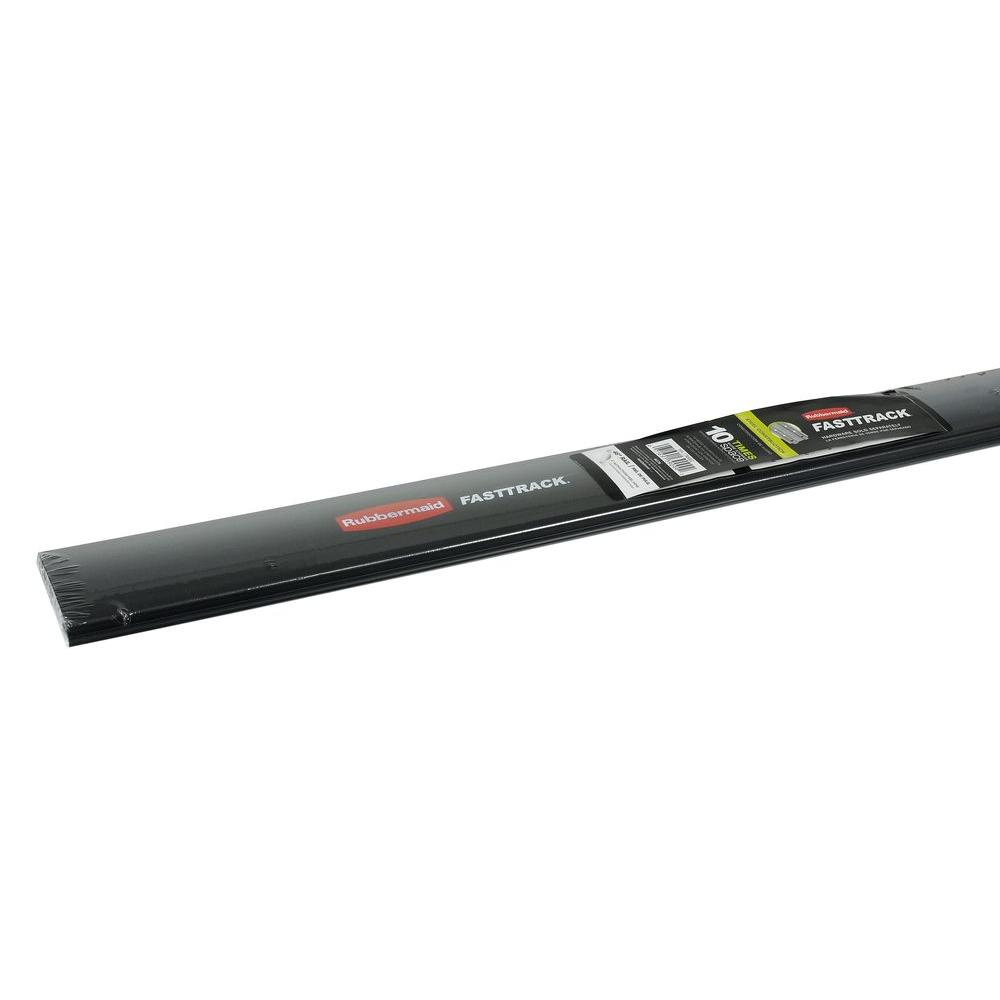
I installed the Rubbermaid FastTrack Garage 84 in. Hang Rail. Then, I mounted the bikes on the wall with the Rubbermaid FastTrack Garage 1-Bike Vertical Bike Hook.


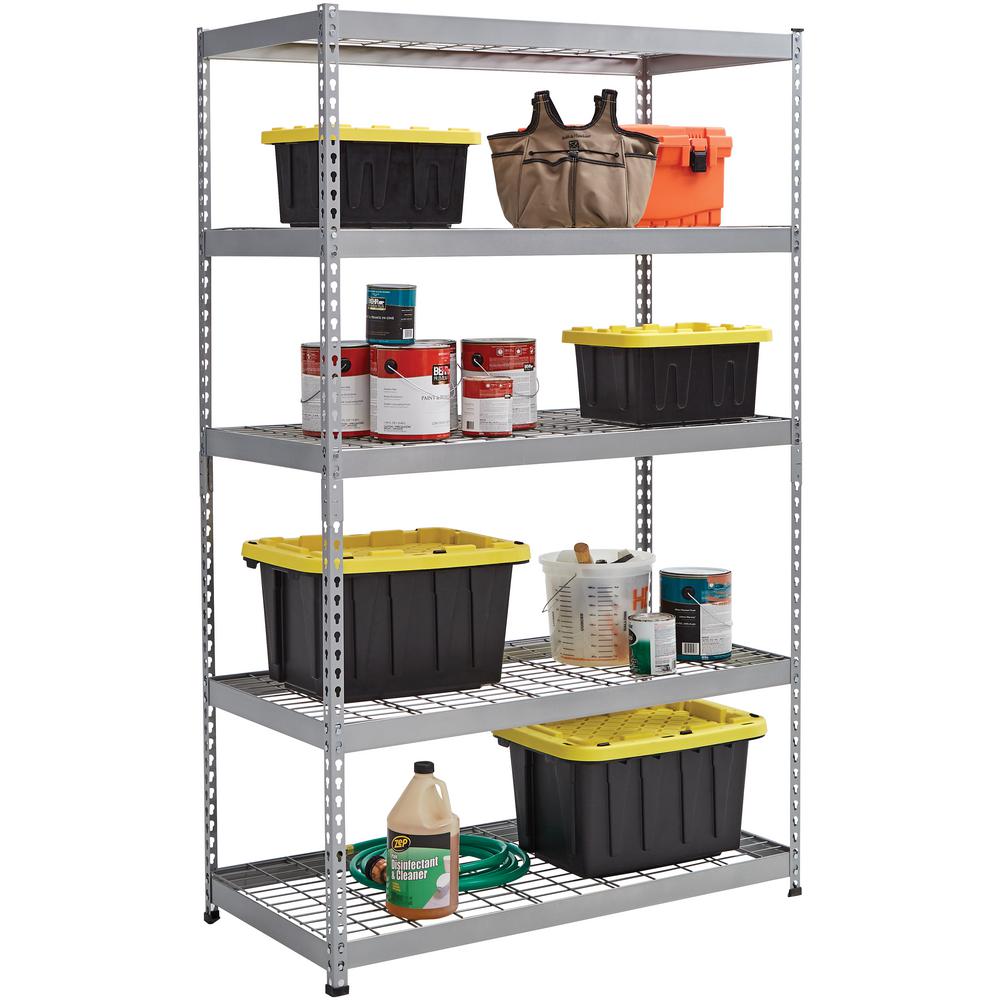
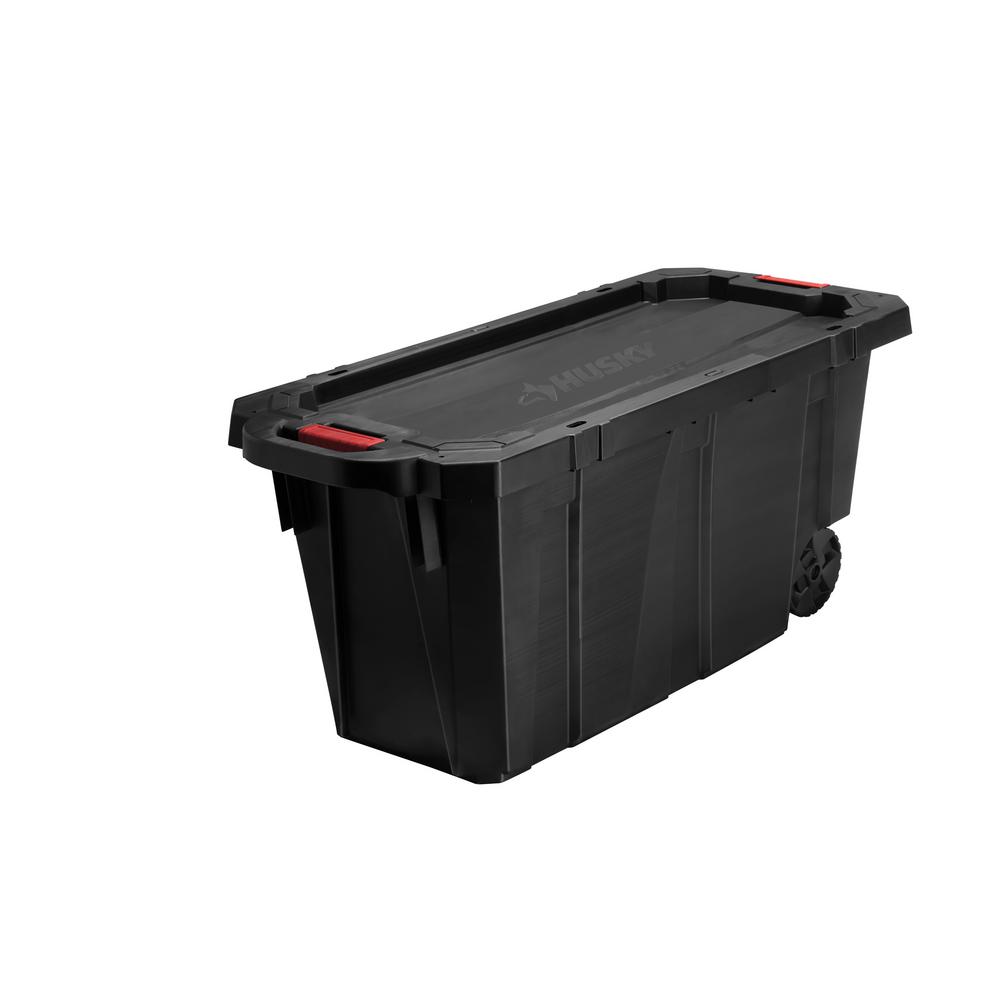
After cleaning up the space, I installed two Rubbermaid FastTrack Garage 84 in. Hang Rails. Then, I added the Rubbermaid 4-Shelf 48 in. x 16 in. Laminate Storage Shelves and Rubbermaid FastTrack Garage Rail Accessory Starter Kit to hang up items like the tennis rackets and pool floaty! Miscellaneous items are stored in the Husky stack totes.
Step 5: Organize


The shoe situation was a mess. I love the Prepac White Space-Saving Shoe Storage Cabinet that holds 35 pairs of shoes!


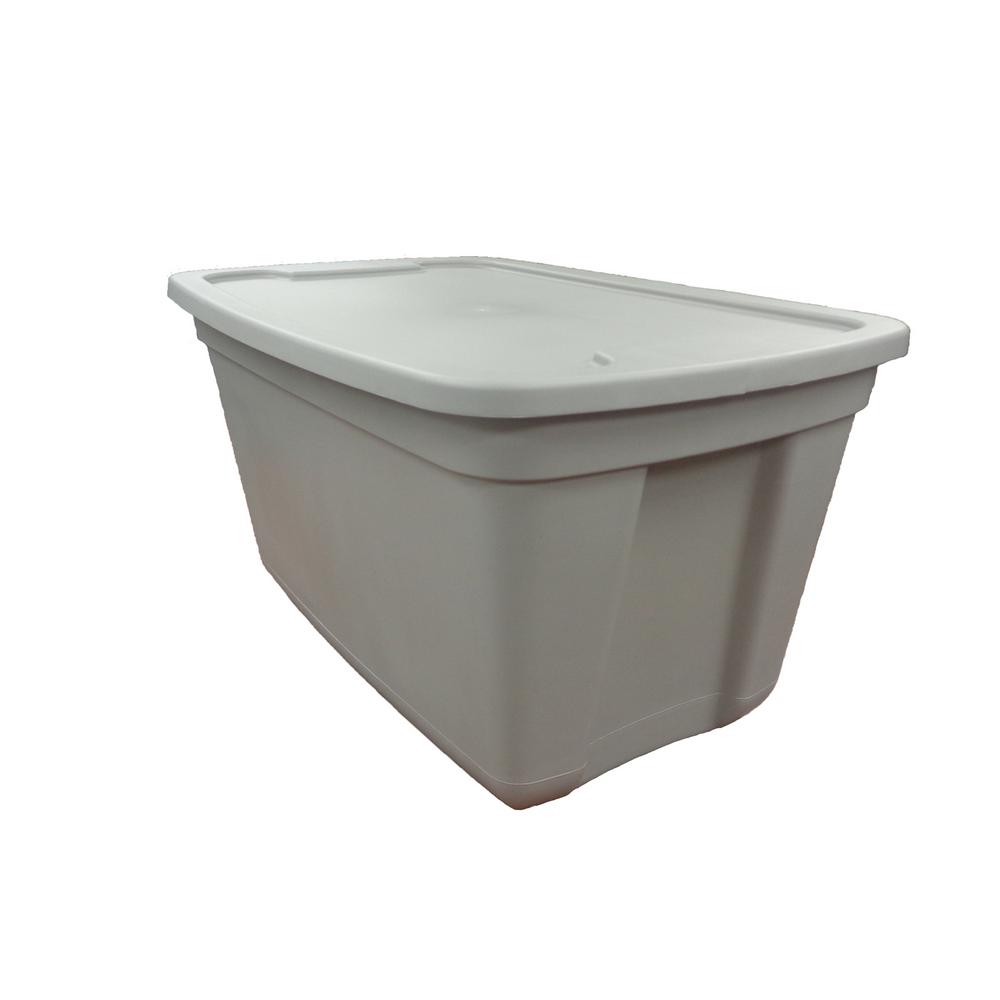
Then, I sorted everything into different storage bins and then labeled them.
Final Reveal

And that’s how I transformed my garage from this…

Finally, to this! I’m so happy with the garage makeover—all the mess and clutter: gone. Now, every time I come home and open up the garage it’s like a giant burst of happiness from the yellow!
Complete the garage makeover of your dreams with the help of The Home Depot.
This post was created in partnership with The Home Depot. The author may have received compensation for this article and associated images or video, potentially in the form of products and/or services. All expressed opinions and experiences are the author’s own words.