Halloween DIY Creepy Copper Candelabra

Last updated August 21, 2024

Andrew Boza & Dennis Setteducati or Crafty Lumberjacks, are New York-based DIY and crafting experts who are sure to add some fun to your projects with their unique and creative projects.
These former actors turned their crafting dreams to reality and now specialize in DIY projects, decorating inspiration, and the occasional vegan treat.
A Note From The Home Depot
With Halloween right around find new cool and spooky ways to spice up your home. Crafty Lumberjacks has the perfect DIY project for this spooky season! Read this blog to see how you can take copper piping and make a gorgeous Copper Candelabra.
Table of Contents
Halloween DIY Creepy Copper Candelabra
1. Map Out Your Design
2. Measure and Cut Piping
3. Put Together The Base
4. Glue Everything Together
5. Paint Black Details
Halloween DIY Creepy Copper Candelabra

Turn copper piping into a chic and creepy candelabra, perfect for those October nights. Take a trip down the piping aisle at The Home Depot and get creative with what you find or follow this frightfully delightful tutorial. Either way, adding a modern touch to your Halloween decor will surely be a scream!

Materials

1. Map Out Your Design
Follow the specific measurements of this tutorial or get creative and map out your own design. If making your own, measure the space you want the candelabra to be featured. This will help give you an idea of how large you want it to be. Sketch out a design of the candelabra on a piece of paper and create a cut list. Roughly measure out how long you want each piece of piping to be and count how many fittings you’ll need for your design. Write everything down before heading to The Home Depot.
Tip: Copper fittings come in different angles allowing you to get super creative.
Cut list for this specific design:
- 2 x 3’’
- 2 x 5’’
- 4 x 2.5’’
- 4 x 4’’
- 7 x Different size pieces for the candle sticks.


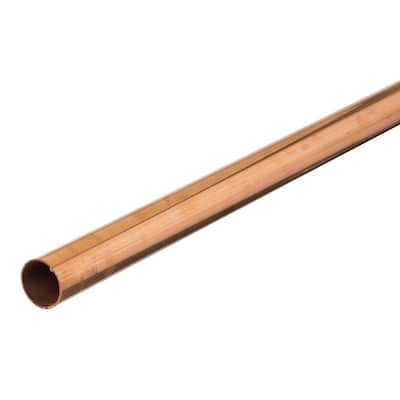
2. Measure and Cut Piping
Measure and mark the length you need for each piece of piping. Use a pipe cutter to cut each piece. Pipe cutters easily cut copper piping leaving smooth and dull edges. Line up the pipe cutter on the first marked edge. Clamp the pipe cutter so it holds tightly around the pipe and rotates the cutter until the pipe is fully cut. Repeat on each marked line until all your pieces are cut.


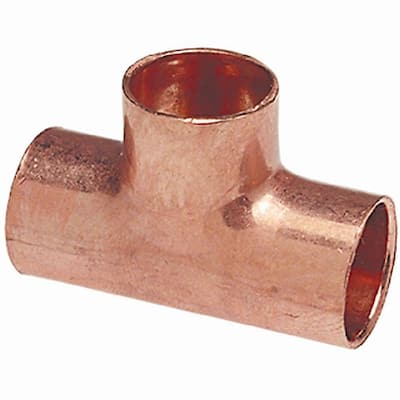
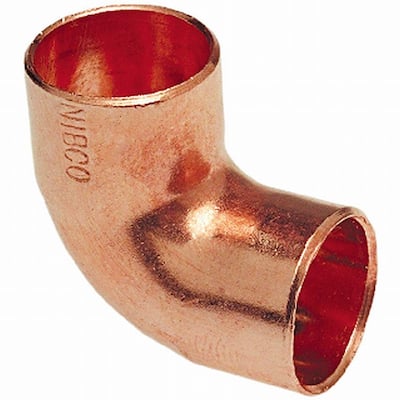
3. Put Together The Base
Begin to put together the base of the candelabra. Attach the pipe pieces to the elbows and tees, following the sketch you created. While putting everything together, make sure everything lines up correctly before gluing.

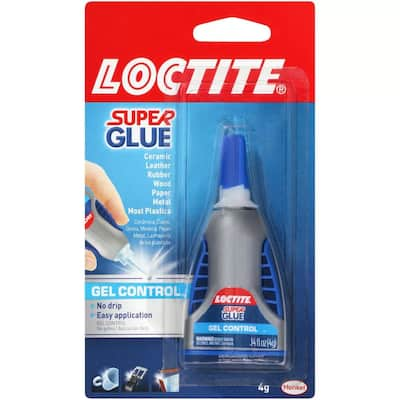
4. Glue Everything Together
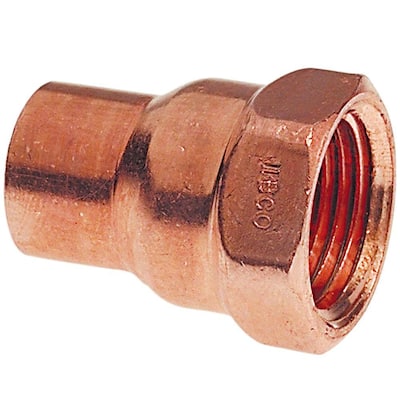
Starting with one end of the candelabra base, begin to take apart each piece then glue it back together in place. Once done with the base, add and glue the different-sized candle sticks to the tees and glue the female adapter fitting to the top of each candle stick. Continue this until the whole candelabra is completed and glued together. Tip: To get the cleanest look, add the glue inside the elbows and tees instead of on the pipe itself.

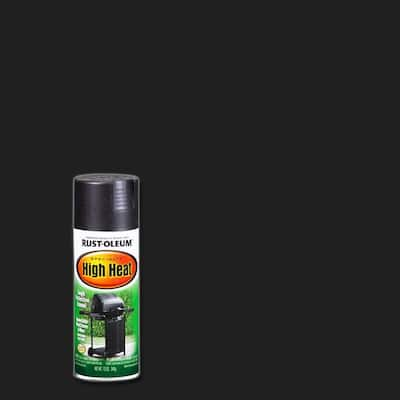
5. Paint Black Details
There are many ways to age copper. Lightly spray paint the candelabra black for a quick eerie aged look. Place the candelabra on a piece of cardboard or tarp. If possible place it on something that is off the ground. Doing that will make it easier to spray at all angles. Shake up the spray paint well and start from a couple of feet away and lightly spray in a sweeping motion. Continue until you are satisfied with the look and let it fully dry for 24 hours. Tip: Less spray paint is more, don’t overspray the candelabra or you will lose the copper look.

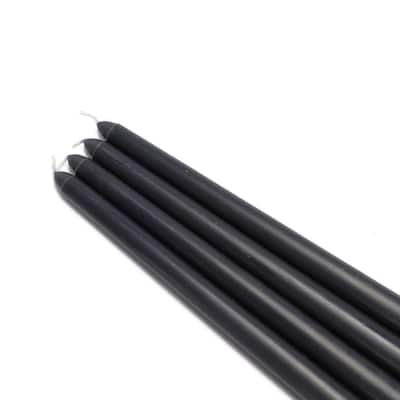
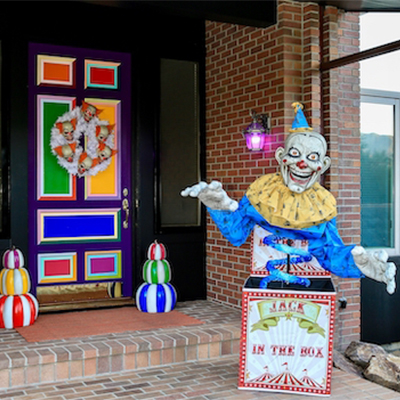
6. Add Candles, Stage, and Enjoy
Bring the candelabra to the space you’d like it displayed and add real or LED candles. The candelabra would look fabulous all year round, but for this time of year, stage it with creepy crawlers and branches for a spooktacular vibe. Tip: If you plan on using real candles, never leave them unaccompanied when lit.


This post was created in partnership with The Home Depot. The author may have received compensation for this article and associated images or video, potentially in the form of products and/or services. All expressed opinions and experiences are the author’s own words.