Home Office Shed Transformation

Last updated August 21, 2024

Holly Blakey is the creative mind behind **Breathing Room Organization**, a home organization and styling company based in San Francisco. Through her company and her blog, Holly helps people from all walks of life organize, declutter, edit, streamline and simplify their spaces in style. Want to see more? Follow her on Instagram at **@breathing.room.organization**!
A Note From The Home Depot
These days, so many people are looking to create their own at-home getaways. Holly Blakey of Breathing Room created her own home office space in her backyard thanks to a little help from The Home Depot. Keep reading her blog below to learn how she did it!
Please note that Rubbermaid® does not recommend hanging anything onto the walls except Rubbermaid® shed accessories. Any modifications to the product will void Rubbermaid’s Limited Warranty. For an easier option, Rubbermaid® offers a variety of accessories, also available at The Home Depot, that you can use to hang items on the wall.
Table of Contents
The Prep
The Setup
The Interior
The Furniture
The Lighting
The Accessories

2020 has been the year of families needing more space. In our home, we have a six-year-old working from my old desk doing remote learning, a three-year-old making age-appropriate messes all day and a one-year-old needing constant supervision. Then add two parents who have to work from the kitchen table to the mix. All in a three bedroom house. Yeah, we needed space. I was desperate for an office but it had to fit the budget, and I needed it ASAP.

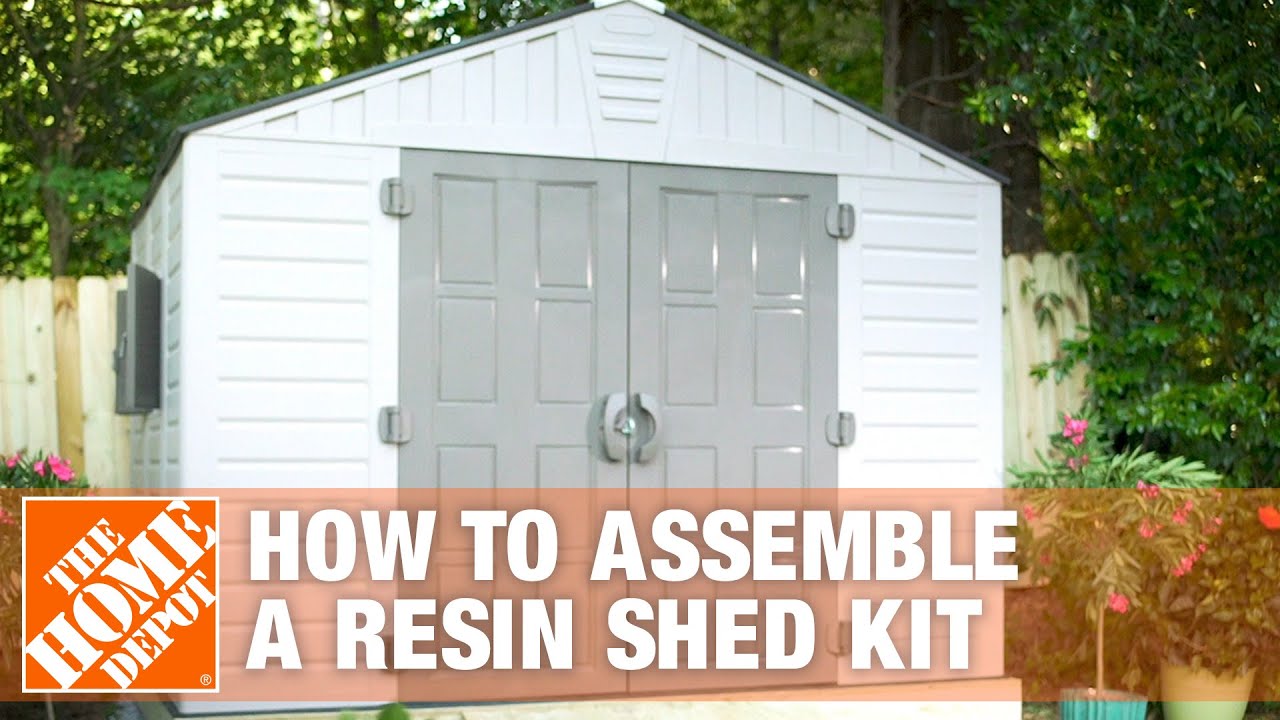
If this sounds anything like you, you’re in luck! I’m going to share with you how I transformed a Rubbermaid® shed into a Breathing Room approved office, using only items from The Home Depot, and without any specialty tools or paid-for help.

The Prep
While we don’t have a ton of space inside, I had the perfect plot of land to set the stage for my shed.

To prep, we just needed to make sure the ground was cleared and level.
Next, I decided to build a platform because I wanted the shed to be above ground in case of rain/flooding in my backyard.

Before we dove into building the shed, I wanted to ensure a smooth, efficient process. No getting stuck because we didn’t have the right tool handy or couldn’t find a certain shed piece. So I took all the items out of the box, and with instructions in-hand, I set out all the shed parts in the order I would need them, along with the tools for each section. This little bit of prep made a huge difference in making the process stress free and simple. Yay for organization!
The Setup
I was amazed at how easy the set up was. From start to finish, we did it in less than two and a half hours. Of course, that doesn’t include the constant snack requests and bathroom trips (my kids, not Ben). But even with kids around demanding that we check out their roly poly collection, we were able to get the structure up before noon, using only the tools we already had on hand.
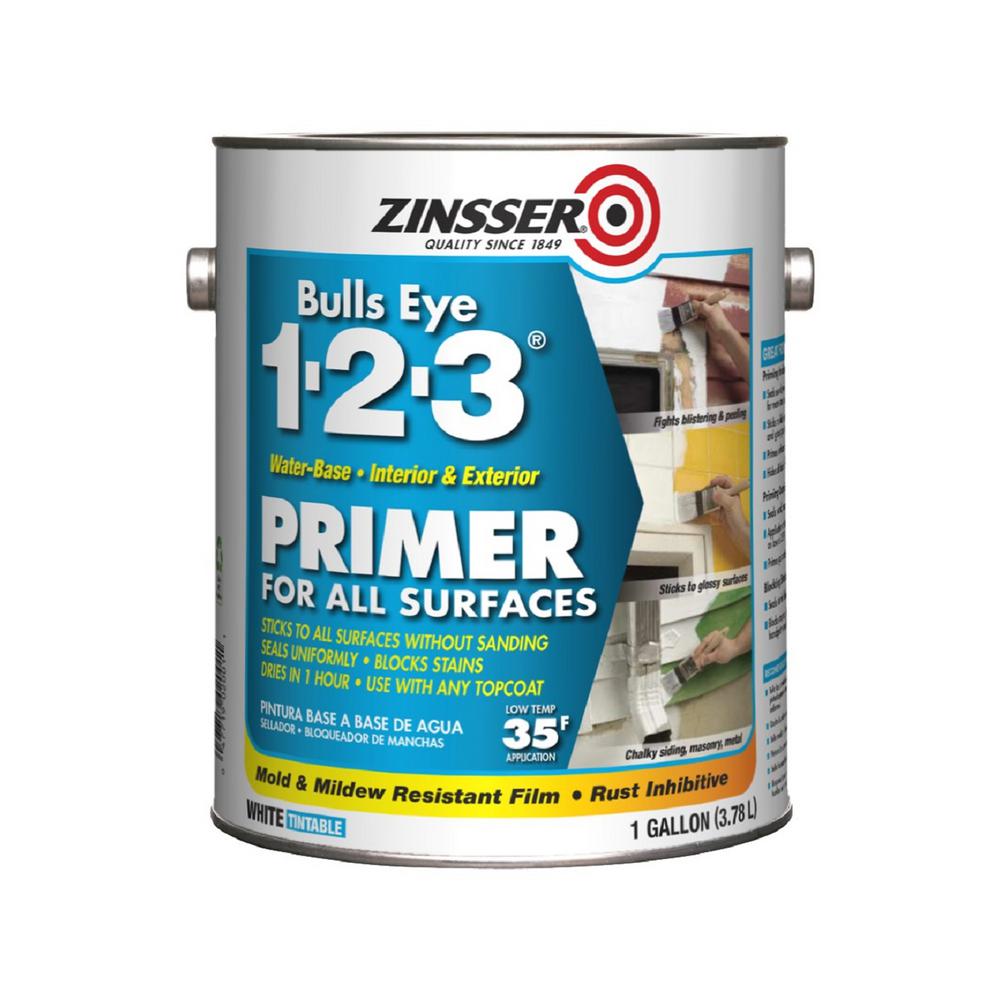
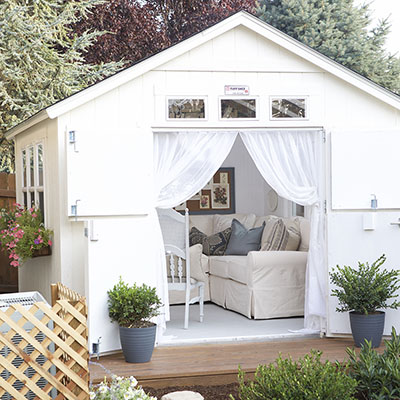
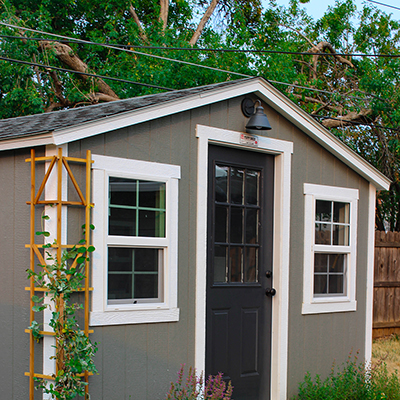
Once we had the shed up, I couldn’t resist the transformation of paint. Our main house is white and since I wanted this shed to be an extension of our home and fit with my style, white it was going to be! The paint specialists at The Home Depot recommended I use a primer called 123 Primer before using the exterior paint. We used a paint sprayer for an even layer and to speed up the process. (*Rubbermaid® does not recommend painting)
The Interior
This is where the fun really started. Everyone loves a good transformation, and we delivered on this shed. Starting with the floors. These laminate panels were easy to install and didn’t require any prep.
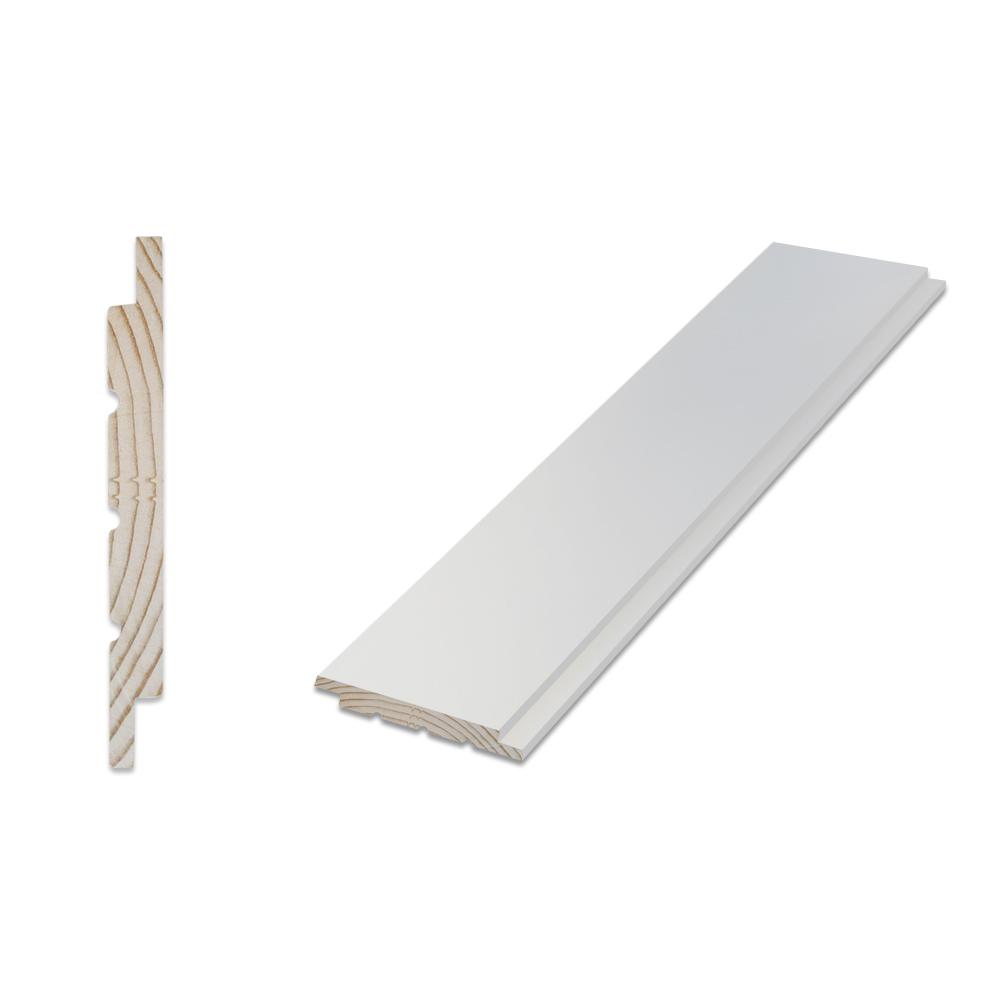
Next up, shiplap. This addition allowed the shed to fit my personal aesthetic.
I love light. I need it if I’m working. So having a space that’s bright and airy was essential. Luckily, the shed lets in a ton of light through the three roof windows and the double doors.
The Furniture
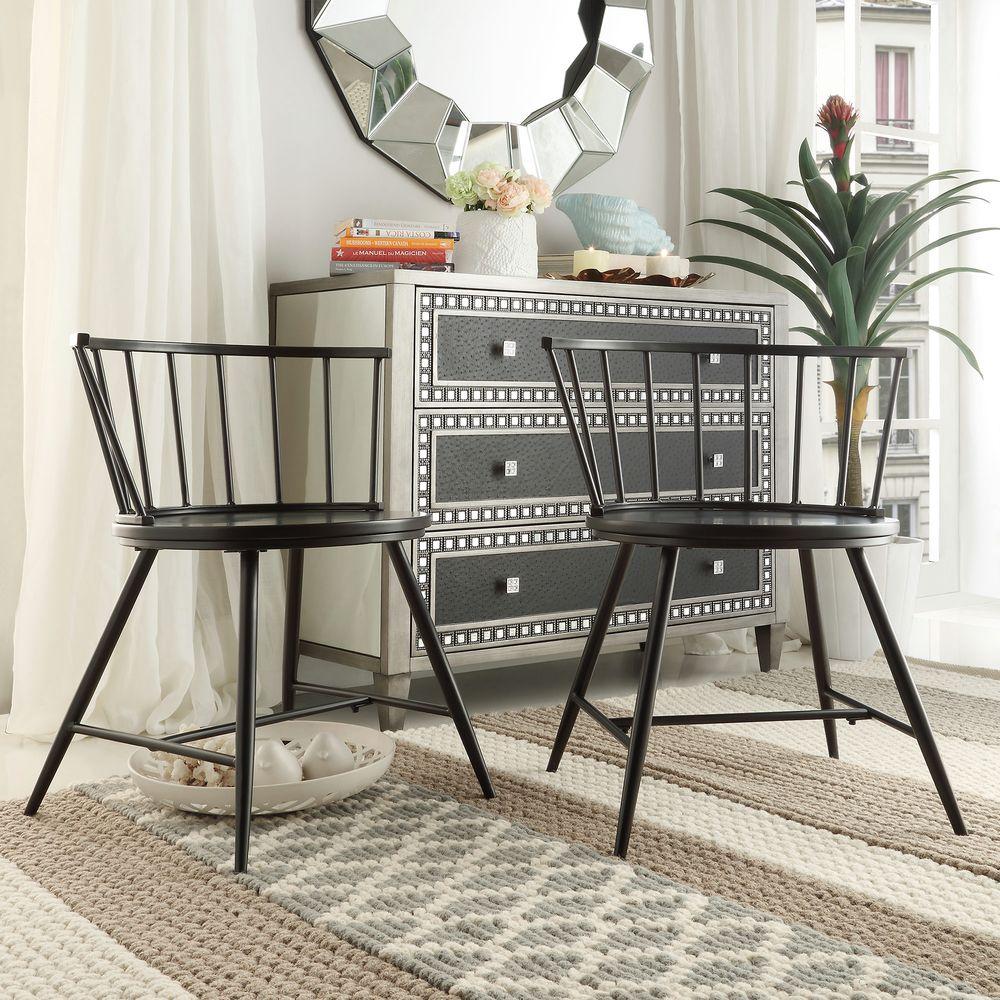
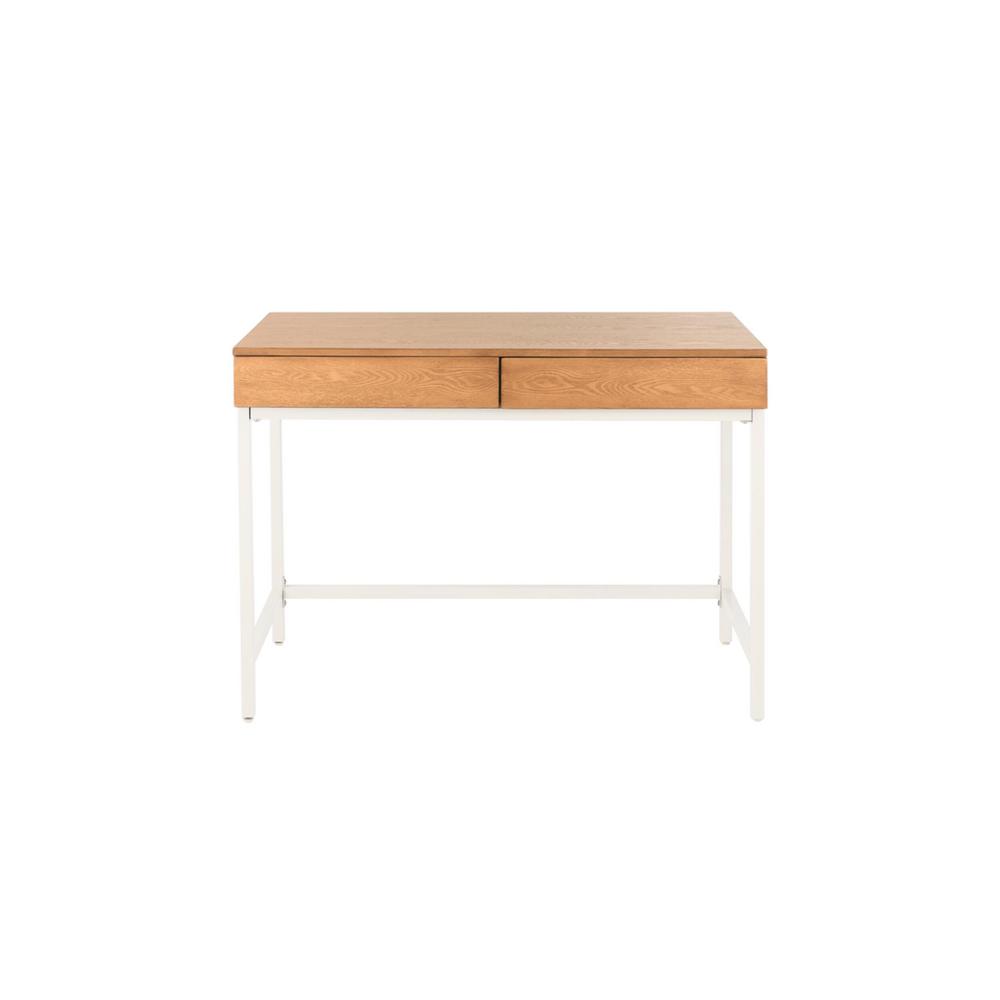
Once the floors, shiplap and paint was up, we gave it a day to ventilate. It only needed a few hours since the ventilation is really good, but with the other work obligations, I gave it overnight (*Rubbermaid® does not recommend painting). Next, I put in the furniture. I selected a very simply designed desk and bookcase by StyleWell. I like keeping bigger items simple so that I can use accessories to bring a space to life. Both items were incredibly easy to set up and both surprisingly sturdy.

The desk chair is probably my favorite item in the entire shed. It came in a set of two. We’re using the other one as my daughter’s desk chair, so that our fourth breakfast table chair can finally go back. I LOVE the design of this chair. It’s simple, classic with a modern touch, and really well built. The white deskand black chair create a great contrast.
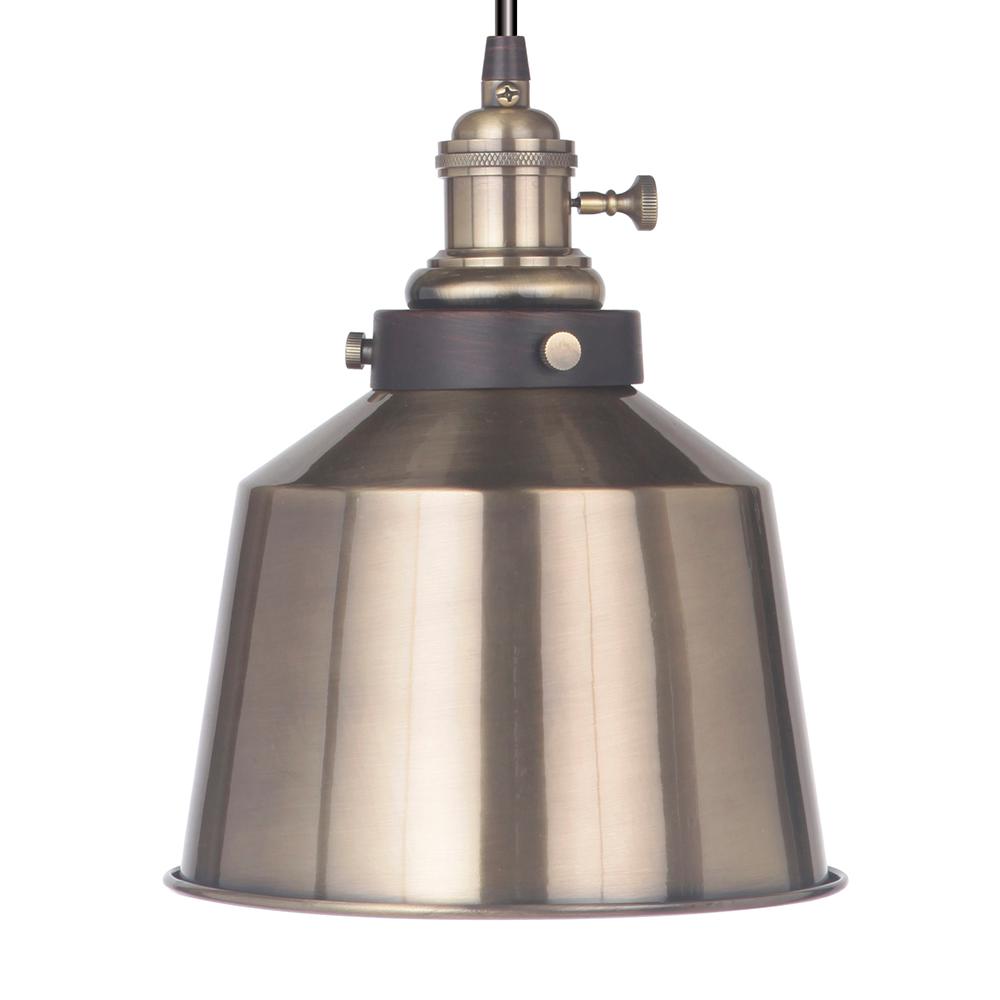
The Lighting
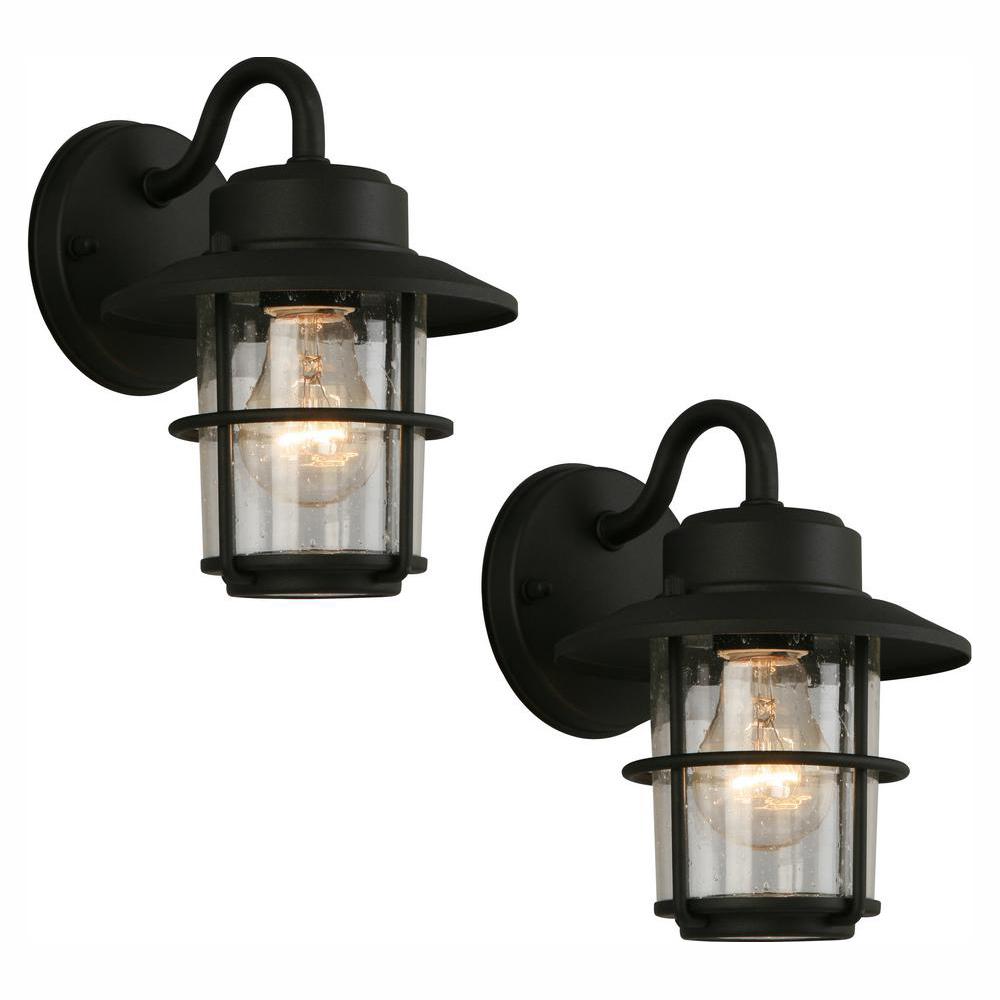
Even with the amazing natural light that the shed lets in, I knew I’d occasionally be up early or working late, so I added a pendant light from the ceiling and a desk lamp. Additionally, I installed outdoor sconces.

The Accessories
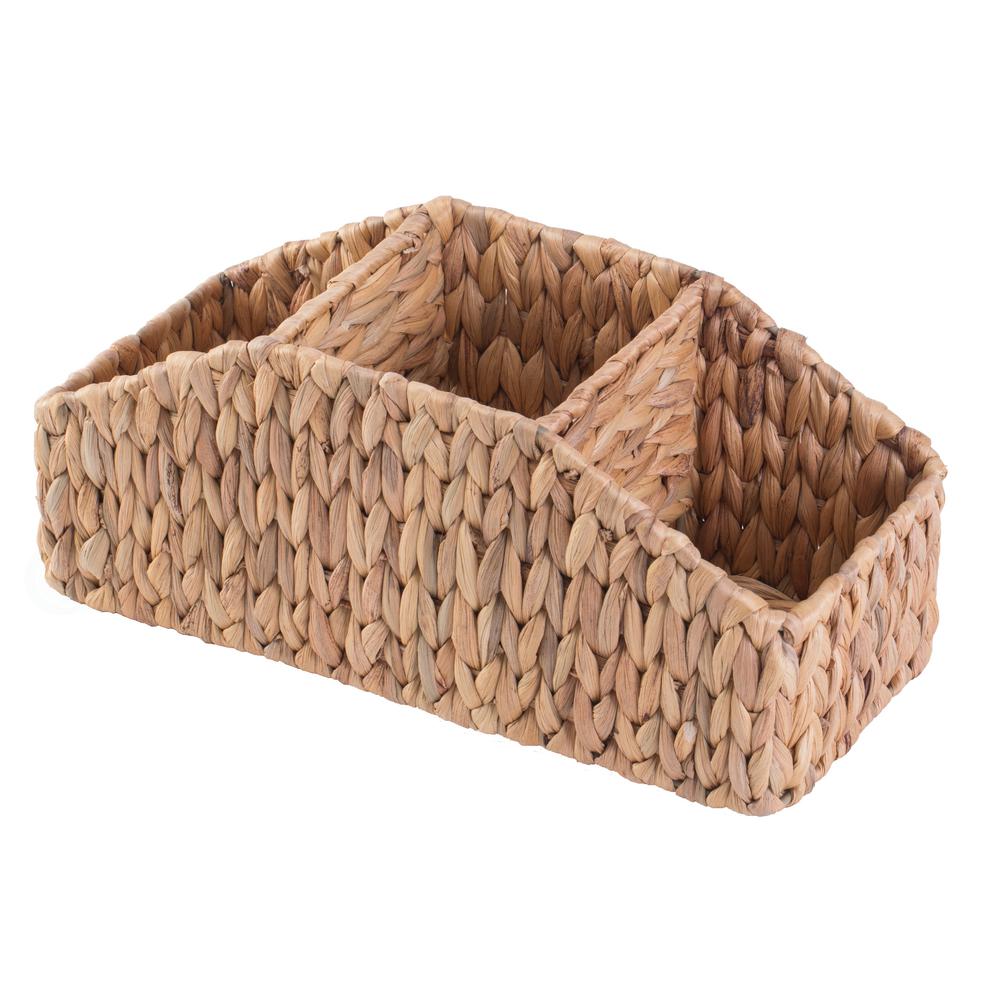
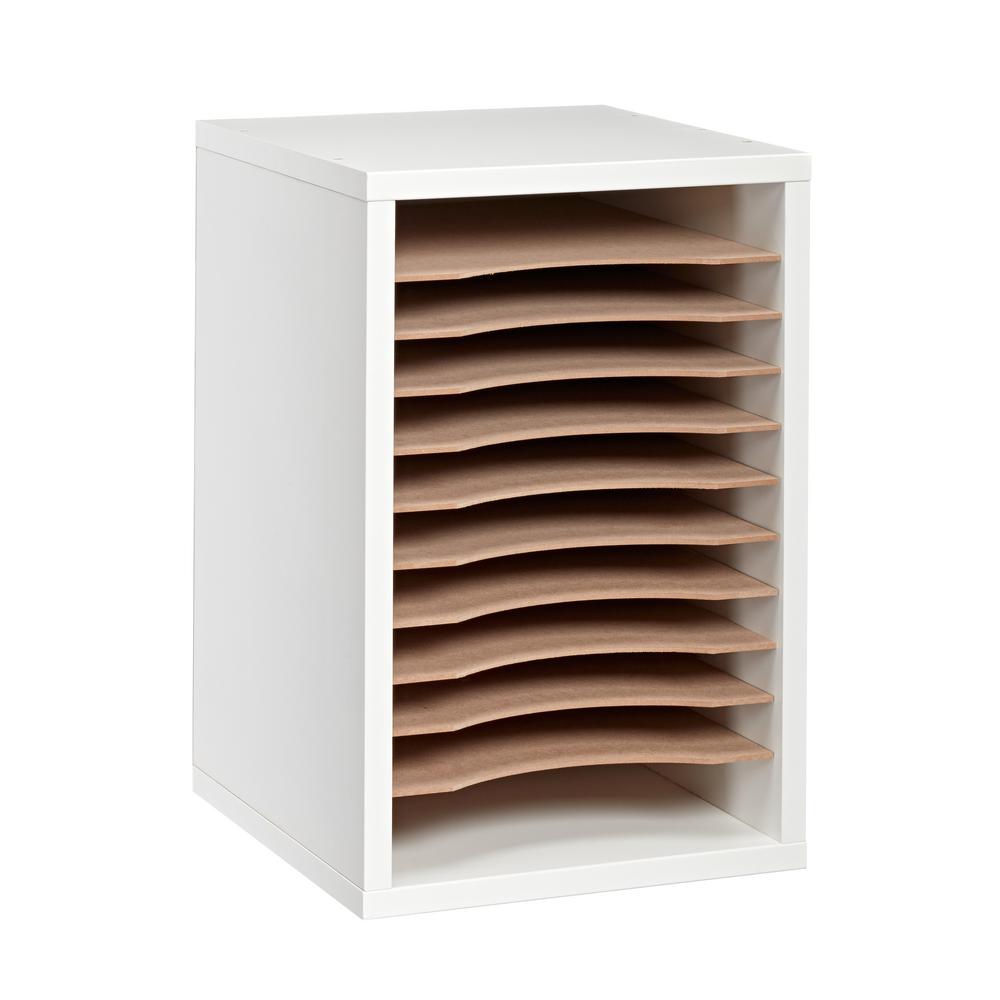
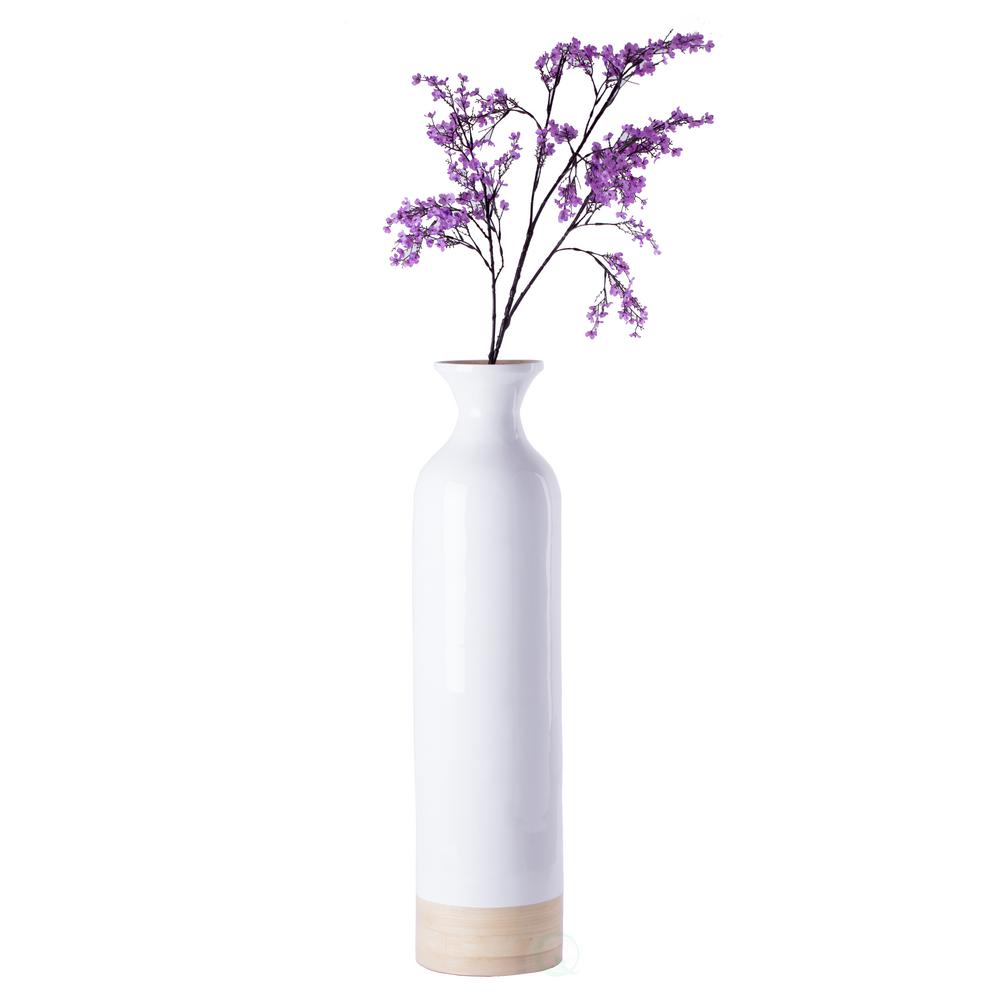
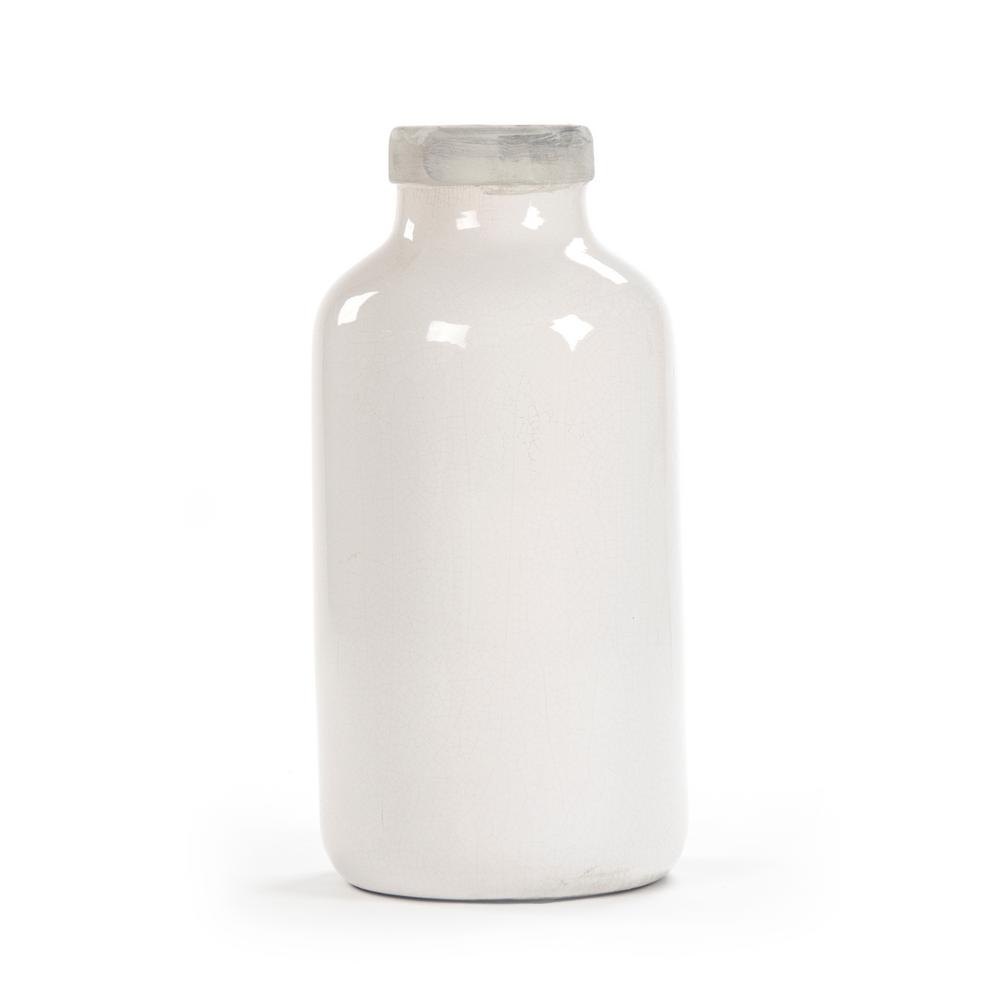
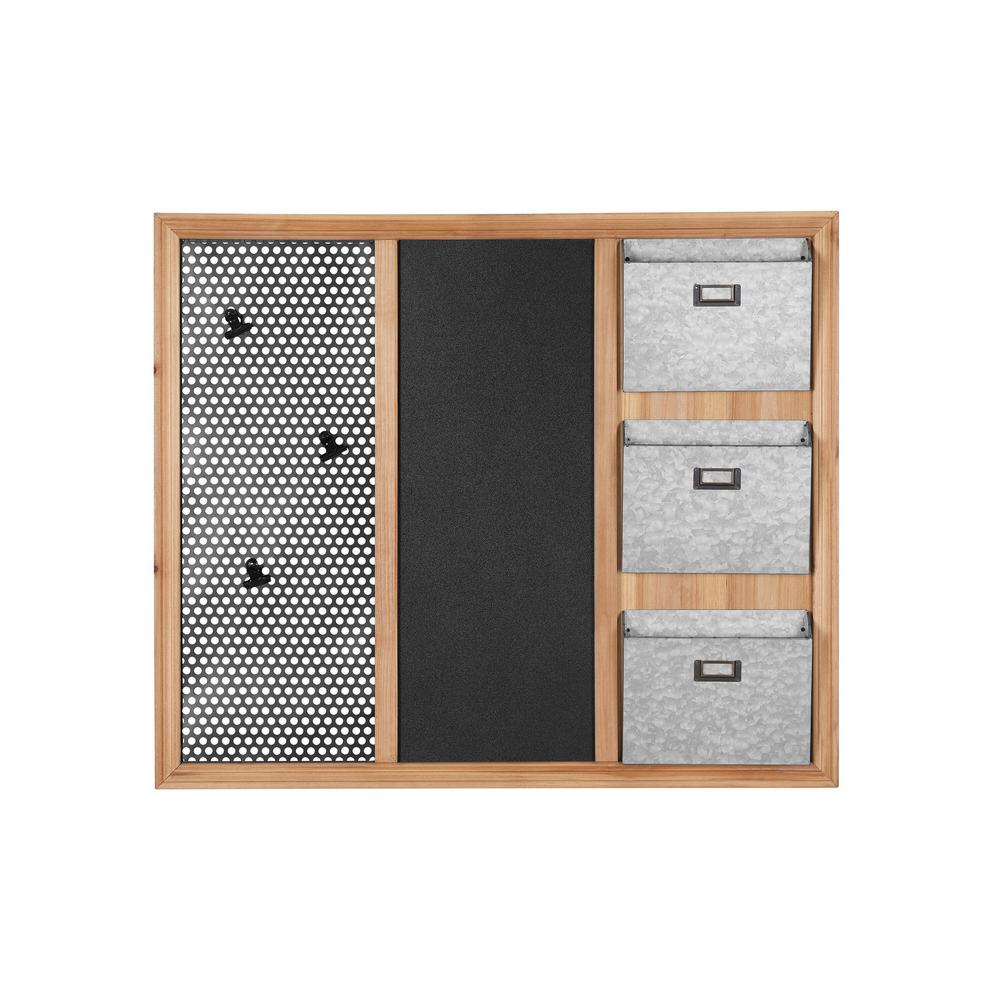
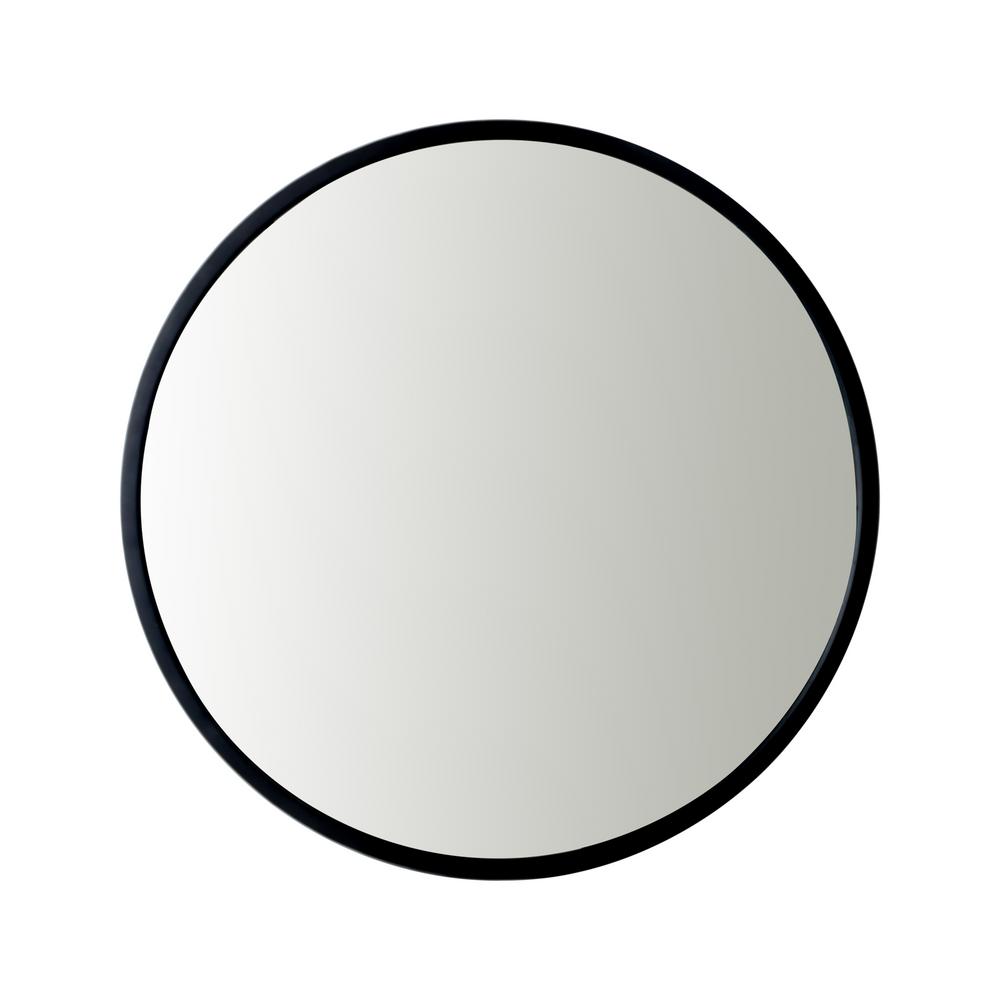
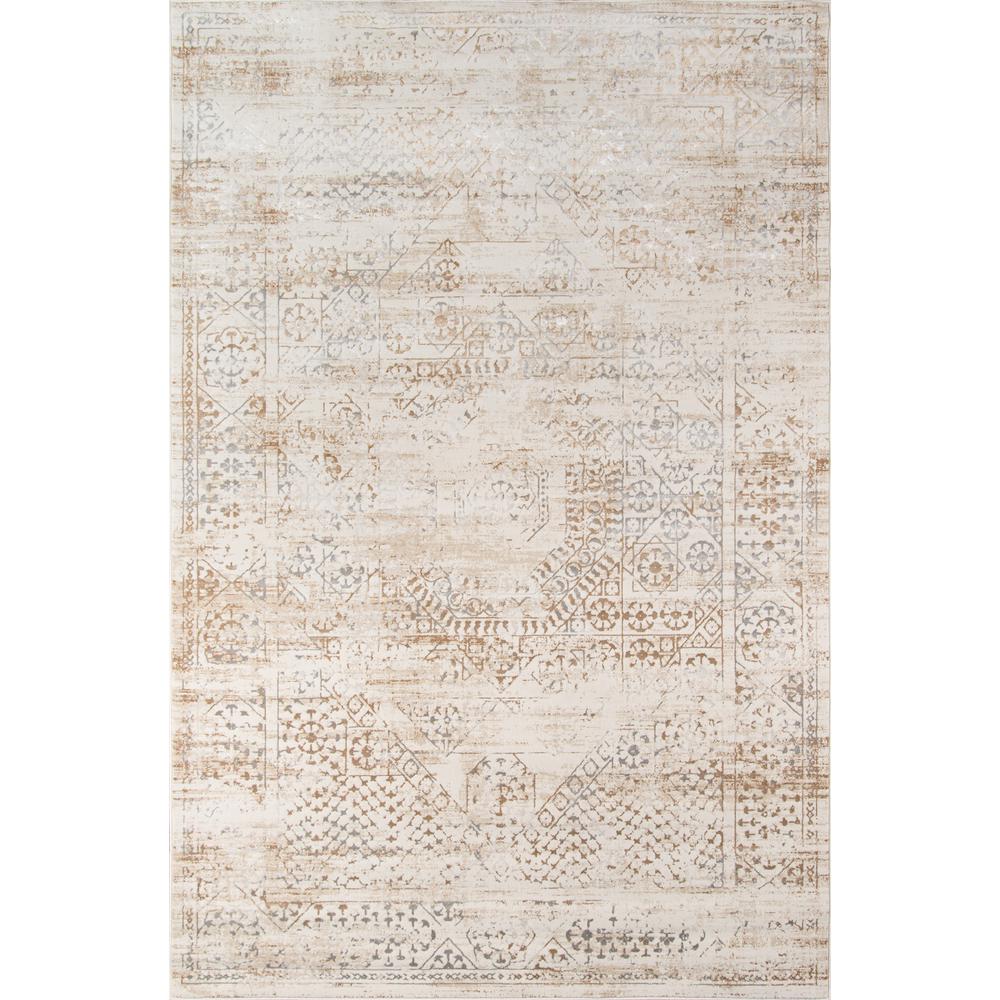
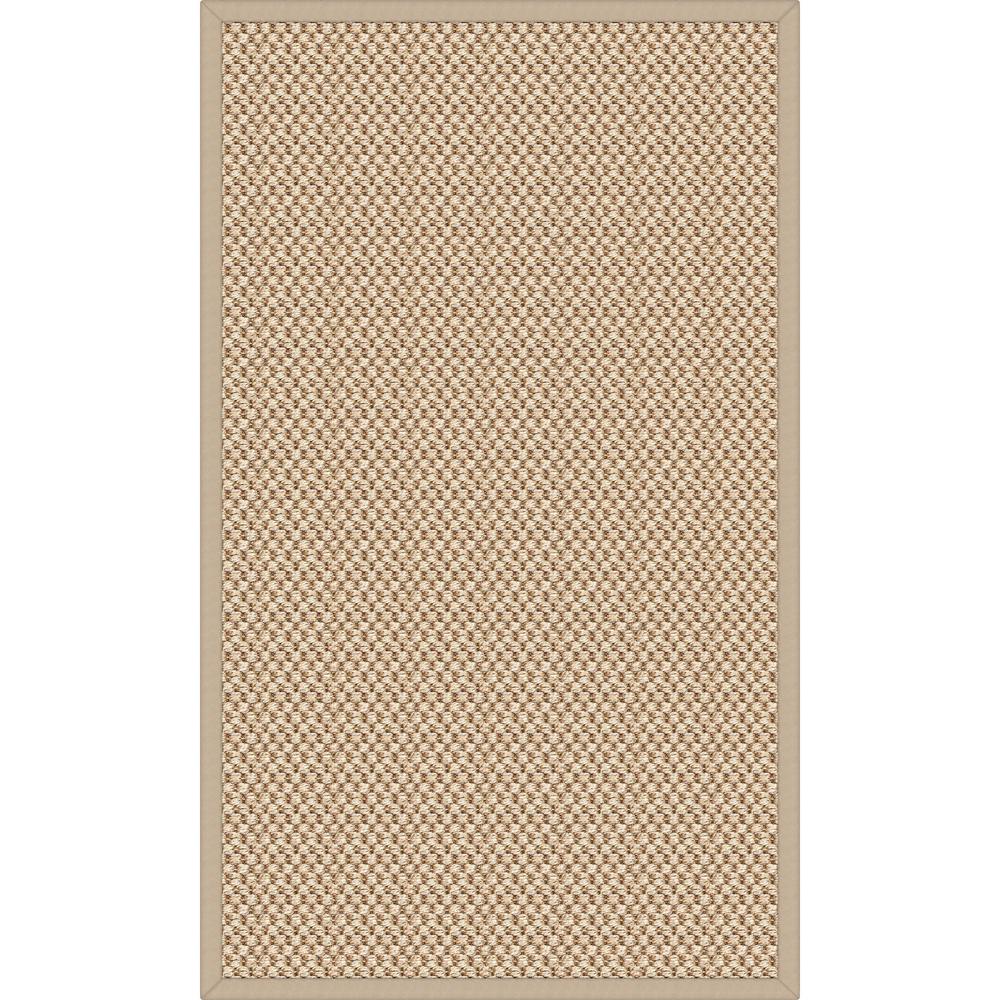
I have to say, I was pleasantly surprised with how many accessory options I found on The Home Depot website…and how many of them I loved! I assumed Home Depot is mainly for wood, tools, paint and plants (flashbacks of childhood trips with my Dad). Well, there’s so much more online. I was able to order two rugs (jute and woven, a mirror, a wall command center, a vase for the desk,a vase for the floor, baskets, a paper sorterand a desk organizer.

The Greenery
Plants make a huge difference in any space – indoors and outdoors. And while my shed looked nearly completely and beautifully transformed, I knew adding some greenery would really be the finishing touch I needed to make it look more complete and welcoming.

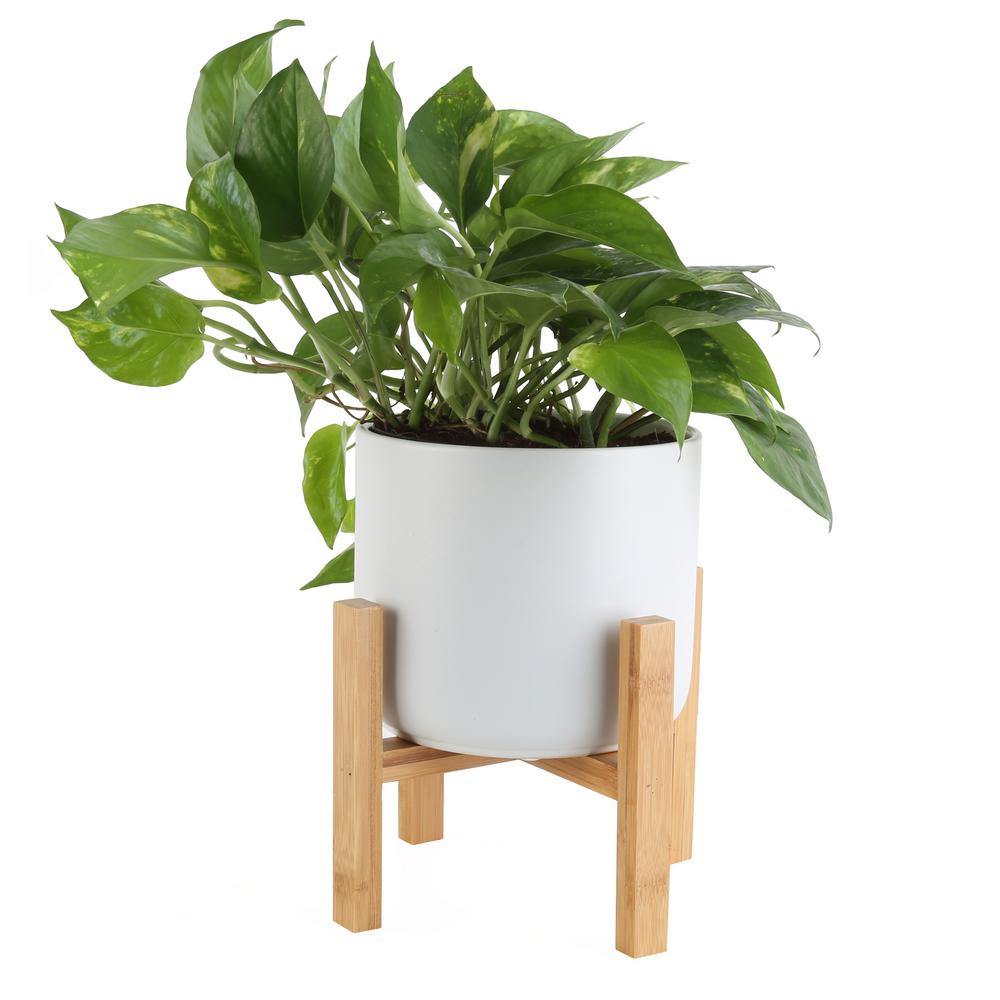
Inside, I added a fig tree and put inside one of the striped baskets. I added a few branches from my olive tree to the desktop vase, and a potted pothos to the bookshelf.
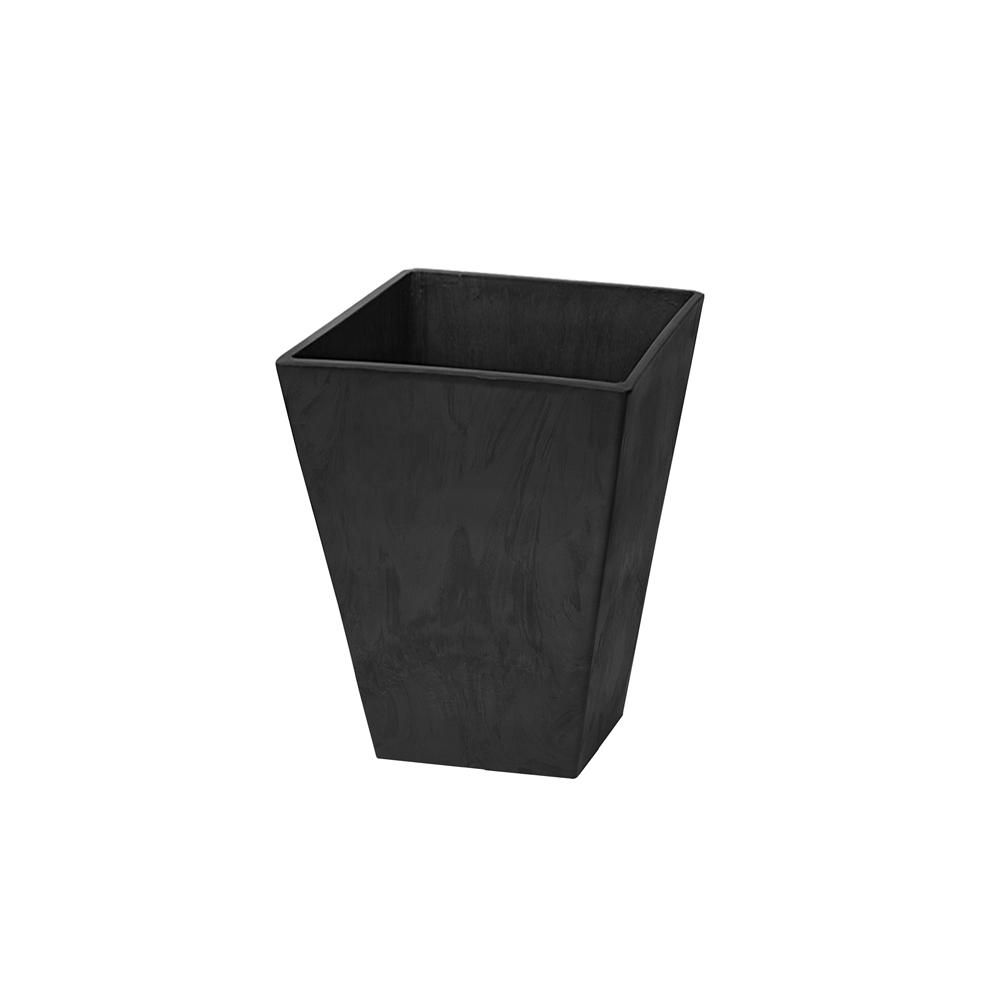
On the exterior, I purchased two large rectangular planters four lattice steaks and fourjasmine plants to eventually weave their way up the side of the shed.

The Landscape
We had spare stones piled in a heap on the side of our yard, so we put them to good use as a path from the garage to my office.
Next we added a few bags of mulch to spruce up the ground around the shed. It’s seriously amazing what a little mulch can do.

The Finished Product
I couldn’t be any happier! I got the space I needed, in less time than I expected, and it turned out better than I could have envisioned. Oh, and way under budget than creating a shed from scratch — not to mention a room addition to our house!
The day I finished, we had our first big rain of the season. That night as I heard the rain pelting the windows I cringed imagining water stained shiplap and buckled floors. The next morning when I ran out to check, everything was bone dry (of course!). Thank goodness for Rubbermaid’s® durability!

Not only can I rest assured knowing that all my work materials will stay dry, but I can also lock the shed, which adds to my comfort – whether it’s little hands that want to use my documents for paper mache, or those bushy-tailed night bandits that get into everything.
So if one of your 2021 goals is to give yourself the space you need, aRubbermaid® shed is an amazing solution – for an office, craft room, workout room, or extra space for your kid’s items (and kids!). Have fun and can’t wait to see your finished shed projects!

This post was created in partnership with The Home Depot. The author may have received compensation for this article and associated images or video, potentially in the form of products and/or services. All expressed opinions and experiences are the author’s own words.