Table of Contents


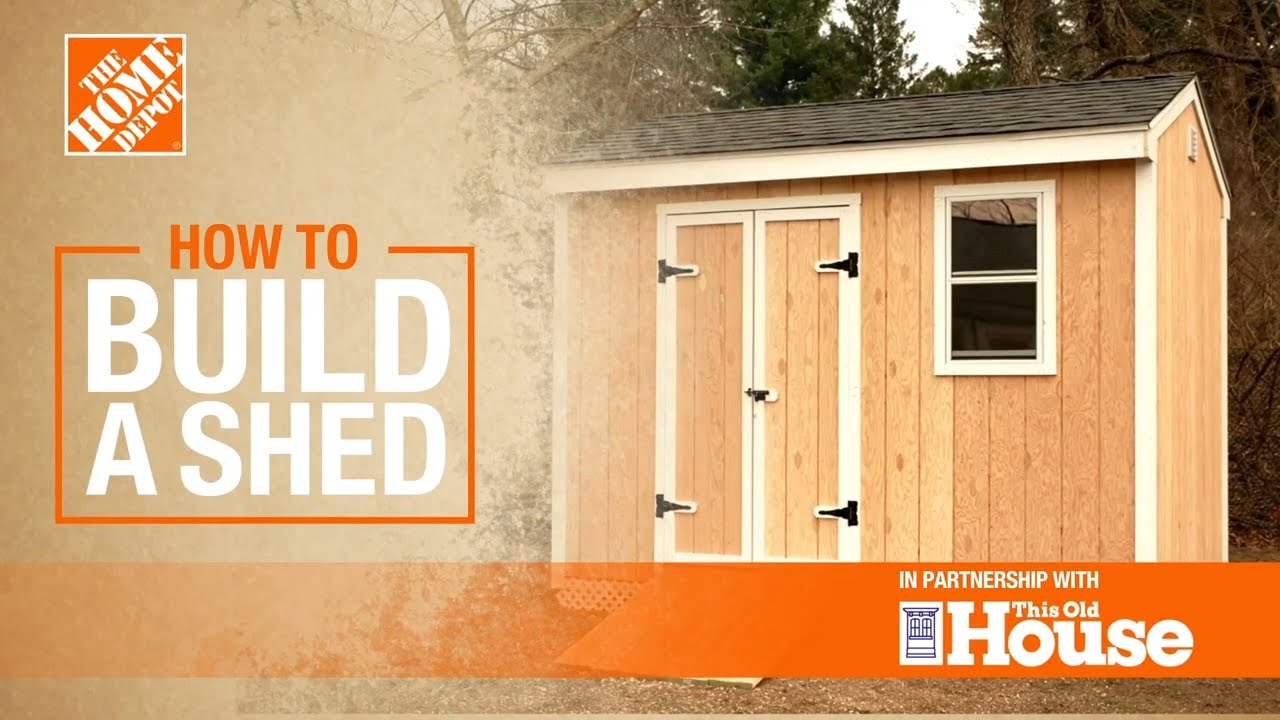
How to Build a Backyard Shed Workshop

Last updated August 21, 2024
")
A Sweden native, Linn learned woodworking and crafting at an early age. Her love for science, technology and history all play a part in her designs. Her YouTube channel offers videos showcasing varies home and hand tool projects.
A Note From The Home Depot
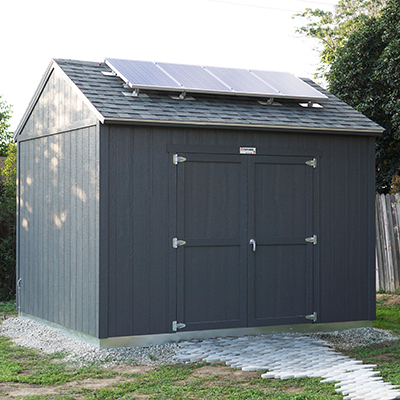
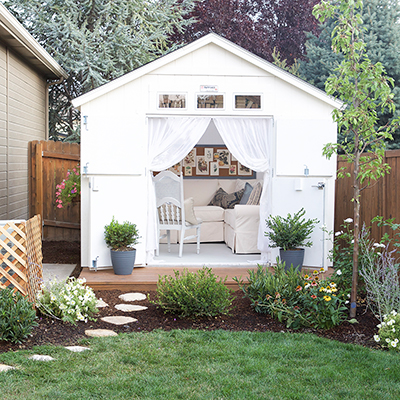
With as many projects as DIYers take on, they also need a space to complete them. With the help of The Home Depot, Linn of Darbin Orvar built a backyard shed and now is turning it into a dream workshop.
I have a small backyard shed, which I think could be better served as a finished building. I’m planning to use it as a workshop! There are quite a lot of things that need to be upgraded in order to make it a “finished” space. Windows being a pretty important part.

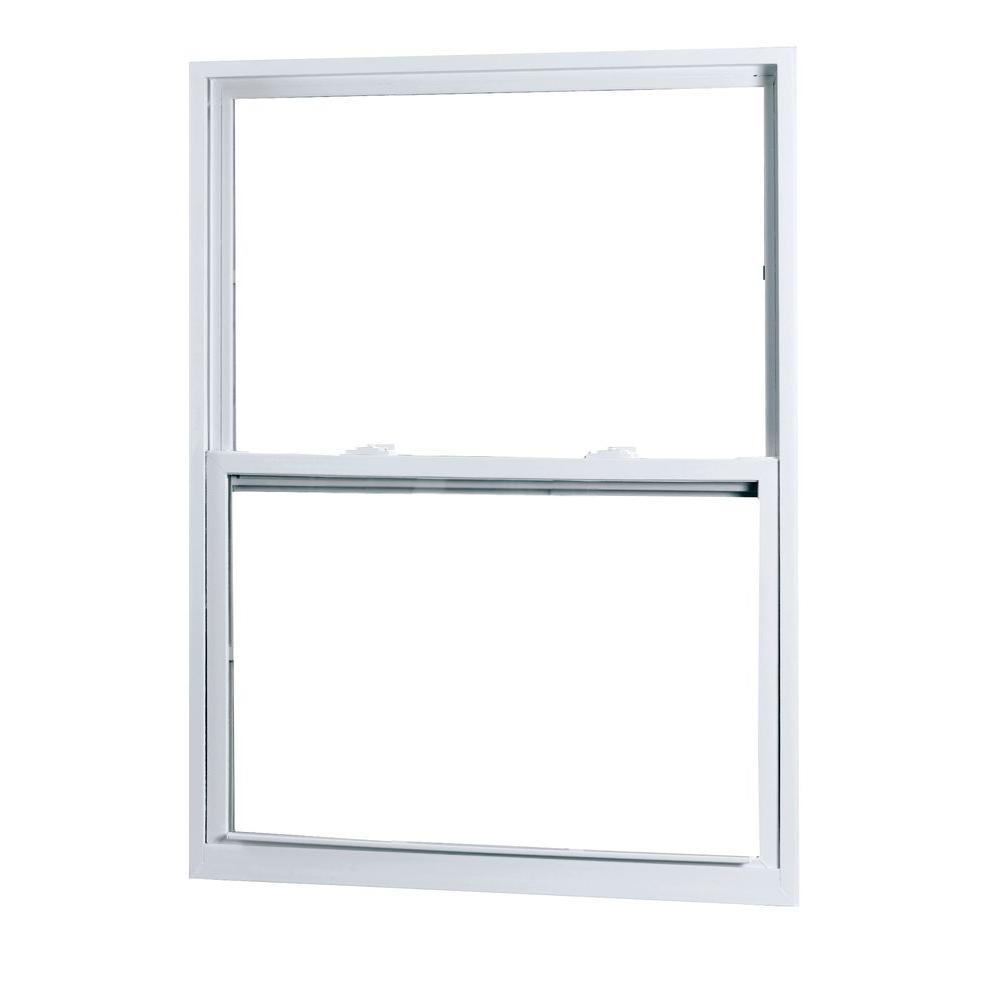
The old backyard shed had two shed-style windows already, which were very flimsy and single-paned. To make the space brighter and more energy efficient, I decided to switch out those windows for brand new ones. Plus, I added two additional ones, for a total of four windows for this small 140 square ft. shop. I picked the same 28×38 inch windows all around. I also decided to install a new door with a window inside, which brings the total to five windows!

The first step in the process was to remove the old windows and add new framing. The shed has t1-11 siding, which means the siding and the sheathing is the same product. I didn’t want to replace the siding, if possible, so that meant being very careful when removing the windows and the studs. I used a reciprocating saw to cut through the nails attaching the studs to the siding.


The windows were easy to remove, as they were simply screwed in from the front and stuck in place with caulk. Once I had removed the windows and the studs, it was time to add new framing. I began with cutting up 2x4s on the miter saw, and then I screwed the new frames in place.
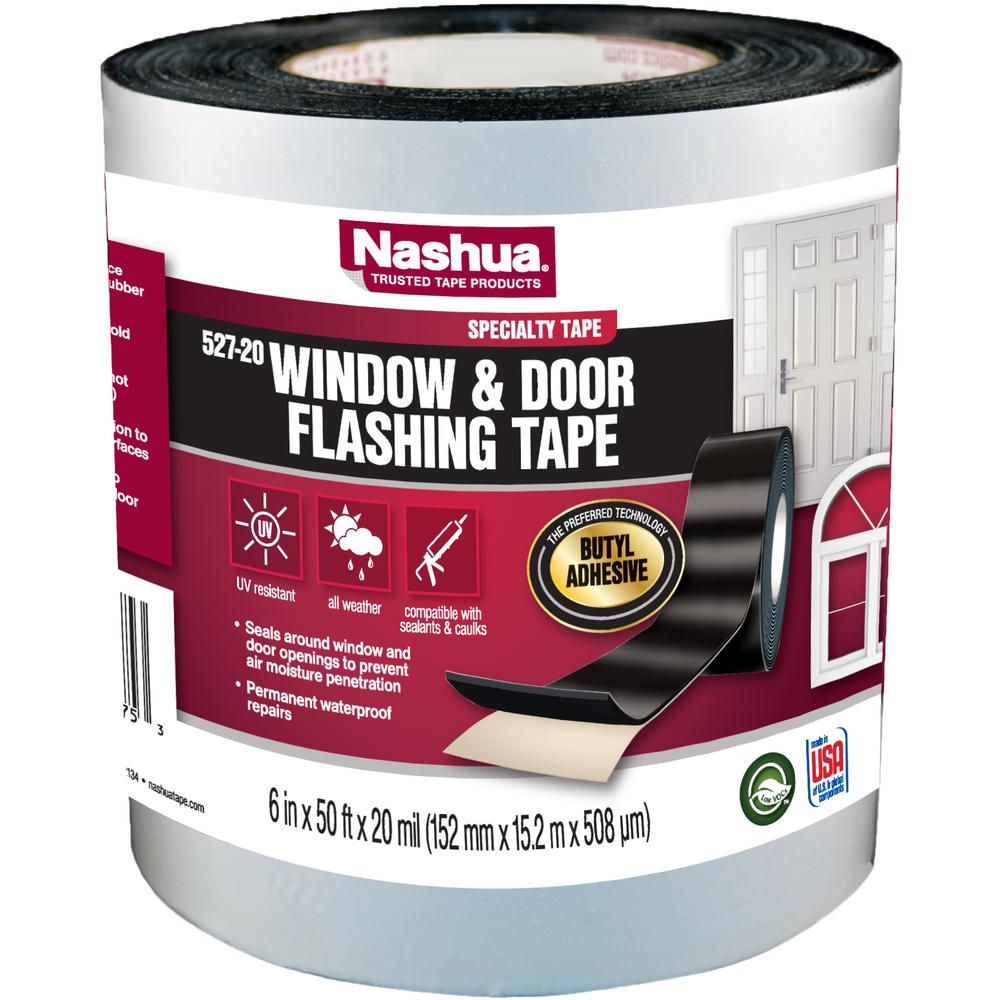
Once the framing was completed, it was time to install the new windows. The first step in that process is taping the opening. When you install a window, you want to make sure that if any moisture would enter in between the window and the siding, it drains the correct way. This is so it doesn’t get trapped inside the wall. In order to do that, I began with taping the bottom of the window opening, going up the sides and then taping the top.


At this point, I added some shims on the bottom. This is so that the window will sit slightly tilted, making sure that water would drain away from the building. Next, I was ready to place the window in the opening, and I began by making sure it was horizontally level. I added shims on the sides making sure I got a pretty tight fit. After the shims were in, I opened and closed the window to make sure it wasn’t too loose or tight. I also went outside and measured the diagonals to make sure they were the same. Lastly, I corrected the position of the window to make sure it was flush with the siding.


When all of these steps were taken, I began screwing the window in place through the sides on the inside. The added three screws on each side, which secured the window nicely.
I taped the outside of the window making sure to leave the bottom open so that water will be able to drain if necessary. The same principle remains as before. I started taping the sides, and finally taping the top section, going in about ½ in. on the window. The tape will later on be covered by trim so it won’t be visible.

It’s amazing what a difference some real windows adds to the space! The building suddenly feels a lot more “real” and less backyard shed-like! Suddenly there’s a lot more light in this space, and it’s starting to come together really nicely.
This post was created in partnership with The Home Depot. The author may have received compensation for this article and associated images or video, potentially in the form of products and/or services. All expressed opinions and experiences are the author’s own words.
Explore More on homedepot.com


