How to Build a Fun Board Game for the Holidays

Last updated August 21, 2024

Yuni is a Korean- American raised in the South who loves all things designing, DIY-ing, and cooking. On her blog, Love Your Abode, you can find about interior design inspiration, home remodel makeovers, and recipes.
A Note From The Home Depot
Dreaming of creating your own game for the holidays?
Yuni Min from Love Your Abode shows you how to make a fun family guessing game with simple supplies found in store or online!
Table of Contents
“Who’s Coming Home for the Holidays?”
Measure and Cut Discs from the Dowel
Measure the Plyboard to Cut 2 Boards
Sand the Boards and Discs
Wipe the Boards and Discs with Tack Cloth
Attach the Middle Hinges to all the Ornaments
“Who’s Coming Home for the Holidays?”
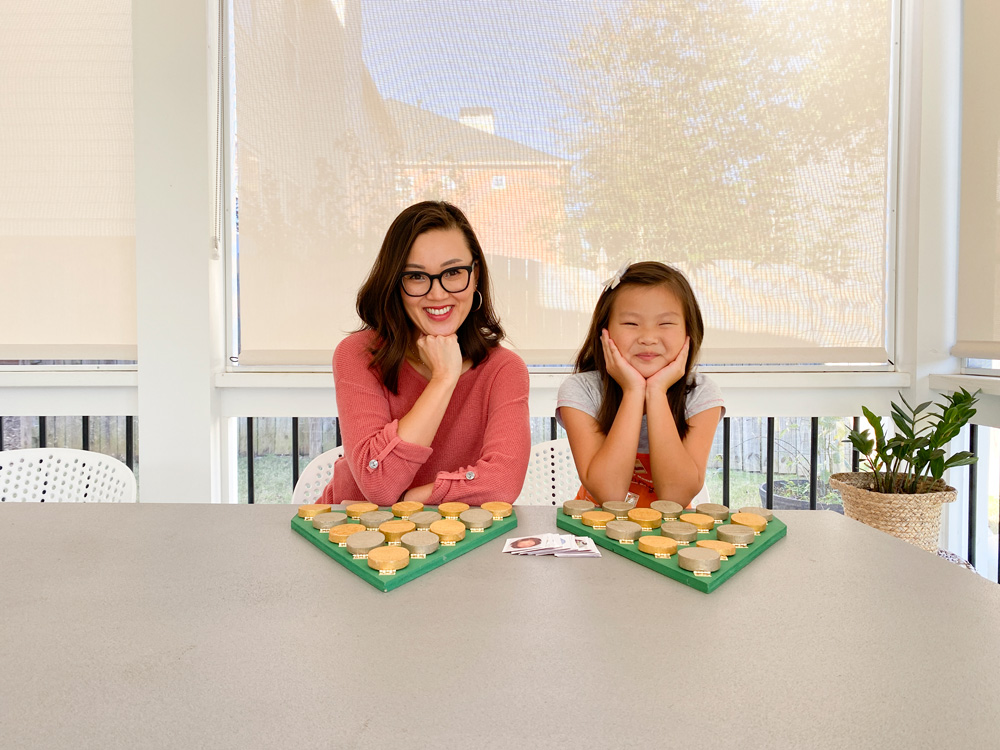
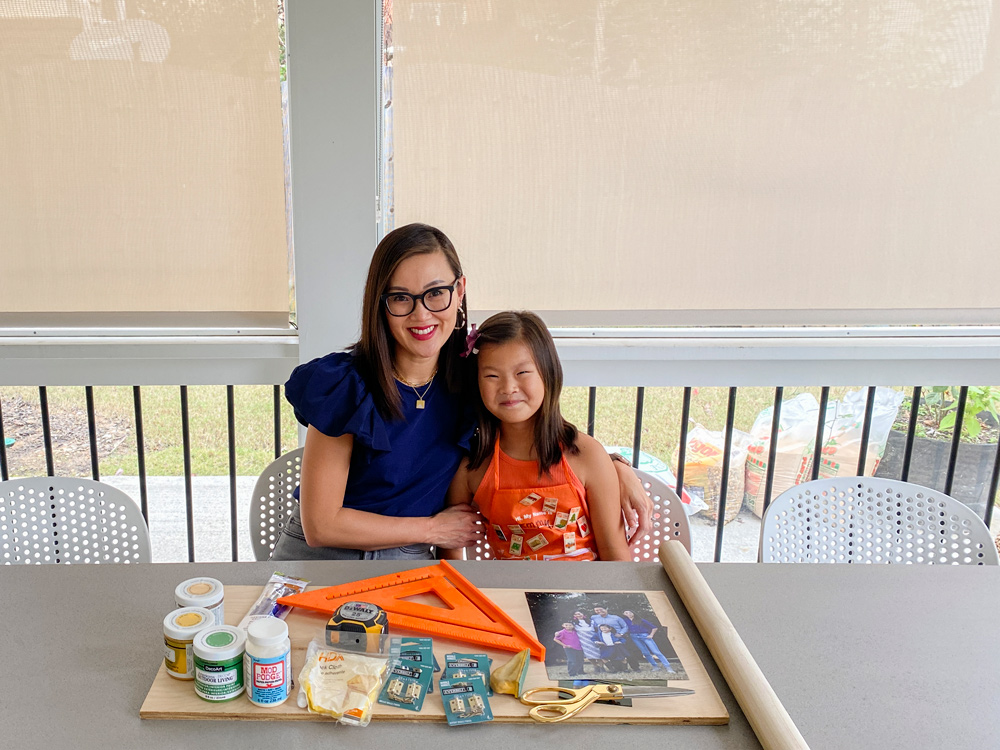
This game makes the perfect personalized holiday gift for your loved ones. Have your little one help you create this fun board game that’s entertaining for the whole family.
Measure and Cut Discs from the Dowel
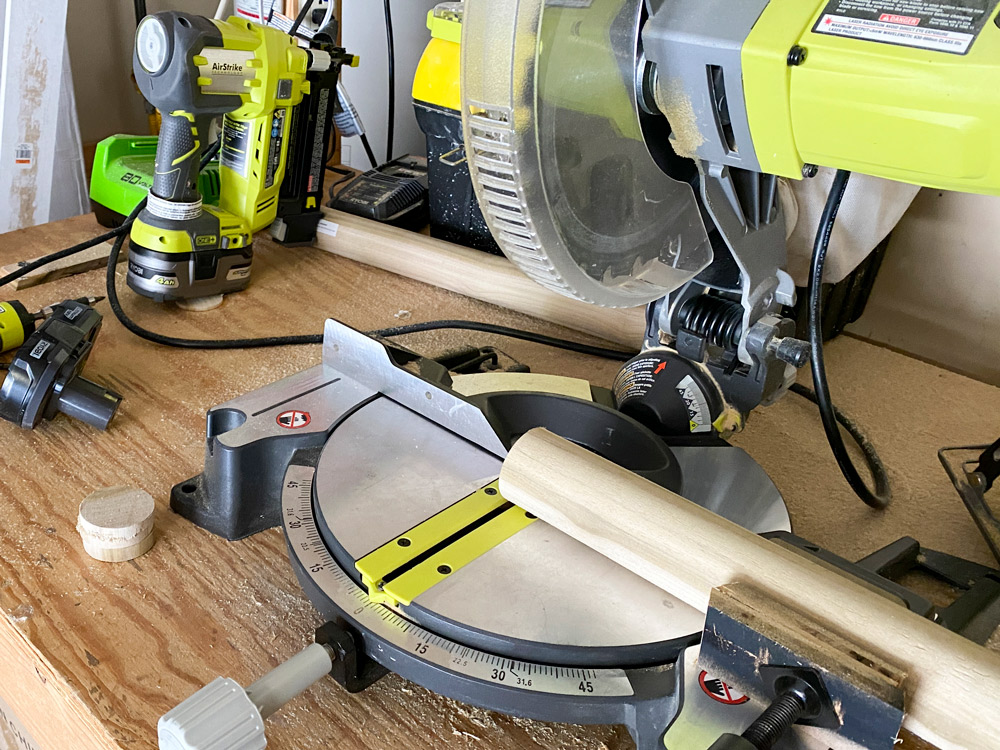
The discs will be the ornaments where you place the photos of each person’s face. I cut them down to about ¾ inch thick pieces. The dowel rod is 2 inches in diameter. You can decide on the number of ornaments you want on each board. We went with 15 ornaments for each board.
Measure the Plyboard to Cut 2 Boards
Place the discs on the plyboard and pencil in the lines for where you want to cut the edges.
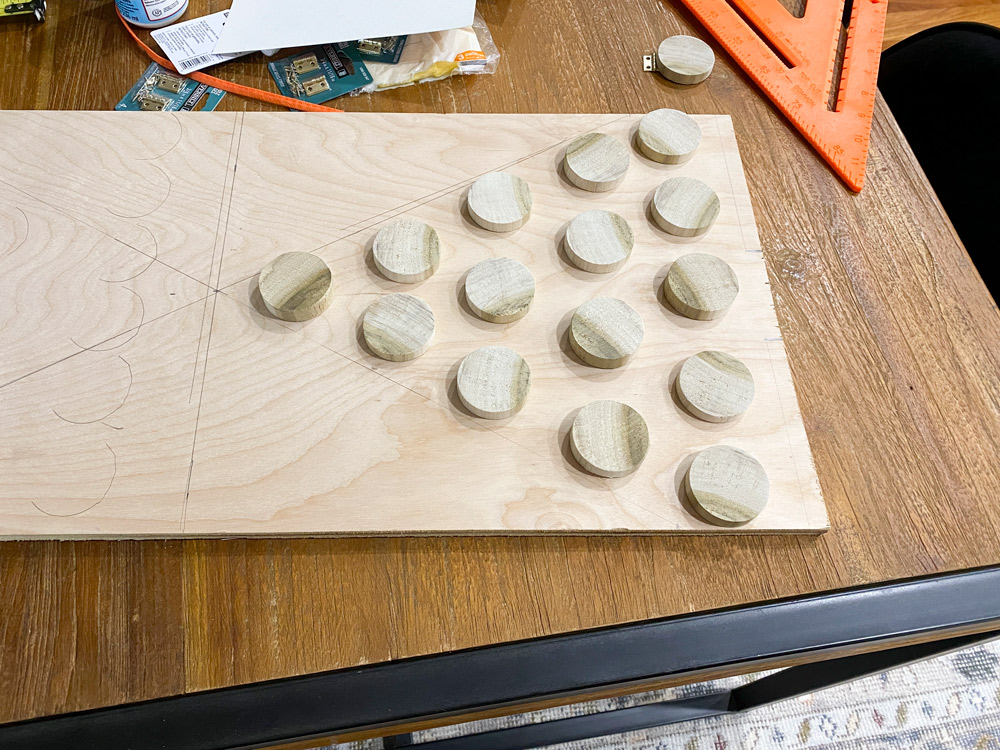
Make your cuts with the miter saw so the two boards resemble a tree.
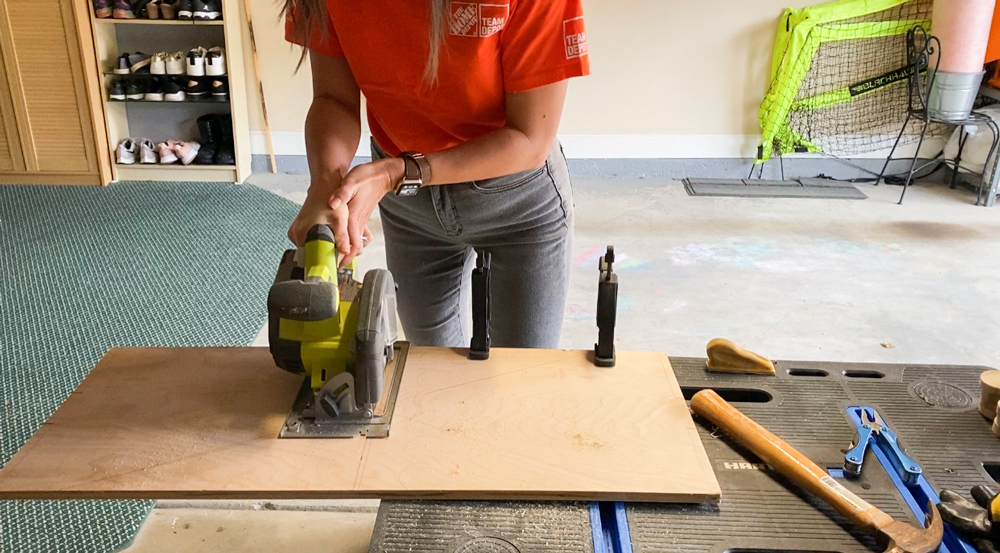
Sand the Boards and Discs
It’s the perfect time for your little helper to join you and sand down all the pieces of the board game. Use 120-150 grit sandpaper to smooth out the surface and all the edges.
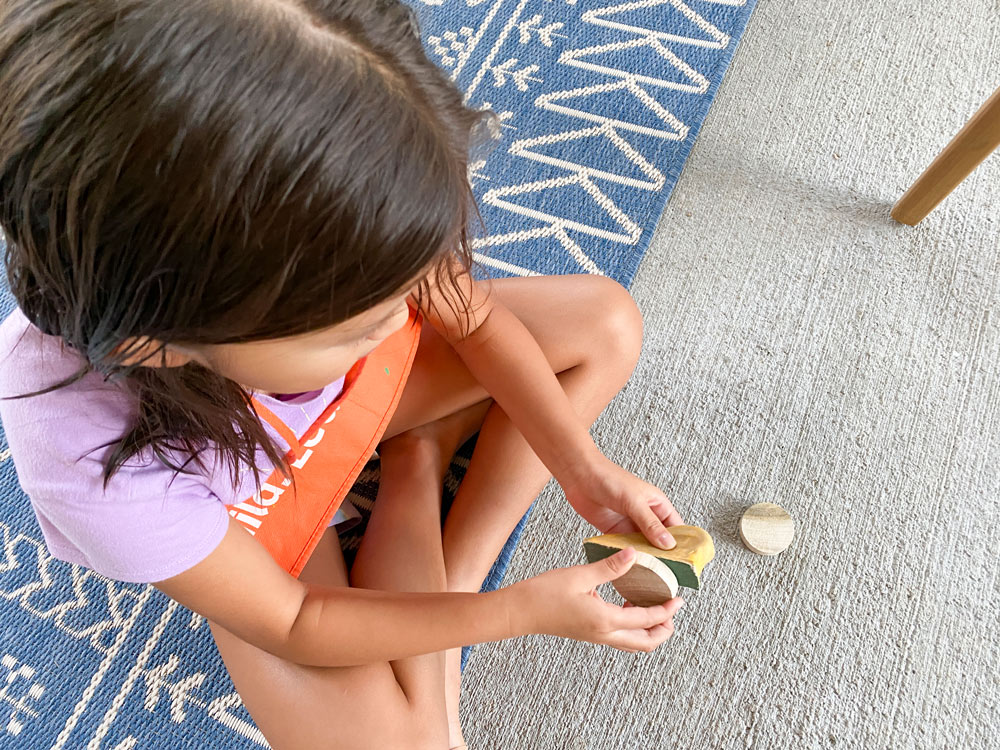
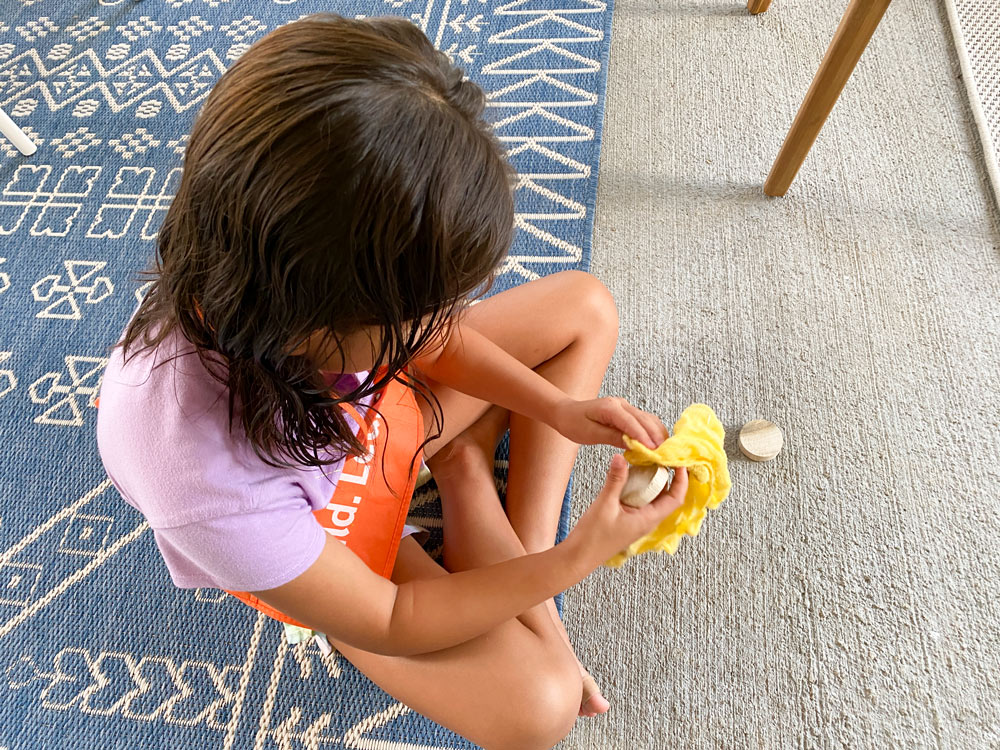
Wipe the Boards and Discs with Tack Cloth
After you finish sanding, clean all the pieces with a tack cloth.
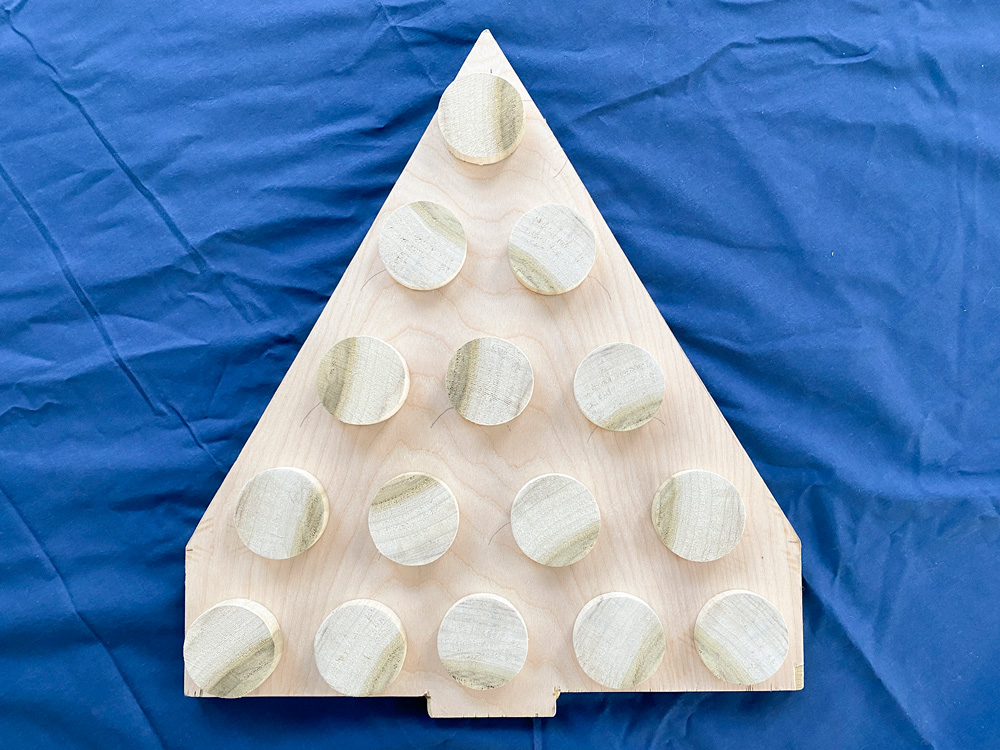
Place all the discs onto the board game to see how everything looks. You want to ensure you have at least 1.5 inches between the tiers of the ornaments.
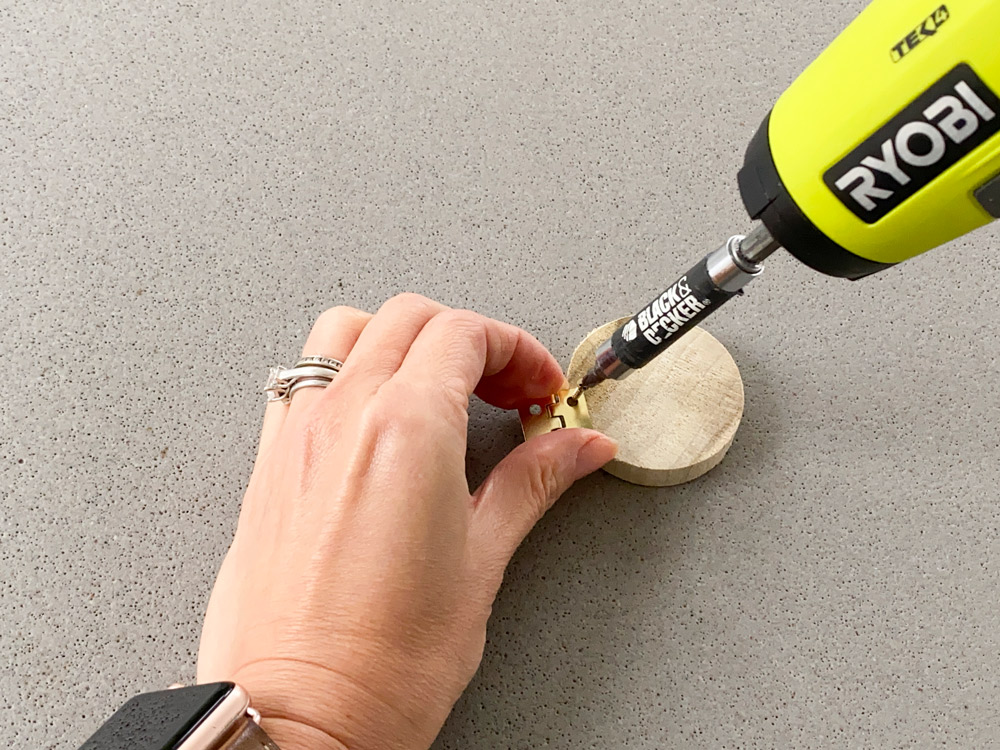
Attach the Middle Hinges to all the Ornaments
I used 3/4 inch x 11/16 inch middle hinges and used a drill to attach them to the bottom of each ornament.
Paint all the Board Game Pieces
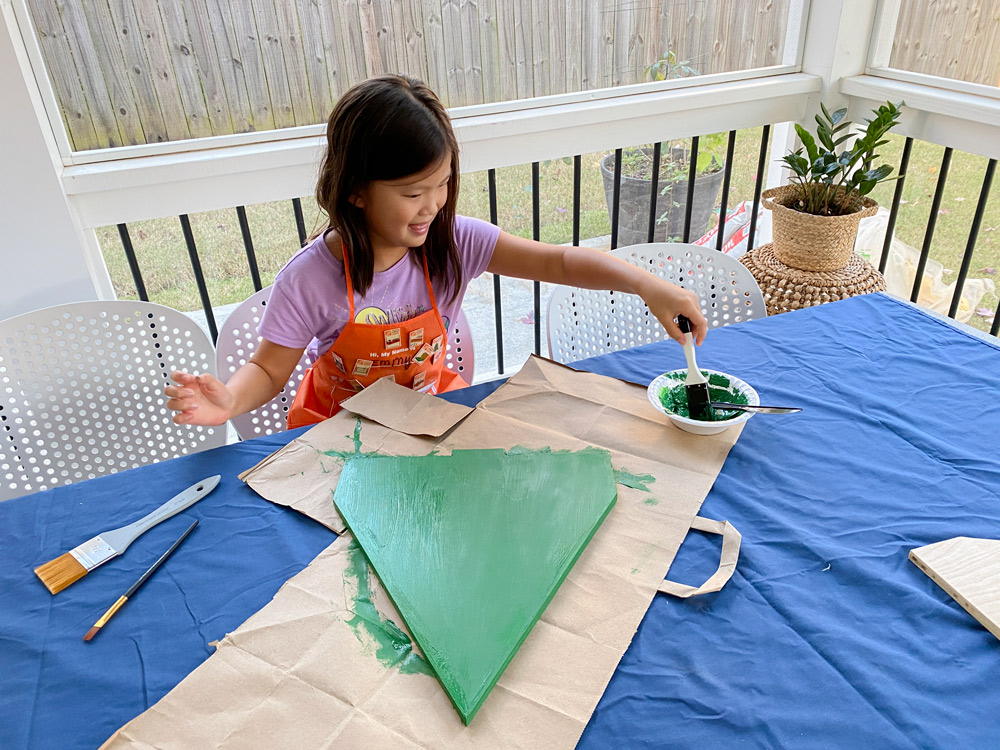
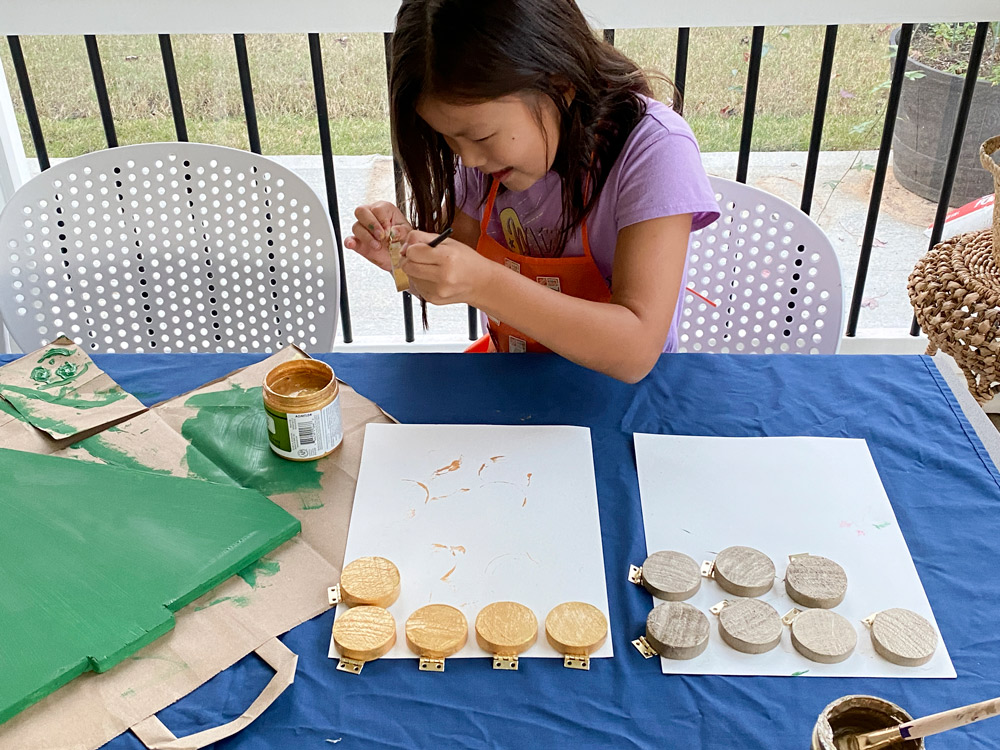
Emmy chose all the colors for the board game and went with green trees and metallic ornaments. Don’t forget to paint the sides of the boards. Feel free to get creative and paint designs on the surface of the game boards.
Use a smaller paint brush for the ornaments. Emmy painted all 30 ornaments with gold and bronze paint.
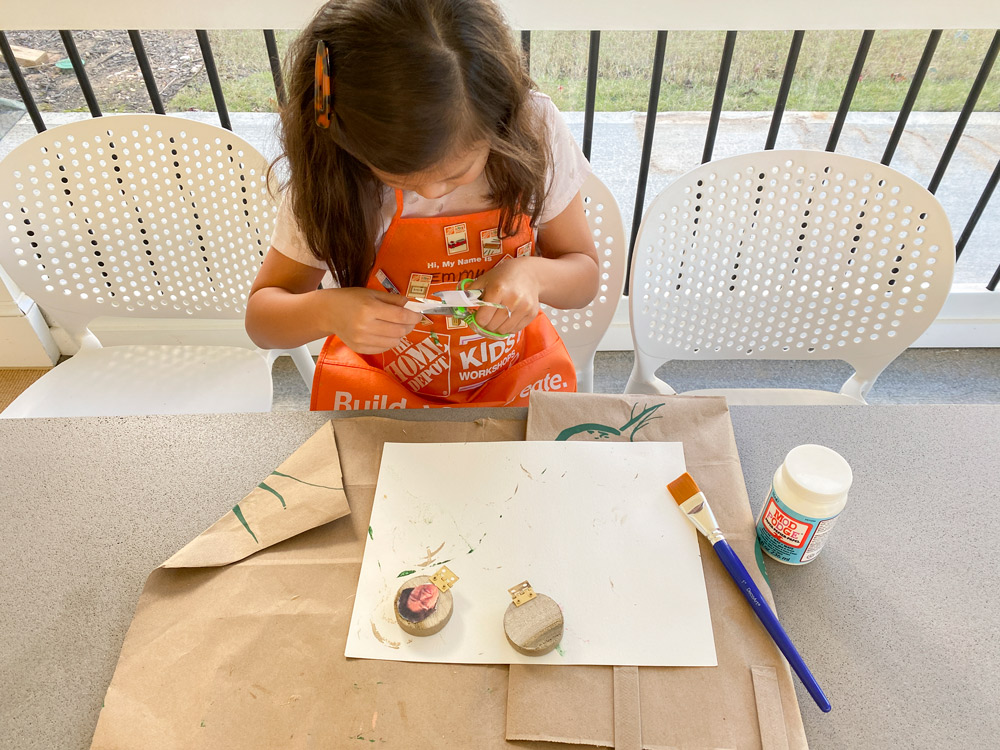
Cut Each Person’s Face and Glue it to the Ornament
This is great for practicing fine motor skills so let your child do all the cutting and gluing. It doesn’t have to be perfect! After cutting the faces, add a layer of mod podge on the side of the ornament with the hinge. Let it dry for 2 hours and add an additional layer of mod podge.
You will cut out two faces for each person for the board and another one for the cards. Cut out the third photo into a rectangle to resemble cards.
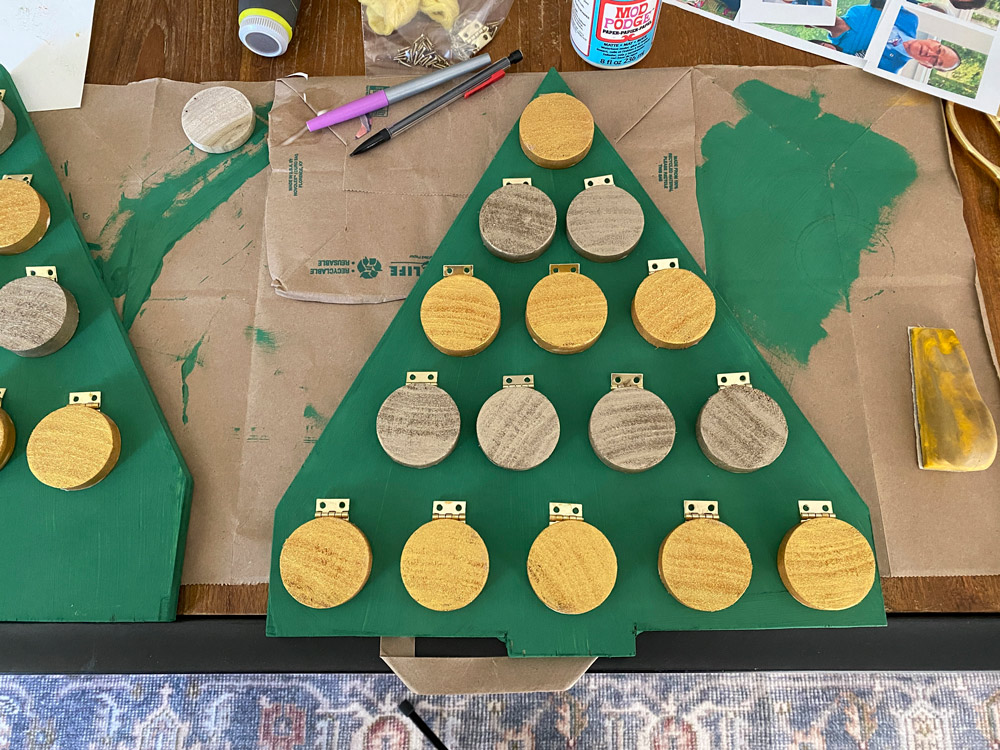
Attach the Ornaments onto the Boards
Using your drill, attach the ornaments with the hinge screws.
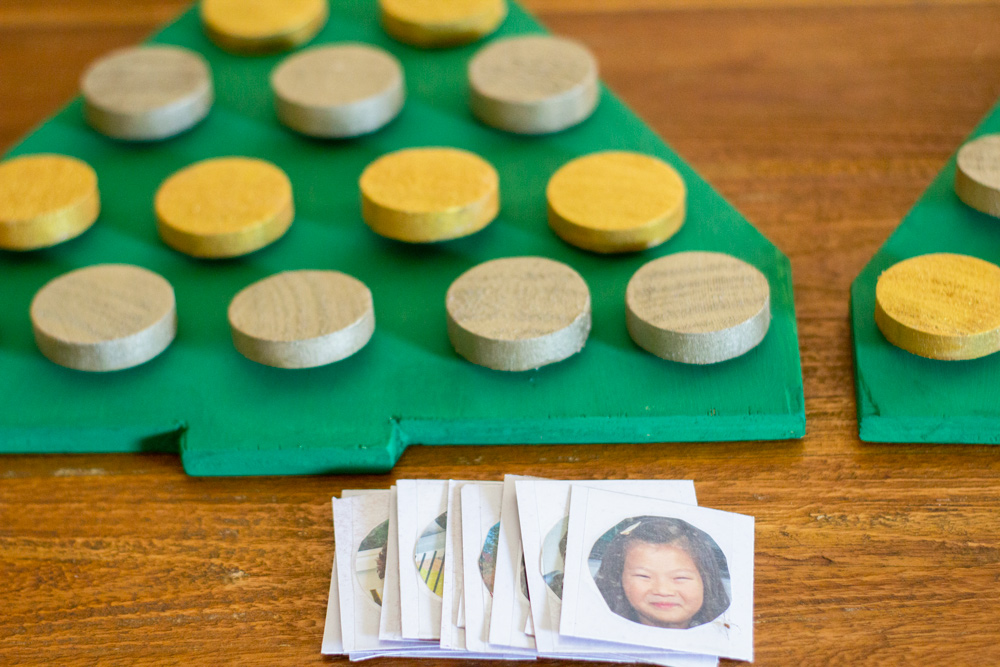
Play the Game with Your Little One
Our family has had so much fun playing this game with each other. This would make the perfect personalized gift for the holidays. Print out goofy headshots and get creative with this fun board game.
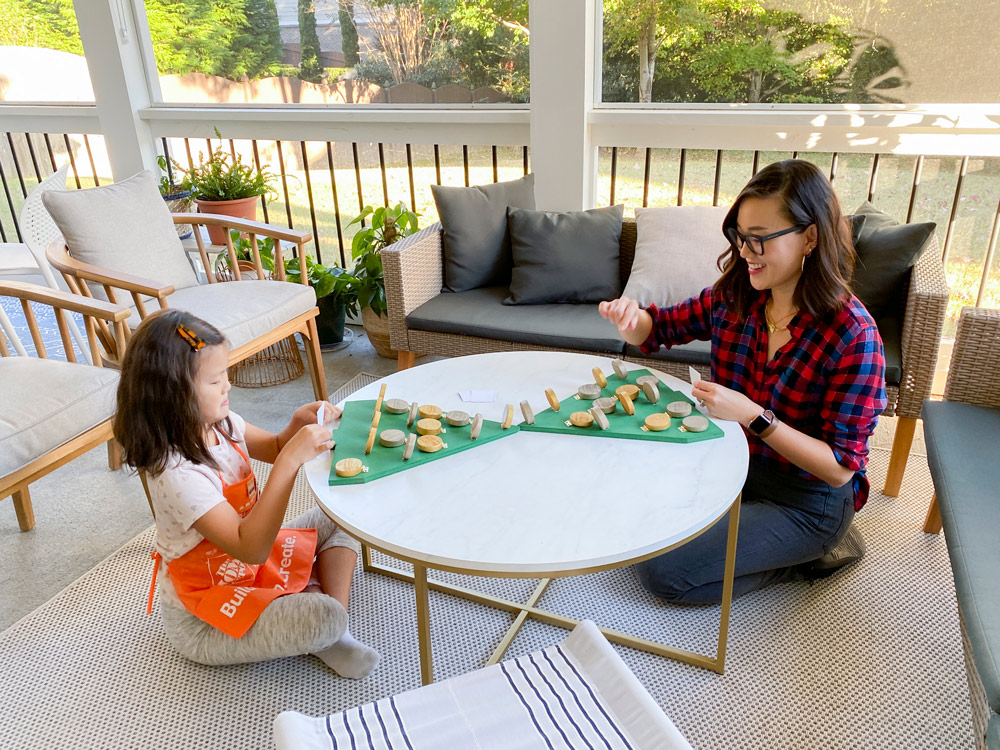
Happy Holidays from me and Emmy!

This post was created in partnership with The Home Depot. The author may have received compensation for this article and associated images or video, potentially in the form of products and/or services. All expressed opinions and experiences are the author’s own words.


