How to Build a Garden Bed with Trellis

Last updated August 21, 2024

Shara's blog Woodshop Diaries showcases her remodeling projects, DIY furniture building tutorials, and plenty of other DIY projects she comes up with along the way.
A Note From The Home Depot
Need a place to landscape but don’t know where to start?
Follow Shara McCuiston of Woodshop Diaries
as she creates a gorgeous freestanding garden bed with a trellis so that you can build your dream garden.
Table of Contents
How to Build a Garden Bed with Trellis
Step 1: Prep the Garden Area
Step 2: Assemble Trellis Frame
Step 3: Install Side Panels
Step 4: Assemble Garden Beds
Step 5: Complete the Trellis
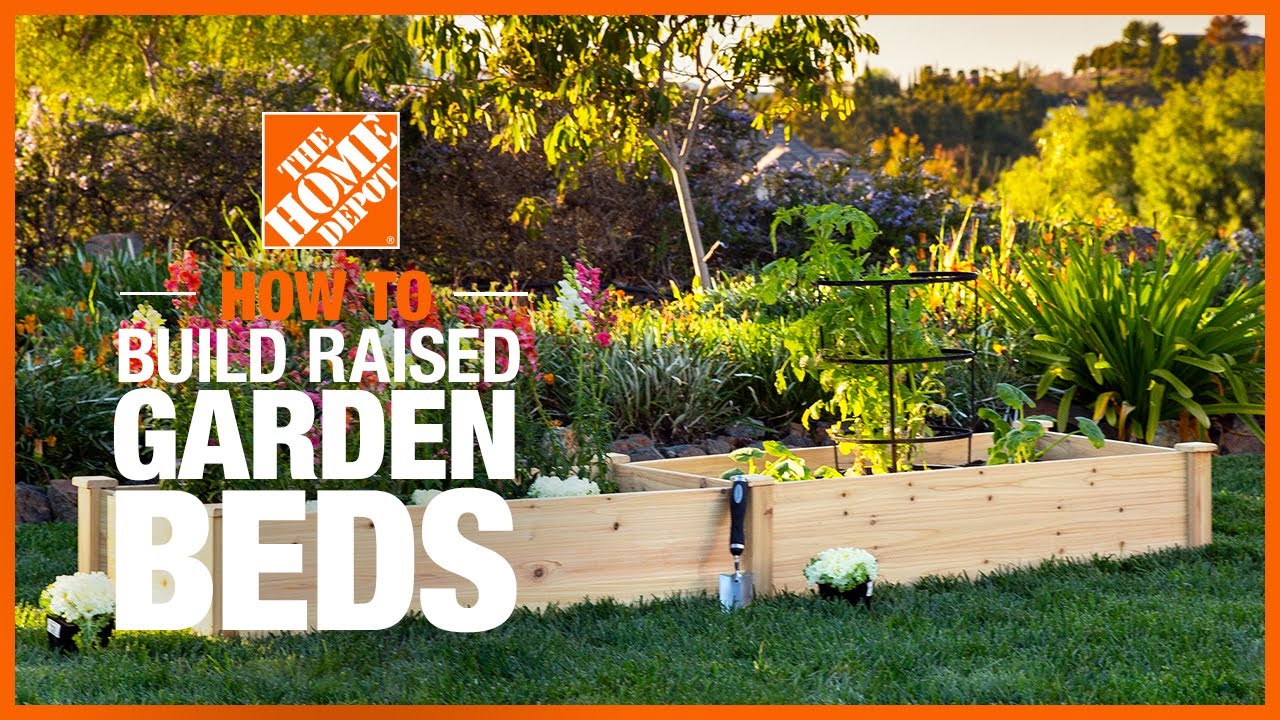
How to Build a Garden Bed with Trellis
Grow something amazing this year in a DIY raised garden bed with trellis!
This is a great project to tackle to give your backyard some visual interest, but also to give it the job of growing all your favorite flowers and veggies in an easy to care for garden bed.

Some notes about the project:
Since this is an outdoor project, cedar was used as it’s natural rot resistant and can withstand many years in the weather.
However, you can also use standard untreated pine lumber as well—just take note that it likely won’t last as long.
Treated lumber is NOT recommended for this project IF you intend to grow food in these beds.
It would be okay for flowers/bushes, but not for anything edible.
Step 1: Prep the Garden Area
Determine where you’d like your garden beds to be and level out the ground as needed so these can sit flat.
Install heavy duty landscape fabric over the area to prevent weeds from growing up into your garden beds.

Install the 2x4 between two 80” 4x4 posts about 48” from the bottom using pocket holes and screws OR just driving 2 ½” exterior screws in at an angle. Make two of these—one for each bed.

Step 3: Install Side Panels
Cut twelve pieces of cedar fence pickets to 55” and use 1 ¼” exterior screws to secure three to the bottom of each post assembly from Step 2.
Then, use the remaining 16” long 4x4 posts to make two identical panels, screwing the remaining fence pickets between them.

Step 4: Assemble Garden Beds
Carry the pieces from Step 3 to the yard where you want them to go and assemble two garden beds by adding three more fence pickets to each side between the frames using 1 ¼” exterior screws.
You can choose to trim these fence pickets to whatever length you’d like, but I left these the full 6 ft length.
NOTE: Don’t worry if the “dog ear” ends show—you’ll cover those later.

Step 5: Complete the Trellis
Space these garden beds out to approximately 40” apart (or, if you prefer a narrower or wider spacing, that’s fine!), and cut two 2x4s to 59” long.
If desired, cut an angle or a decorative end on these pieces. Then use 2 ½” exterior screws OR two 7/8” black timber screws (shown here) to secure these between the 4x4 posts leaving about 6 inches of overhang on both sides.
Cut another 2x4 to 55” long and secure between these two 2x4s in the center.

If desired, from the remaining 2x4 material, cut pieces with ends with a miter saw at 45 degrees to attach between the 4x4 posts and the front and back trellis pieces.
These pieces are decorative and optional—but they add some nice detail and a little extra strength to the trellis.
Finally, cut and staple some welded wire garden mesh over the trellis to give your plants the ability to grow vertically, if desired.
Step 6: Trim Corners and Add Bracing
Use the remaining fence pickets to cut support pieces to hold the fence pickets together in the center, and to trim out the corners.
For thinner trim, rip the pickets in half using a table saw.
For thicker trim, use the full width pieces.
Line the beds with landscape mesh before adding soil.
This is optional, but will help prevent weeds from growing up into the garden, and help prevent losing soil through any cracks in the wood.

Step 7: Add Landscaping
Dress up your new garden bed by installing no-dig edging and mulch or rock around the area.
Add some potted flowers, shrubs, and hanging flower baskets for some extra color.

Step 8: Plant
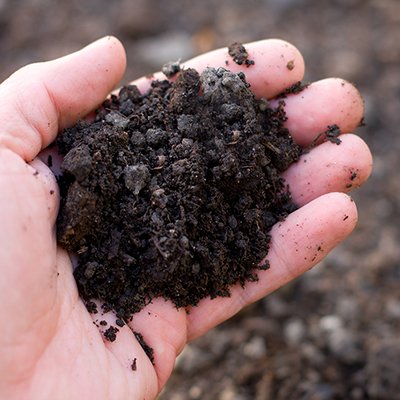
Lastly, fill your garden beds with soil suitable for the types of plants you want to grow.
Plant flowers, veggies, vines, etc. as desired and enjoy your new garden!

This post was created in partnership with The Home Depot. The author may have received compensation for this article and associated images or video, potentially in the form of products and/or services. All expressed opinions and experiences are the author’s own words.