How to Build a Pergola Attached To A House

Last updated August 21, 2024

*Meet Marie of This Dear Casa! She and her husband actually started on their DIY adventure on accident. When they moved from Los Angeles to Seattle, they bought a home that was a total fixer upper. Seeing the potential in the house, they forged ahead by trying to restore some of the 1920s charm. Along the way they learned how to save money by doing a lot of the work themselves. Upon building her DIY content, and in the process, Marie met other DIYers, lovers of old homes, and made so many DIY community connections. If you love home décor, crafts, DIY home renovation, vintage/thrifting, gardening and more, you should check out her blog,* *This Dear Casa**!*
A Note From The Home Depot
In this blog, Marie of This Dear Casa had roses blocking the walkway of her home that fell onto the path. Read below to see how she cleared the walkway and transformed the space with a beautiful pergola!
Table of Contents
How to Build a Pergola Attached to A House
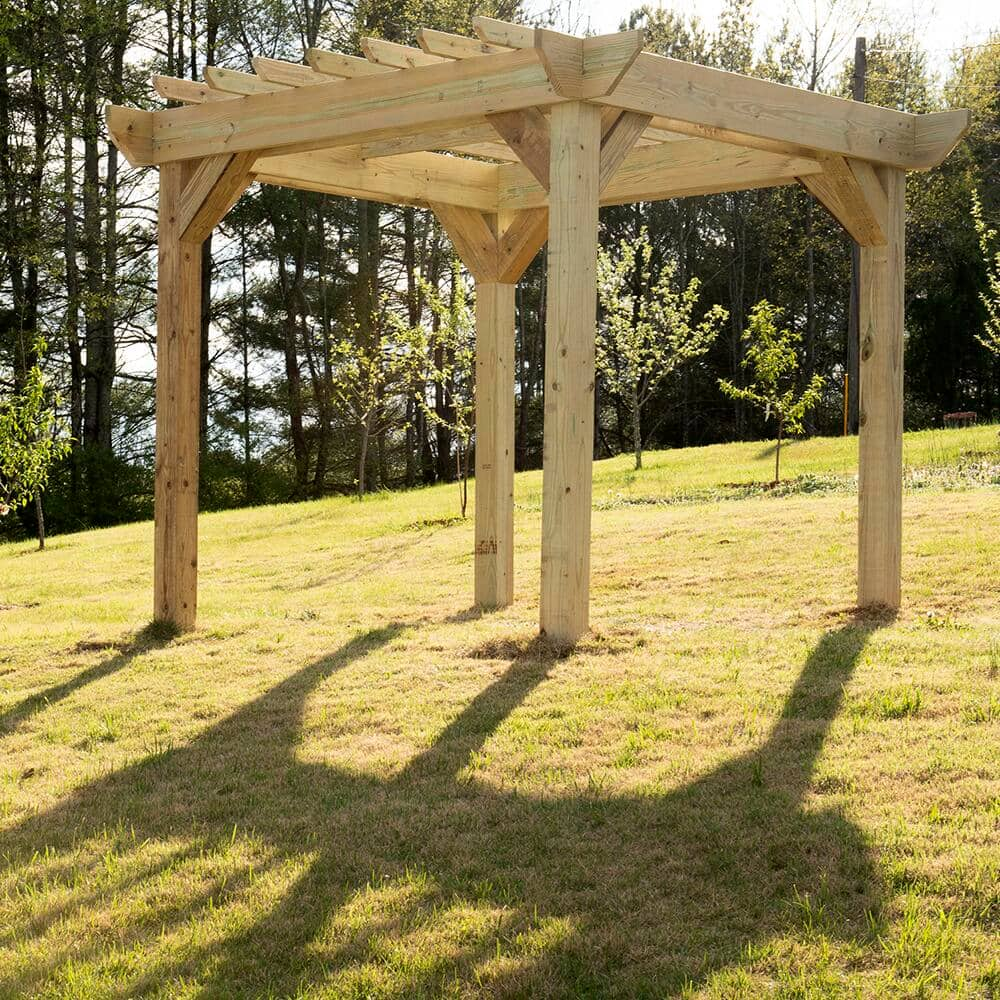
Measure and Check Level
Set Posts in the Ground
Cut Purlin (Rafter) Detail
Attach 2x6 and 2x4 Cross Beams
Create Cedar Facing for the Posts
How to Build a Pergola Attached to A House

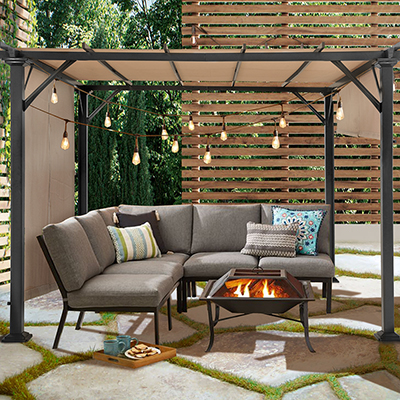
We have a walkway that leads to our backyard and there are several rose plants that droop into the path. To make this space more welcoming, we built a pergola to add interest and support the roses. Since the walkway is somewhat narrow, we chose to use posts on one side and have the beams attach to the house, rather than a second set of posts.
This project would also be perfect over a driveway alongside a garage or for a patio adjacent to a house. For other outdoor projects, make sure to visit This Dear Casa .
Measure and Check Level

Measure for the spacing of the posts and check that the heights are leveled. You will measure and check the level of posts and beams throughout the project to ensure level heights before screwing pieces together.
Set Posts in the Ground

After measuring the layout of the posts, use stakes and string to mark where the posts will go.
Drive post supports in the ground according to the marked-off spaces. Then set a cut portion of a post to initially set the support in the ground.
Tamp down on the wood with a mini sledgehammer so the support is driven into the ground. Check the level of your post supports, then place the posts in the supports. Tamp down the posts with the mini sledgehammer and check they are all level.
Once all the posts are at the same height, tighten screws into post supports.
Cut Purlin (Rafter) Detail

Measure at the end of the board, 1.5” down, make a mark. Then use a rafter square to measure a 45-degree angle from the mark to the other end of the board. Cut along the angle for decorative detail.
Tip: We chose this detail to match the existing purlin that sits over our gate. You can opt for a more detailed cut if it suits your design.
Attach 2x6 and 2x4 Cross Beams

To attach the pergola to a building, you will screw joist hangers to the building. The 2x6 ‘s will fit in the joist hangers and then connect across to the posts. Usestructural wood screws to connect 2x4's (these run perpendicular to the house) and 2x6s to posts.
Create Cedar Facing for the Posts

Mill cedar fence boards to create facing around the posts. Apply Loctite glue to cedar boards and attach to posts. The glue will hold the boards in place while allowing for adjustments as you line up all four boards on a post. Use a 16-gauge nail gun to securely affix cedar facing to the posts. Thanks for reading! Come visit at This Dear Casa!
This post was created in partnership with The Home Depot. The author may have received compensation for this article and associated images or video, potentially in the form of products and/or services. All expressed opinions and experiences are the author’s own words.