How to Build a Rustic Farmhouse Dining Table

Last updated August 21, 2024

A performing songwriter by trade, Jen Woodhouse has released three albums, toured the world, and has licensed her music to national television shows, commercials, and films, including Keeping Up with the Kardashians, MTV’s The Real World and Road Rules, Starbucks, United Way, and more. Most recently, Jen has added ‘DIY Blogger’ to her eclectic resume. A musician, military wife, and mother to two young children, Jen authors The House of Wood as her creative outlet for all things DIY and design, where she documents her adventures in woodworking, furniture and interior design, and home decor. Jen’s work has been featured on Elle Decor, House Beautiful, Good Housekeeping, Country Living, and Apartment Therapy. Jen is a TV spokesperson for Hometalk, the largest home and garden community on the web and has worked with such brands as The Home Depot, RYOBI Tools, Minwax, Kreg, General Electric, among others. In addition to designing and drawing up plans with in-depth tutorials on her blog, Jen is a charismatic and engaging speaker. She was invited to speak at the Haven Conference in Atlanta, Georgia last year. This year, she will be returning as a speaker at the Haven Conference, as well as the Snap Conference in Salt Lake City, Utah.
A Note From The Home Depot
This DIY Farmhouse dining table is simply gorgeous, and you can build it in a weekend.
Jen Woodhouse of the DIY and design blog The House of Wood came up with this project for our DIY Challenge series. We challenged her to come up with a fun and doable project, the only stipulation being that she use, appropriately enough, wood.
Just follow Jen’s step-by-step instructions, and you’ll soon have your own lovely farmhouse dining table.
Table of Contents
Farmhouse Dining Table
Cut List
Step 1: Cut the Boards and Drill Pocket Holes
Step 2: Attach the Short Aprons to the Furniture Legs
Step 3: Build the Table Carcass
Step 4: Attach the Tabletop Supports
Farmhouse Dining Table

This DIY Farmhouse Table is the perfect beginner-level building project. Building a dining table doesn’t get any easier – using minimal tools with pre-fabricated furniture legs and off-the-shelf lumber, you can build this table in an afternoon and be hosting your family gathering by dinnertime!
Cut List
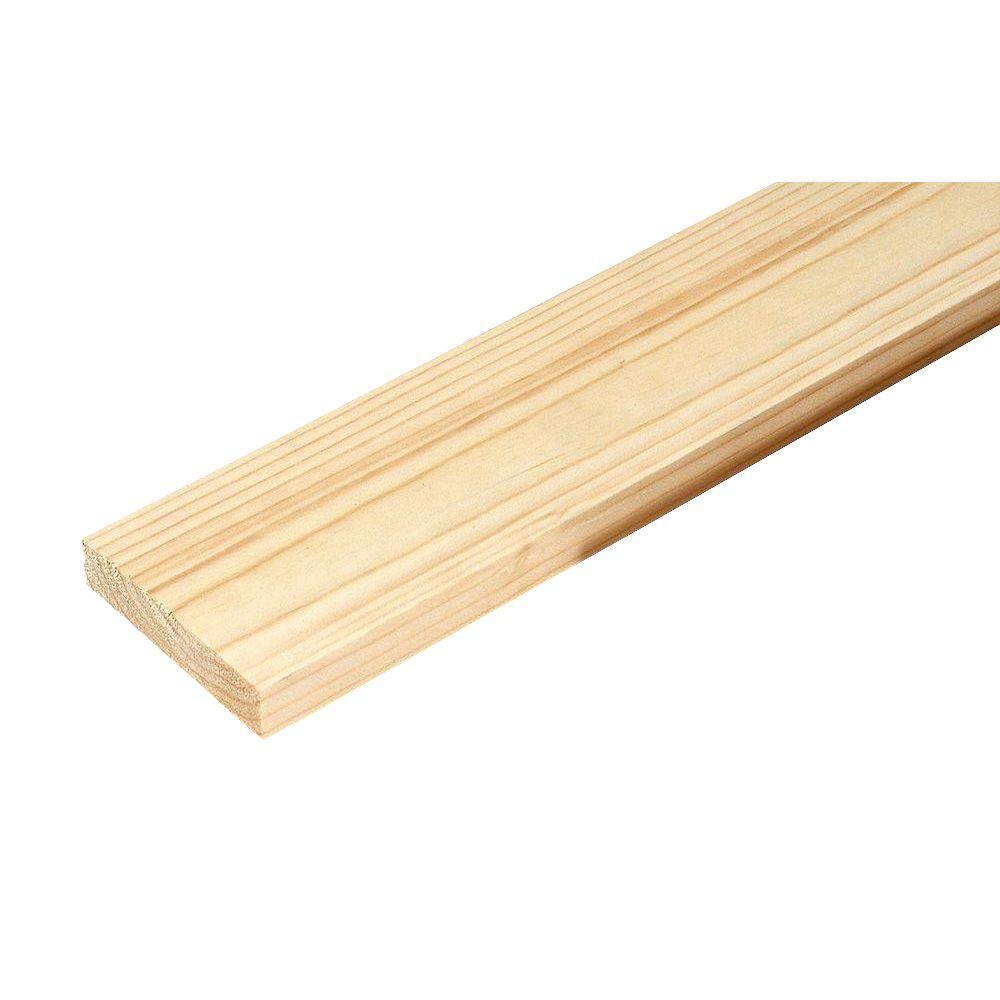
- Long Aprons – (2) 1 x 4 @ 63 inches
- Short Aprons – (2) 1 x 4 @ 25 inches
- Tabletop Supports – (3) 1 x 4 @ 26 ¾ inches
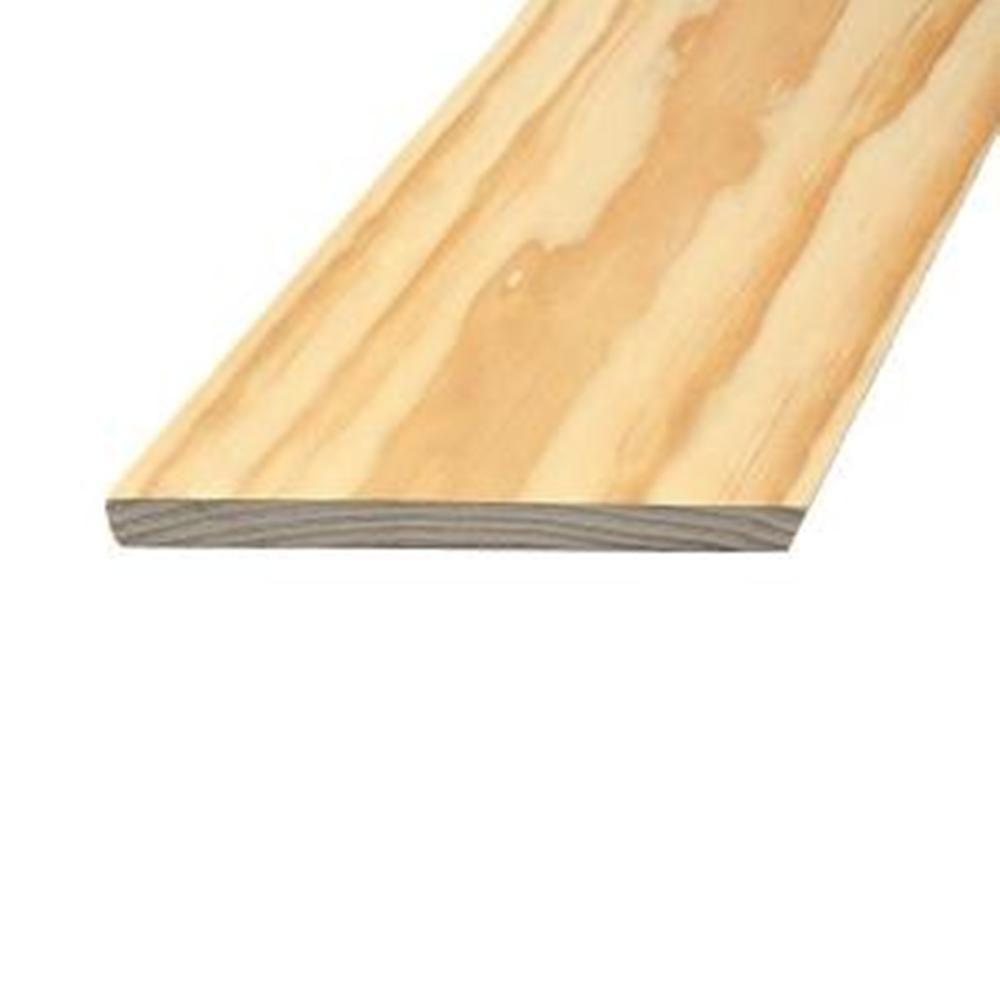
- Tabletop Boards – (5) 1 x 8 @ 67 inches
- Breadboard Ends – (2) 1 x 6 @ 36 ¼ inches

Step 1: Cut the Boards and Drill Pocket Holes
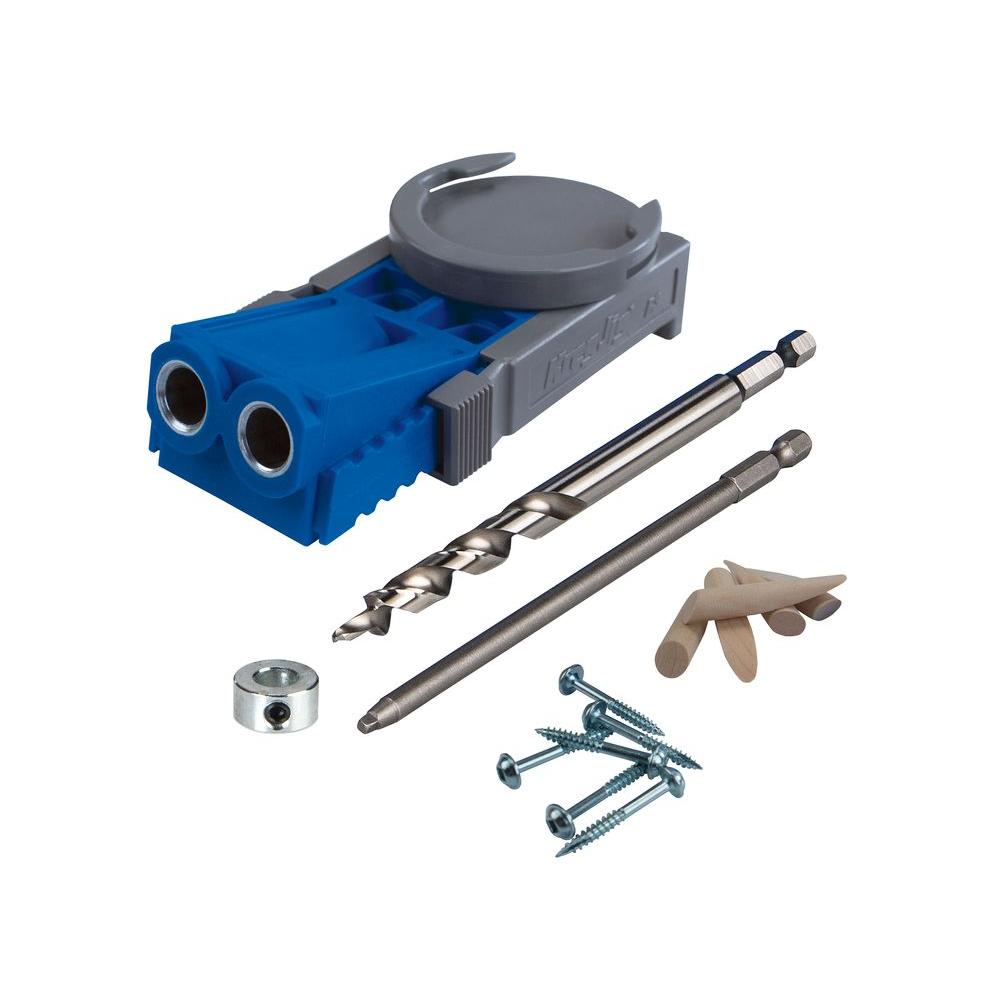
Use the cut list above and cut all of the boards except the breadboard ends to length. Using a pocket hole jig, drill two ¾-inch pocket holes at the ends of each 1 x 4 apron. Also, drill pocket holes along one edge of the aprons, spacing each pocket hole about 6 – 8 inches apart. Drill pocket holes into the ends and edges of the tabletop boards as well.

Step 2: Attach the Short Aprons to the Furniture Legs
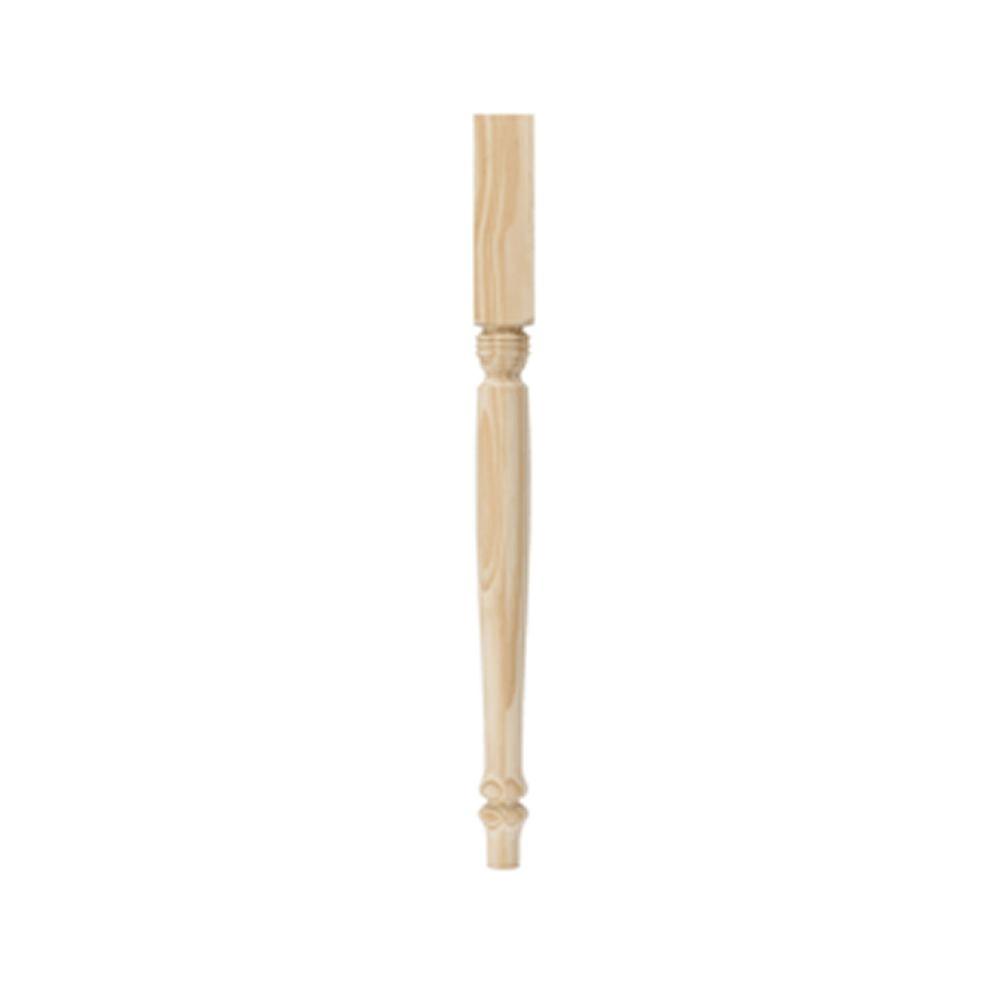
Clamp the furniture leg to the work surface. Apply wood glue to the end of the 1 x 4 short apron and position the apron at the top of the leg, centering the apron on the leg so that the apron is slightly inset. Tip: Use a scrap piece of ¾ inch material to support the apron in the center of the leg.

Using a drill/driver, fasten the apron to the leg with 1 ¼-inch pocket hole screws. Do this for both sides.

Step 3: Build the Table Carcass
Build the carcass by attaching the long aprons to the legs with 1 ¼-inch pocket screws and wood glue. Ensure that the pocket holes along the edge are facing up, to attach the tabletop in later steps.

Check for square by measuring the diagonal dimensions. These measurements should match. Adjust as needed.

Step 4: Attach the Tabletop Supports
Drill ¾-inch pocket holes into the ends and edges of the 1 x 4 tabletop supports and attach to the long aprons with 1 ¼-inch pocket hole screws. Evenly space the supports as shown, ensuring the pocket holes along the edge are facing up.

Step 5: Build the Tabletop
Clamp the 1 x 8 boards to the work surface and attach the boards, edge-to-edge, with 1 ¼-inch pocket hole screws.

Step 6: Trim the Tabletop
Clamp a straight edge close to the end of the planked tabletop and use a circular saw to trim any uneven boards so that the whole tabletop end is flush and straight.


Step 7: Cut and Attach the Breadboard Ends
Measure the short ends of the planked tabletop and cut the breadboards to fit. Drill ¾-inch pocket holes along one edge of the breadboards and attach to the tabletop with 1 ¼-inch pocket hole screws.

Step 8: Attach the Tabletop to the Carcass
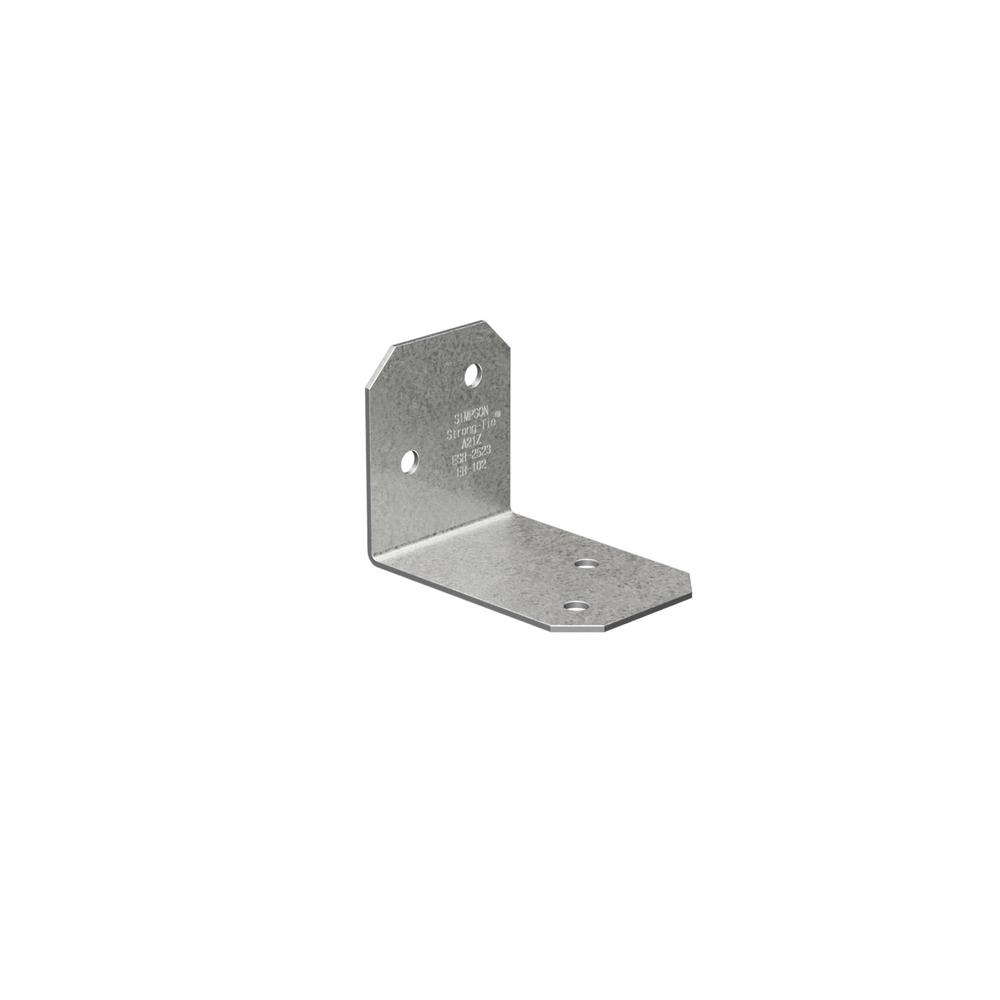
Place the tabletop (pocket holes facing you) on the work surface and center the carcass upside down on the tabletop. Attach the carcass to the tabletop with 1 ¼-inch pocket hole screws. Attach four angle braces as shown, for added support to the breadboard ends.

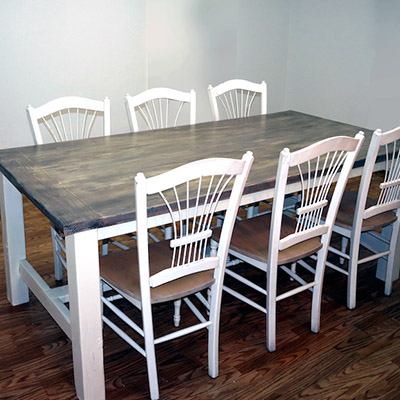
The Completed Farmhouse Dining Table

Set the Table, Gather ‘Round, and Enjoy Your Meal!
[Jen explains how she stained the table on her blog post about this farmhouse table project. Check the comments section. -ed.]
In addition to being a Nashville singer/songwriter, Jen Woodhouse is a talented decorator and DIYer. Check out her lifestyle and design blog The House of Wood for DIY projects and plenty of great decorating ideas.
Follow our Easy DIY Projects board on Pinterest for more DIY projects and ideas.
This post was created in partnership with The Home Depot. The author may have received compensation for this article and associated images or video, potentially in the form of products and/or services. All expressed opinions and experiences are the author’s own words.