How to Build a Shed & Turn It Into a Workshop

Last updated August 21, 2024

Sam is a full time psychologist with a passion for making and building things in her spare time. As a full blown weekend warrior, Sam's goal has always been to share fun and attainable woodworking, DIY, how to, and home improvement projects that can be completed with a busy work schedule!
A Note From The Home Depot
For a long time, Sam Raimondi’s (DIY Huntress) workshop was located at a small shed in her parents’ backyard. However, when her parents moved out of their house, Sam Raimondi decided to build a shed and turn it into a workshop for herself with the help of her dad. Read through the blog post to see how to accomplish the project yourself!
Table of Contents
Phase 1: Building a Shed Foundation
Phase 2: Building the Shed
Phase 3: Shingling the Shed Roof
Phase 4: Installing Windows & Trim
Phase 5: Insulating Your Workspace (Optional)
Phase 6: Organizing & Customizing Your Shed-Shop

This past spring, my parents sold my childhood home, which meant I was left without a workshop (my workshop was in a small shed in their backyard)… and since I live in a studio apartment, I was stranded without a place to run my small business or build projects! So, this summer my dad and I worked together to build a 12×12 shed from a DIY Shed Kit and turn that shed into my new workshop!

As someone who has a passion for woodworking, but doesn’t have access to a garage or commercial space, a shed was a great option for creating a shop space. Even better, I’m sharing how we tackled our shed build in hopes of showing you how tangible it is to create your very own home workshop in your backyard shed!
Psst… want to watch the entire build process? Check out my Shed-Shop Series on my YouTube channel!
Phase 1: Building a Shed Foundation

Building code and law differs in every town, so make sure to do some research before building your shed! We were allowed to build a 12×12 structure without a permit and we could not build on top of concrete, so we opted for a 2×6 pressure treated lumber on cement blocks and gravel footings.

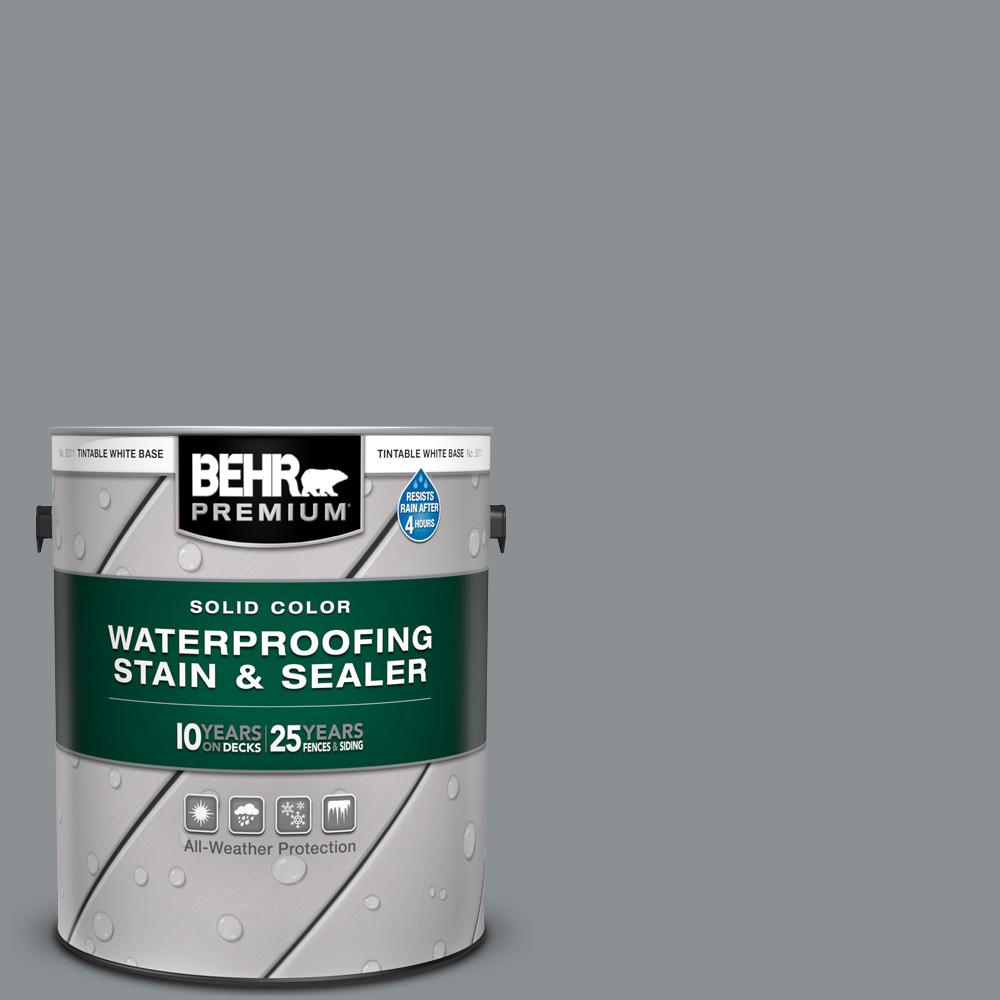
We also used 5/8” exterior grade plywood for the floors and I stained them using decking stain!
Phase 2: Building the Shed

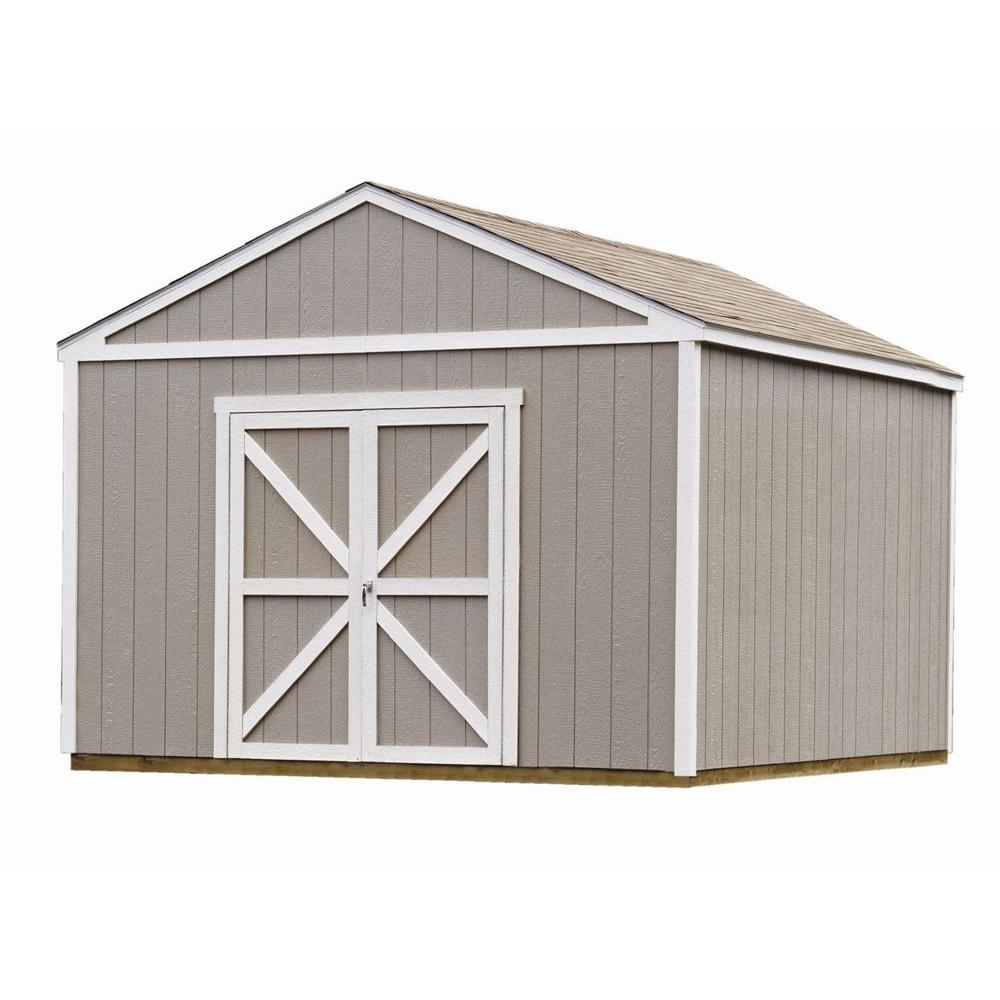
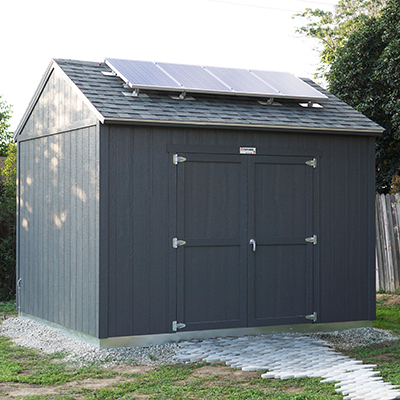
Once the foundation was sturdy and level, it was time to get to work on the shed! Since we were pressed for time, we opted for a 12×12 DIY Shed Kit, which came delivered straight to our space in labeled and pre-cut pieces (it was like starting a game with a handicap and it was awesome).


The kit also came with all of the building supplies to join the boards together as well as with a step-by-step instruction manual! The build was just as easy as following the instructions in the manual. In fact, we were surprisingly able to build the shed in two days!

Phase 3: Shingling the Shed Roof

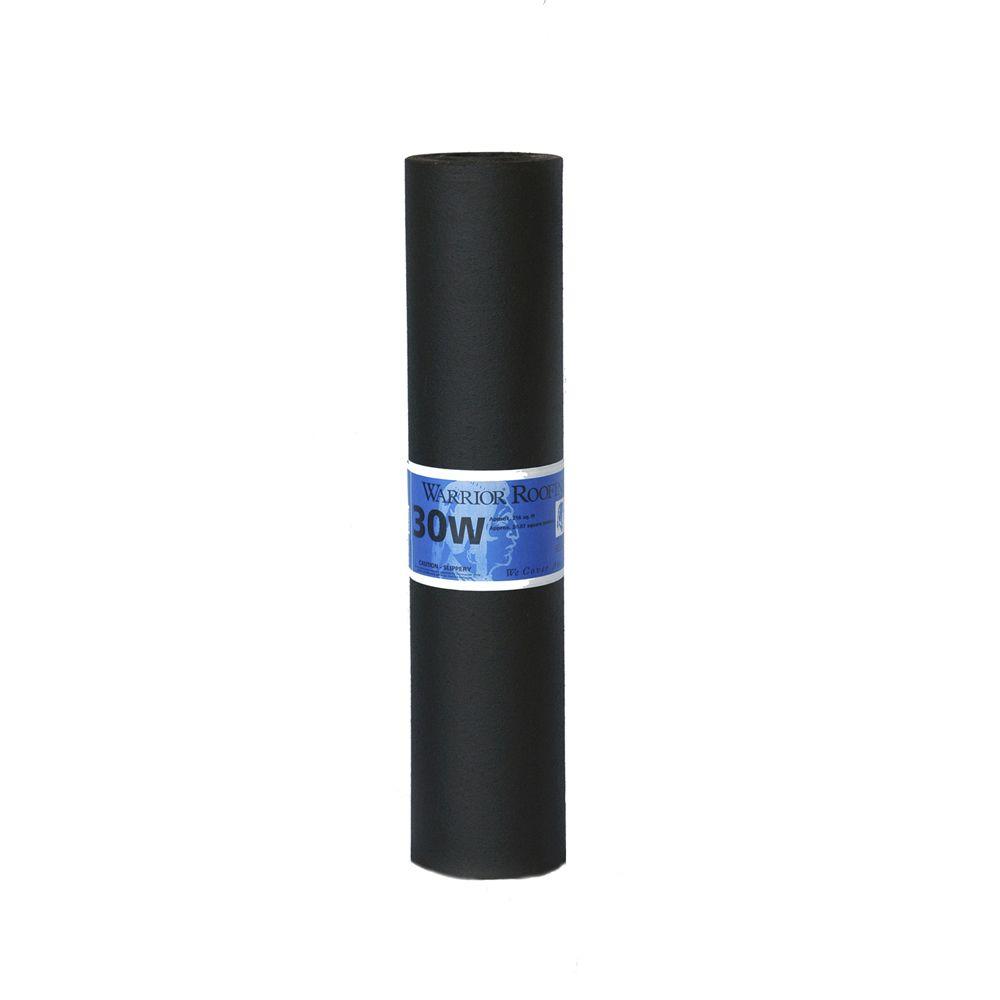
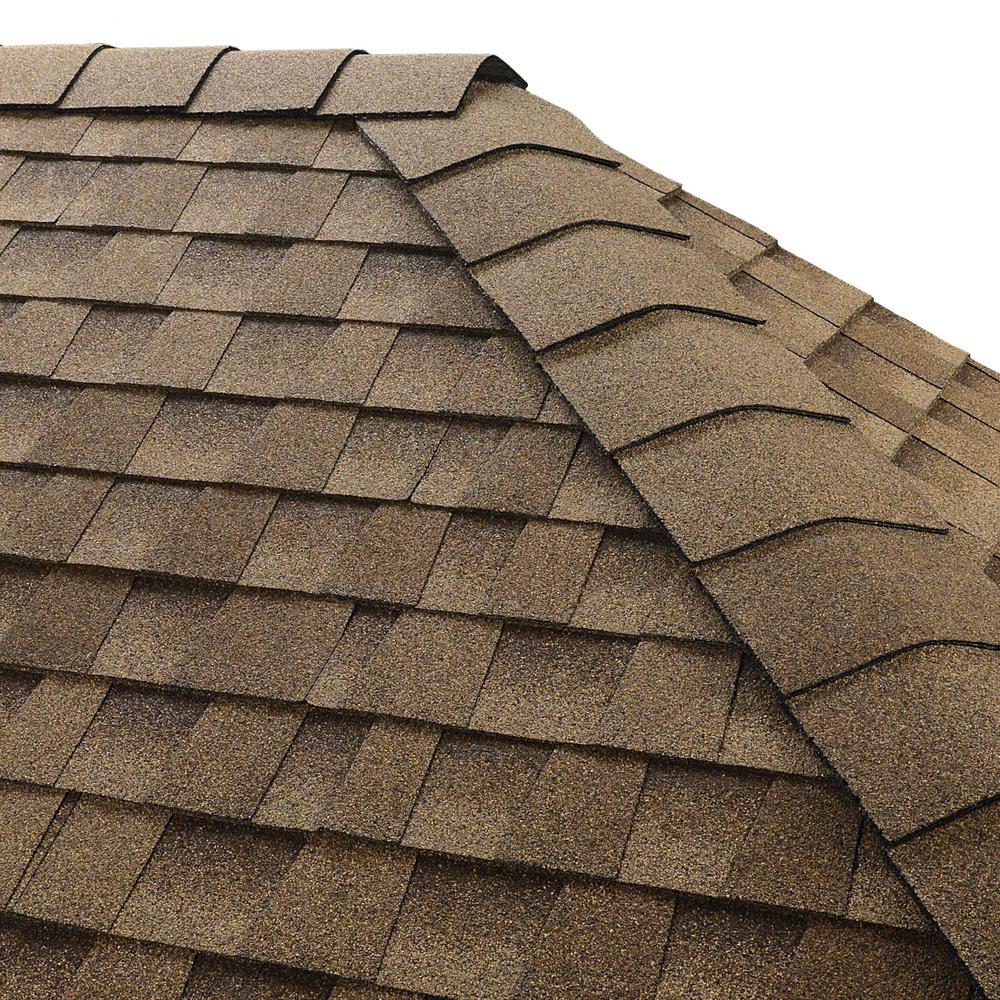
Once the shed was built, it was time to shingle the roof. We started by laying out a layer of roofing paper and attaching it with staples. We then installed a drip edge along the edges of the roof.

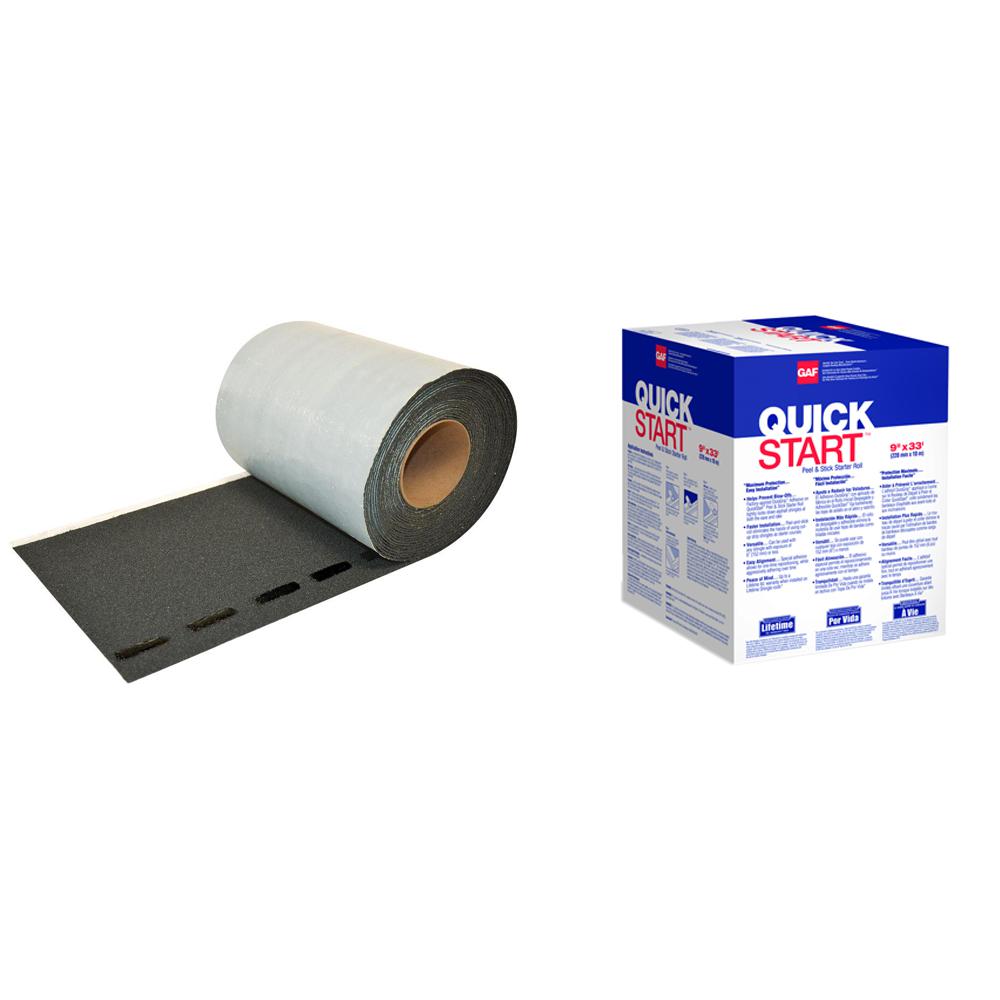
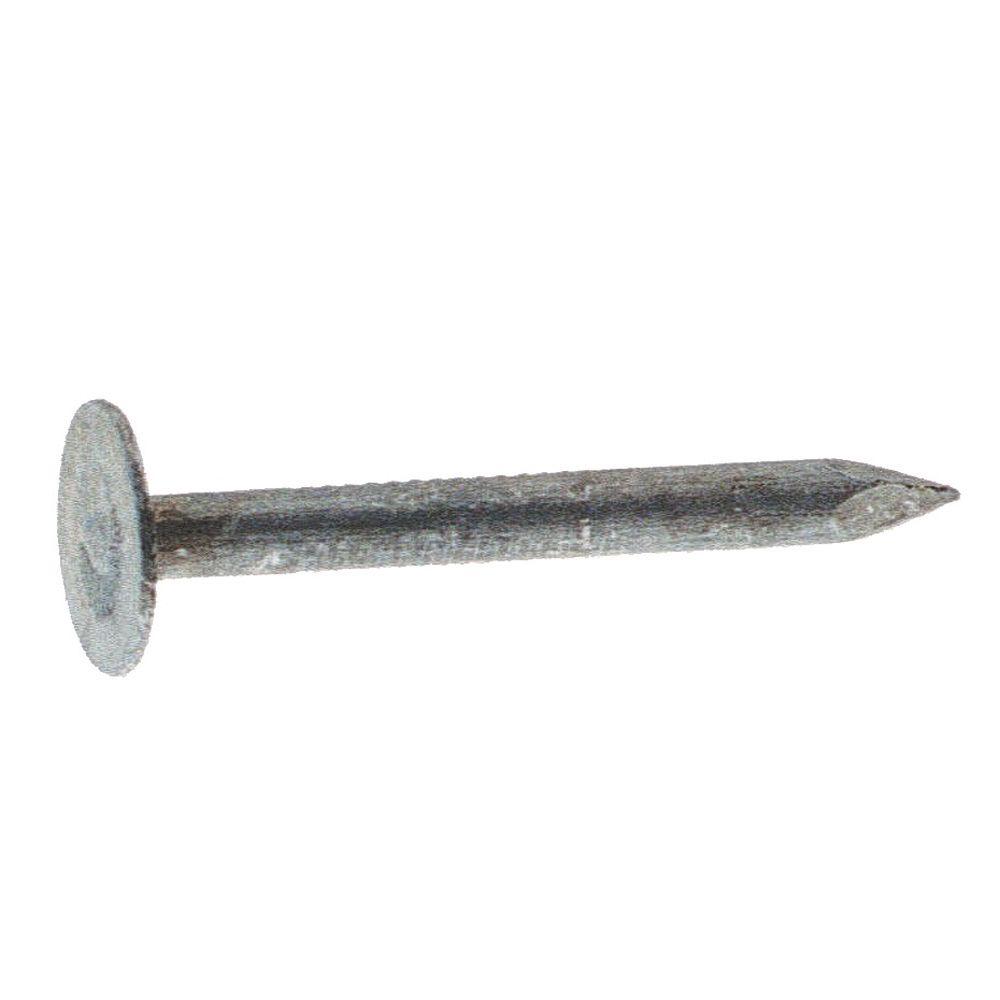
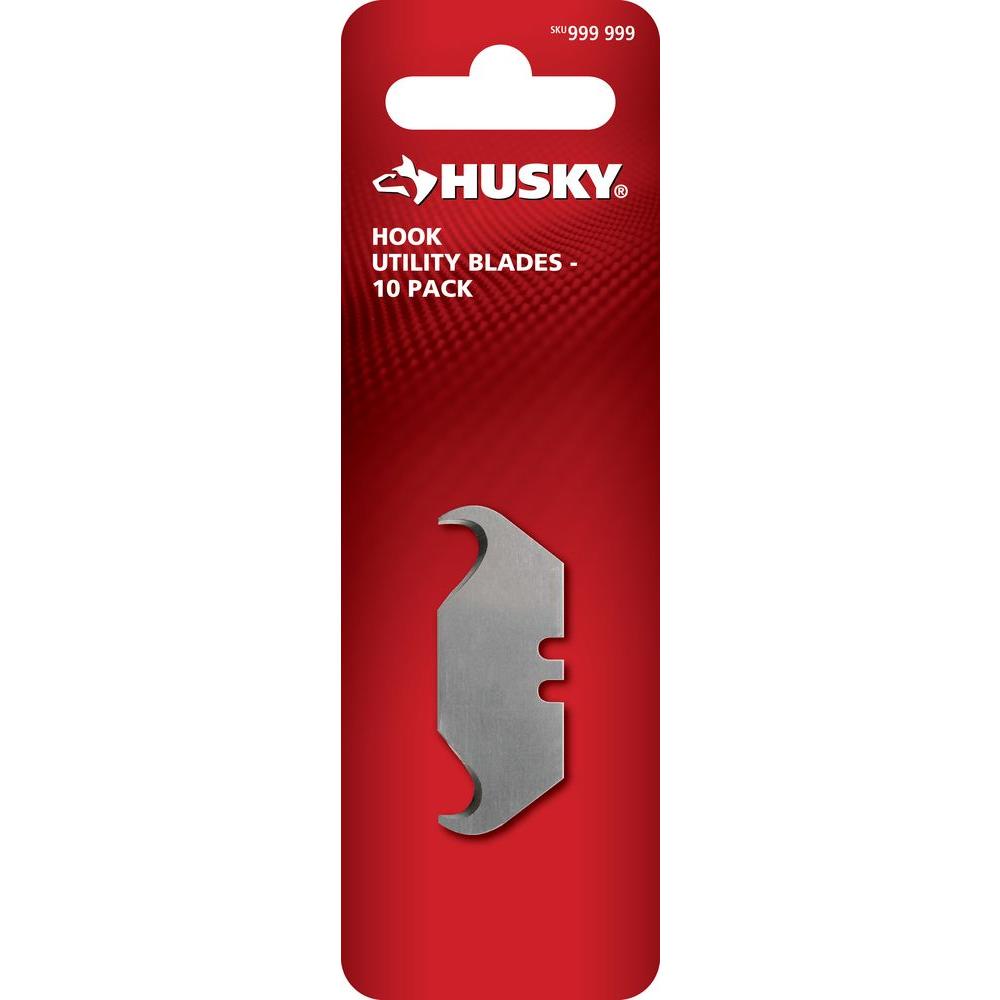
Next, we added a starter roll along every edge of the roof and then began to install shingles with a hammer and roofing nails. We worked from the bottom of the roof toward the peak. As we made progress, we used a hook blade to remove any excess overhang. Once we got to the top, we installed ridge shingles.

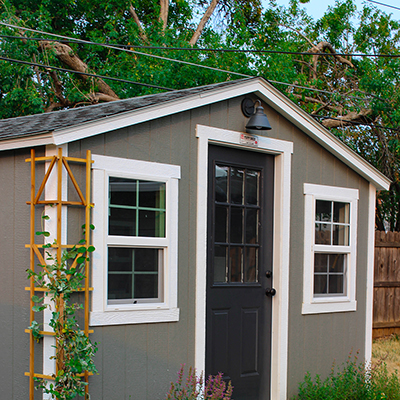
Phase 4: Installing Windows & Trim

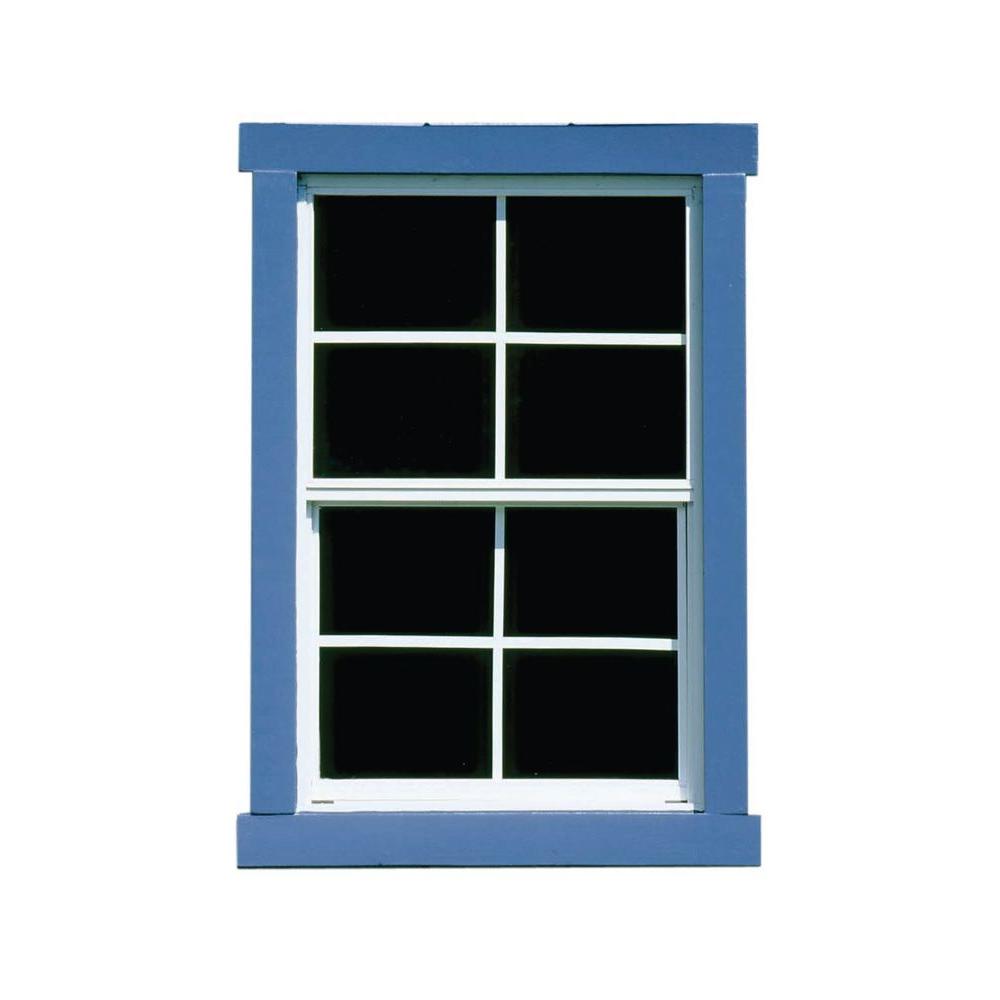
While windows are totally optional in a workspace, I really wanted some natural light in my new shop to help with product photos. So, I chose to install four large windows that were made for the shed kit I picked! I had to cut openings in the shed walls to install, but they fit perfectly in between the studs from the DIY Shed Kit, so installation was a breeze!


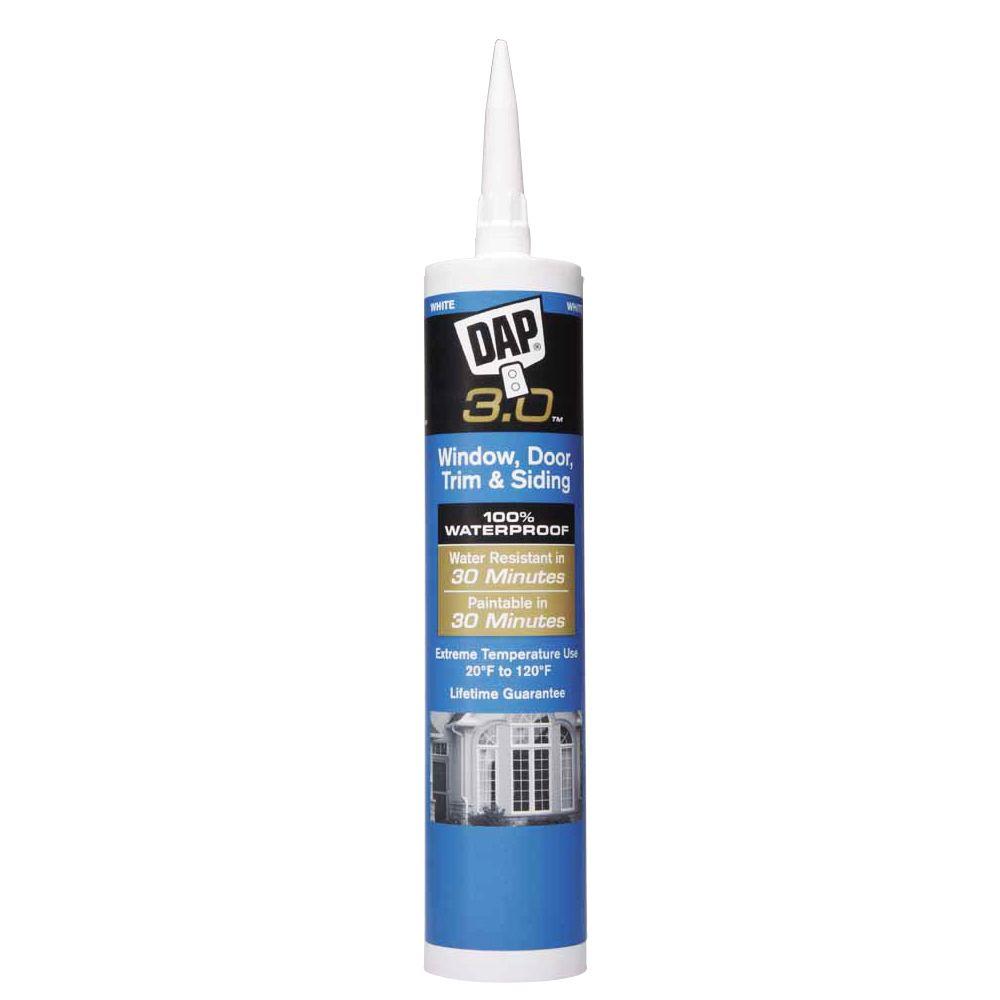
I also made sure to seal the windows from the inside and outside (after painting and installing the exterior trim).

Phase 5: Insulating Your Workspace (Optional)

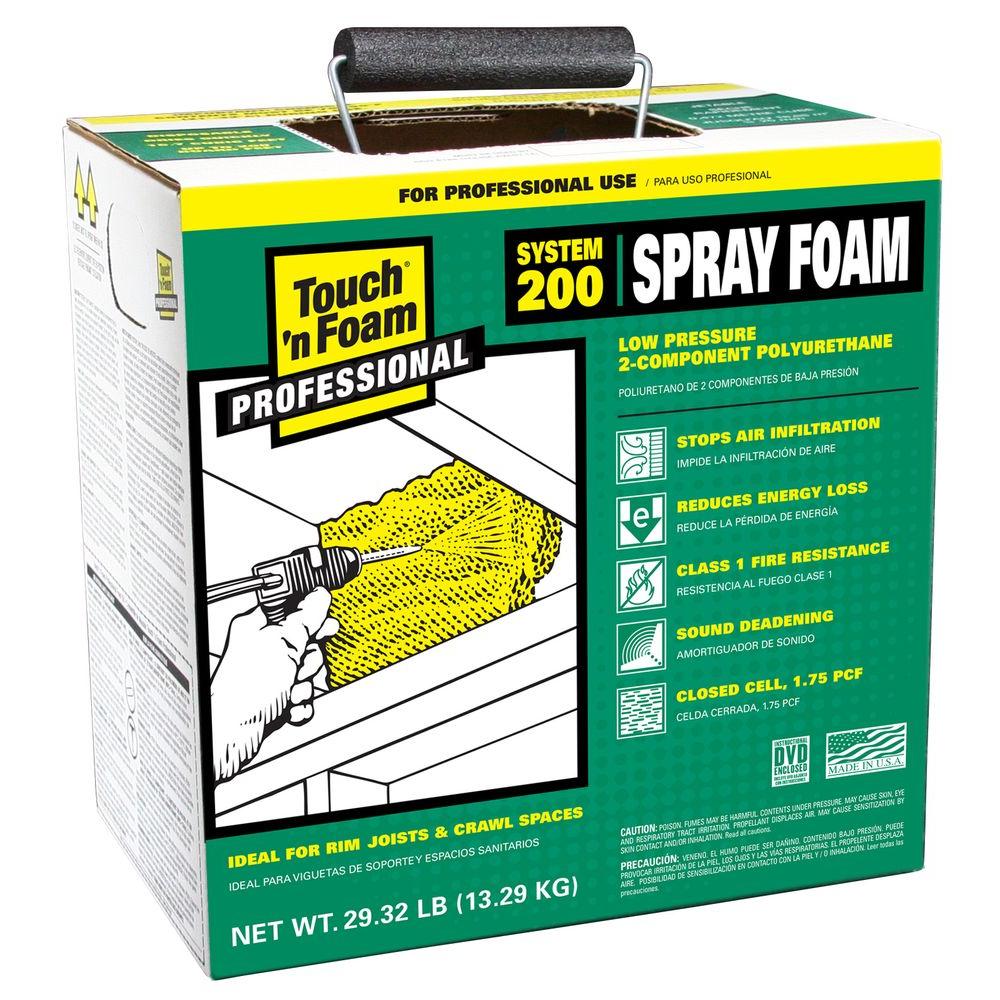
Because I’ll be relying on my shed-shop year-round, I decided to spray insulate the inside of the shed (which, was so much easier than I thought it would be)! I used a DIY Spray Foam Kit to insulate the inside of the shop in less than a couple of hours!
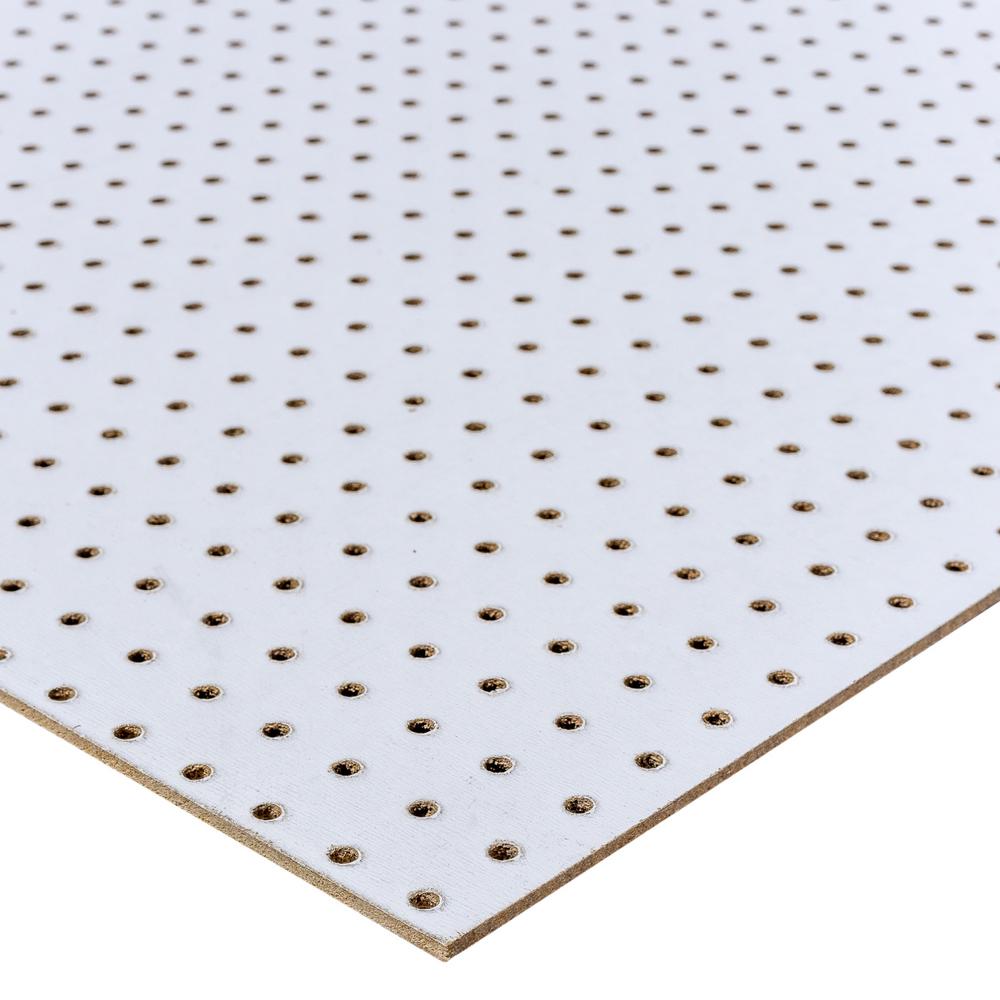
Once my shop was insulated, I closed up the walls with plywood, pegboard, and decorative wood planks (who says workshops need to be boring)!
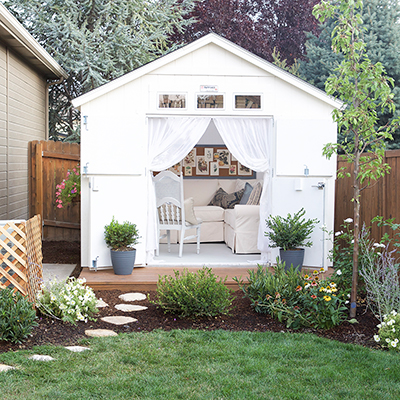
Phase 6: Organizing & Customizing Your Shed-Shop

No matter how big your space is, organizing is essential! Simple fixes such as adding pegboard and workbench storage for your tools and supplies go a long way!
I am not only so excited about my new space, but I couldn’t wait to share it with you all and tell you that you don’t need a lot of space to create a custom and beautiful workshop space in your home!
I can’t wait to get started on some new projects in my shed-shop!
This post was created in partnership with The Home Depot. The author may have received compensation for this article and associated images or video, potentially in the form of products and/or services. All expressed opinions and experiences are the author’s own words.