How to Build a Toy SUV
Last updated August 21, 2024

Beau Coffron is a married dad of three and the mind behind Lunchbox Dad, the online source for making creative lunches for kids while making parents' lives easier through fun articles and great parenting product reviews. Beau loves giving great ideas to parents for bento style meals and showing them how fun and convenient they are! To learn more about Beau and Lunchbox Dad, visit his **website**and follow him on Instagram **@lunchboxdad**.
A Note From The Home Depot
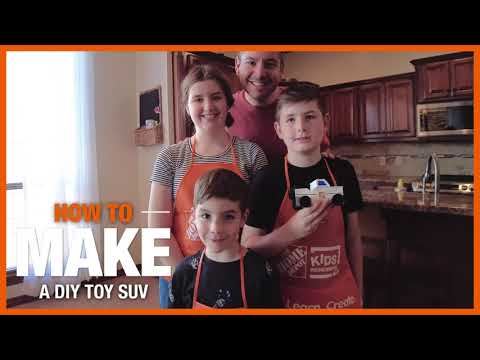
With a little bit of creativity and finesse, the most unexpected items around your house can be transformed into something fun for the kids. Dad and DIY blogger, Beau Coffron has all of the details on how you and your little ones can create toy SUVs this summer!
Table of Contents
Supplies and Directions


SUVs are great because you can take them anywhere and load them up with just about anything. I remember an old SUV that my family had when I was growing up as a kid. We packed it with people for trips to the movies or
down the street for ice cream, and we also took it on
camping and fishing
adventures
far
away from civilization. Of course,
toy cars were also a great memory. From
doing stunts on
tracks to racing them against my friends at school, my imagination was the only limit. This is why my kids and I decided to turn an empty cereal box into an SUV for a
creative
craft. Not only can you build memories
while
making it, but you can take it outside to embark on infinite outdoor
explorations!
Supplies and Directions

Directions:
- Cut an empty cereal box in half and then, using this guide (insert link to guide), trace the required shapes of the pieces on the unprinted side of the cardboard
box.

- Cut out all shapes
that you drew on the
cereal box.

- Using a hot glue gun or similar adhesive, glue all of the shapes together.
Start with the sides and the front, the hood, the middle, and the back
— in that order. Then, measure and make a mark ¾ of an inch in on each side, for the front and rear axles. Use a hole puncher to make the holes.


- Glue the bottom on. Fold the windshield/top piece
where
shown in video [link TBD] and glue together. Glue the windshield on to the
body
of the SUV.


- Paint the front, top, and sides of the car white. Paint front bumper and wheel wells gray and the back of the car black. Also, paint five soda bottle caps black for the wheels. You can choose to paint the inside of the car or leave the cereal box print.


- When
the paint is
dry, drill holes in the middle of each bottle cap. Make the
holes
the size of kabob sticks.


- Cut two kabob sticks ¾-1 inch longer than the width of the SUV. Insert one end into the painted bottle cap with
the
inside of the bottle cap facing out. Glue the stick to the inside of bottle cap. Repeat with second kabob stick.

- Insert kabob sticks into front and rear axle holes. Insert bottle caps onto other side of axles and glue on as you did before. Glue the bottle cap with out a hole onto back of SUV.


- Using markers, draw windows, front grill, headlights, and black stripes on
the
sides of the car. Cut out Home Depot logos from the tracing guide and glue onto each side of the SUV.


- Let the SUV dry completely and then take
it
outside for some off-road fun!


This post was created in partnership with The Home Depot. The author may have received compensation for this article and associated images or video, potentially in the form of products and/or services. All expressed opinions and experiences are the author’s own words.