How to Build a Window Bird Feeder with Your Kids

Last updated August 21, 2024

Yuni is a Korean- American raised in the South who loves all things designing, DIY-ing, and cooking. On her blog, Love Your Abode, you can find about interior design inspiration, home remodel makeovers, and recipes.
A Note From The Home Depot
This feeder project isn’t just for the birds! Gather the kiddos and follow Yuni Min of Love Your Abode as she builds this simple DIY window bird feeder. Stop by The Home Depot for supplies and get crafting.
Table of Contents
How to Build a Window Bird Feeder
Gather Tools and Materials
Step 1: Begin the Assembly of the Roof
Step 3: Attach the Back
Step 4: Build the Bottom
Step 5: Attach the Bottom Tray to Finish
How to Build a Window Bird Feeder
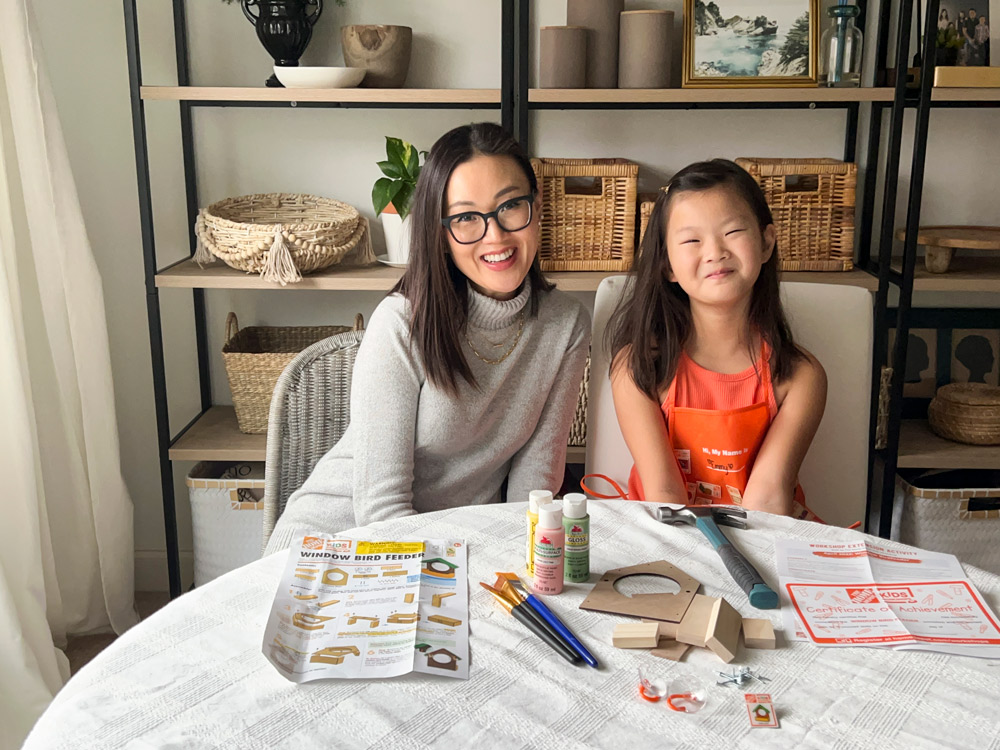
Keep your kids engaged with this Home Depot Kids Workshop Kit. You can pick one up from your local store on the first Saturday of the month or purchase online at homedepot.com/kids. The monthly kits encourage your child to build and create really cool projects in less than an hour. This month, we are creating a Window Bird Feeder.
Emmy built this awesome window bird feeder and filled it with bird food. We can’t wait to do some bird watching right outside our window. I assisted her with a few details but gave her freedom to build and create on her own.
Gather Tools and Materials
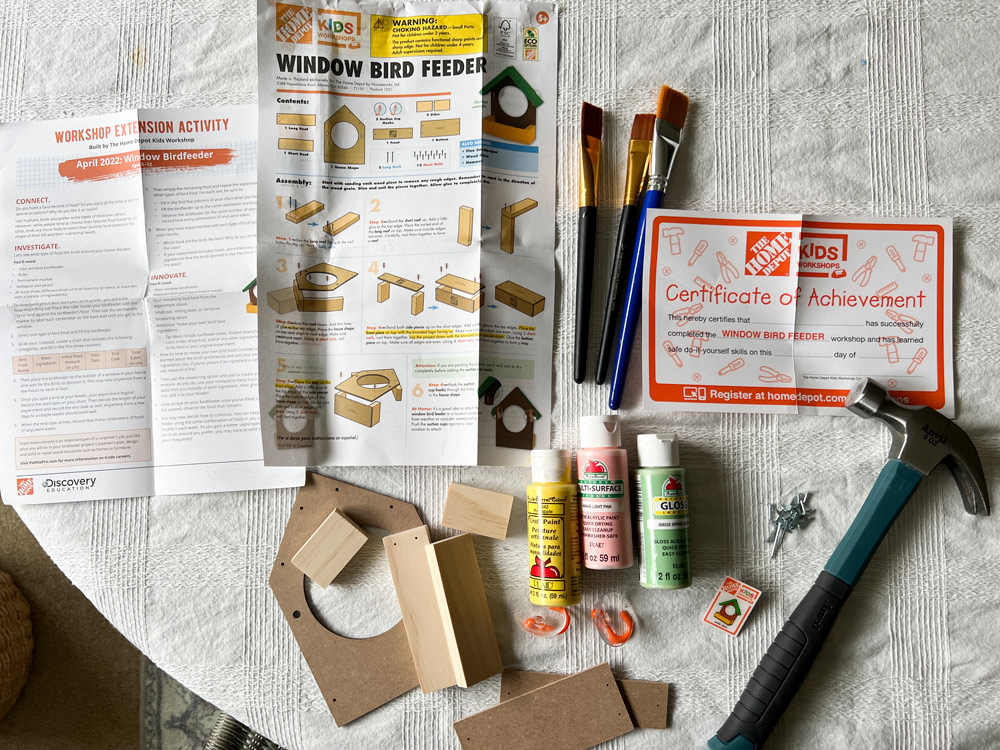
All of these items can be found at The Home Depot. The great thing is almost everything you need is already included in the workshop kit along with easy-to-follow instructions.
- Home Depot Kids Workshop Monthly Kit
- Paint
- Paintbrushes
- Hammer
- Bird food
- A Discovery Activity
Step 1: Begin the Assembly of the Roof
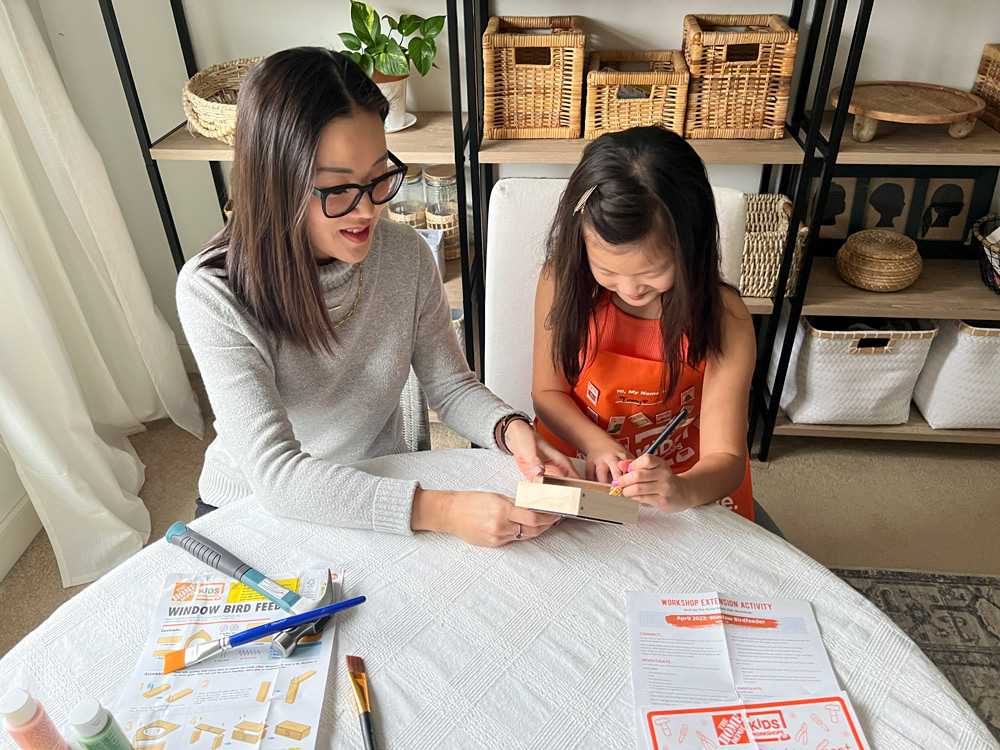
If the pieces are rough, you can sand any edges. Lay the long roof flat with the nail holes facing up. Start with two long nails.
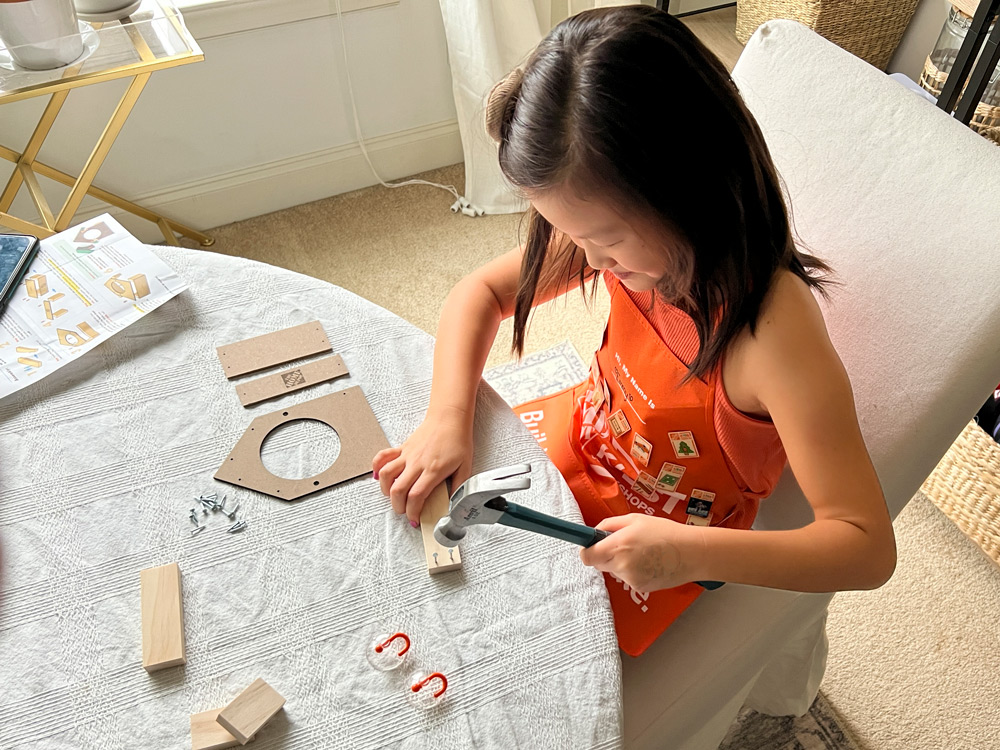
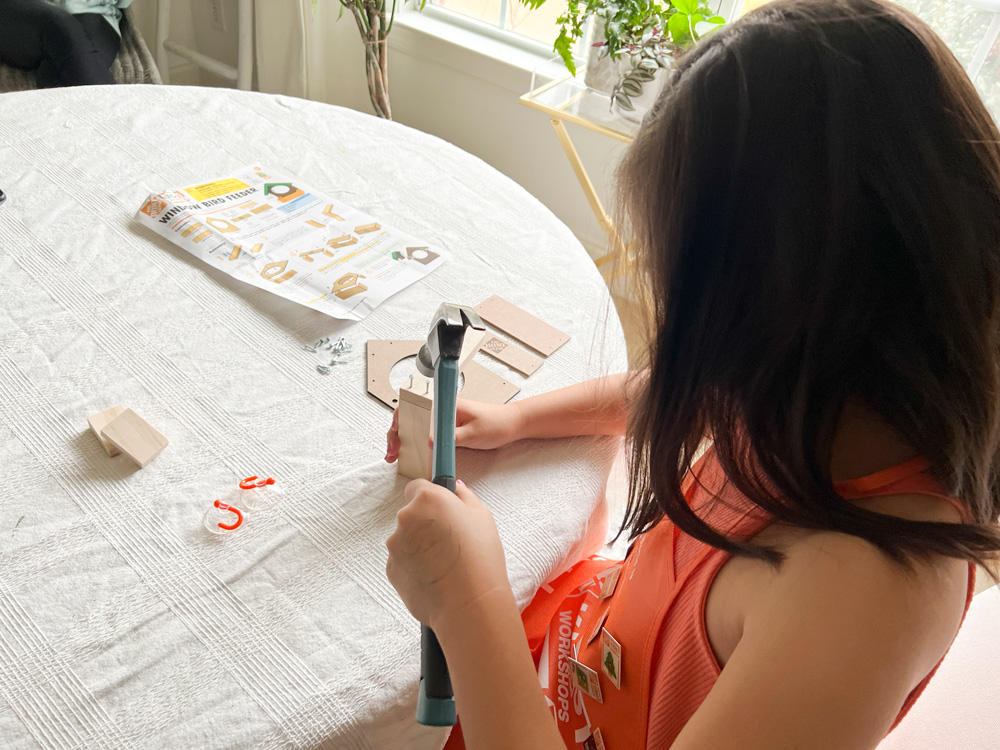
Stand the short roof up. Place the nailed end of the long roof on top. Make sure outside edges are even. Carefully nail them together using a hammer to form a roof.
Step 3: Attach the Back
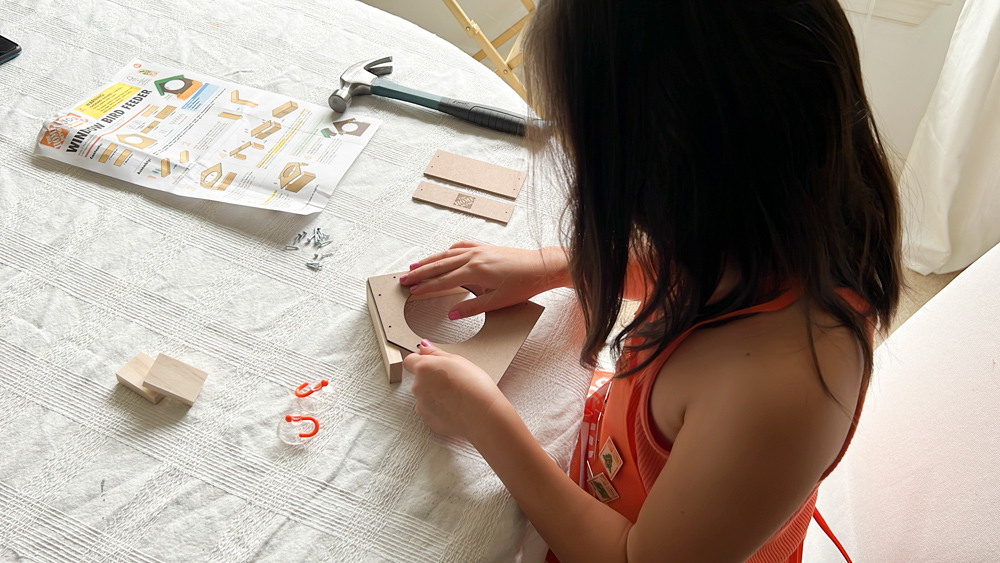
Lay the roof down. Place the house shape on top and align to the roof edge. Make sure peaks are even. Using 4 short nails, nail them together.
Step 4: Build the Bottom
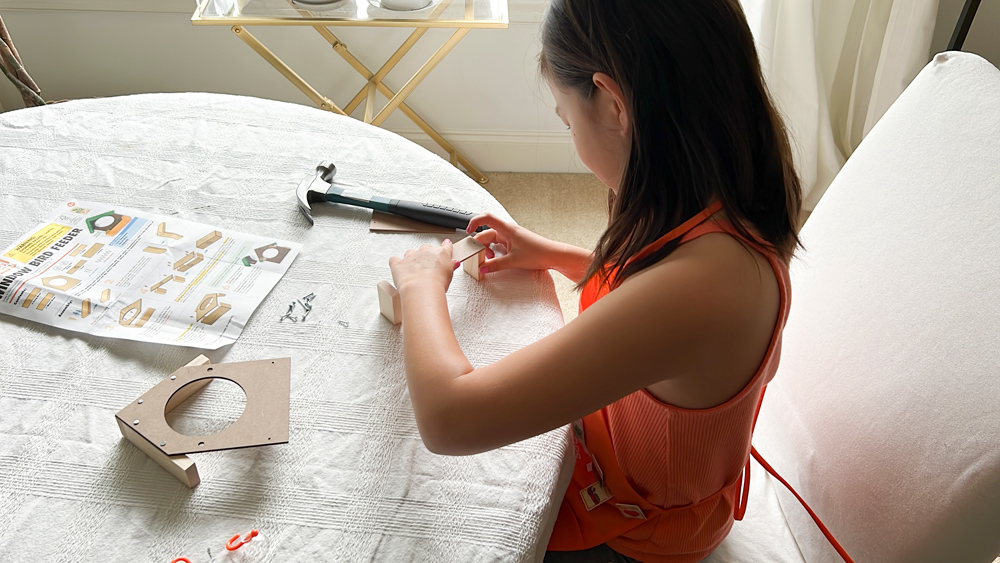
Stand both side pieces up on the short edges. Place the front piece on top with the branded logo facing up. Make sure outside edges are even. Using 2 short nails, nail them together. Lay the project down with the branded logo upside down. Make sure all edges are even. Using 4 short nails, nail them together to form a tray.
Step 5: Attach the Bottom Tray to Finish
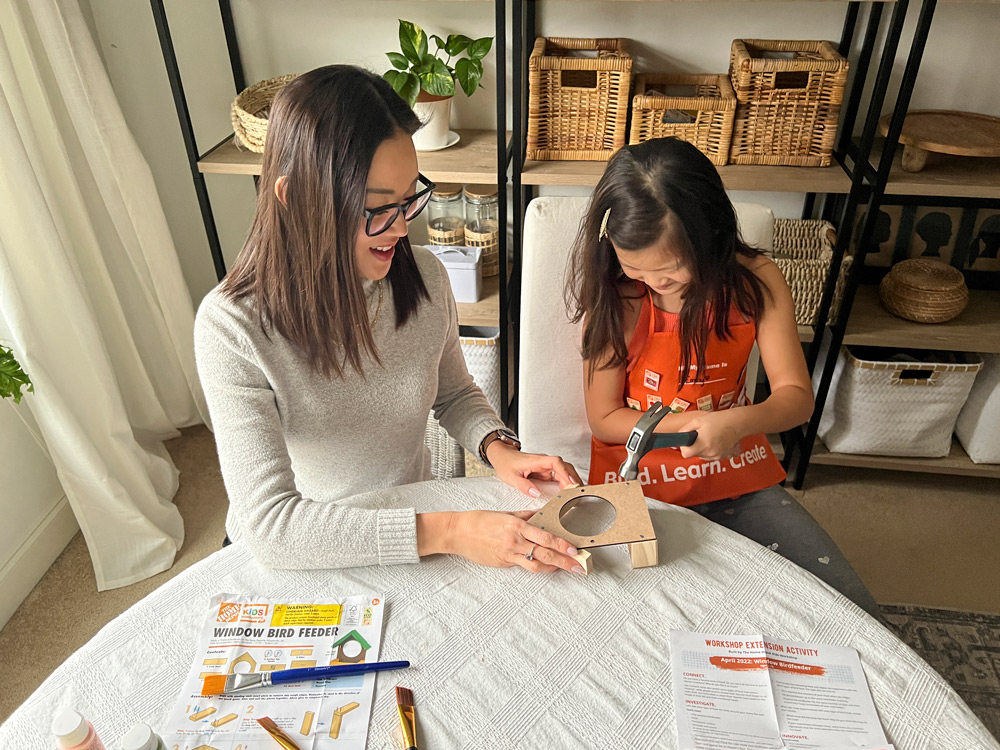
Place the tray on the front edge. Place the bottom edge of the house shape on top. Make sure the side and bottom edges are even. Using 2 short nails, nail them together.
Step 6: Paint and Attach Suction Cup Hooks
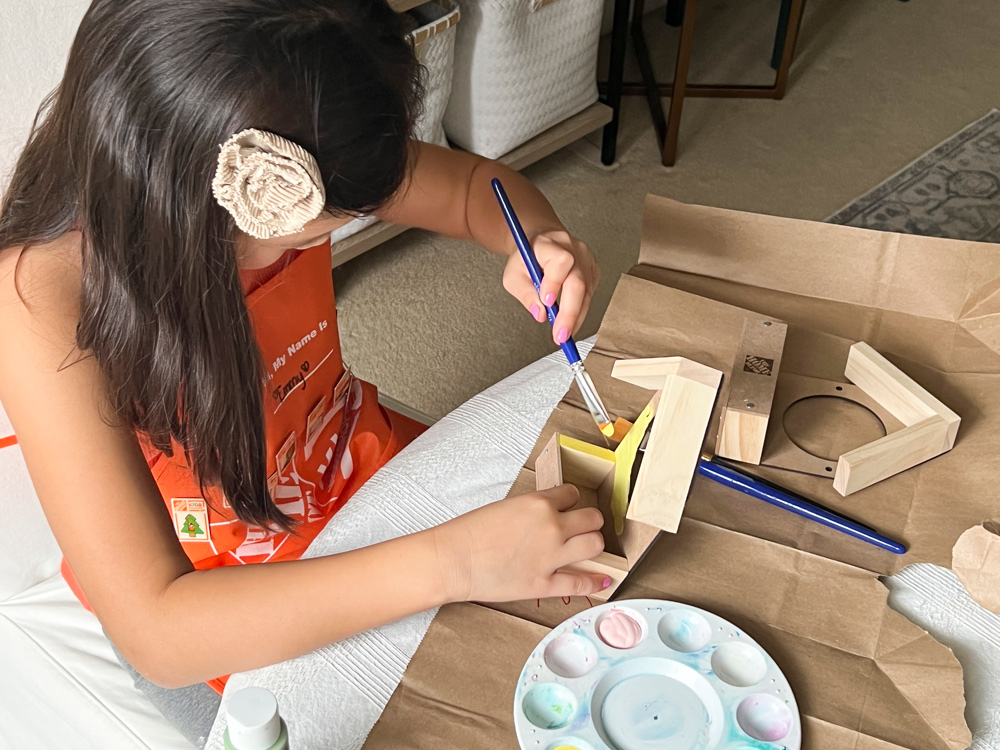
Let your little one choose paint colors to paint their bird feeder.

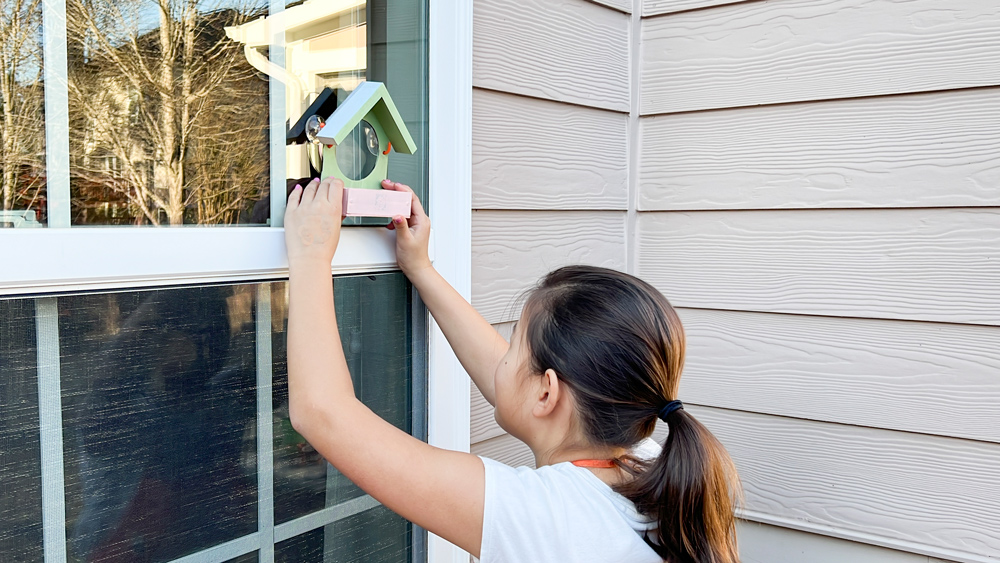
Once it’s completely dry, add the suction-cup hooks.
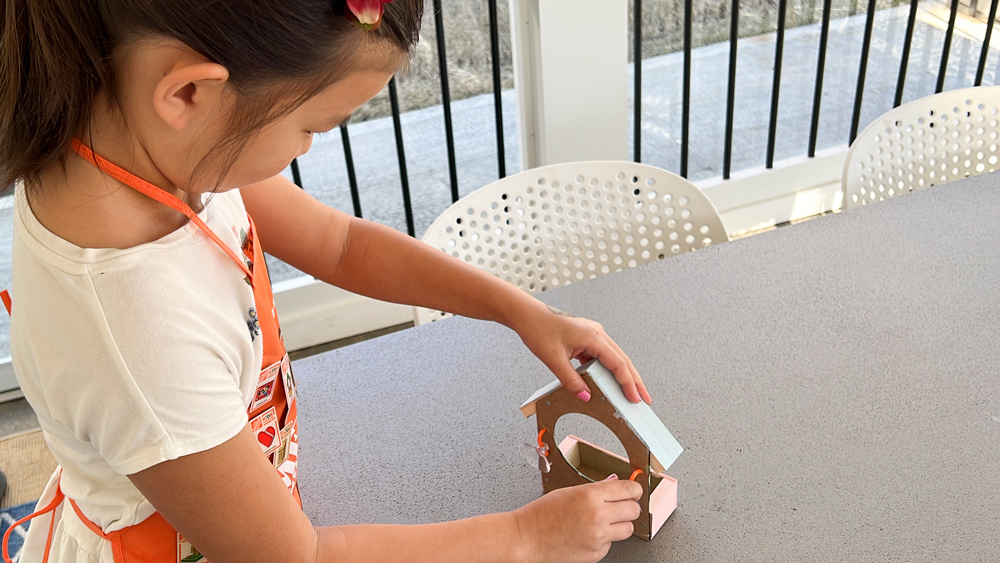
Emmy filled it with some bird food, and we looked for the perfect spot.
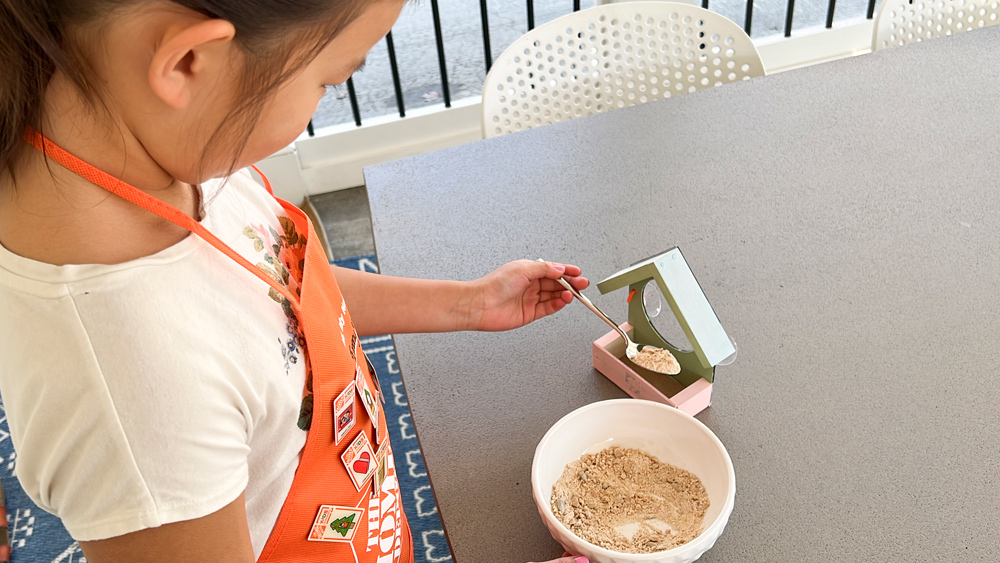
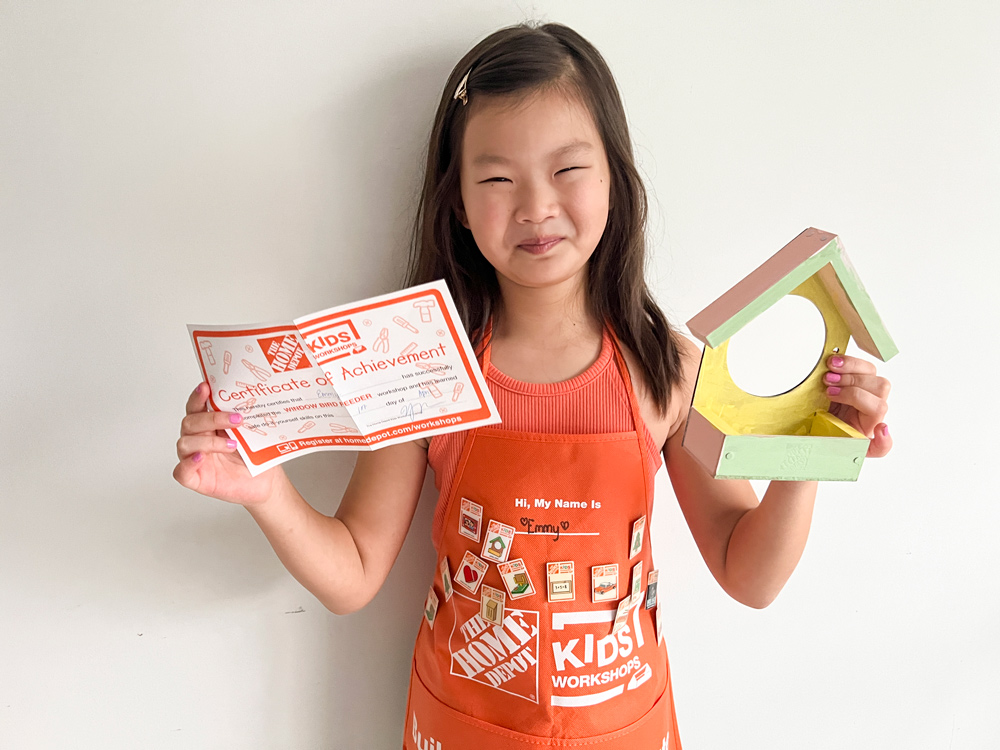
Make sure you give your child the certificate of achievement along with their pin for completing this kids workshop! We had so much fun building this window bird feeder and know you will too. All items can be found at homedepot.com.
This post was created in partnership with The Home Depot. The author may have received compensation for this article and associated images or video, potentially in the form of products and/or services. All expressed opinions and experiences are the author’s own words.


