How to Build a Wood Privacy Fence
Last updated August 21, 2024

Lindsay Zuelich is the face behind the brand, Wood Brain. Wood is Lindsay’s go-to medium for art, furniture and custom projects. On her socials you can find projects where she reclaims collected
wood to create unique handcrafted products for both women and men like; Wood Planters, Wood Jewelry and Paintings on Wood.
A Note From The Home Depot
Lindsay Zuelich of Wood Brain
is known for her fun wood DIY projects. To add a little more privacy to her home, she made her own wood privacy fence. Read below to learn more about how she did it!
Table of Contents
How to Build the Privacy Fence Topper
Product/Tool List:
Getting started
Assembly
Attaching Fence Topper
How to Build a Wood Privacy Fence
How to Build the Privacy Fence Topper
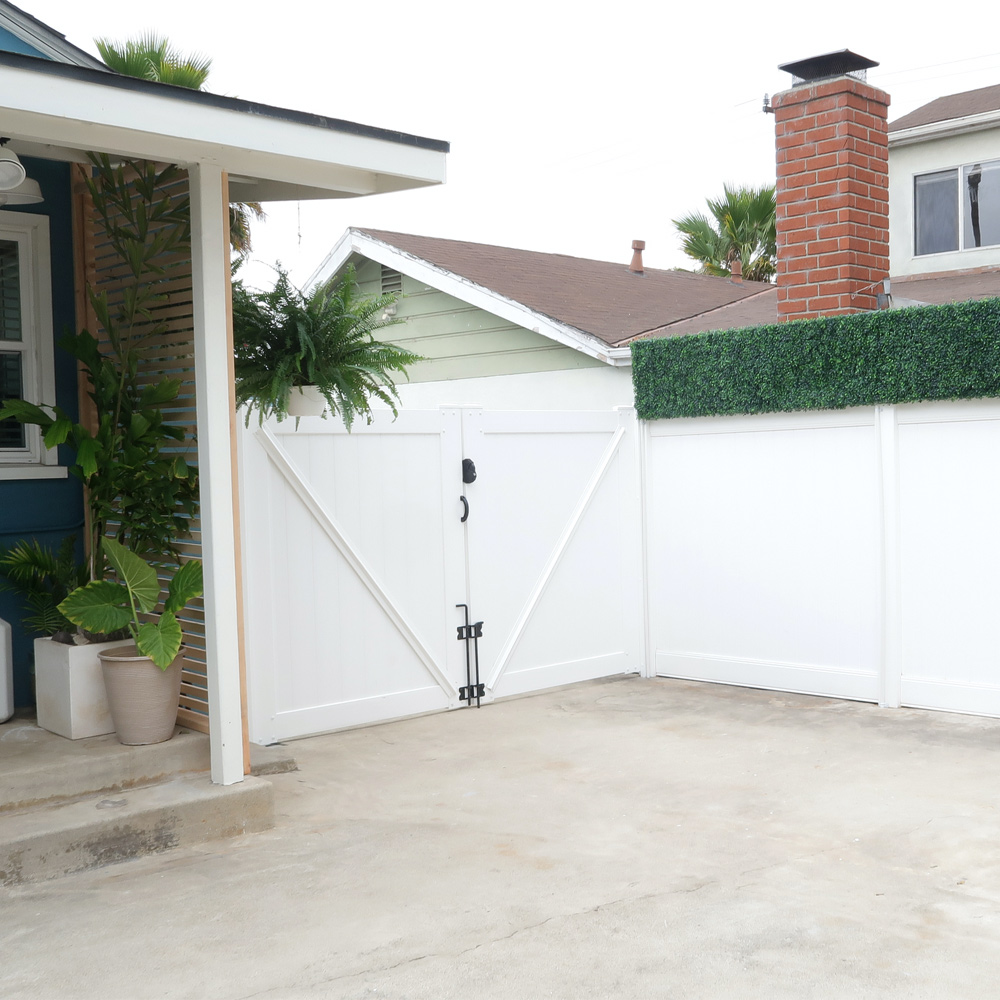
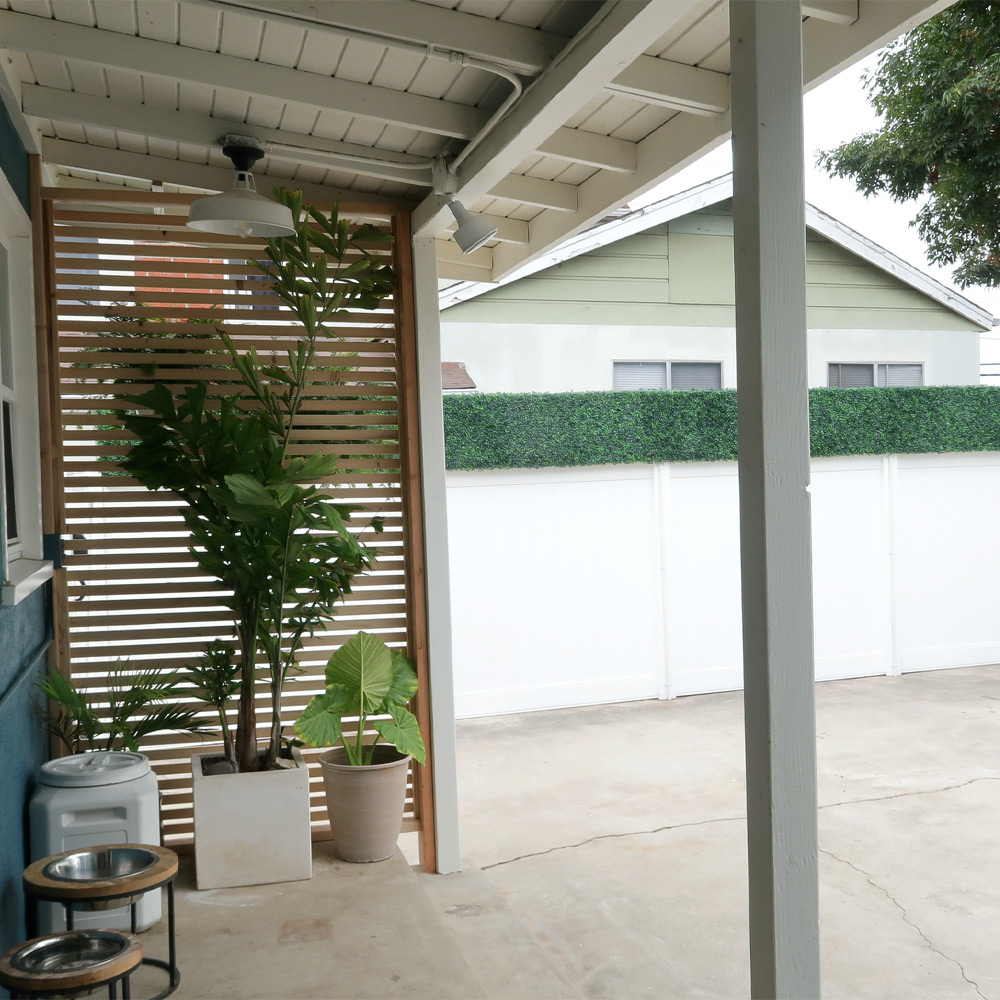
Adding a privacy screening to the top of a fence can add to the overall aesthetic of your backyard as well as help give privacy and security to your property. Adding a faux boxwood topper to an existing fence is simple and easy with the right tools and materials all found at the Home Depot.
Getting started
Cut down the PVC pipe
to the correct fence topper height and length. Also cut PVC pieces to the fence height itself using a PVC pipe cutting tool. When cutting your PVC pieces remember to account for the connector pieces, each PVC connector piece will add an additional 1” to your overall structure.
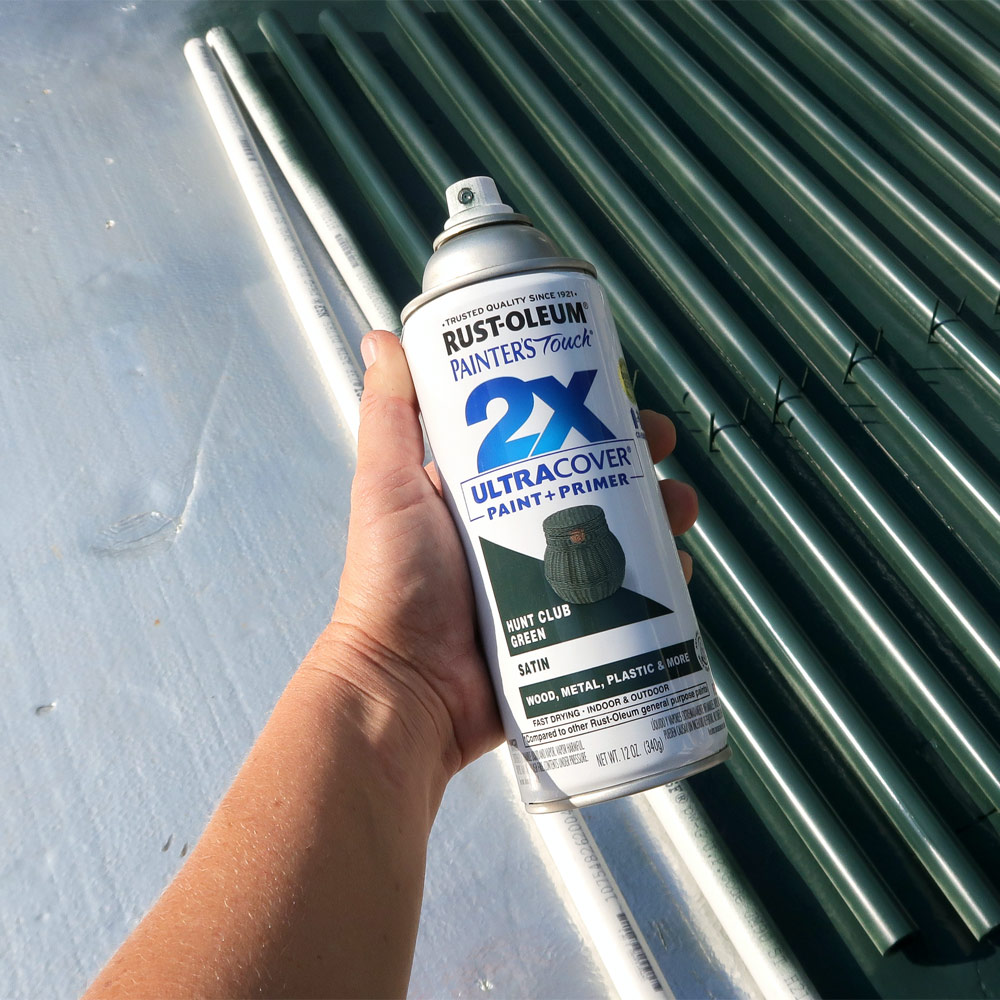
Use Rust-Oleum Satin Hunter Club Green spray paint to paint the PVC pipe piece that were cut for the top section of the fence topper, and connector piece. This will help to disguise the pipe structure that will be behind the faux boxwood panels. Let all the pieces fully dry before assembly.
Assembly
Use the All-Purpose PVC cement to glue the painted PVC pieces of pipe and connectors together to form the fence topper structure. The All-Purpose PVC cement helps to easily connect the pieces of pipe to the connectors and also helps keep the structure secure and strong.
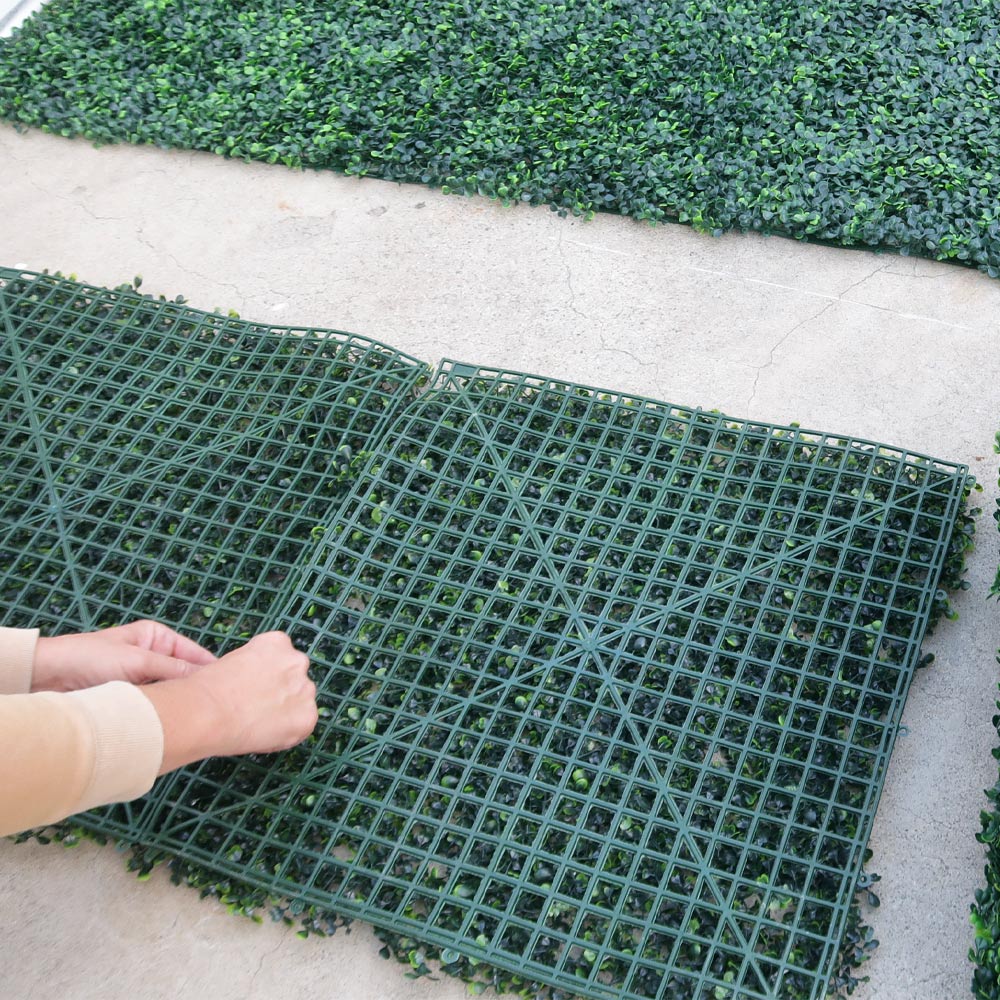
Now that all the painted PVC fence topper structures are built, its time to connect the faux boxwood panels together that will get zip tied to the PVC structure. The faux boxwood panels have small tabs on each end making connecting the panels together easy and they hold together strong.
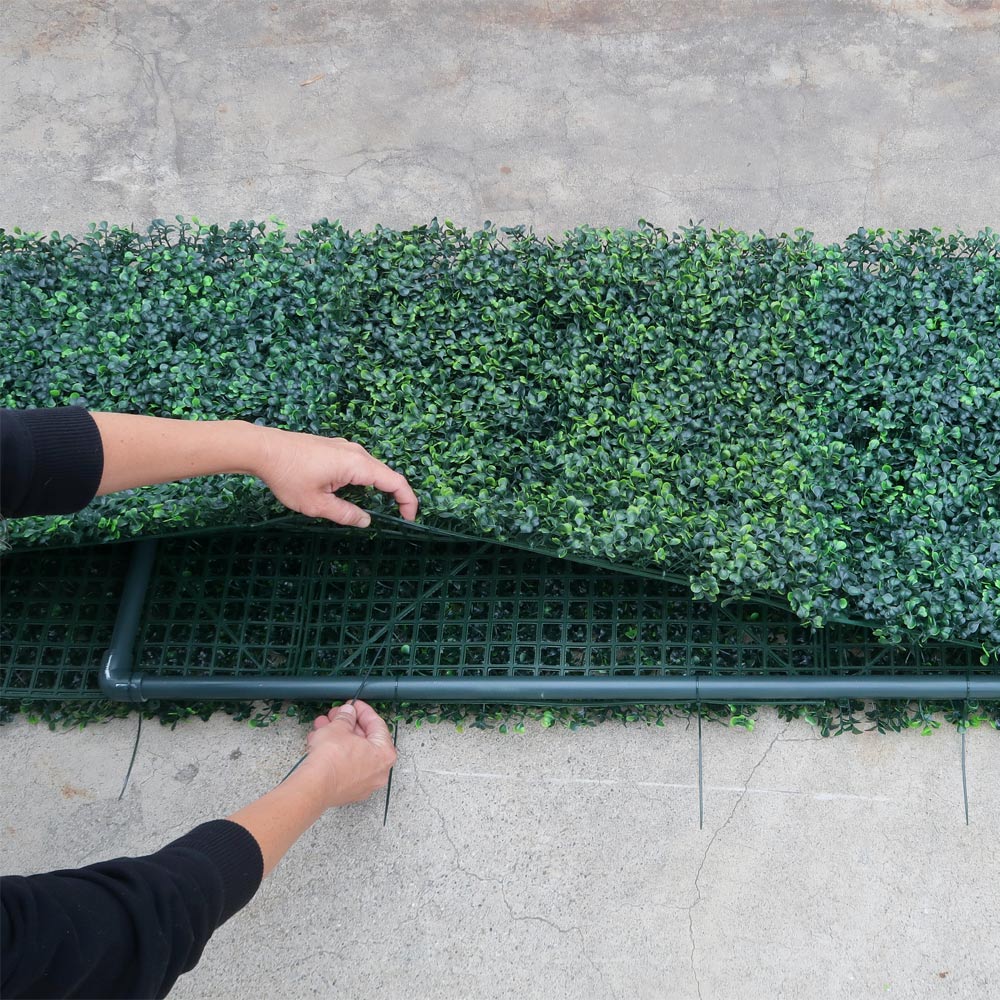
The faux boxwood panels come with matching colored zip ties for attaching the panels to the PVC structure. Double siding the faux panels to the PVC structure helps add extra privacy and thickness to the panels. It also gives a more visually appealing fence topper on both sides of the fence.
Attaching Fence Topper
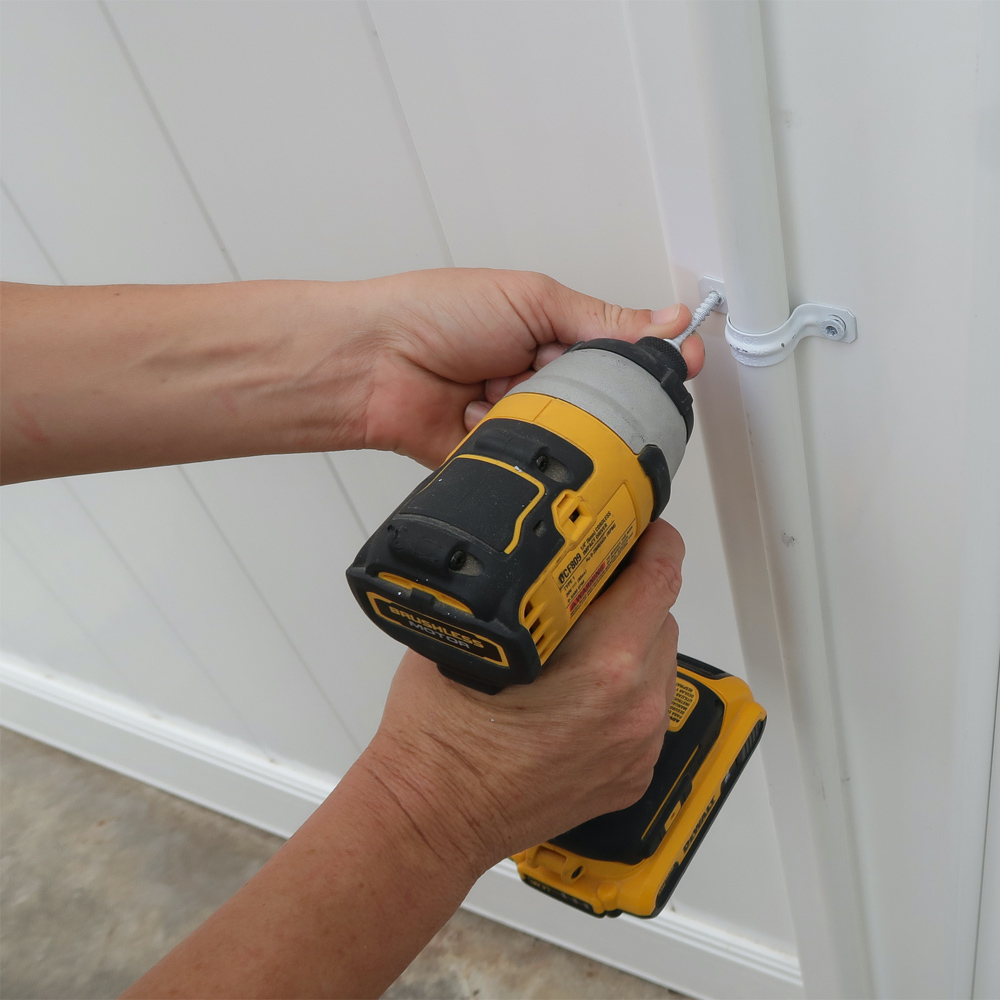
Once all the faux boxwood panels are attached to both sides of the PVC structure, it’s time to add the fence topper to the fence. Glue the piece of PVC that was cut to the fence height to the PVC structure with the panels attached. Connect the structure to the fence using concrete screws and conduit straps to each one of the fence center posts.
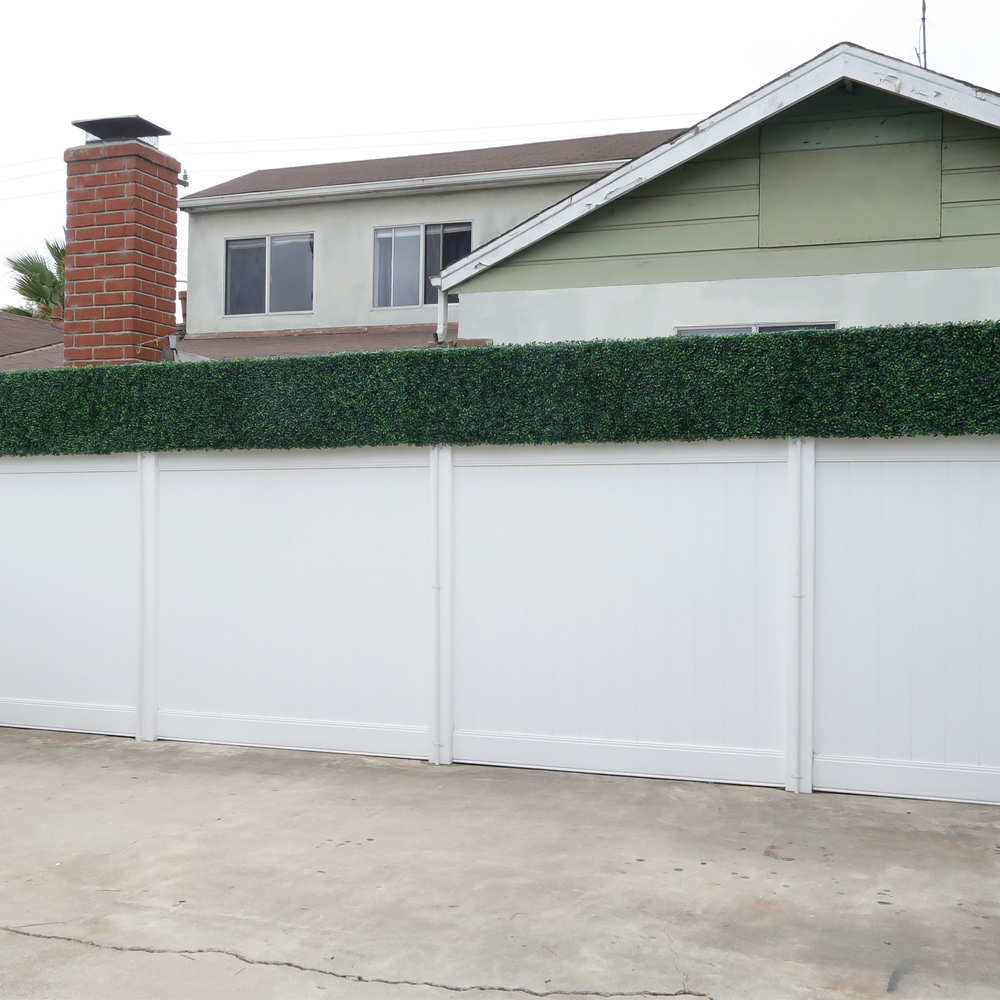
How to Build a Wood Privacy Fence
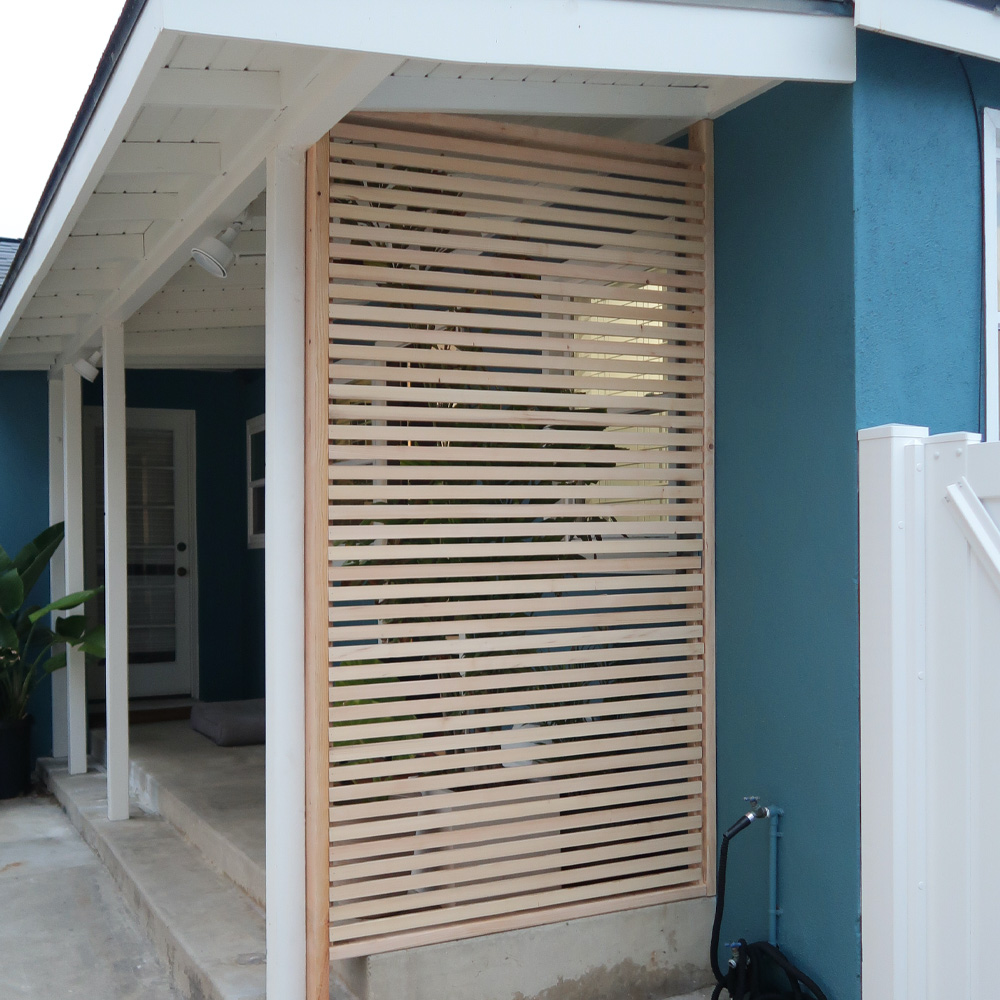
Getting started
Cut down the PVC pipe
to the correct fence topper height and length. Also cut PVC pieces to the fence height itself using a PVC pipe cutting tool. When cutting your PVC pieces remember to account for the connector pieces, each PVC connector piece will add an additional 1” to your overall structure.
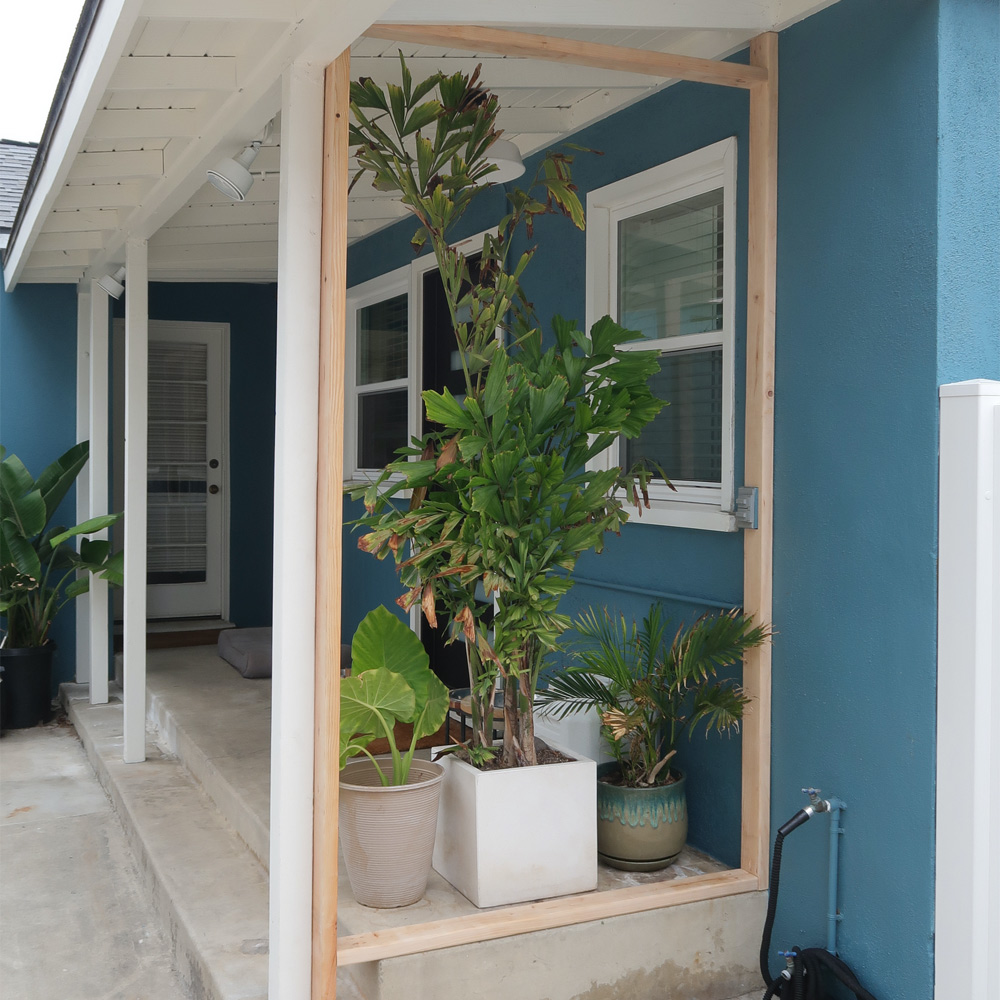
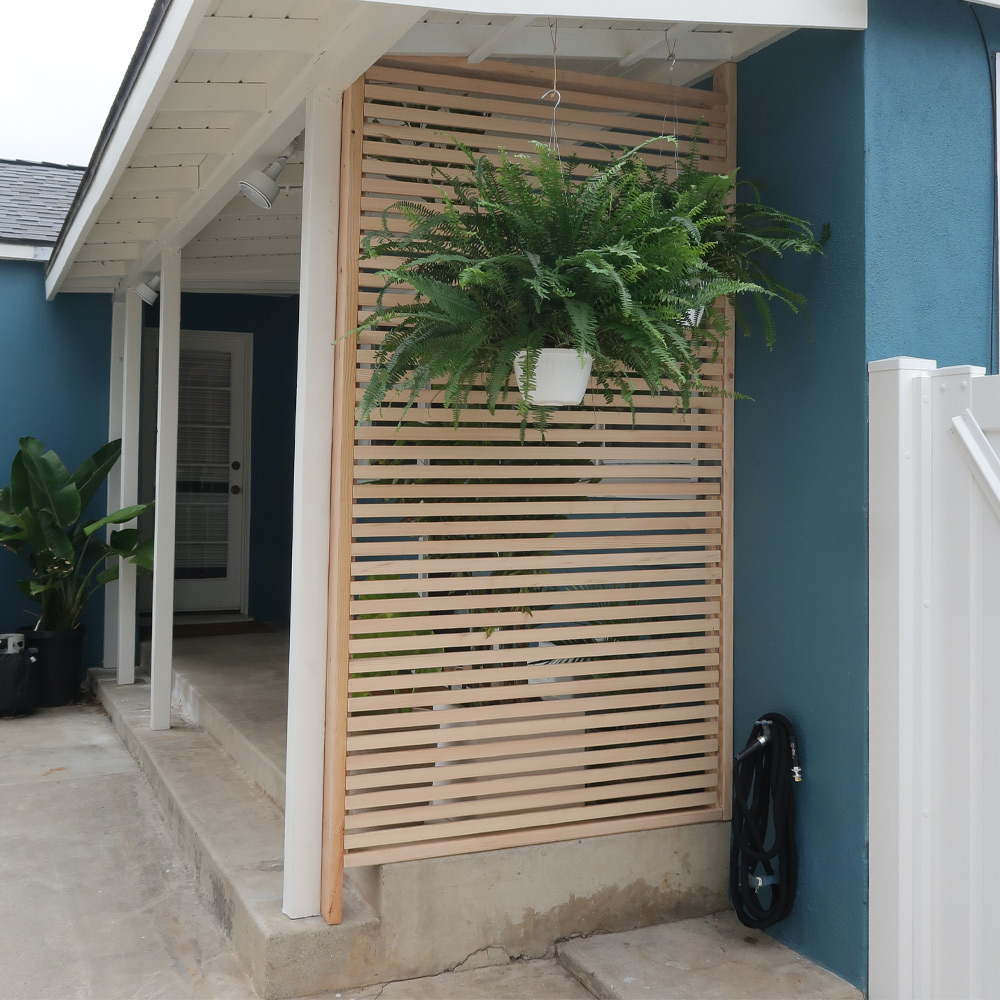
Use 2”x 4” Lumber to build a frame around the porch area for the wood privacy fence slats to attach to. Secure the wood frame to the porch using exterior wood screws. Make sure that frame is square and level before screwing it together and attaching it to the porch.
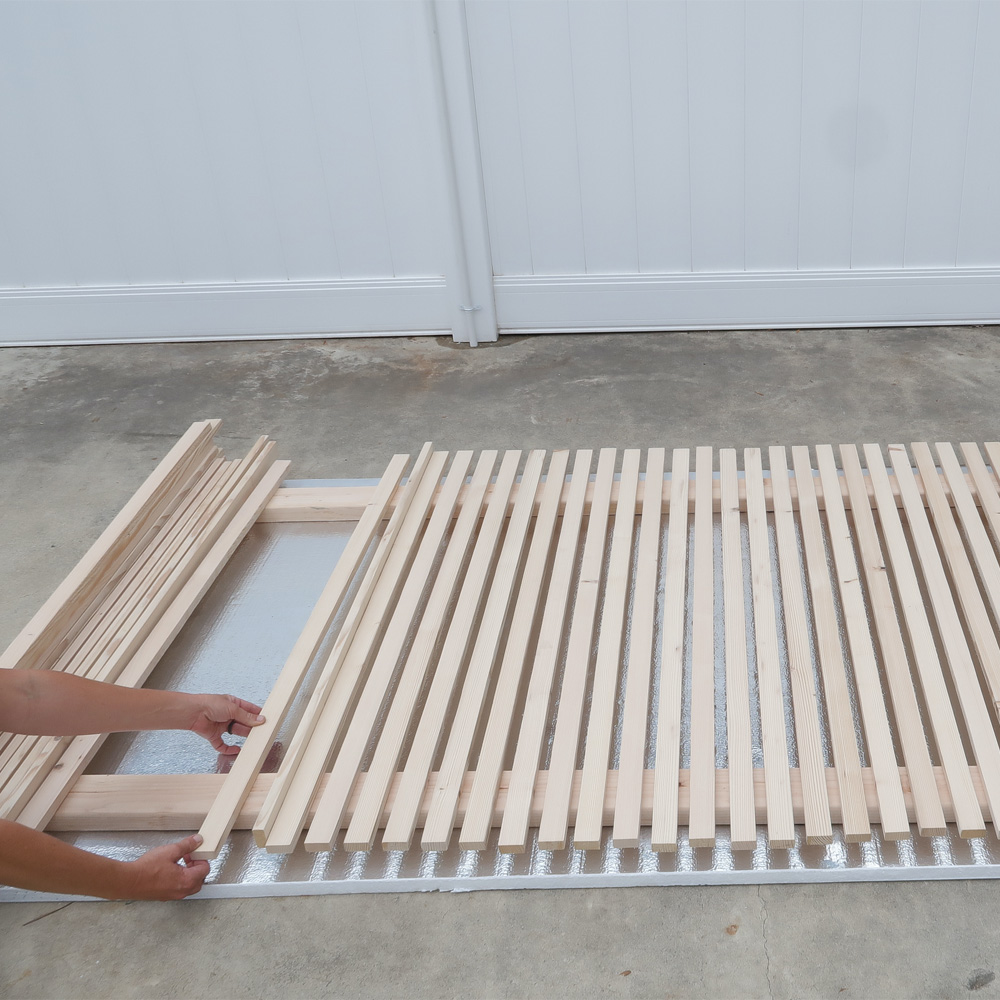
Use a miter saw or hand saw to cut enough 8’ long x 2” wide wood furring strips in half to cover the wood porch frame. The number of slats for the privacy fence is determined by the spacing between each slat. A larger open space between slats will require fewer boards, and a smaller open space between slats will require more boards. After cutting down enough of the furring strips, sand all the sides and edges of each piece of wood.
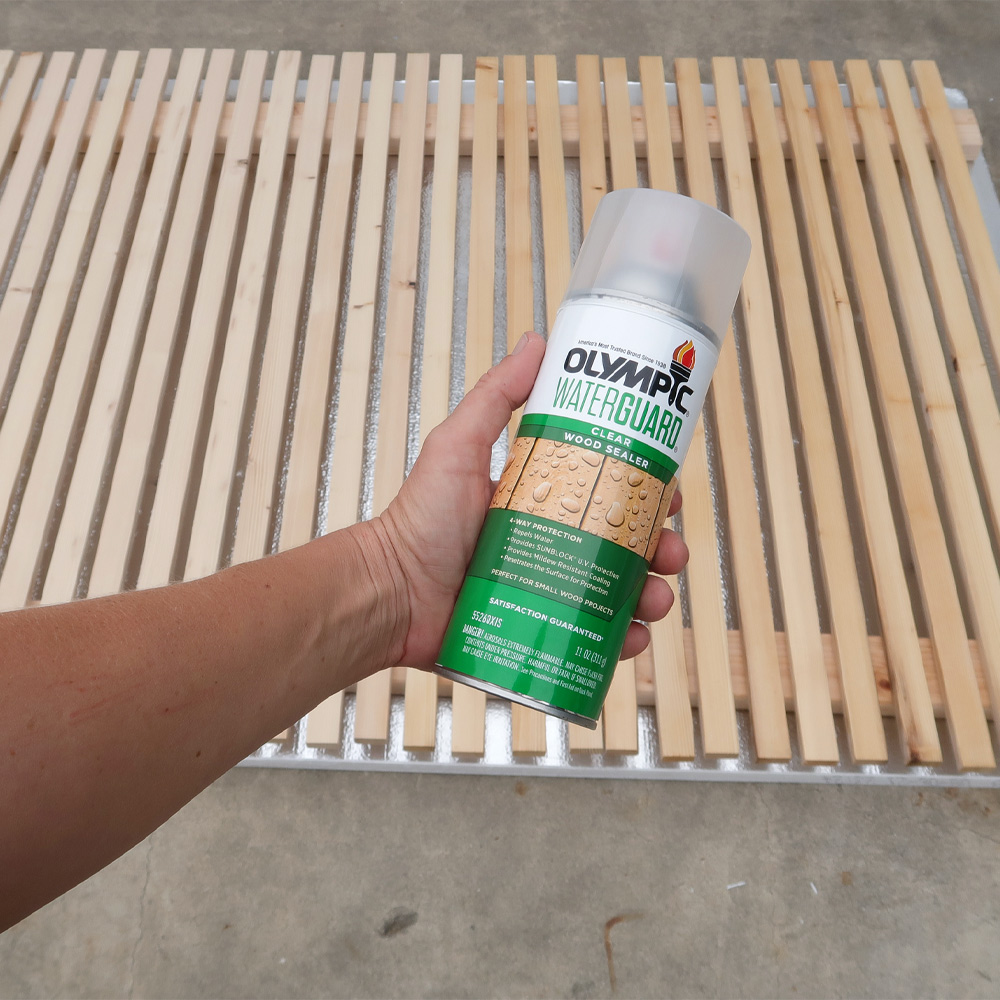
After all the wood strips are sanded and wiped clean it time to seal the wood to protect it from the outside elements. Seal all the wood slats by giving each side two coats of Olympic water guard clear wood sealer spray, and let it fully dry before assembly. Be sure to do this step outside in a well-ventilated area.
Assembly
Use the All-Purpose PVC cement to glue the painted PVC pieces of pipe and connectors together to form the fence topper structure. The All-Purpose PVC cement helps to easily connect the pieces of pipe to the connectors and also helps keep the structure secure and strong.
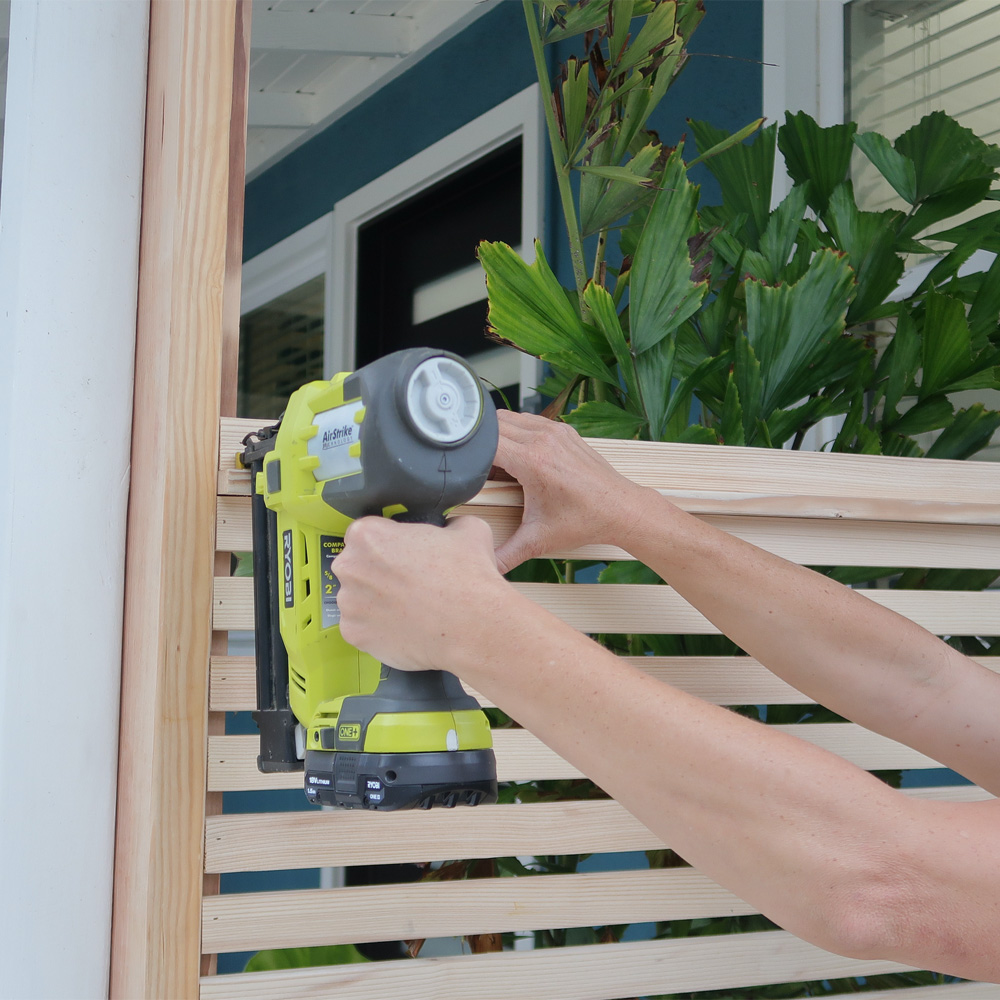
Use one of the extra furring strips on its thin side as a spacer while attaching the furring strips to the porch frame.
Then use a brad nailer or hammer and nails to attach the furring strips to the porch frame.

This post was created in partnership with The Home Depot. The author may have received compensation for this article and associated images or video, potentially in the form of products and/or services. All expressed opinions and experiences are the author’s own words.


