How to Build an Inexpensive Raised Garden Bed

Last updated August 21, 2024

Clayton is a dad, a DIYer, but not a morning person. Although he's not a contractor, he has spent his whole life renovating houses, woodworking, and building. Clayton hopes to inspire people to take on projects and DIY their lives.
A Note From The Home Depot
Follow along as Clayton Juarez, the man behind The Weekend Builder, transforms his backyard by building a raised garden bed as a surprise gift to his wife for Mothers Day.
Table of Contents
What materials do you need to build a raised garden bed?
How to build the garden bed
How do you fill the garden bed?
What Should You Plant?
What Else Do You Need to Garden?
Need more info than just a blog?
What materials do you need to build a raised garden bed?

There’s a lot of information out there on raised garden beds and it can be a lot to take in. I won’t pretend to be an expert but as a maker, I have a lot of building experience and I’ve made what I believe to be one of the most simple and good looking raised garden beds while maintaining affordability.
In order to build this 4x8 raised planter, you’ll need lumber, screws, a plastic liner, and an exterior wood sealer.
The 2x6s that I used are not pressure treated. I recommend using untreated ones because it’s very difficult to get a uniform color with pressure treated wood and you also aren’t able to add a finish to pressure treated wood for 3-6 months depending on where you live. Going with normal 2x6s means that you can treat them immediately for outdoor use yourself and the finished product will look better. With this method, you’ll also need some way to apply the sealer to the wood. I recommend using a small 6” roller as they’re cheap and easy to control.
How to build the garden bed

Step One, cut your pieces.
I recommend using a miter saw if you have one as it will speed up the process, but you definitely don’t need one. In the video tutorial, I used a circular saw and a speed square to make all my cuts.
Start by cutting four 2x6s directly in half so that you are left with eight 4’ pieces. Next, cut six 22” pieces - these will be the corner supports. And for the top, cut two pieces at 54” and two at 89”.

Step Two, build the thing already.
Start by building the side panels. Lay four 4’ pieces on the ground, making sure they are all touching as closely as you can get them. Then lay a 22” piece on top, perpendicular to the longer pieces, and all the way to the side. Then screw it down to the pieces below with two screws into each board. Then do the exact same thing to the other side of the boards. Repeat this process again and you should end up with two side panels.
Place an 8’ 2x6 perpendicular to the side panels you just built and screw it into the corner support piece from the outside. Repeat this process on the other side of the 8’ 2x6, attaching it to the other side panel, then stack and screw on three more 8’ 2x6s until the top is flush with both side panels. Repeat this process on the other side.
Inside the garden bed, attach 22” pieces vertically and in the center of the long sides, this will help with rigidity and minimize wood movement.

Step Three, protect it from the weather and rot.
Apply the wood treatment to any exposed wood using the 6” roller, making sure to get it into all the cracks.
Then attach the plastic liner with either screws or staples all the way around the inside of the garden bed and cut off the excess so that only an inch or two is touching the ground.

Now that the bulk of the garden bed is built, we just need to attach the top. Start by treating the underside of the boards, then center the 54” boards on top of the left and right sides, making sure to leave 2” overhang on all sides. Then screw them down. The last pieces you need to attach are the long pieces on top and you will attach those the same way you just did with the side pieces.
The only thing left to do to finish off the building process is to apply the wood sealer to the top pieces and you’re done!
How do you fill the garden bed?

With the planter built, we just need to fill it in order to start gardening. It’s commonly believed to be a good practice to line the bottom with cardboard. I don’t know if that’s true, I’m a builder not a gardener… but in my research, that seems to be the #1 recommendation so I did it as well. Then you want to fill it as much as you can with branches and other organic material which will break down over time and introduce nutrients into the soil. Then fill it with dirt until it’s about 6” from the top, add some fertilizer, and fill it the rest of the way up.
What Should You Plant?

This is a part where you might consider getting an expert opinion local to your area. I’m a builder, not a gardener. But do your research when choosing which plants you want to use because depending on the time of year and where you live, it might be too cold or too hot for those plants to grow. For example, if you plant tomatoes in March, there might be a late freeze in April which will cause damage to the plant and potentially kill it. So make sure you don’t plant certain things until the danger of freezing has passed.
You also want to look up the amount of sunlight each plant needs and make sure that your garden bed gets enough sun for that plant to grow. Each plant will also need to be watered regularly, so take that into consideration as well.
What Else Do You Need to Garden?
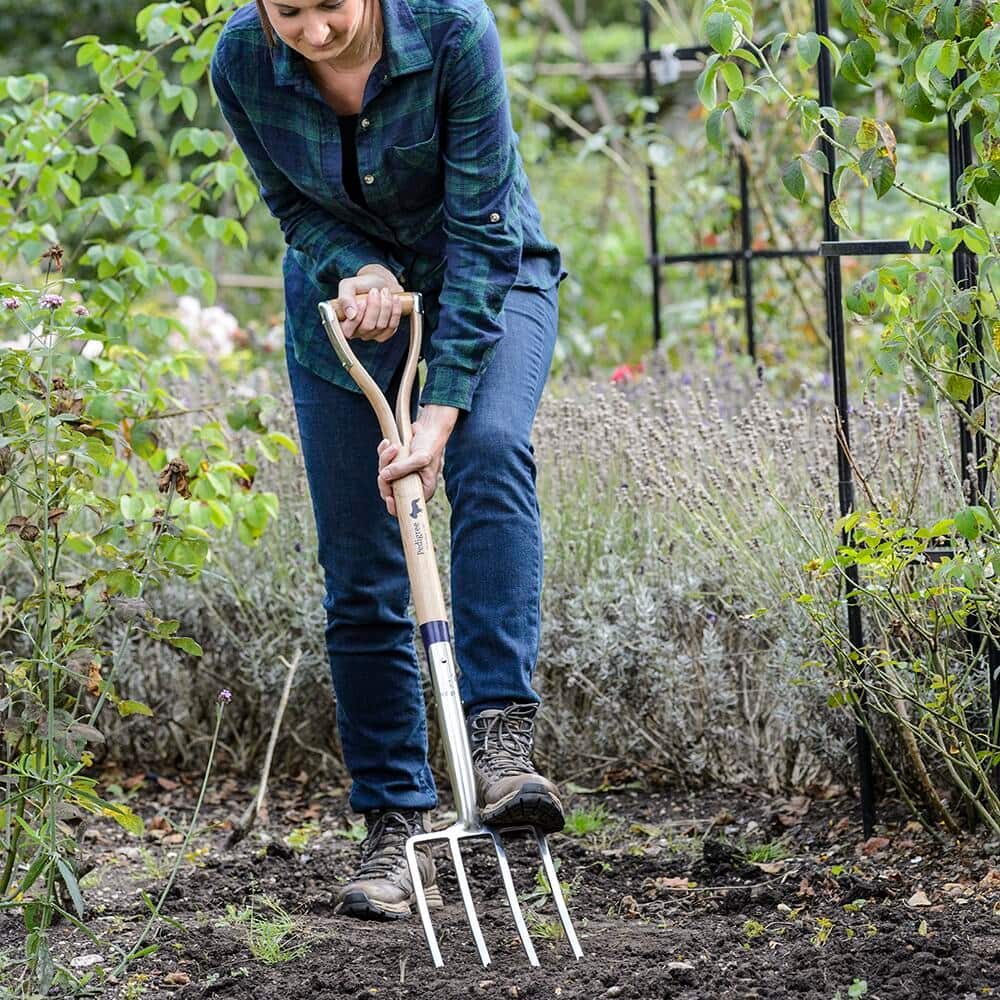
So if you’ve followed the guide, you have a fancy new garden bed… but there are still a few things you need to actually be able to grow things: a pair of gardening gloves, a hand garden trowel, and a garden hose.
Need more info than just a blog?
In combination with this blog post, I also made a video of how to build this 4x8 raised garden bed! I hope this was helpful and informational. Good luck with your weekend project!
This post was created in partnership with The Home Depot. The author may have received compensation for this article and associated images or video, potentially in the form of products and/or services. All expressed opinions and experiences are the author’s own words.