How To Create A DIY Halloween Directional Sign

Last updated August 21, 2024
Yadira Vedder of Mainly House Stuff is a Design and DIY aficionado, living in Mayfield, New York. She strives be an example for Latinas everywhere looking to get into the DIY world.
A Note From The Home Depot
Take your Halloween decorating to the next level with spooky decor that's frighteningly easy to create. With a little help from The Home Depot, Yadira Vedder of Mainly House Stuff created a scary directional sign to impress all the trick-or-treaters. Keep reading to learn how!
Table of Contents
How To Create A DIY Halloween Directional Sign
Getting Started
The Fun Part
Let’s Dress It Up
How To Create A DIY Halloween Directional Sign

I always look forward to holiday decorating especially for Halloween. Now that Halloween is just around the corner, I am thrilled to get started. I already have an idea of what my All-Hollow’s eve would look like and since I am a huge fan of directional signs, I knew I had to create one. I didn’t want the sign to be too clean. I wanted it to look spooky – something that would really conjure a frightening vibe.
So, in this blog, I’m going to walk you guys through how I created this spooky directional sign. Let’s get right into it.
Getting Started

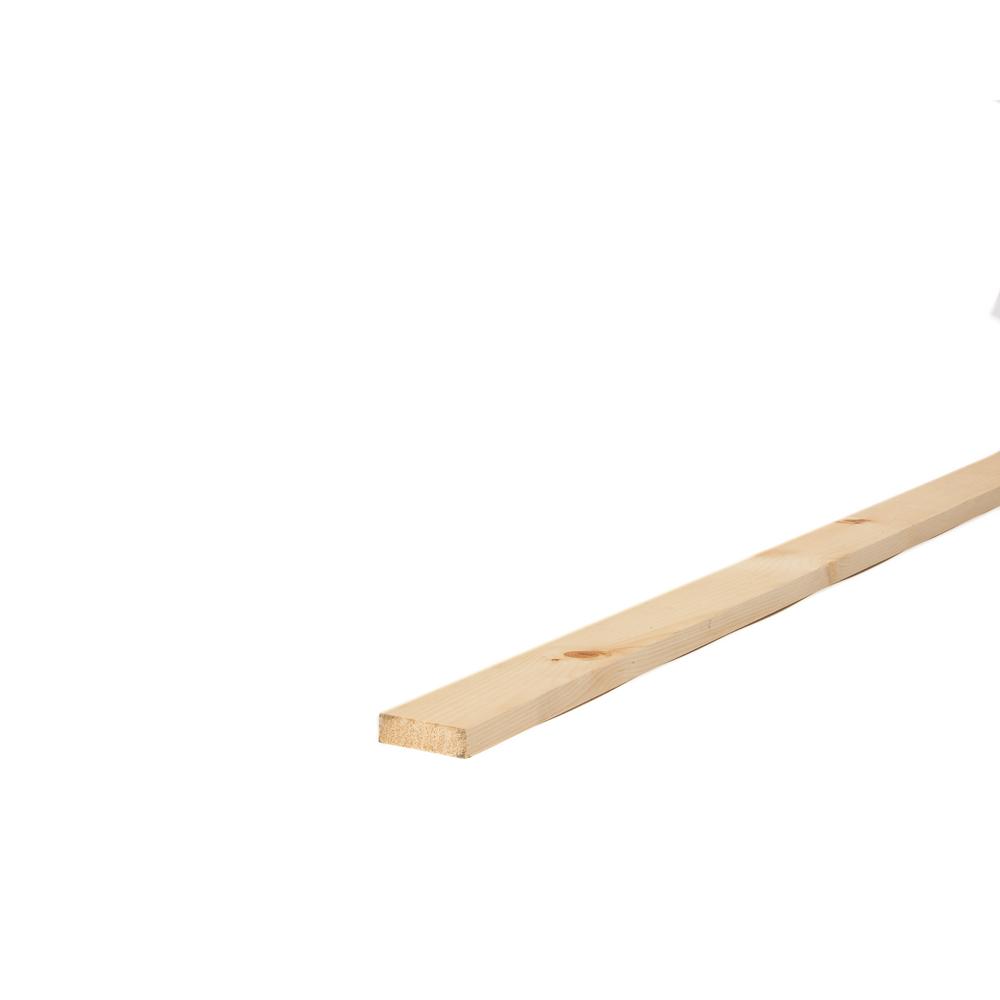
I didn't want the boards to be too thick, so I used a 1x3x8 for the stand and 2 pieces of 1x4x8
boards. The first thing I did was cut the 1x4s into five 24" lengths. Each one was spread out and labeled so I knew where they were going to be placed on the 1x3 board. To achieve an aged look, I gently coated some of the boards with black spray paint. I decided to spray the post and a few boards all black as well.
I cut a point out once I determined which way the boards would go. For rough pieces, you can use a jigsaw or a miter saw (for crisp cuts). I didn't measure beforehand since I wanted to create an imperfect look. The boards are 2 inches in width when combined so I used 1 1/2 18-gauge brad nails to keep the nails from sticking out the rear. We want to keep these and reuse them later, but we don't want to scratch ourselves getting them out.
The Fun Part

To create the letters, I used an artist paintbrush and black paint that I had on hand. It's not supposed to appear smooth and flawless so to make it appear creepy, I wrote the letters in freehand.
I also dipped my finger in Behr’s “No More Drama” and drew the BEWARE with my finger to create a realistic touch. The sign was still too clean for me so I added a red paint spatter to give it a spooky Halloween vibe by flicking my finger across the sign.

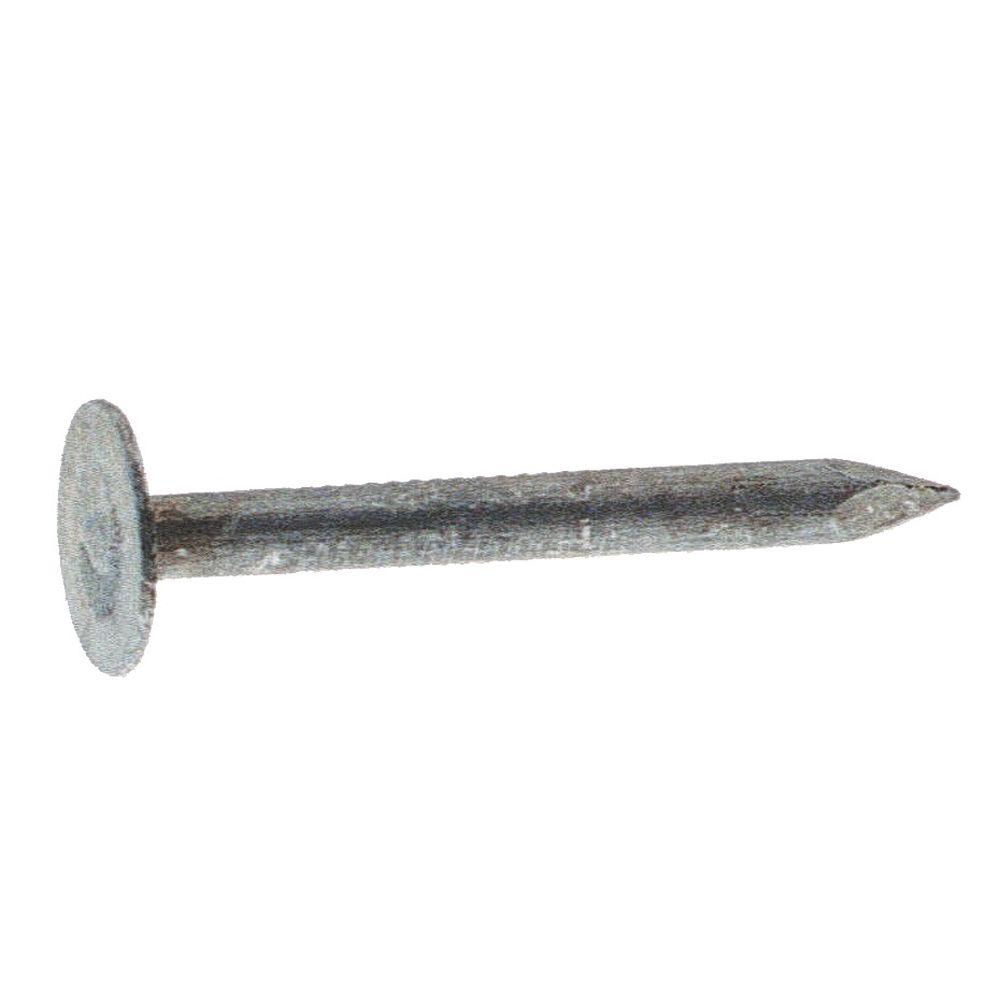
After the parts were put together, I spray painted 1 1/4” roofing nails black with a gentle mist. At an angle, I hammered them into the boards. Because you don't want the nail to poke out the rear, you should only do this where the two boards meet. This is what gives the sign that aged worn appearance
Let’s Dress It Up

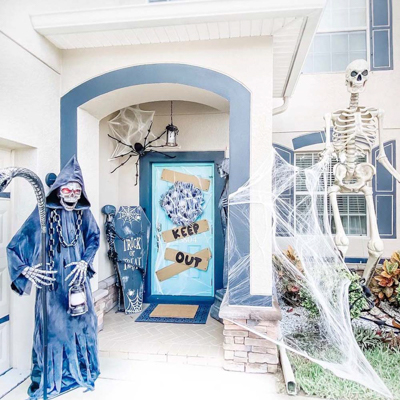
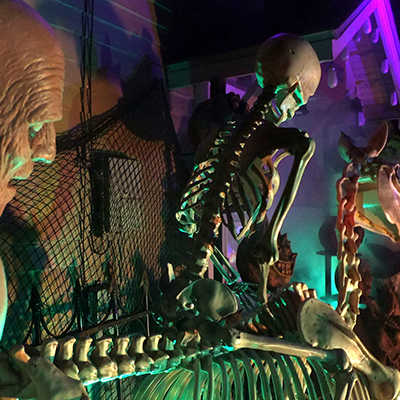
I chopped the bottom of the sign into a point as a stake, with a jigsaw. We have very strong winds here, so I wanted to anchor something to the ground. After everything was done, I styled the sign with spider webs, a rotten pumpkin and a hanging ghost.


And there you have it: A directional DIY Halloween sign made from scratch! For a complete Halloween look, feel free to add spiders and more pumpkins.

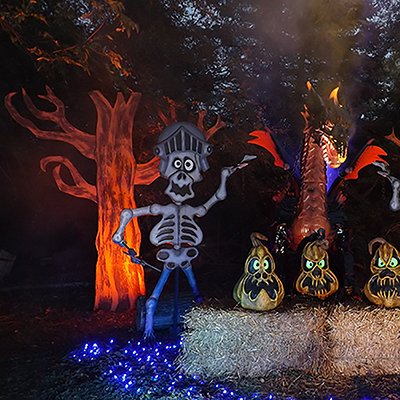
We hope you have fun bringing this spooky Halloween sign to life. Whether you need pumpkins or spiderwebs, cauldrons or ghosts, we have them all. The Home Depot delivers
online orders
when and where you need them. Plus, if you need to rent a tool for this project, we can help with that, too.
This post was created in partnership with The Home Depot. The author may have received compensation for this article and associated images or video, potentially in the form of products and/or services. All expressed opinions and experiences are the author’s own words.