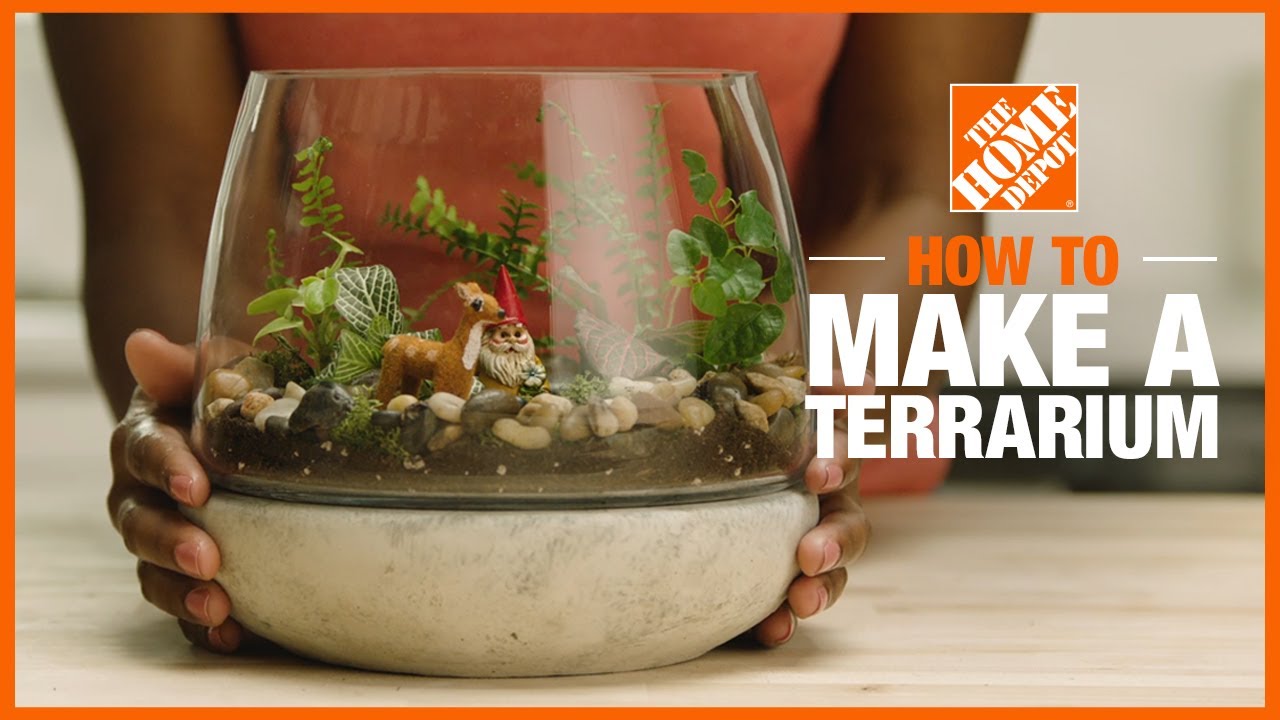
How to Create a Moss Terrarium

Last updated August 21, 2024

Ashleigh is a YouTube content creator whose journey began in September 2017.
She started this creative outlet to express her love for all things DIY, including furniture refinishing and home decorating. Ashleigh is originally from Columbia, SC, currently living in Georgia with her husband, two baby girls, and two dogs. She enjoys being able to share her creativity to inspire others to create budget-friendly DIY's while incorporating her fun and easy to follow step-by-step instructions. You can see more of her work over on her YT channel Ashleigh Lauren and Instagram @_ashleighlaurn.
A Note From The Home Depot
Looking to keep busy at home? The Home Depot has the home-improvement how-to, including project guides, step-by-step videos and instructions, to complete Pinterest trending projects at home. DIY blogger, Ashleigh Laurenhas the 411 on how you can make your own moss terrarium. Check out her blog below to learn how!
Table of Contents
DIY Moss Terrarium
Step by Step Instructions
DIY Moss Terrarium

Step by Step Instructions
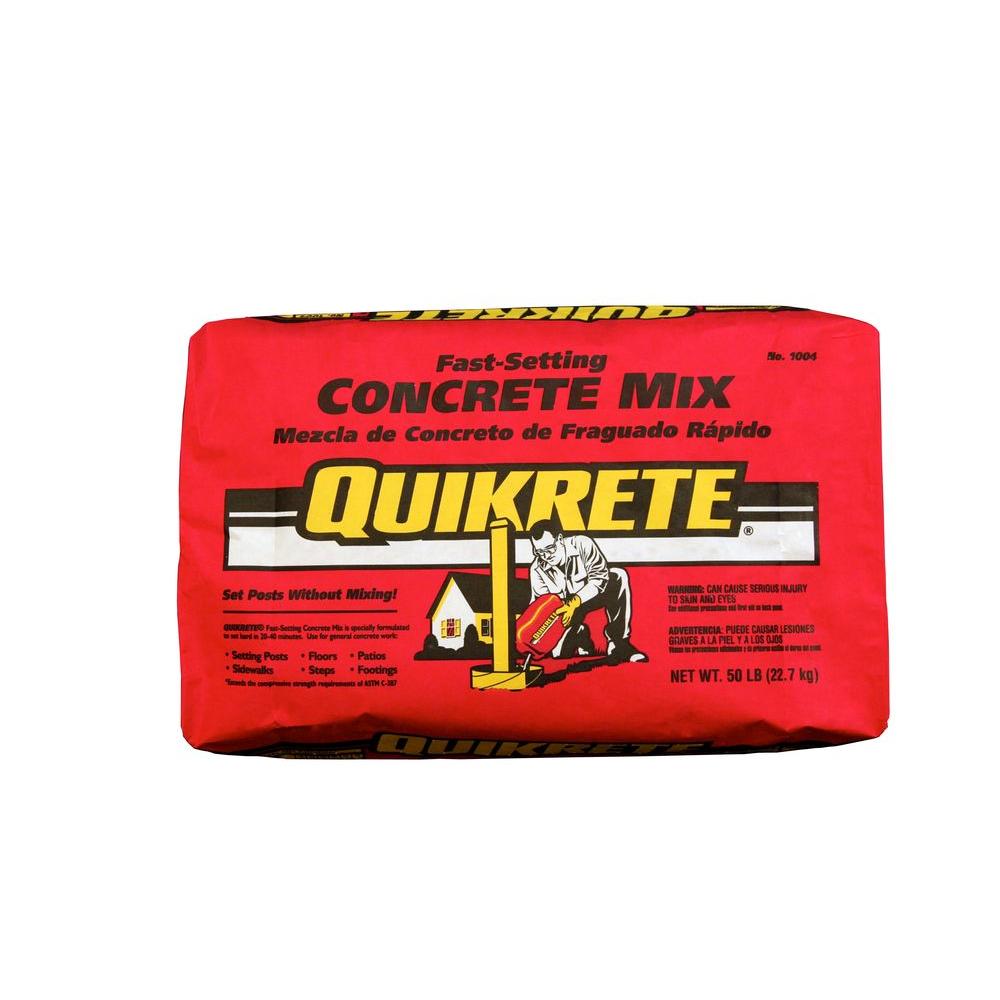
The first thing I’m going to do is create a concrete base. This step is optional. Before you start mixing the
concrete, you will need a stir stick, gloves and a mask.

I started by adding my concrete into a large plastic bowl. I then mixed in water and began to stir. You want the consistency to be like oatmeal.

After I mixed the concrete, I started to prep my bowl that I will be using to create the base for my terrarium. This bowl was the perfect shape to add to the specific bowl I’m using to make my terrarium. I added oil to the inside of the bowl, making sure I covered it well. The oil is going to help with releasing the concrete from the plastic bowl.

Next, I added the concrete into the bowl and placed the glass bowl on top, making sure I pushed down on the bowl so that it would
mould
to the shape of the glass. You will then want to add weight to the top while it hardens. I also sprayed the outside with water to remove any excess concrete from the sides.

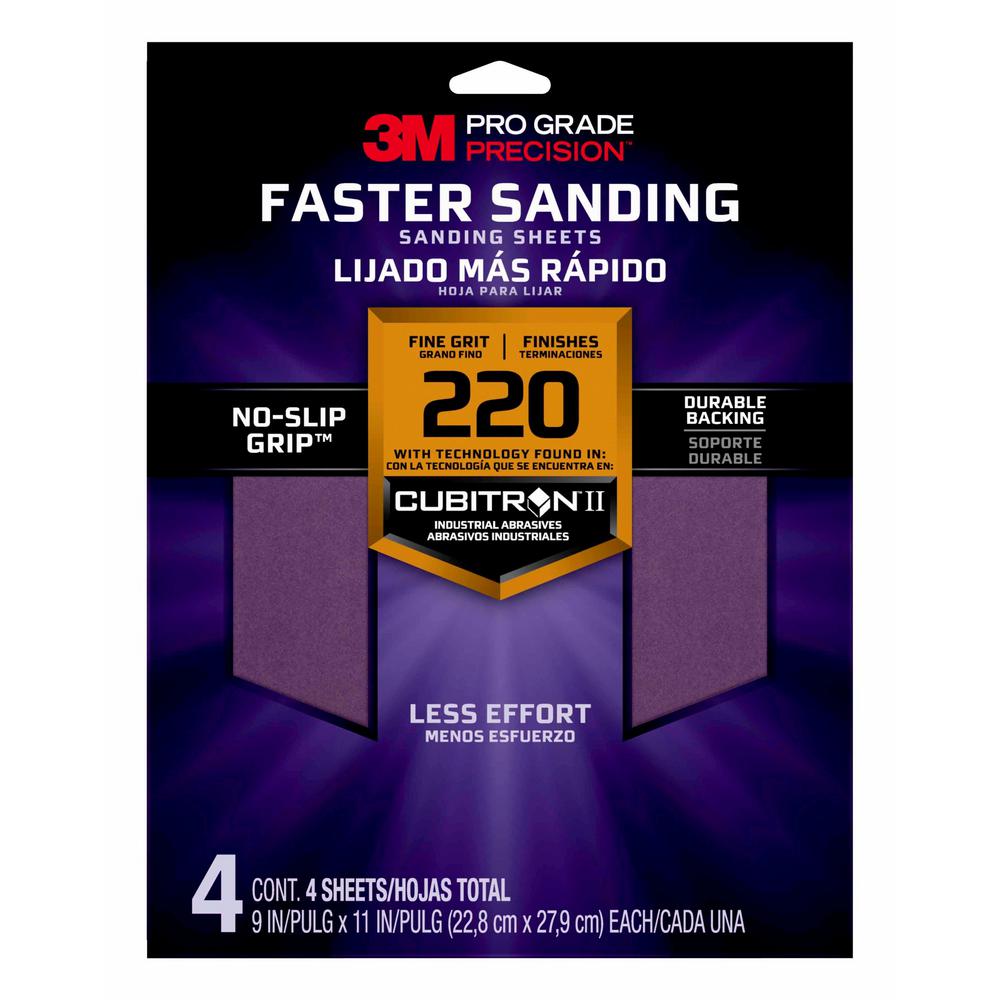
I then let the concrete dry for 24 hrs. After the concrete was dry, I removed the plastic bowl to uncover my new base. I then took a 220 grit sandpaper
and sanded smooth the concrete, making it flush with my glass.

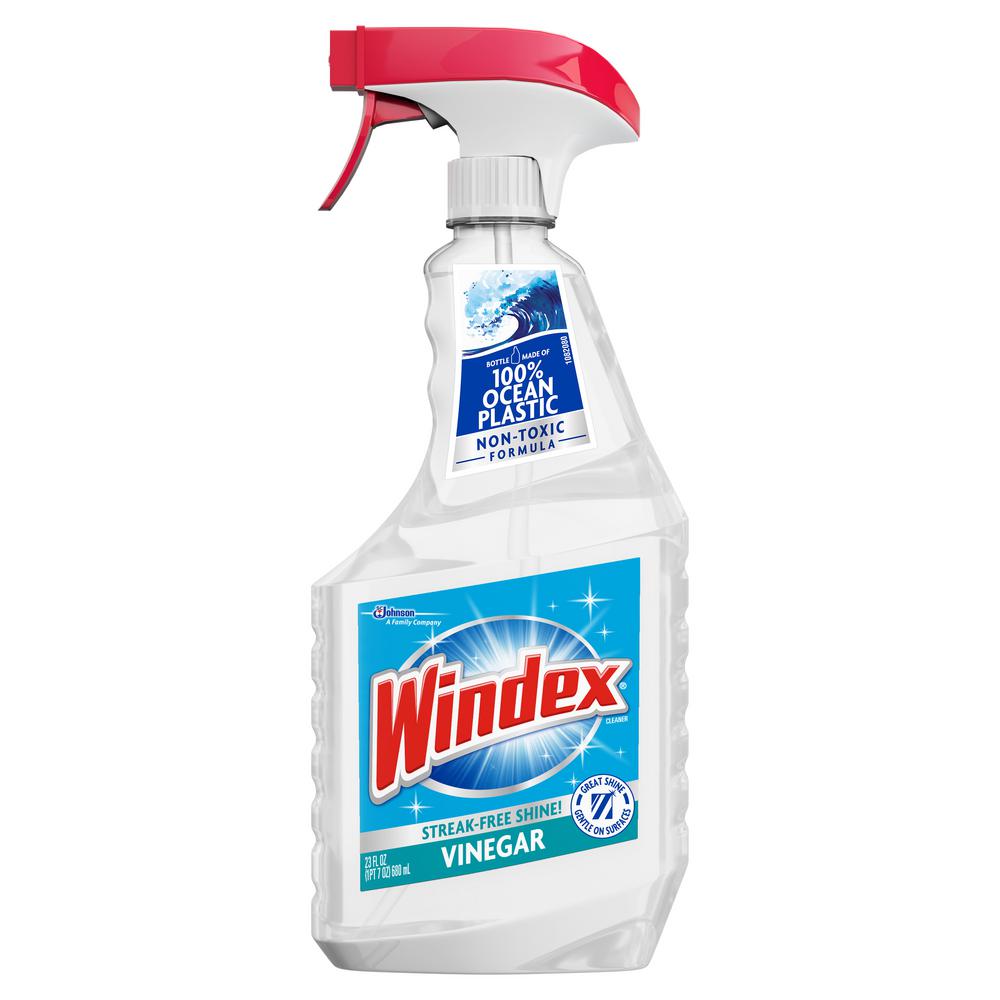
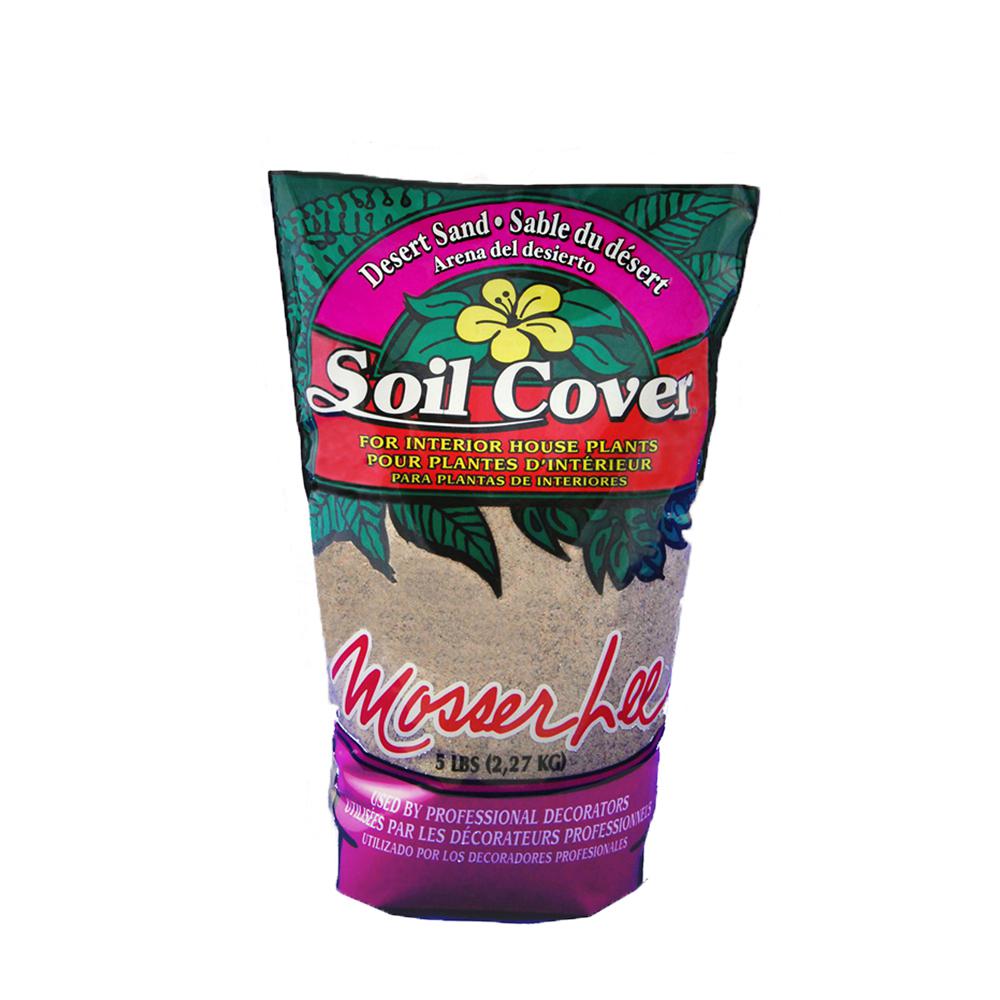
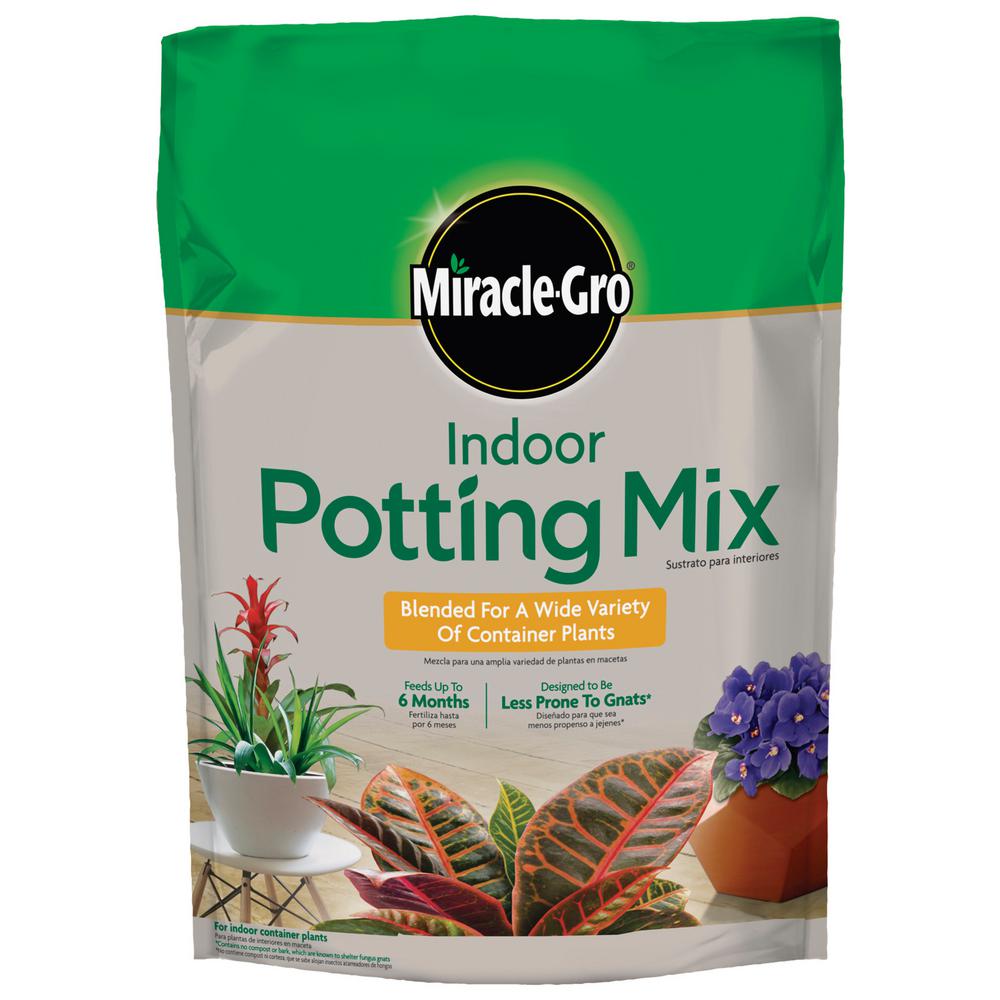
Now comes the fun part! The first thing I did to prep my glass bowl was clean it using Windex. After that, I began to add all the materials to the glass. I first started adding in the
sand. The order in which you add your items is up to you.

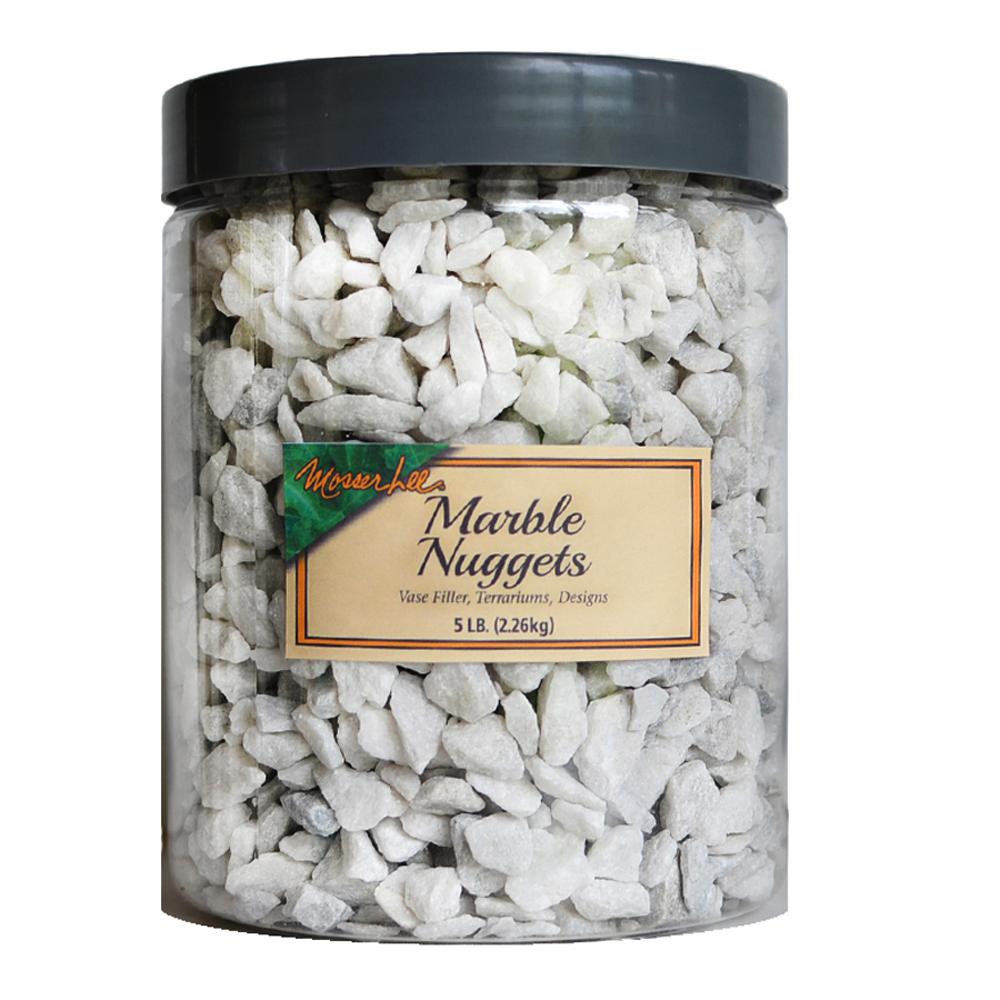
The next thing I added in was the white
nuggets and then topped those with
charcoal. The main reason to use charcoal is to absorb chemicals in the soil, water, and air that can build up inside your terrarium.

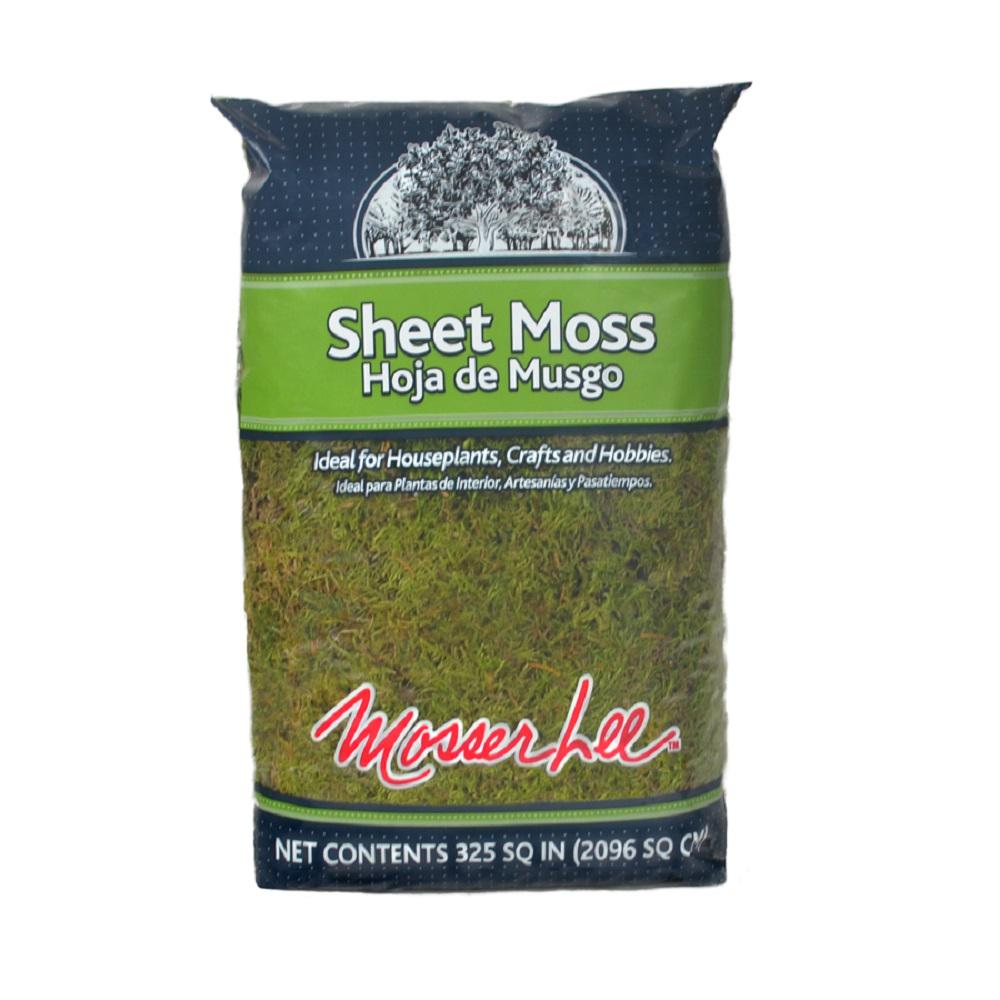
After I added the charcoal, I added a layer of
Spanish Mossand
soil. Then I added the sheet moss on top.

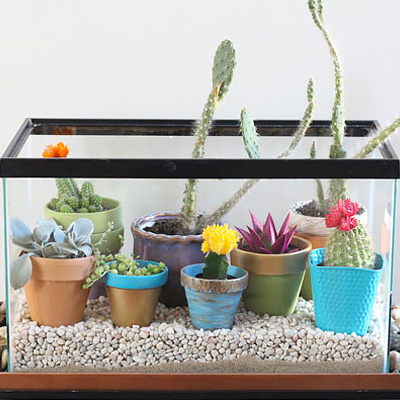
Next, I took the other plants I picked out, and I added those to my terrarium to add some more texture, color, and contrast to the terrarium.

That’s it! Now you have a terrarium that you can add anywhere in your home that makes for some cool decor.


This post was created in partnership with The Home Depot. The author may have received compensation for this article and associated images or video, potentially in the form of products and/or services. All expressed opinions and experiences are the author’s own words.