How to Create a Raised Bed Flower Garden in One Afternoon

Last updated August 21, 2024

Morgan and Sean McBride of Charleston Crafted
are home decor bloggers living in Charleston, South Carolina. They teach others how to craft their dream home with the power of DIY. Check out their blog for doable DIY projects, beginner-friendly woodworking builds, and home improvement ideas.
A Note From The Home Depot
Morgan and Sean McBride from Charleston Crafted show you how to create a raised bed flower garden in one afternoon. Keep reading to see how they do it with the help of Vigoro and The Home Depot.
Table of Contents
How to Create a Raised Bed Flower Garden in One Afternoon
Go Shopping
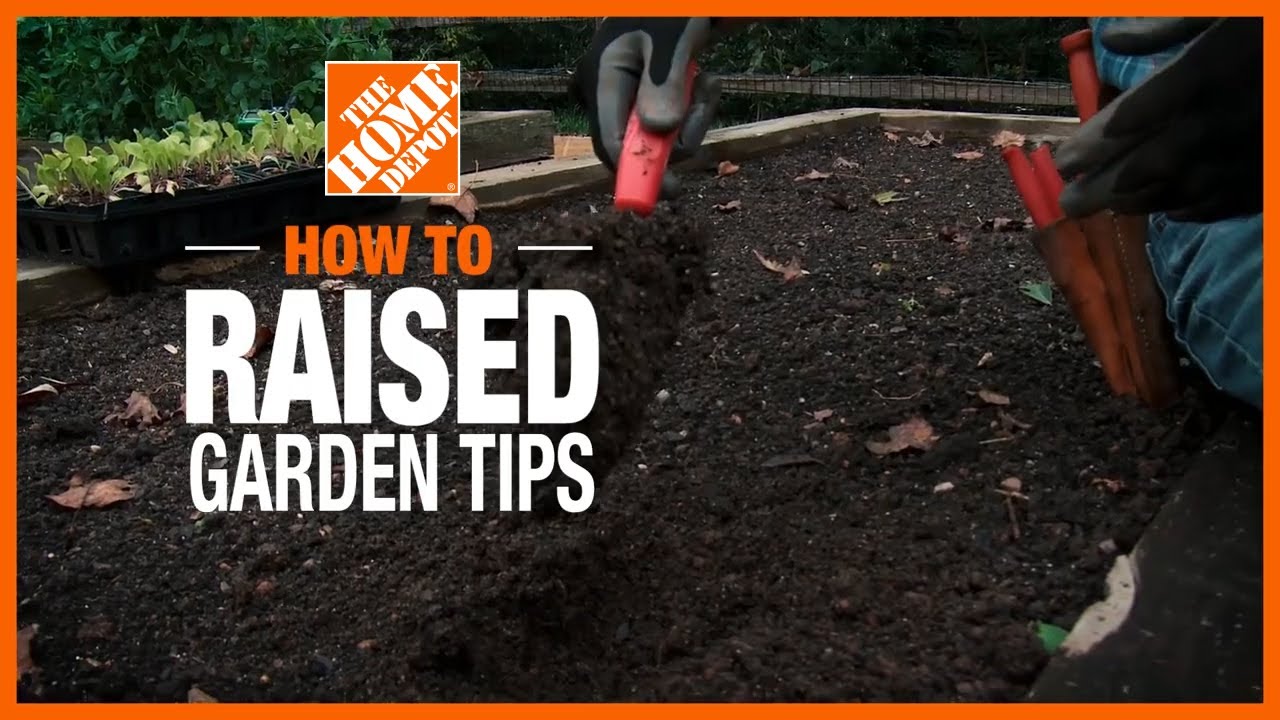
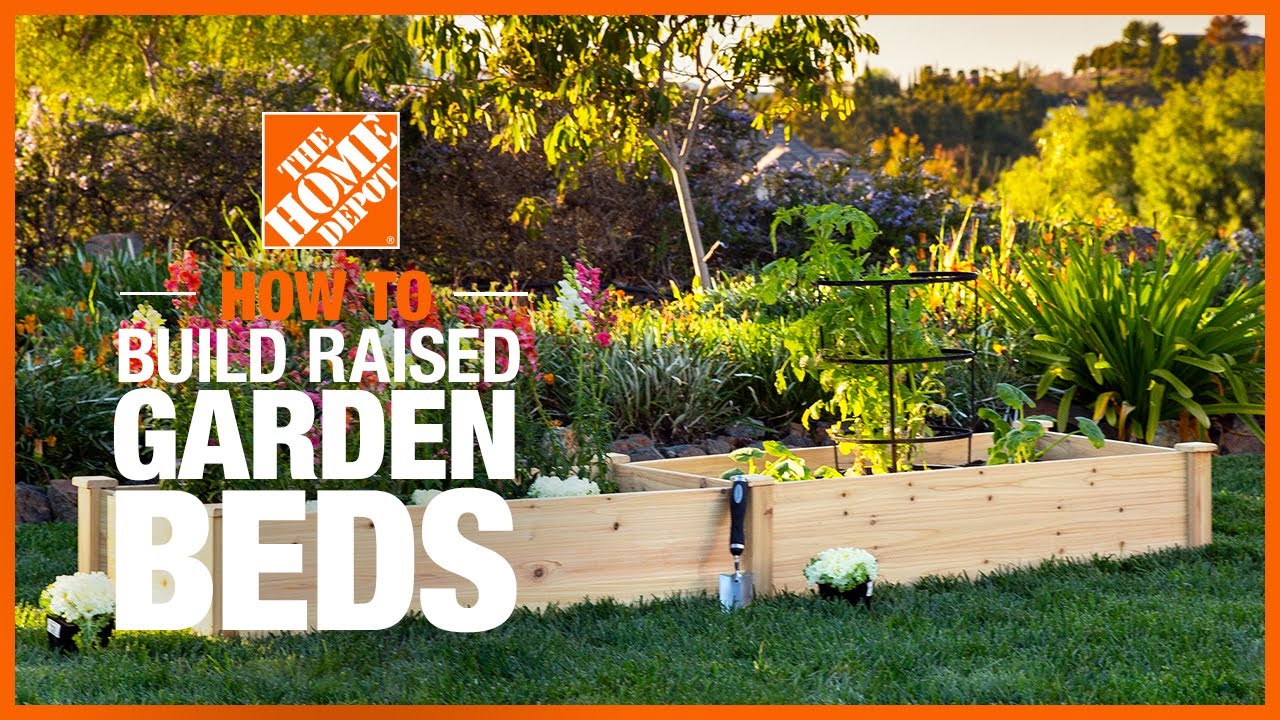
Install Garden Beds
Lay down weed barrier and drainage rocks
Lay Down Soil and Plants
Finish With Mulch
How to Create a Raised Bed Flower Garden in One Afternoon
Living in an elevated house, we have a lot of exposed siding at eye level all the way around our home. This doesn’t add up to a lot of curb appeal on the side of our home, so we wanted to spruce it up and add some beautiful gardens that would create an eye-catching look.
We also wanted to do it quickly before the holidays!
We used a variety of Vigoro outdoor gardening products to do this project, ranging from accessories to plants and supplies. Here’s how we turned this bland space on the side of our home into a beautiful garden and how you can do the same to your home, all in one day!
Go Shopping

Start by heading to Home Depot in the morning with the shopping list on the right side of this screen.
Pick up all the Vigoro products to build raised bed gardens
and accessorize them, then head to the plant section and grab beautifully colored mums, taller plants and something that will climb.
Install Garden Beds

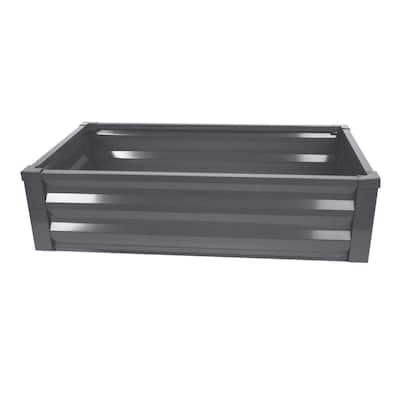
We wanted to cover a large area of the side of our home, but wanted it to look intentional and planned, so we used two Vigoro Raised Garden Beds to define the space. These beds are 48”x48”, so they fill up a good amount of ground space and provide an excellent footprint for a garden.
These Vigoro metal garden beds are easy to assemble, consisting of four side panels, four corners and four corner clamps.
Simply line up the slots on the side pieces with the pegs on the corners and slide them into place.

When both sides are on a corner, clip the corner clamp onto the top, then repeat for the other three corners.
These Vigoro garden beds are lightweight, but sturdy, and quick to set up.These Vigoro garden beds are lightweight, but sturdy, and quick to set up.
Lay down weed barrier and drainage rocks

Once your garden beds are in place, you want to try to limit weeds and grass from growing into your garden in the future.
Start by digging out or weed whacking as much of the existing grass as you can. Then, lay down a weed barrier.Start by digging out or weed whacking as much of the existing grass as you can. Then, lay down a weed barrier.Start by digging out or weed whacking as much of the existing grass as you can. Then, lay down a weed barrier.Start by digging out or weed whacking as much of the existing grass as you can. Then, lay down a weed barrier.
Vigoro makes a 4’ wide weed barrier roll that fits perfectly with the width of their garden beds (it’s almost like they did this on purpose). Roll out a layer of barrier along the base and a little up the sides.
Then, place a layer of Vigoro pea pebbles down for drainage. The pebbles will initially serve to hold down the weed barrier, but they will be good for water drainage over time.
Lay Down Soil and Plants

Now that you have a good base layer down, it’s time to get ready for the real gardening!
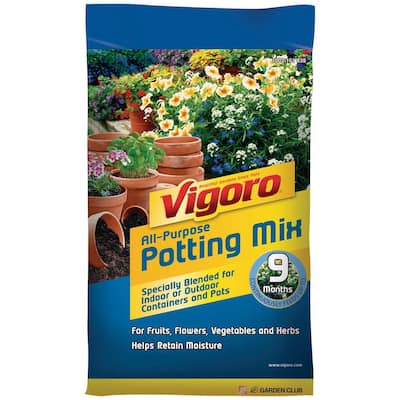
Start by putting down a layer of soil in the garden bed. We did two bags of Vigoro 32 quart All Purpose Potting Soil Mix
in each bed as the base layer.

Then, we planted our plants. We started with a layer of mums across the front. These are a beautiful red color that works with our red house, but they have lots of mum colors to suit your aesthetic. Mums last a long time and come back year after year.

Then we added two calla lilies in the second row to add some vertical height to the garden bed.
Finally, we installed a Vigoro 80” trellis in the back of each bed and a Carolina jasmine plant to grow each. Once established, these jasmine will climb the trellises and help cover the electrical boxes and blank space on the side of our house!
Finish With Mulch

Finally, finish off your garden bed with some Vigoro brown mulch .
Mulch adds a really nice finished look to a garden bed, but it also provides critical water retention for your plants. Mulch helps to hold water in and keep a garden bed from drying up, so this is an excellent addition for any garden.
Enjoy Your Garden

Once everything is done and in place, you can finally start enjoying your garden!
With lots of beautiful perennials, you can expect flowers year after year in your garden. With lots of beautiful perennials, you can expect flowers year after year in your garden.
With lots of beautiful perennials, you can expect flowers year after year in your garden. With lots of beautiful perennials, you can expect flowers year after year in your garden.
And thanks to Vigoro hardscaping products, you’ll be able to quickly set up your garden and watch it last for years to come!

This post was created in partnership with The Home Depot. The author may have received compensation for this article and associated images or video, potentially in the form of products and/or services. All expressed opinions and experiences are the author’s own words.