How to Create Your Own Faux Stepping Stones

Last updated August 21, 2024

Ashleigh is a YouTube content creator whose journey began in September 2017.
She started this creative outlet to express her love for all things DIY, including furniture refinishing and home decorating. Ashleigh is originally from Columbia, SC, currently living in Georgia with her husband, two baby girls, and two dogs. She enjoys being able to share her creativity to inspire others to create budget-friendly DIY's while incorporating her fun and easy to follow step-by-step instructions. You can see more of her work over on her YT channel Ashleigh Lauren and Instagram @_ashleighlaurn.
A Note From The Home Depot
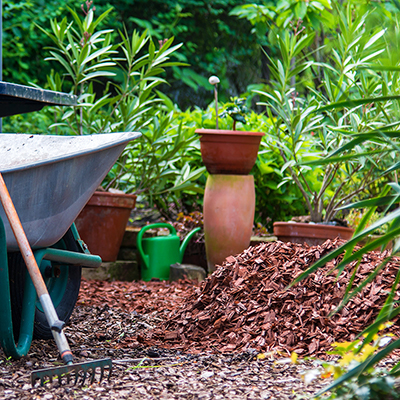
Garden decor doesn’t just have to stop at furniture and lights. You can create an art project for your space that’s sure to start lots of conversation thus summer. DIY expert, Ashleigh Lauren has all the details on this fun and easy craft below!
Table of Contents
Steps

Steps
Trust me when I say this: You will have so much fun creating this project! Even better, completing this project will go by with ease because it is very simple to create one or more of what I like to call faux stepping stones. The first thing I did was I began to sand down both of my
wood roundsusing a
palm sander.

After I sanded both
rounds, I added a
wood stain
on top. I chose a Varathane Premium wood stain in the color
Briarsmoke, which is one of my favorite stain colors.

Next, I addedspar urethane
on top once my stain was dry. Since this would be outside and I didn’t use pressure-treated wood, I knew I needed to add this to protect the wood.

After that, I took a pen and began to draw out the design I wanted to add to the front. I would recommend using a pencil to do this.

Now it is time for the fun part, adding yourrocks
to the rounds. I added them by using my hot glue gun. I would recommend mixing
E6000
with your
hot glue
or just using
E6000
to attach each
rock. You can also add extra protection by spraying an outdoor sealant when finished.

After that, you are all set. I love how these turned out! It was so simple to do, and these will make the perfect addition to any outdoor space. You can create as many as you want and choose to do whatever design as well. The main thing is that you have fun and most of all, love what you make when you’re finished!


This post was created in partnership with The Home Depot. The author may have received compensation for this article and associated images or video, potentially in the form of products and/or services. All expressed opinions and experiences are the author’s own words.