How to Easily Install Lifeproof with Petproof Technology Artificial Turf

Last updated August 21, 2024
.jpeg "Kourtni Munoz")
Kourtni Muñoz is the Founder and Creative Director of House on Longwood Lane, a DIY and home design blog launched in 2017. She recently traded island life and sandy beaches for a cabin in the woods of Middle Tennessee with her military husband, three kiddos, and two pups. She's currently tackling an entire home renovation and infusing her Spanish roots into each design element with textiles, color and furnishings. She shares a mix of large-scale renovations, designer worthy DIY projects, budget-friendly ways to revamp their spaces and soon cabin life in Middle Tennessee.
A Note From The Home Depot
Looking to create a pet and kid-friendly outdoor space for the whole family to enjoy? Join us as Kourtni of House on Longwood Lane demonstrates the step-by-step process on how to install this premium artificial turf over a weekend!
Table of Contents
How to Easily Lifeproof with Petproof Technology Artificial Turf
Our Yard Before
Step 1: Choose Your Turf
Step 2: Prep Your Base for Turf
Step 3: Adding a Concrete Curb
Step 4: Compact Your Base
How to Easily Lifeproof with Petproof Technology Artificial Turf

Turf is a great option for those who want a great pet-friendly option, low to non-existent lawn maintenance and kid-friendly. The best part is, you can have this DIY project done in a weekend and weÕre going to show you how to easily install turf with this step-by-step tutorial.
Our Yard Before
This space was everything but functional for our family. This area was dubbed by our pups as the potty rocks where they'd do their business and it stunk to high heavens. Our property is basically a concrete jungle and we don't have any grass, nor can we grow any with the amount of sand and coral rock we have. Our dream for this outdoor space is to embody an area where our dogs can play as well as our kids and not worry about whether it is safe for them to walk on or trying to dodge a pile of poo that looks like a rock cluster. That's how we knew Lifeproof with Petproof Technology Artificial Turf would be the perfect fit and a great way for us to stay on budget by DIYing.

Step 1: Choose Your Turf
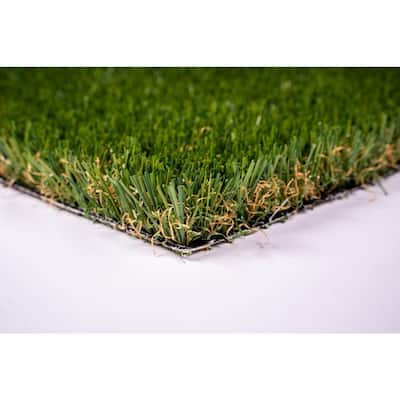
For this project we chose Lifeproof with Petproof Technology Artificial Turf sold exclusively at The Home Depot. We went to our local Home Depot to find the best size option for our project space. We ultimately chose the 12 feet wide x cut to custom length and had it scheduled for delivery with a Home Depot Associate right to our door. This artificial turf is made with high-performance yarn construction to look and feel just like real grass with a reduction in maintenance, even under heavy use. One of the many benefits of Lifeproof with Petproof Technology Artificial Turf is the ultra-flo backing, which is designed for dimensional stability. The durable backing also aids against dog diggings and drains two times faster than your average artificial turf, so rain and liquid waste passes through and will not puddle. Making this turf the perfect option for this project!

Step 2: Prep Your Base for Turf
When laying turf it's all in the prep work! You need to consider a few things first like how well the area drains and whether or not a weed barrier is necessary. This will differ based on your current base you are planning to use for the artificial turf. If you're like us and you're laying your turf over a rock/gravel/dirt area, you'll need to fill and grade the base appropriately. Grading the area means it's sloped properly for adequate drainage. You want to make sure the highest point of the grade is located near the house at 4 inches higher than your lowest point and the lowest part is sloped away from the house.
If you're installing over an existing lawn area, the first step will be to kill the existing lawn and lay a weed barrier to prevent any further growth.

Step 3: Adding a Concrete Curb
While this step is optional, we felt that adding a curb around the turf would give it a finished look. If you're installing turf in an area that has an existing slab or walkway, that can be used as a curb or stopping point. You do not need to have a curb, concrete slab or pavers to butt up to the end of the turf for it to be finished.
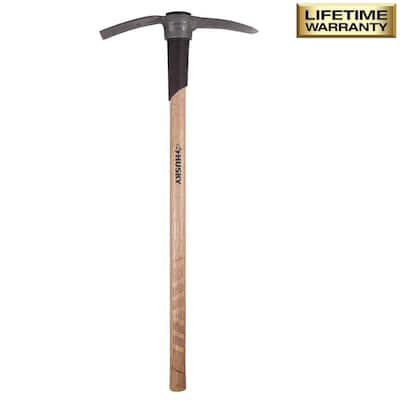
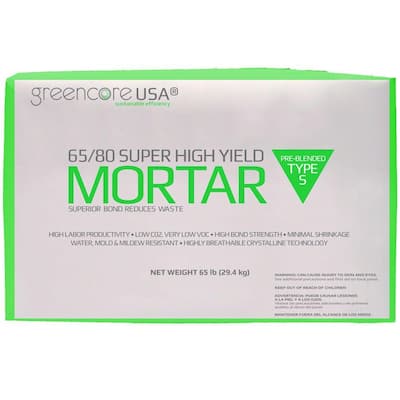
We used chalk to map out our design for the turf base. We dug a trench five to six inches deep and four inches wide with a gardening pick and filled with concrete around our desired turf base.

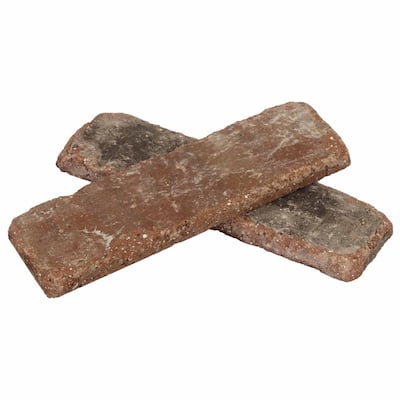
The concrete curb will be about a 1/2 inch higher than our compacted base. We are allowing room to add pavers on top of the concrete curb for a more finished look.

Our pavers came in a little later than we needed so we added the pavers after we laid the turf. If you're able, definitely add the pavers, mortar and grout before laying the turf to prevent any spills!

Step 4: Compact Your Base
Compaction is important because the loose soil or fill will settle over time. So, compaction speeds up that process and will make sure the installation lasts. We used a hand tamper to compact our soil, but you can also rent a vibratory plate or a jumping jack all at your local Home Depot. We compacted our base in layers until we got our elevation to four inches below our desired turf elevation.

Step 5: Final Grade With Smaller Aggregate
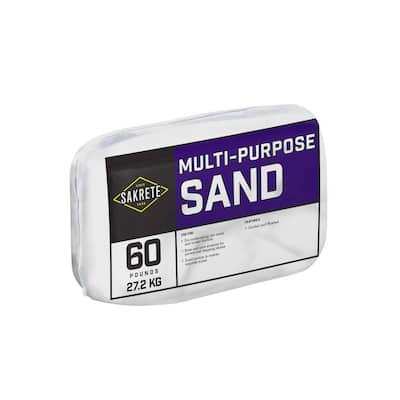
As we reached our final grade we used a smaller aggregate to cushion the turf for a plush feeling under the feet. The larger your aggregate fill, the more you will be able to feel the rocks under the artificial turf. We used sand, but you can also use decomposed granite aggregate fill. An aggregate is basically the stone material that's in your fill, so if you have a small stone, you can compact it a lot easier.


Our soil already had layers of gravel rock, sand and coral rock due to the area we live in. The base had adequate drainage below the artificial turf, so there was no need to add additional rock/gravel before adding the sand.
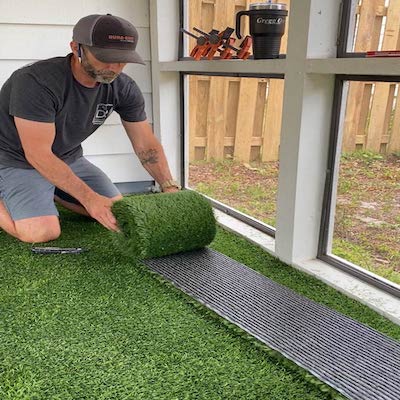
Step 6: Roll Out Artificial Turf
Once you've established the proper grade and compacted the base you can roll out your artificial turf and cut it to size using landscaping shears, sharp utility knife or military grade medical shears, if you're Cody.

Be sure to cut the turf slightly larger than you need for the space you're installing it in. This allows you to trim any excess to ensure a proper fit. If your area is larger than the turf roll, you'll have to seam the turf. Our area was not larger than the turf so we were able to install a full roll of artificial turf with no seams.

Getting the turf into the area will be a two or even three person job as our turf roll weighed a whopping 130lbs for a 12 feet x 20 feet roll.
The easiest way to get the turf as flat as possible was to unroll the turf and keep it tought to prevent any lumps or bunching as if you were unrolling an area rug.

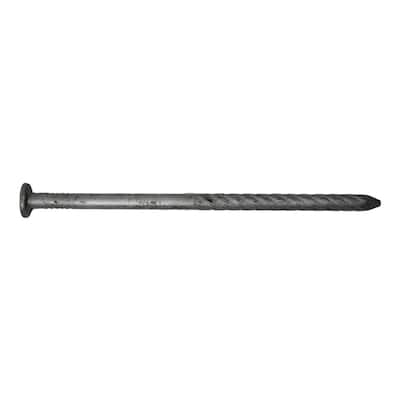
To do this, we secured one entire side of the turf with six inch galvanized landscaping spikes spaced one inch from the edge of the turf and four inches apart. Once we secured a single side of the turf we nailed additional spikes 18 inches apart throughout the rest of the turf. We highly recommend the galvanized landscape spikes over the landscape stakes as they bend when hit with too much force. The galvanized landscape spikes go through the artificial turf very smoothly and change pitch when you've hit it completely into the ground.


We found the easiest way to keep track of the galvanized spike spacing is leaving them slightly above the turf as you lay the line of spikes. I followed closely behind Cody and nailed them all the way down after he was done using them for spacing.

Step 7: Add Turf Infill
Once you have the turf laid out and installed, next you'll apply the infill. Many people are familiar with the rubber pellets they see in commercial use of artificial turf, like sports recreation fields. For residential installments, the most common infill is sand. We used Envirofill Artificial Grass Infill which has microban antimicrobial protection which prevents mold, bacteria and fungus from forming in your turf. This is perfect for pets and play areas for kids!

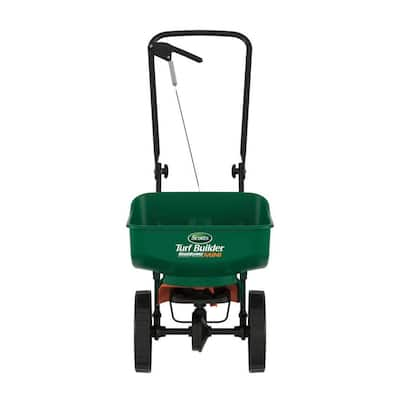
The infill helps the grass fibers of the turf stand up, adds weight to hold the turf in place and prolong the life of the turf. To spread the infill I used a large seed spreader to evenly spread out the sand. I originally tried to fling it around and use a hand rake for infill which was no help at all. It wasn't distributed evenly at all. I used one bag per 20 S/F as directed for installation. The final step for the installation is to brush the turf with a large stiff push broom to sweep the sand into the fibers to help the turf stand up and stay "fluffy" like real grass. Make sure to work in the same direction across the turf to help create a uniform surface.
Step 8: Enjoy!
And that's it! You're finished with this project and you have your very own Lifeproof with Petproof Technology Artificial Turf!

With this being the first time we've ever installed artificial turf, we were surprised we were able to get this done in a weekend. If you aren't afraid to put in a little bit of sweat equity with a friend, this is a great project to save thousands by DIYing and a great low-maintenance alternative to grass and gravel and extremely pet and kid-friendly.
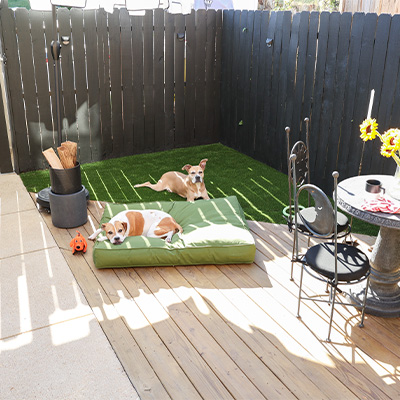
The Lifeproof with Petproof Technology Artificial Turf was the perfect addition to our concrete jungle. We now have a place where our kids and pups can play!

As beautiful as it is durable, this Lifeproof with Petproof Technology Artificial Turf is pet and family-friendly! We love how the turf prevents our dogs from digging with a durable backing and doesn't attract ants, fleas or ticks like traditional grass. The turf will maintain a consistent appearance even under heavy use, which will be the perfect place for our family and pups. Which checks the boxes across the board for us!
We can't wait to see how you tackle your own Lifeproof with Petproof Technology Artificial Turf installation into your home and DIY projects!
For more behind the scenes on all of our DIY, design and home projects be sure to follow along with us on @kourtnileigh.
This post was created in partnership with The Home Depot. The author may have received compensation for this article and associated images or video, potentially in the form of products and/or services. All expressed opinions and experiences are the author’s own words.