How to Hang a Christmas Tree of Lights on the Wall

Last updated August 21, 2024

Morgan and Sean McBride of Charleston Crafted
are home decor bloggers living in Charleston, South Carolina. They teach others how to craft their dream home with the power of DIY. Check out their blog for doable DIY projects, beginner-friendly woodworking builds, and home improvement ideas.
A Note From The Home Depot
Get ready for the holidays with Morgan and Sean McBride of Charleston Crafted as they show you the steps to a Christmas tree that will save space and stay within your budget!
Table of Contents
Step 1: Planning & Measuring
Step 2: Placing the Command Hooks
Step 3: Adding Lights
Step 4: Adding a Topper
Step 5: Adding Ornaments

Christmas trees are a classic part of Christmas decorating. However, there are many reasons that you might not be able to decorate a room with an actual Christmas tree. Full sized trees take up a lot of floor space, and can be very expensive.
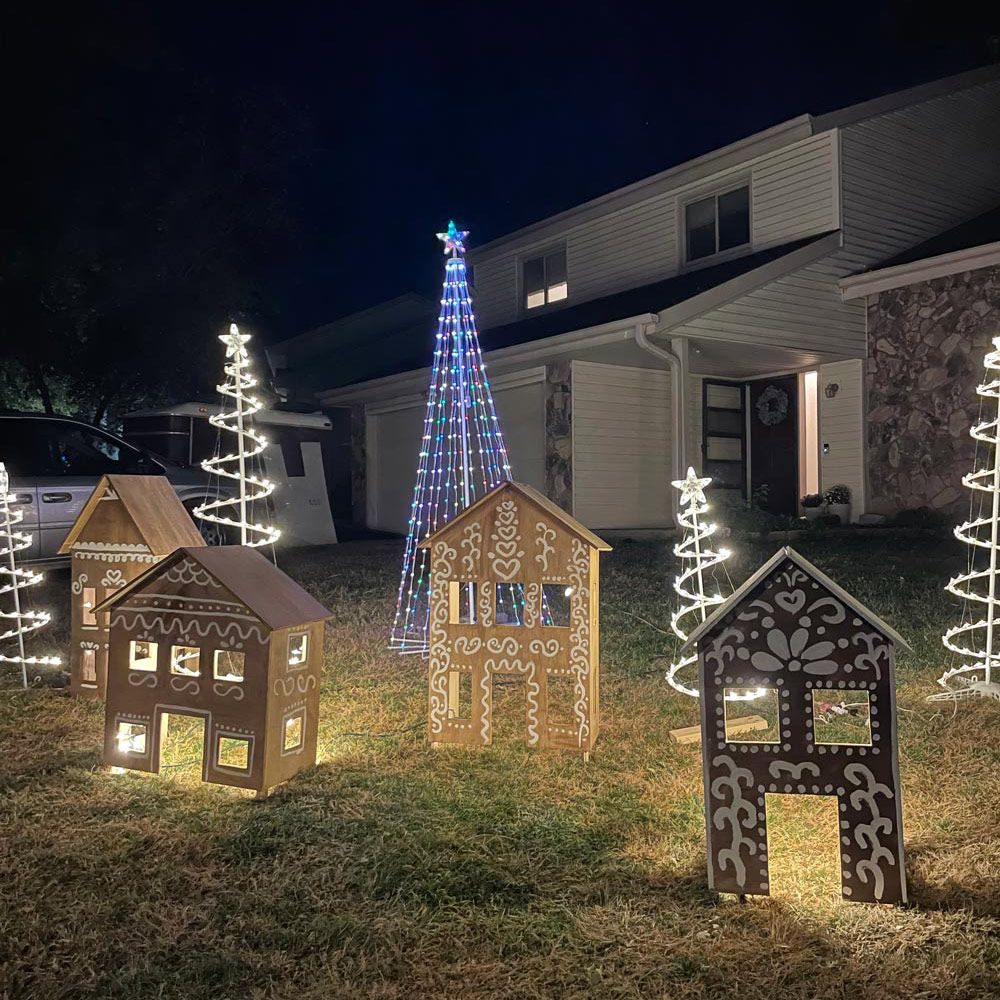
Whether you want to save room or budget, creating a wall-mounted Christmas tree can be a great solution. Here is how to hang a Christmas tree of lights on any wall of your home.

Step 1: Planning & Measuring

You can freehand your Christmas tree design, but it might be easier to measure it out.
Determine the height of your desired tree and the distance off of the ground that you want the base. We wanted a 6’ tall tree starting 1’ off the ground, so that made a total light height of 5’, or 60”.
Then, determine how many rows of “branches” you want. To keep the math simple, we decided to do six rows, spaced out every 10” of height to add up to that 60” total height.
Next, decide on a total width. We decided on a width of 36”. Divide the total width (36”) in half for each side of the tree (18”) and divide each half by the total number of rows you already determined (6 in our case). Additionally, the rows each need to move out 3” from the prior row above it.
Here is our final placement:
1 hook centered at 6’ (72”) above the floor
2 hooks, each 3” out from center, 62” above the floor
2 hooks, each 6” out from center, 52” above the floor
2 hooks, each 9” out from center, 42” above the floor
2 hooks, each 12” out from center, 32” above the floor
2 hooks, each 15” out from center, 22” above the floor
2 hooks, each 18” out from center, 12” above the floor
Step 2: Placing the Command Hooks

Once you have determined the layout of your wall tree, you will want to place the Command Hooks on the wall. Start with your top, center hook. Use a ruler to measure down and out from that point.
Adhere the sticky backing to the hook and firmly press into the wall. Allow the hooks to set on the wall for at least one hour, preferably 24 hours, to be sure it stays firmly in place.
Repeat for all of the hooks in your design.
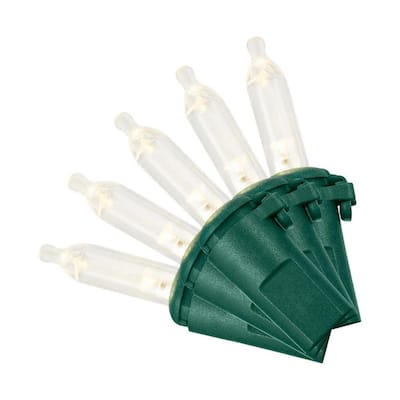
Step 3: Adding Lights

Once the hooks are set, add your lights. Start with the female end of the light strand at the top of the tree and weave your way back and forth down to the bottom. The strands can be slightly adjusted in tightness to help best fit the length of the strand. Any excess can be bundled with a twist tie at the bottom of the tree.
For a more lush, tree-like look, consider using a pre-lit garland instead of a strand of lights. Follow the same process to weave the garland across the Command Hooks and hooking the wire into the hook.
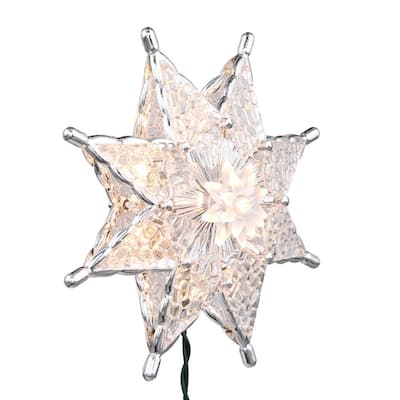
Step 4: Adding a Topper

Plug a tree topper into the top of the tree. Use a loop of twine or twist tie through the back of the topper to hang it on the top Command Hook. Be sure that any excess wire is bundled with a twist tie and tucked behind the topper.
Step 5: Adding Ornaments

Finish off the tree by adding ornaments along the strand of lights. Make sure to not go overboard with the ornaments since the strand has a minimalist design.

This post was created in partnership with The Home Depot. The author may have received compensation for this article and associated images or video, potentially in the form of products and/or services. All expressed opinions and experiences are the author’s own words.