How to Hang String Lights on Your Patio

Last updated August 21, 2024

Caitlin is a designer, DIYer and styler. She's a desert dweller who loves the thrill of the thrift, abstract art, and her three fur babies.
A Note From The Home Depot
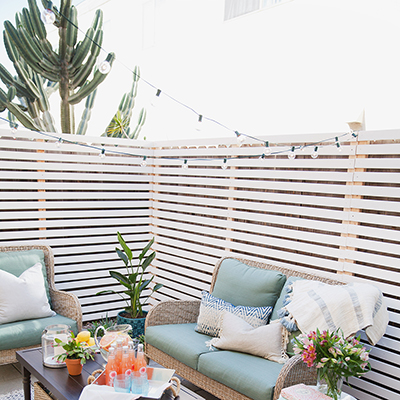
Caitlin Ketcham’s recent backyard makeover for The Home Depot Blog’s Patio Style Challenge series featured several DIY projects. Caitlin’s the designer and blogger behind Desert Domicile. She wanted to enjoy the romantic glow of string lights on her newly decorated back porch. Here she shows us how she decorated her porch with string lights in a sturdy and very attractive way.
Table of Contents
Installing Strings Lights
Step 1 – Plot the Path
Step 2 – Measure the Path
Step 3 – Select Bulbs
Step 4 – Calculate How Many String Lights Needed
Step 5 – Unbox Your String Lights
Installing Strings Lights
Once upon a time, we installed string lights on our covered back patio. We wanted a casual look, so we swagged the string lights so they would hang down and drape above our heads. We loved the glow of our new lights and how they illuminated our yard ever so slightly.
Things were great until one day we noticed that a hummingbird had built a nest around the casing of a light! No big deal except for the fact that she built it on the strand of lights closest to our back patio’s door. We were worried that she was going to fly into our house every time we opened the door so we waited until her babies were old enough to flee the nest before taking the string lights down. When we noticed that the babies were gone, we waited another week just to make sure that she wasn’t going to come back. When she had officially moved out, we took the string lights down so no other birds could make their homes on them.
Long story short, we added string lights to our back patio again, but we opted for a tighter look this time!
Step 1 – Plot the Path
Determine how many linear feet of string lights you’ll need by plotting the path of your lights ahead of time. Avoid any beams with any light fixtures or fans.

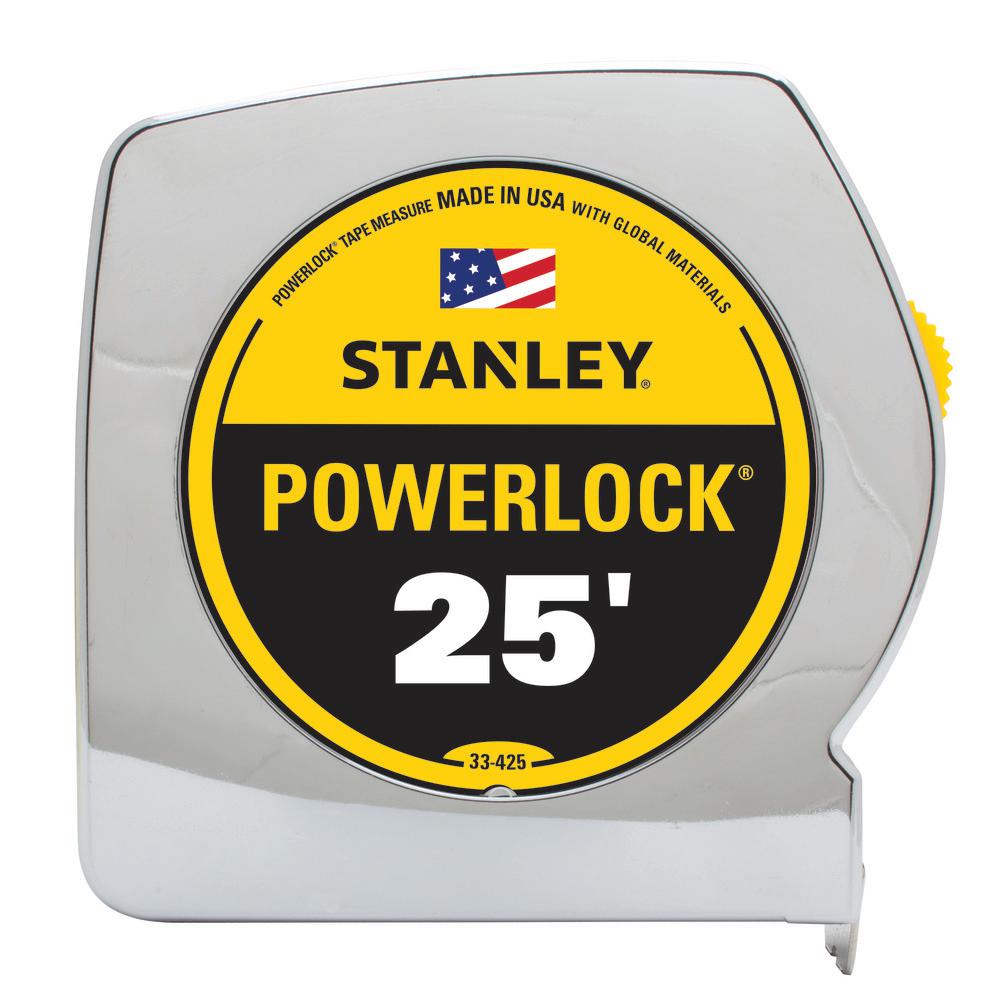
Step 2 – Measure the Path
Use a measuring tape to measure wherever you plan to hang your string lights.
I wanted to hang ours from the underside of the beams above our covered patio, so I measured each small beam (6 at 23-in. each) and each large beam (6 at 90-in. each).


Step 3 – Select Bulbs
String lights come with a variety of bulbs to choose from, so consider how bright you want your space to be before buying them.
Halogen and LED bulbs will give off a brighter, cooler tone, whereas incandescent bulbs will give off an ambient, warmer tone.
I chose energy-efficient incandescent bulbs because I wanted our space to feel romantic!

Step 4 – Calculate How Many String Lights Needed
Make sure you buy enough boxes of string lights to cover your space so you don’t have to run back out to the store in the middle of your project (my pet peeve)!
The total path that I measured back in Step 2 ended up being 678-in. long, or 56.6-ft., rounded up to 57-ft. Each box of string lights contained 10-ft. of lights, so I got six boxes for a total of 60-ft.

Step 5 – Unbox Your String Lights
Unbox your string lights carefully, making sure not to clink the light bulbs together.
If you’re worried about breaking one, remove the bulbs ahead of time and replace them after all of your string lights are hung.
Step 6 – Plug In and Attach
Plug your lights in at your power source. Flip the power source’s light switch to test them to make sure they work. Turn the light switch off.
Leave a little slack at the area closest to the power source and use a staple gun with ¼-in. staples to attach the string lights closest to the power source.
Unplug the cord from your outlet. Pull the cord taught, but not tight, and continue stapling the string lights along your path.
Keep the string centered and make sure you don’t staple through the wiring!


Step 7 – Connect the Strings
When your first strand is stapled in place, plug another strand into it and continue stapling along your path until you’ve reached the end.
Make sure you don’t exceed the recommended coupling, per the manufacturer’s instructions!


We’ve had our string lights up for a few weeks now and so far we haven’t noticed any birds checking them out. We love the ambiance they provide and are so happy they’re back bird-free!
This post was created in partnership with The Home Depot. The author may have received compensation for this article and associated images or video, potentially in the form of products and/or services. All expressed opinions and experiences are the author’s own words.