How to Install Floating Shelves

Last updated August 21, 2024

The Home Depot is the world's largest home improvement specialty retailer with stores in all 50 states, the District of Columbia, Puerto Rico, U.S. Virgin Islands, 10 Canadian provinces, and Mexico.
A Note From The Home Depot
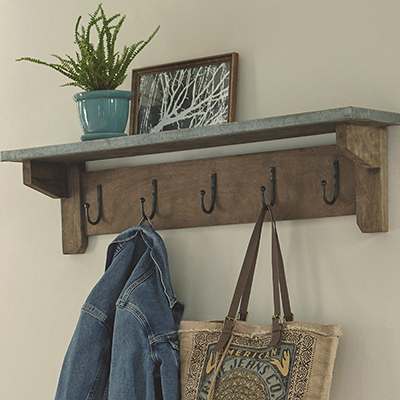
Wrangling your bathroom products and accessories just got a lot more stylish with these easy-to-install floating shelves.
Table of Contents
Step 1: Locate the Studs
Step 2: Attach the Bracket
Step 3: Determine Shelf Placement
Step 4: Install Other Brackets
Step 5: Add Shelf Casing and Secure
Step 6: Add Flair

Step 1: Locate the Studs

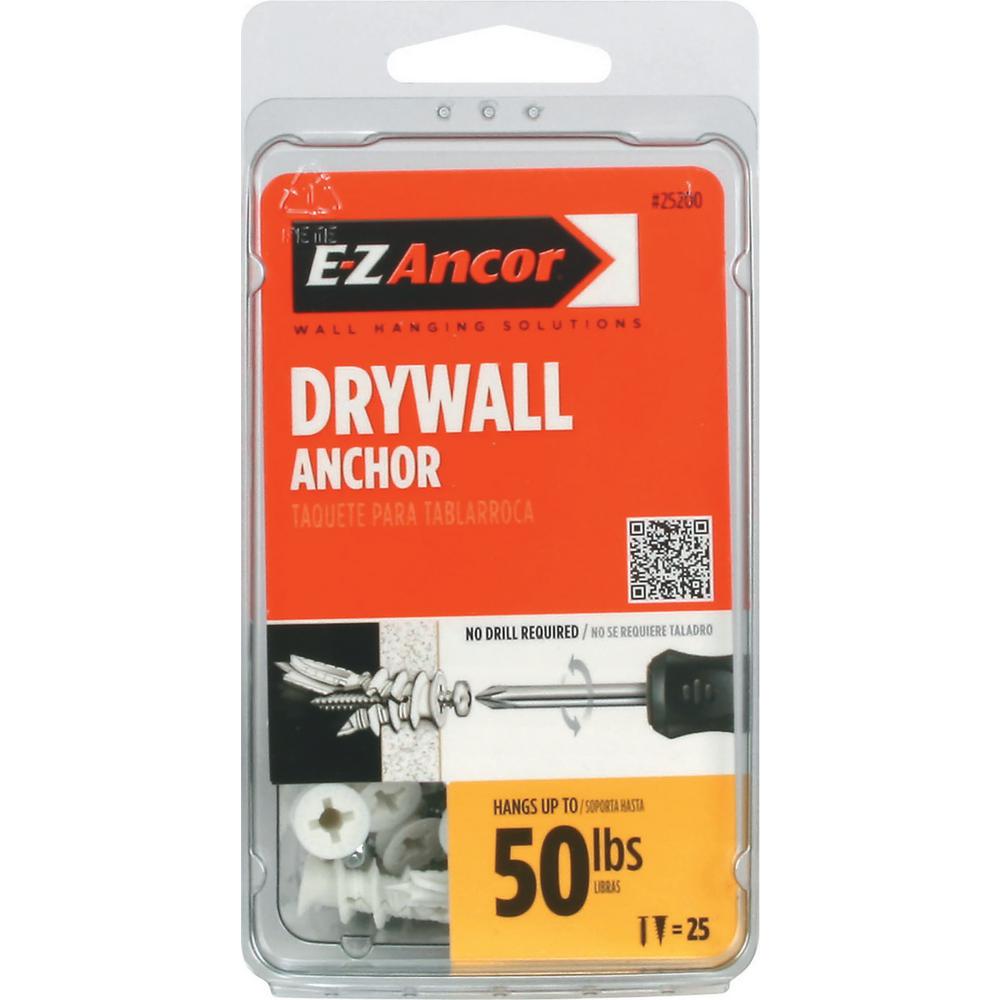
Using a stud finder, determine the location of the studs, as well as the shelf placement. Make light pencil marks on the wall as a guide. Make sure at least one of the screws in the mounting brackets will be secured to a stud. If there aren’t any studs available in your ideal wall location, you will need to install proper anchors to support the shelf’s weight.
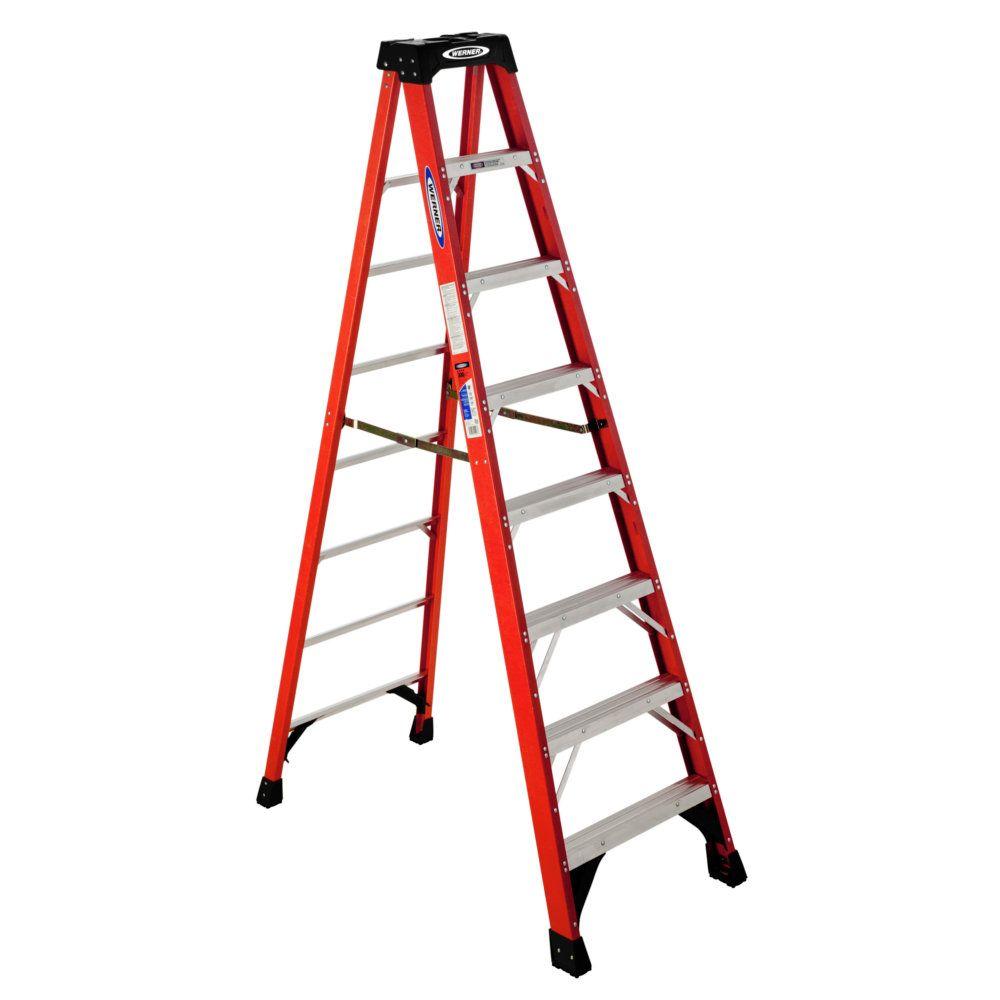
Note: Depending on the desired height of your shelves, you may need a ladder to ensure accurate placement.
Step 2: Attach the Bracket

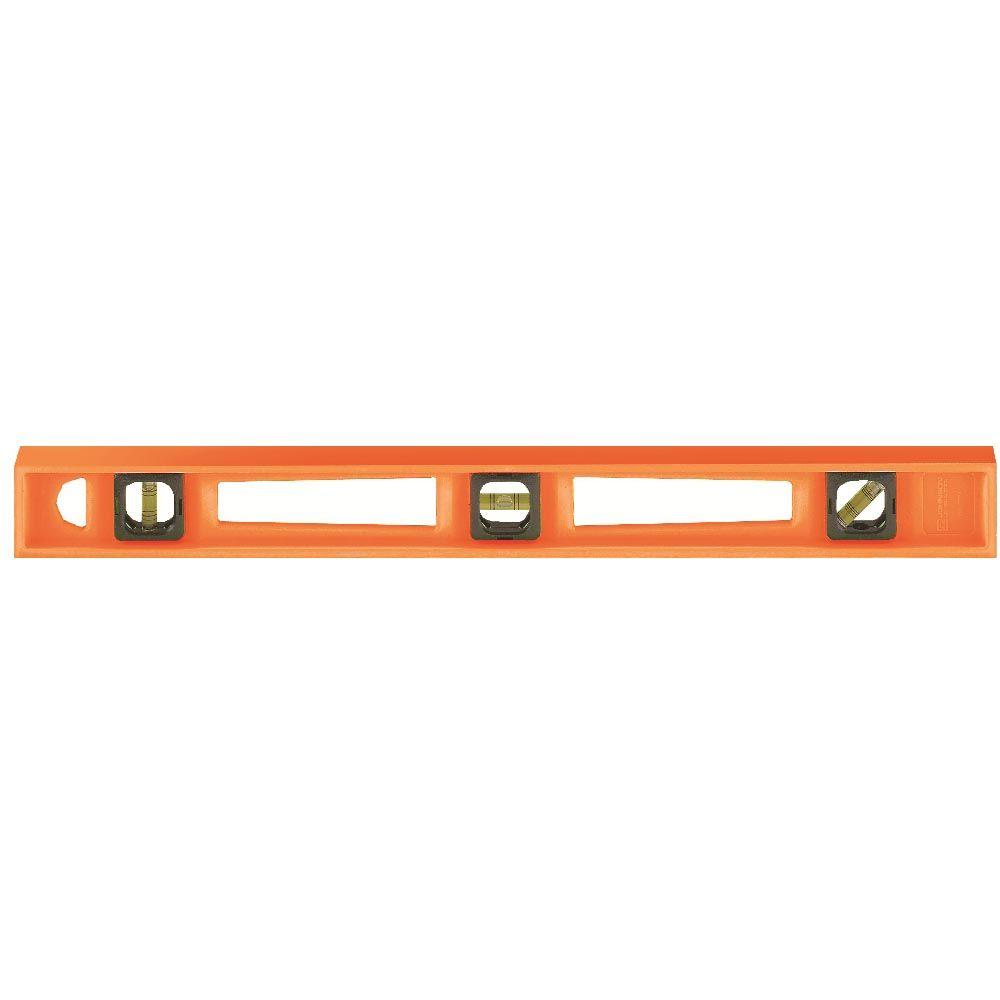
With the final placement of the shelf determined, use a screwdriver or drill to secure the internal bracket to the wall using the supplied hardware. Check to make sure it’s level; if not, make any adjustments before adding the final screws.
Step 3: Determine Shelf Placement

If you’re installing multiple shelves, note where on the wall they will go by measuring off the installed bracket. Also consider what you’ll be placing on the shelves to determine adequate distance between each shelf.
For example, for hair products, you may want to allow for 12-inches between shelves, etc.
Step 4: Install Other Brackets

Use a screwdriver or drill to install internal brackets for any additional shelves. Ensure they are all level.
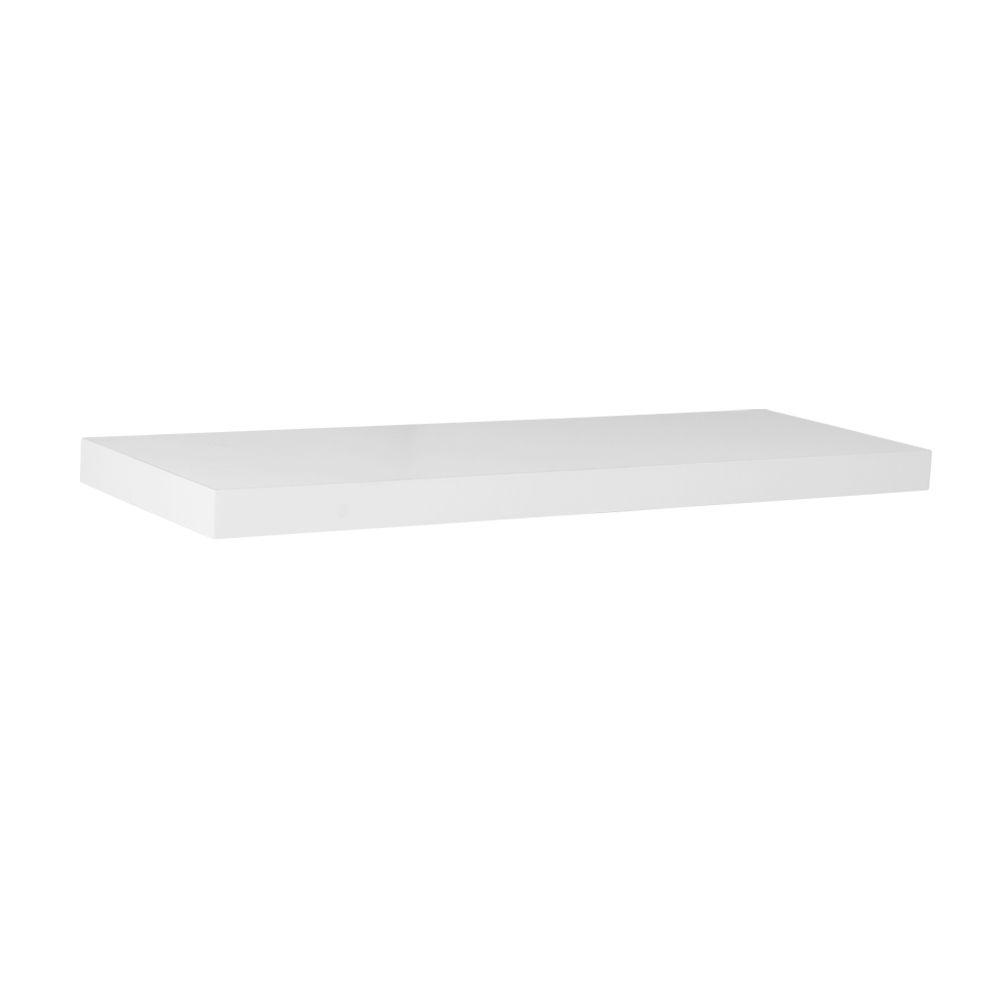
Step 5: Add Shelf Casing and Secure


With all the internal brackets properly secured, slide the shelf casing onto the bracket. Secure in place by tightening the set screws found underneath each shelf.
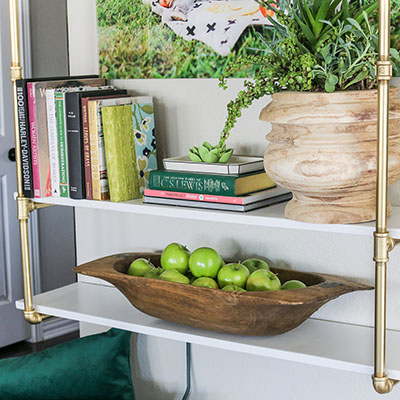
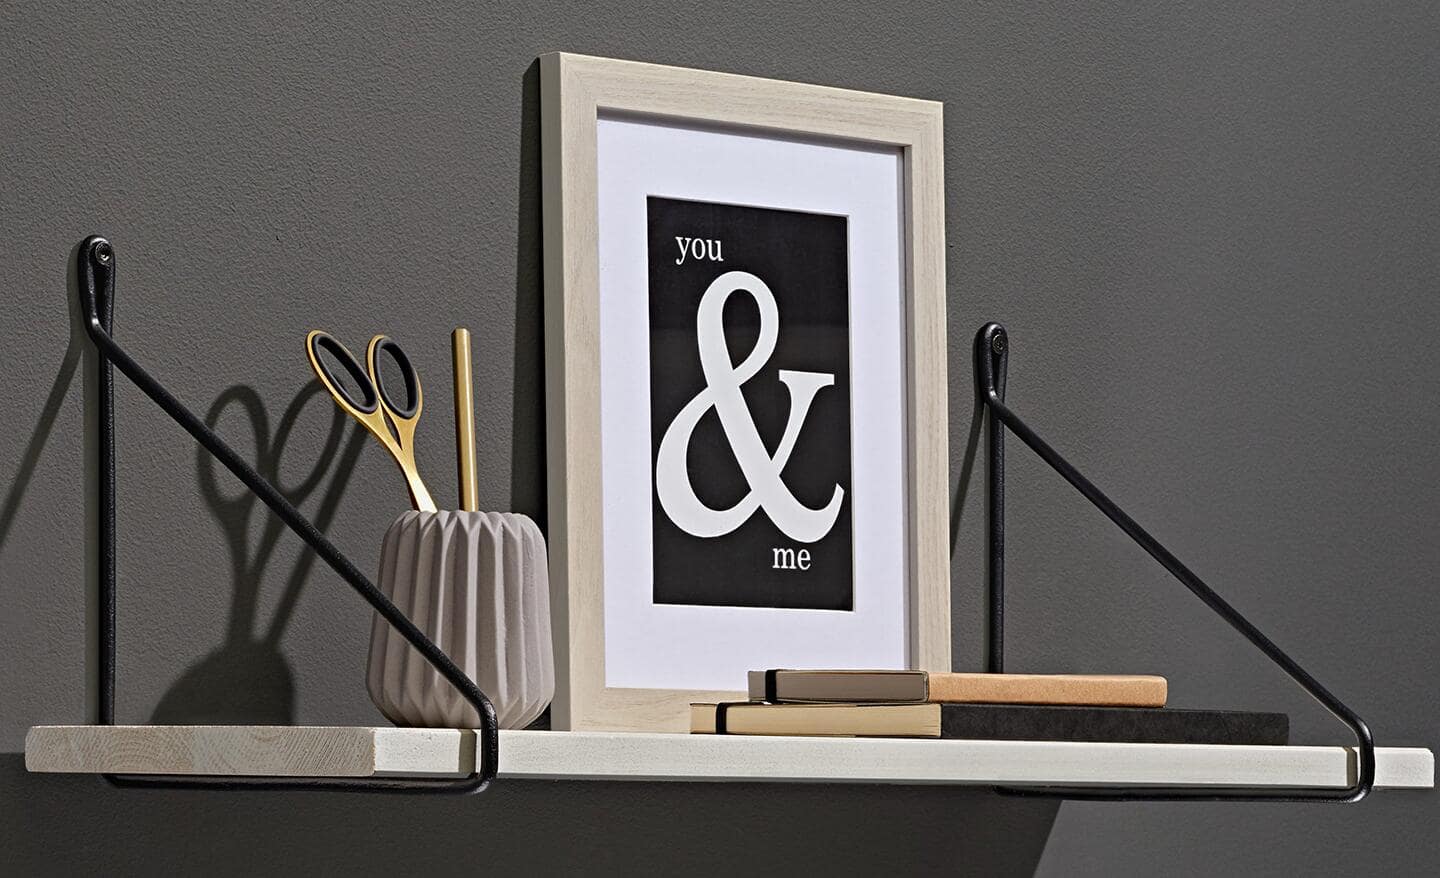
Step 6: Add Flair

Decorate and enjoy!
This post was created in partnership with The Home Depot. The author may have received compensation for this article and associated images or video, potentially in the form of products and/or services. All expressed opinions and experiences are the author’s own words.