How to Install Shiplap in a Bathroom

Last updated August 21, 2024

Alex Evjen is a stylist turned lifestyle blogger and influencer with almost one million followers. She started AVE Styles in 2010 living in Phoenix, Arizona, and chronicling her journey into the styling industry from the least likely of places. After becoming a Pinterest sensation overnight, her styling dreams came true in the unexpected way of social media. Alex has been featured in InStyle, Glamour Magazine and Huffington Post and has styled for top companies such as Coca-Cola, Neiman Marcus and The Home Depot. She now shares her soul and eye for beauty in all things home, beauty, fashion and motherhood on AVEstyles.com.
A Note From The Home Depot
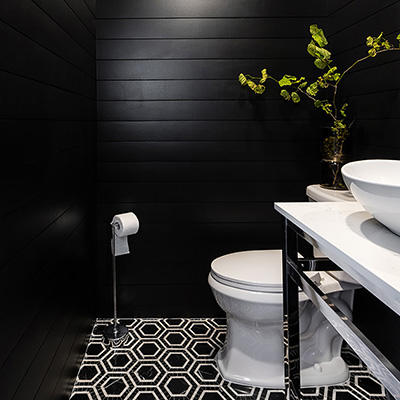
Alex Evjen of AVE Stylesused vertical shiplap appearance boards for a modern and unconventional look in her bathroom. Read more to find out how to get this look for your home.
Table of Contents
Bathroom Makeover Using Vertical Shiplap Appearance Boards
Step 1: Measure the Area
Step 2: Cut Boards to Length
Step 3: Use Construction Adhesive
Step 4: Secure the Boards
Step 5: Repeat Steps 2–4
Bathroom Makeover Using Vertical Shiplap Appearance Boards
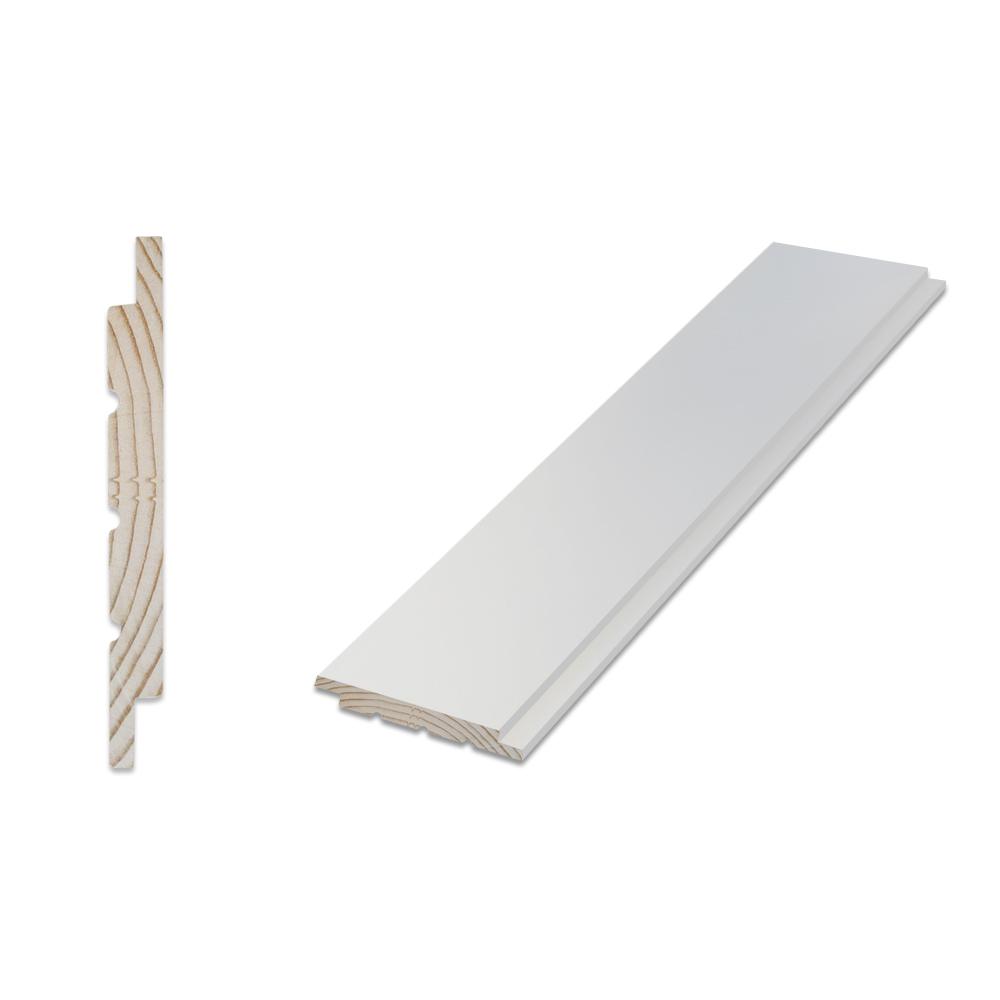
Shiplap has taken over the interior design world this past year, and it has intrigued me. Even though it is seen as a treatment for rustic and country style homes, it made me wonder if it would work in my home. My interior design style tends to lean a bit more modern, so I had the idea of applying vertical shiplap instead of horizontally to provide a more modern approach. The Home Depot also offers a variety of sizes of shiplap appearance boards, and when I saw they had narrow planks of wood, I got very excited. I knew this wall treatment would be just the ticket for my bathroom remodel.
The first floor of my home is a mix of modern and traditional styles using natural textures and colors. I wanted my bathroom to reflect a similar style so that the experience in my home feels cohesive and inviting.

The original bathroom was from 1993. I gutted everything because I wanted to start with a clean slate and build from there.
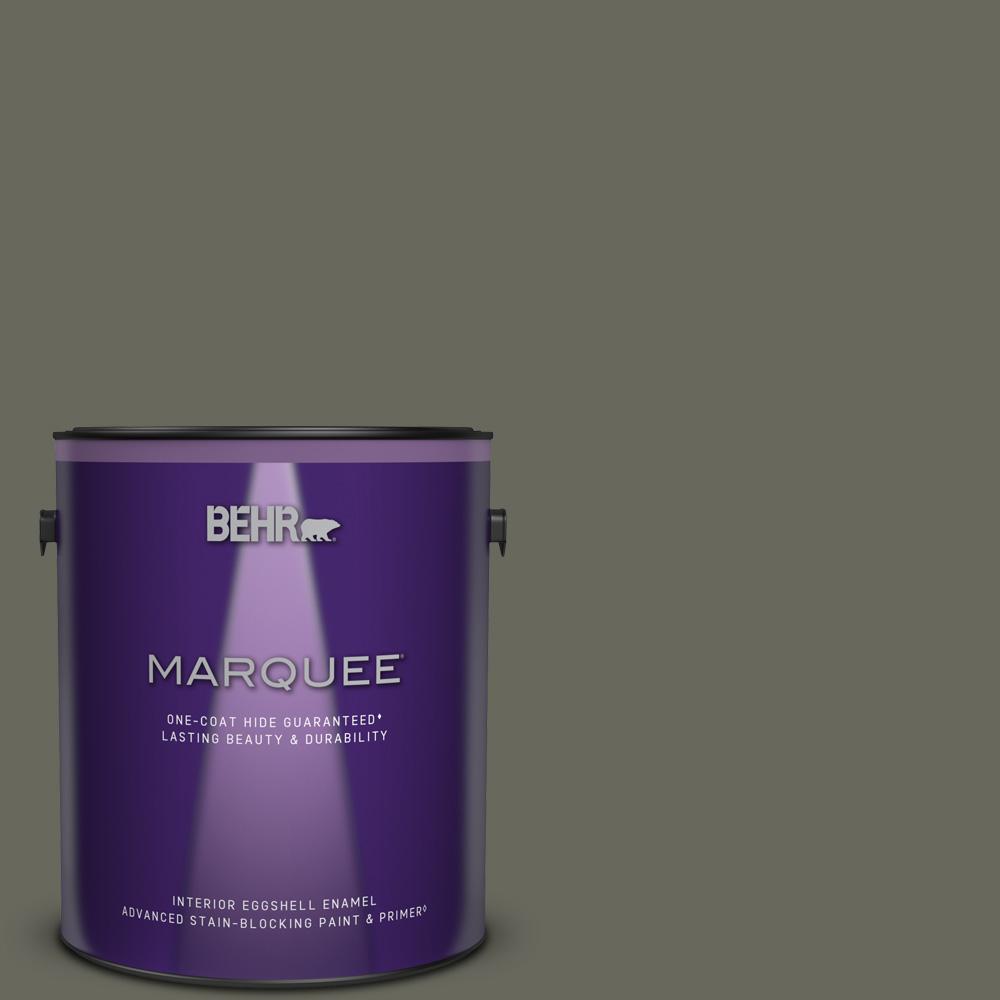
I chose materials like limestone and wood, as well as colors like Naturalism by Behr and a warm gray to bring in an earthy quality. Then, I juxtaposed chrome and metal finishes and clean lines to balance the rustic quality of the materials. This achieved exactly what I was hoping for, and the shiplap really steals the show of the space. It was so easy to install too. Below, is a step by step guide to achieve the perfect application.
Step 1: Measure the Area

Measure the area of the wall you are applying your shiplap. Be sure to always purchase a couple more boards than you need. If you are using shiplap in a bathroom, be sure to keep the wood away from any over spray the shower may cause.
Once the wood has been purchased place inside the home so that it can acclimate to the temperature. Wood can expand and contract based on the temperature of your home, and you want to ensure that it has adjusted to your home’s temperature before applying to a wall.
Before applying the wood, make sure your wall is smooth so that it can stick to the wall firmly. You may need to sand any texture prior to application.
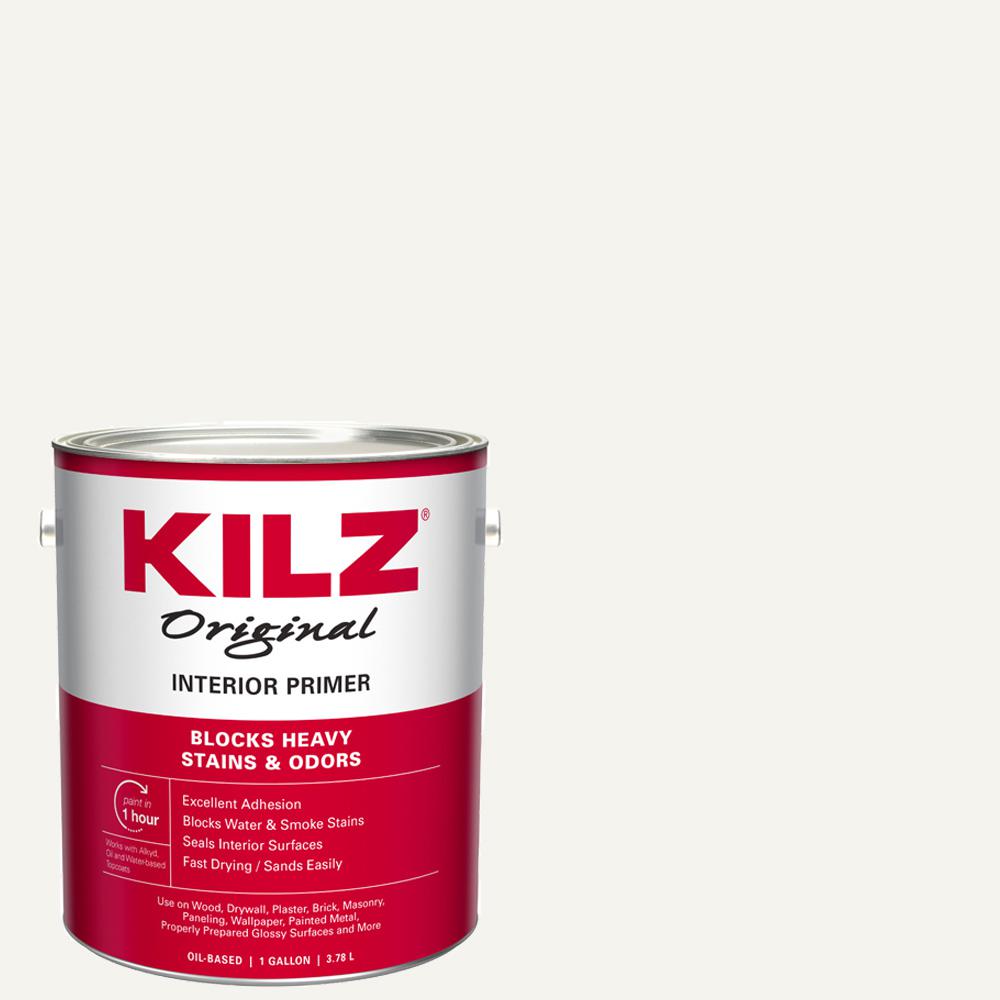
If you are applying the shiplap in a bathroom, as an extra precaution against moisture, seal the wall with a primer before shiplap application.
Step 2: Cut Boards to Length

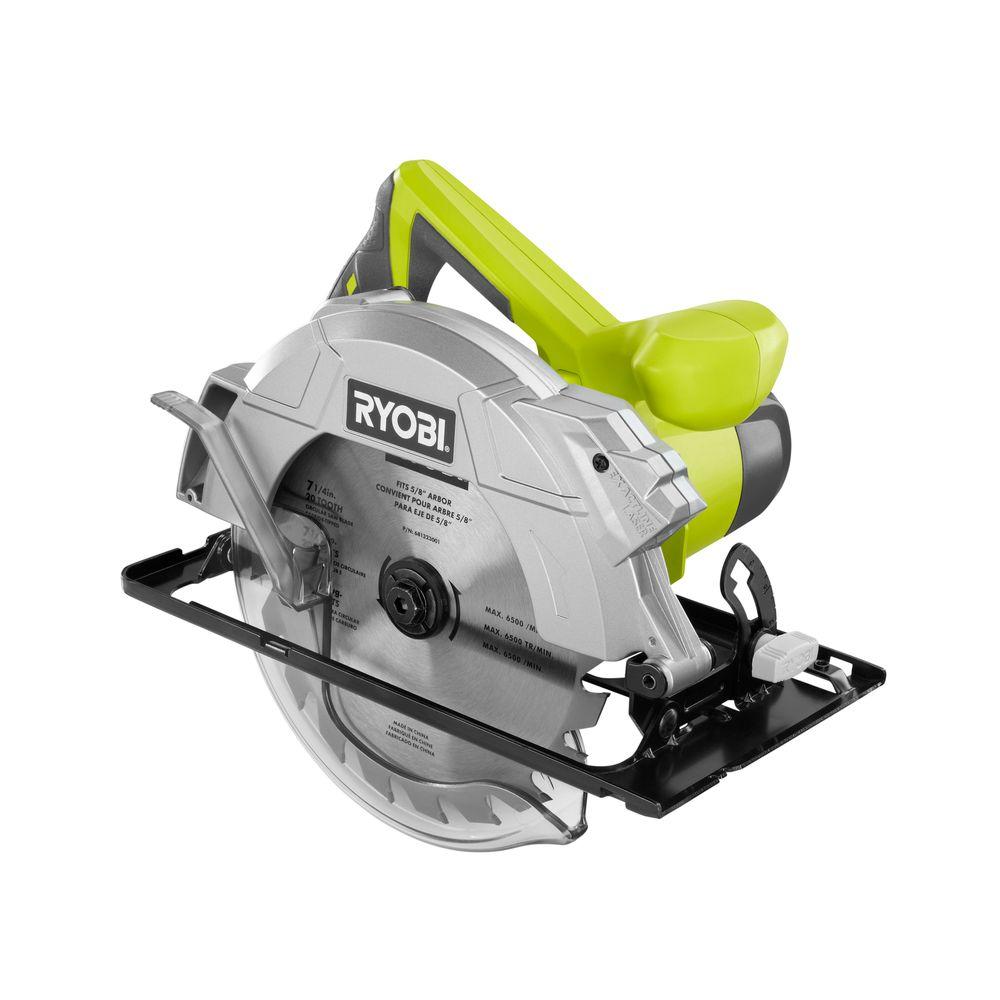
Once you’re ready to install the shiplap, cut one board to the length of the wall using a saw. If there is an edge of the area that is not joined by another wall be sure to start on that side rather than a corner and work your way to the corner.
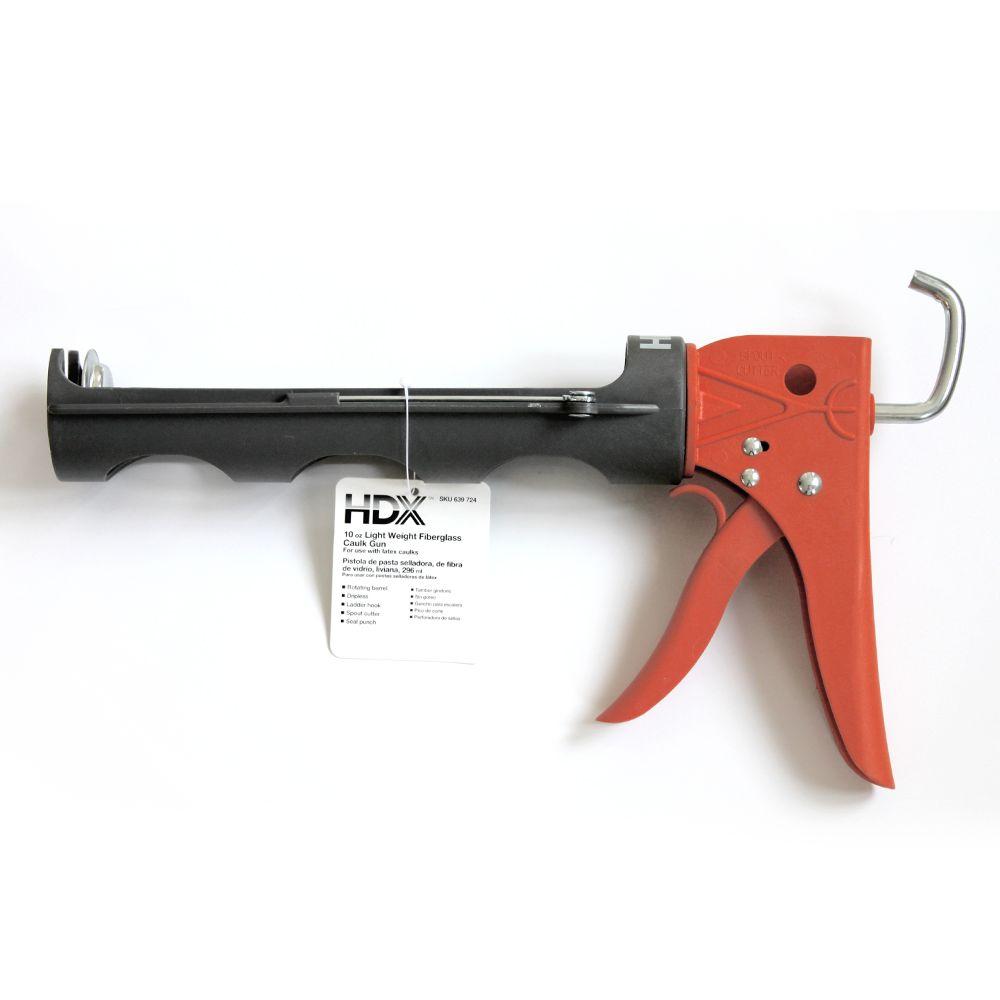
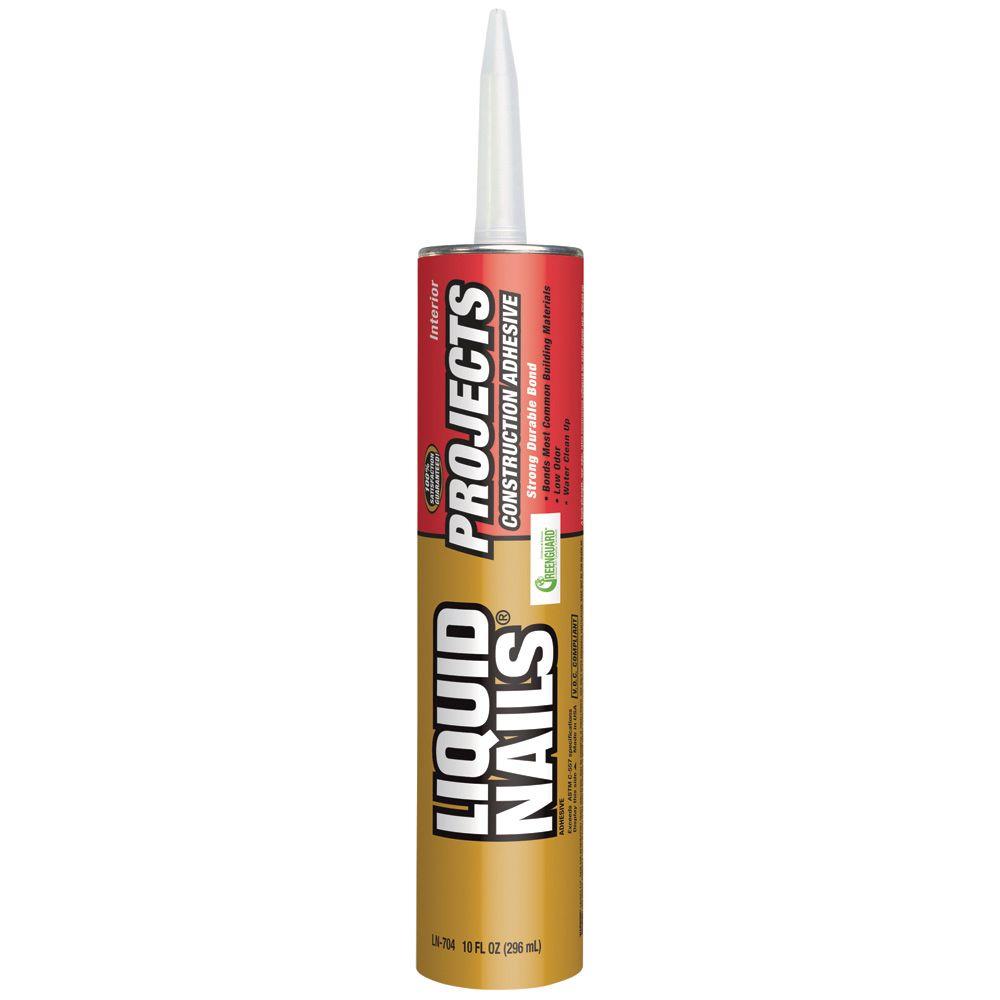
Step 3: Use Construction Adhesive

Apply two beads of construction adhesive on the backside of the board.
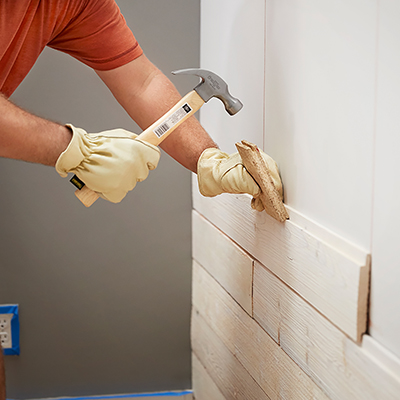
Step 4: Secure the Boards

Secure the board to the wall and use a level to ensure it’s straight. There is a little bit of play in the application, so make sure to adjust the board so that it fits perfectly to the ceiling and the floor.
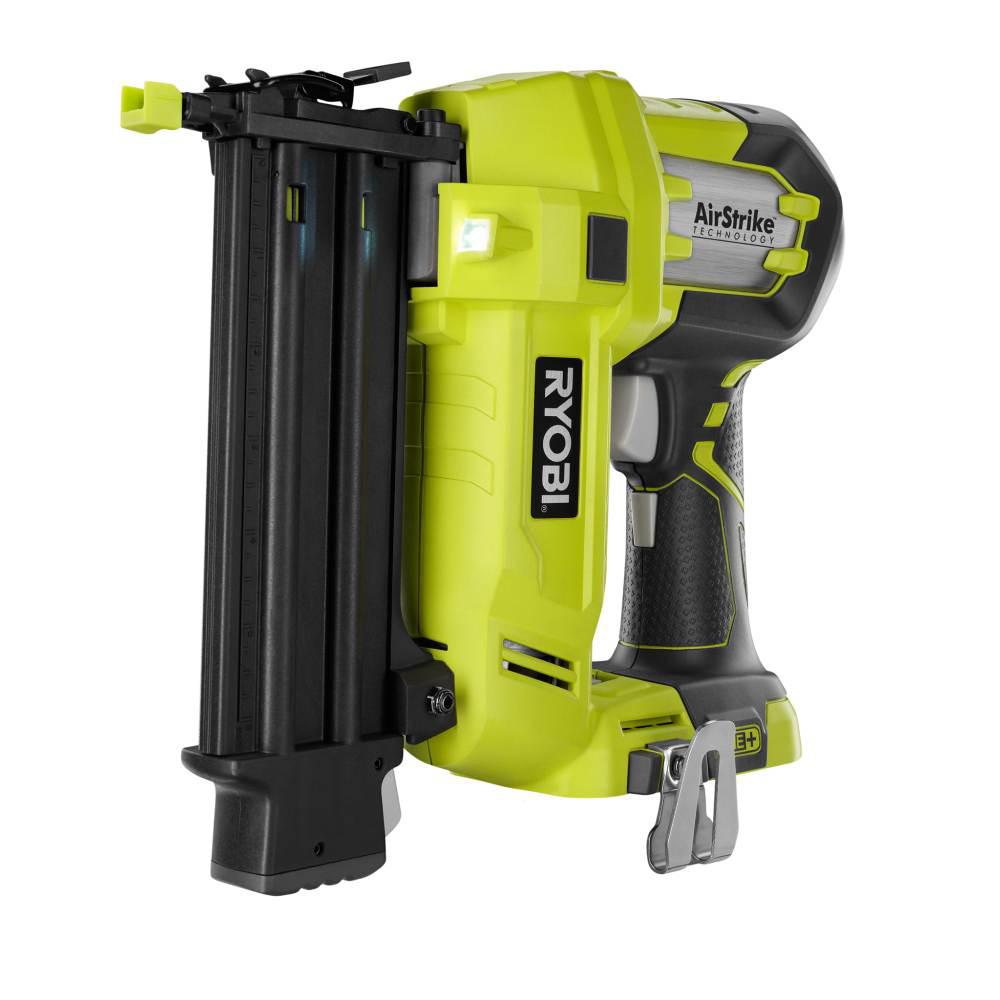
To secure the board, put two ½-in. finishing nails at the top and two at the bottom with a nail gun or hammer. If there is any additional pucker, add nails as needed.

Step 5: Repeat Steps 2–4
Cut your second board to the appropriate length, and fit it in to the first board using the tongue and groove. Make sure it’s snug against the first board. Then repeat steps 2-4.
Step 6: Apply Baseboards
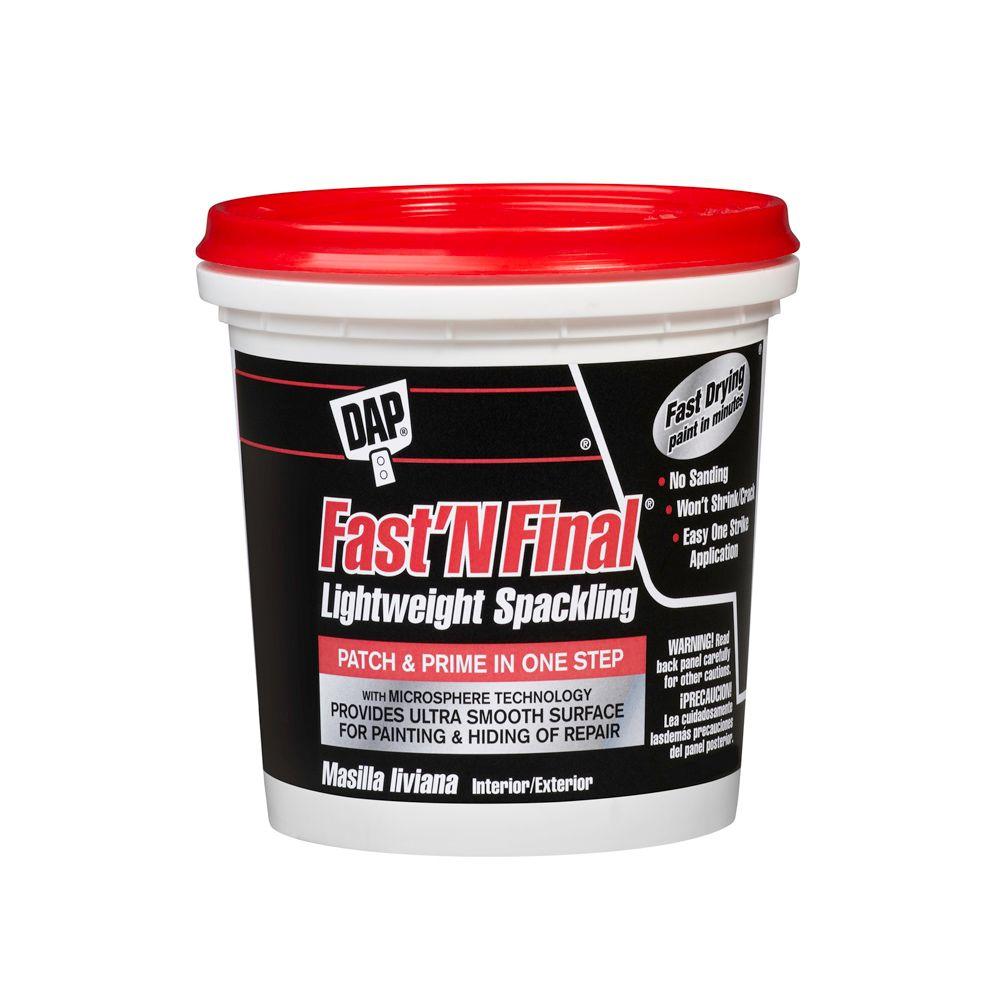
Once you have applied shiplap to the whole area, apply your baseboards over the shiplap. Fill in all nail holes wood putty and let dry. Sand to smooth. Tape off edges and fixtures with painter’s tape.
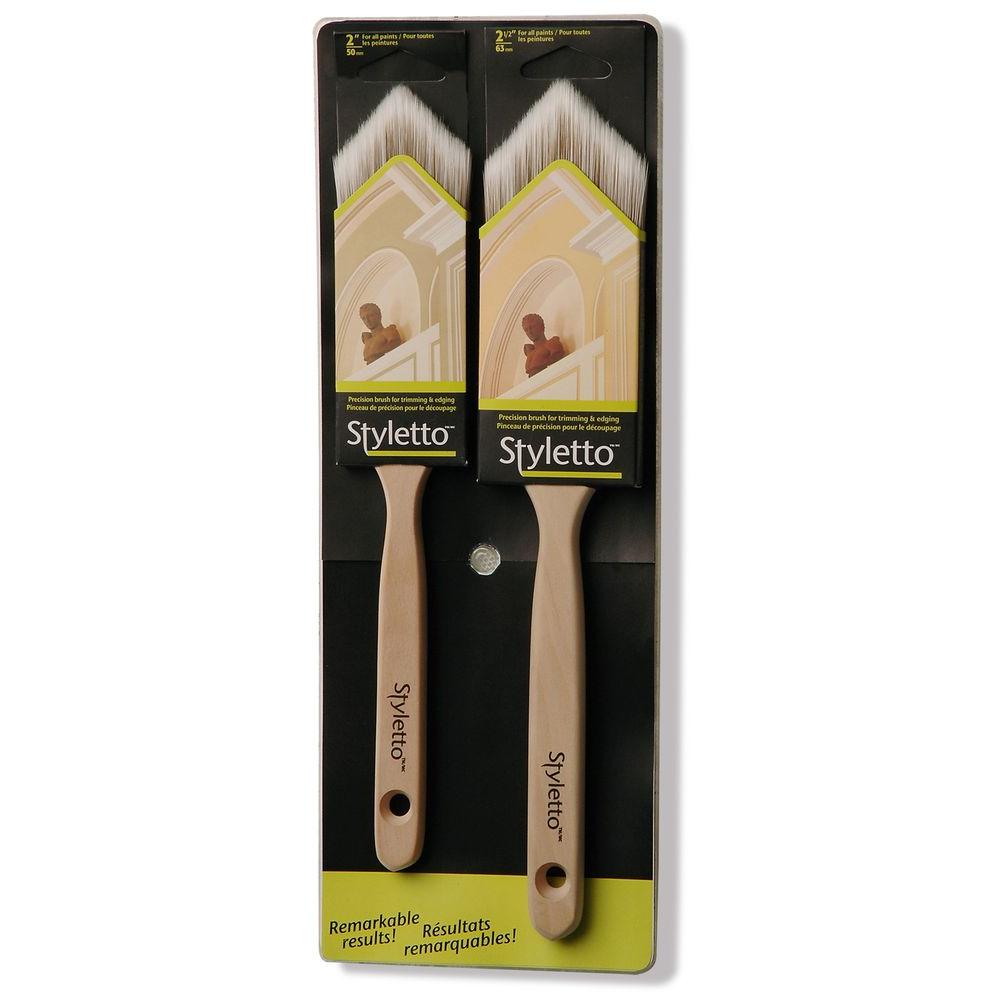
Step 7: Paint
Paint the wall area with your choice of paint. Finish by painting your baseboards.
Vertical Shiplap Appearance Boards

Follow our Bathroom Design Ideas board on Pinterest for more inspiring decor ideas.
To create your own vertical shiplap accent wall, shop shiplap and other appearance boards at The Home Depot.
This post was created in partnership with The Home Depot. The author may have received compensation for this article and associated images or video, potentially in the form of products and/or services. All expressed opinions and experiences are the author’s own words.