How to Make a DIY Valentine’s Day Box
Last updated August 21, 2024

Yuni is a Korean- American raised in the South who loves all things designing, DIY-ing, and cooking. On her blog, Love Your Abode, you can find about interior design inspiration, home remodel makeovers, and recipes.
A Note From The Home Depot
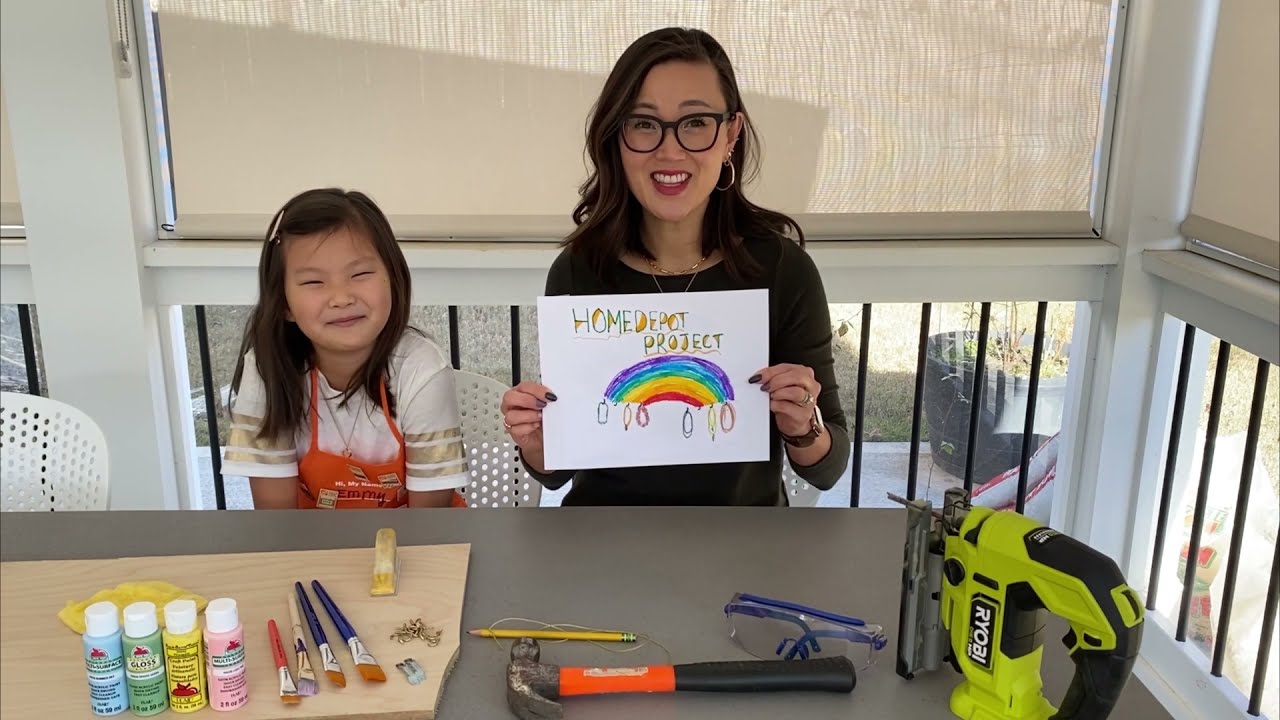
Valentine’s Day is the perfect holiday to encourage your child’s crafty side. Watch as Yuni Mun of Love Your Abode walks us through a kid-friendly DIY Valentine’s Day Box project. Then, pop by a local Home Depot for all the supplies and help you need to make your own and create storage for all the hand-made cards coming your way!
Table of Contents
How to Build a Valentine’s Photo Box
Gather Tools and Materials
Here's what you'll need:
Step 1: Begin the assembly of the frame
Step 2: Build the Frame of the Box
Step 3: Create the bottom of the box
How to Build a Valentine’s Photo Box
Keep your kids engaged with the Home Depot Kids Workshop Kit on the first Saturday of the month. It comes with an apron, pre-cut wood kit, assembly hardware, apron, stickers, certificate and apron pin. The monthly kits encourage your child to build and create really cool projects in less than an hour. This month, we are creating a Valentine’s photo box adorned with stickers.
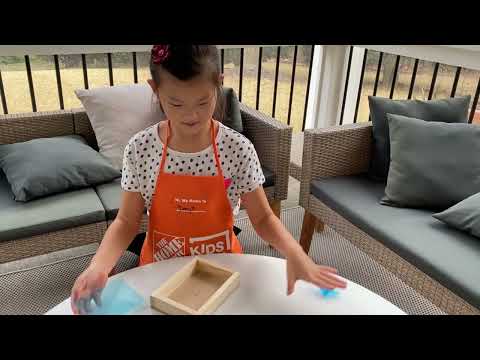
Emmy decided to create these cute Valentine’s photo boxes and fill them with goodies and gift them to her grandma and grandpa. I assisted her with a few details but gave her freedom to build and create on her own.
Gather Tools and Materials

Here's what you'll need:

All these items can be found at The Home Depot. The great thing is almost everything you need is already included in the workshop kit along with easy-to-follow instructions.
Step 1: Begin the assembly of the frame

If the pieces are rough, you can sand any edges with sandpaper. Lay both side pieces flat with the nail holes facing up. Start with 8 long nails.
When attaching the long nails, don’t go all the way through as you will attach them to another piece in the next step.
Step 2: Build the Frame of the Box

Stand both end pieces up. Glue one of the side pieces on top. Make sure the outside edges are even.

Step 3: Create the bottom of the box

Nail the pieces together on one side. Turn over and repeat to attach the other side pieces.
Lay the project flat to attach the bottom piece. Glue the bottom piece on top. Make sure all edges are even. Have your child hammer 8 short nails to form a box.
Step 4: Attach the frame top

Step 5: Create the photo frame
Lay the frame bottom piece down with all the nail holes facing up. Start with 2 long nails. Stand both frame pieces up with the screw holes facing down and the slots facing in. Place the frame bottom piece on top. Make sure outside edges are even. Nail them together.

Peel off the blue protective sheets from BOTH sides of the clear plastic sheets.

Align the screw holes in the frame top and frame side pieces. Using a #2 Phillips screwdriver, attach them together with 2 screws to form the photo frame.
Step 6: Attach the photo frame to the lid
Lay the lid flat with theaiming lines facing up. Add thin lines of glue near the inner frame edge. Use the aiming lines as a guide and place the photo frame on the lid.

Hold down the photo frame for a minute so the glue will be sticky. Turn the project over carefully and use 6 short nails to nail them together.

Step 7: Paint and adorn the box

Give your child the creative freedom to choose any color and design for their box. We painted our box with craft paint using some paint brushes from The Home Depot.

After the paint has dried, let them adorn the box with stickers.
Step 8: Include the special photo and fill with treats

Unscrew the frame top piece and place your favorite photo (3.5”x5”) in between the clear plastic sheets.

Fill the box with some delicious treats and goodies and gift it to someone special!

Happy Valentine’s Day!!

This post was created in partnership with The Home Depot. The author may have received compensation for this article and associated images or video, potentially in the form of products and/or services. All expressed opinions and experiences are the author’s own words.