How to Make a Kids’ Terrarium
Last updated August 21, 2024

Cara Newhart of Never Skip Brunch is a DIY enthusiast who lives in Houston, TX. She has a passion for empowering women to dive deep into the "masculine" world of DIY and home improvement. Her creativity has been featured in publications like PEOPLE StyleWatch, Denver Style Magazine, and she's the 2019 Home Depot Orange Tank Pitch Competition winner. Head over to her blog to see more of her chic DIY projects and tutorials.
A Note From The Home Depot
Getting ready for Springtime is extra enjoyable with this hands-on craft project for you and your children to enjoy. This fun activity teaches kids an interactive craft that will be a beautiful and fun plant space in your home. Read below for Cara Newheart of Never Skip Brunch to teach you how to create your kids’ at-home terrarium.
Table of Contents
Step 1: Add felt pads to your container
Optional: paint your terra cotta bowl
Step 2: Layer it up
Step 3: Arrange plants
Step 4: Spray to set
Step 5: Decorate + Fill in the gaps

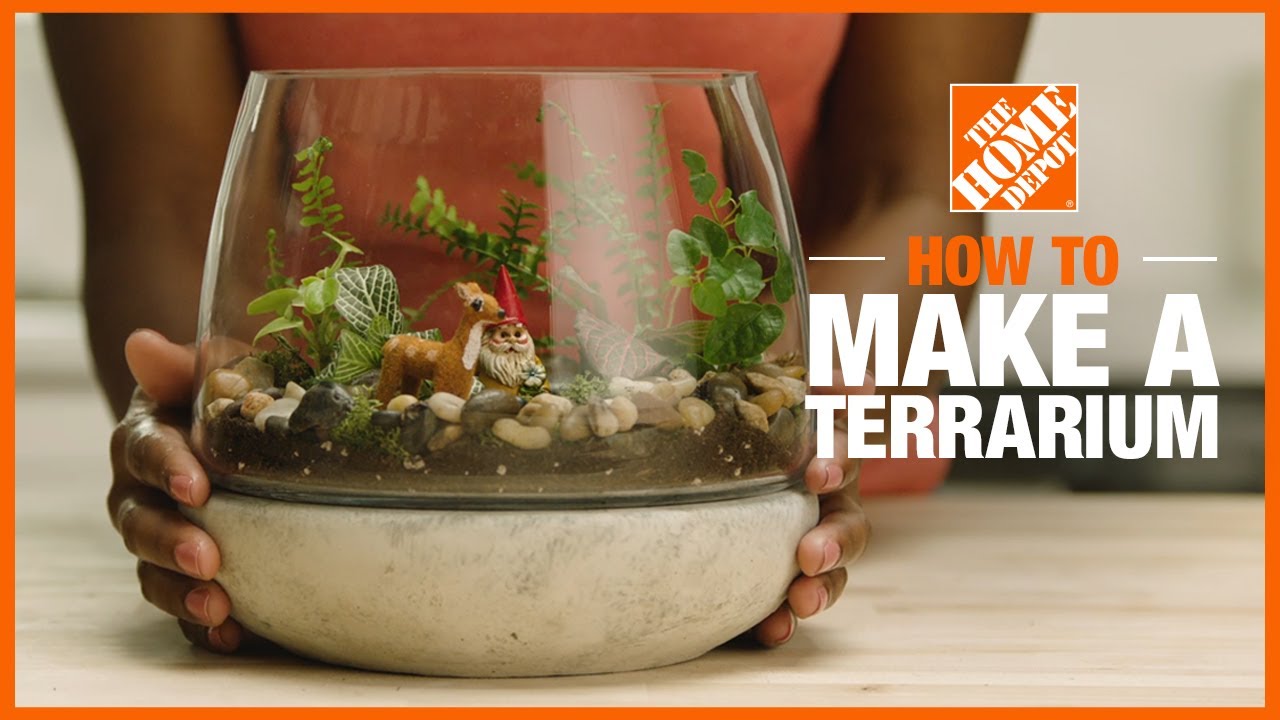
Terrariums are a great way to bring plant life indoors and are so much fun to make. This project is a perfect way to help your little one explore texture and color while creating a lively decor element that will look gorgeous on a table, window sill, or coffee table.

Letting your little one check in on the terrarium every few days and water it keeps this project engaging and gives them a way to help out and be proud of what they’ve made.
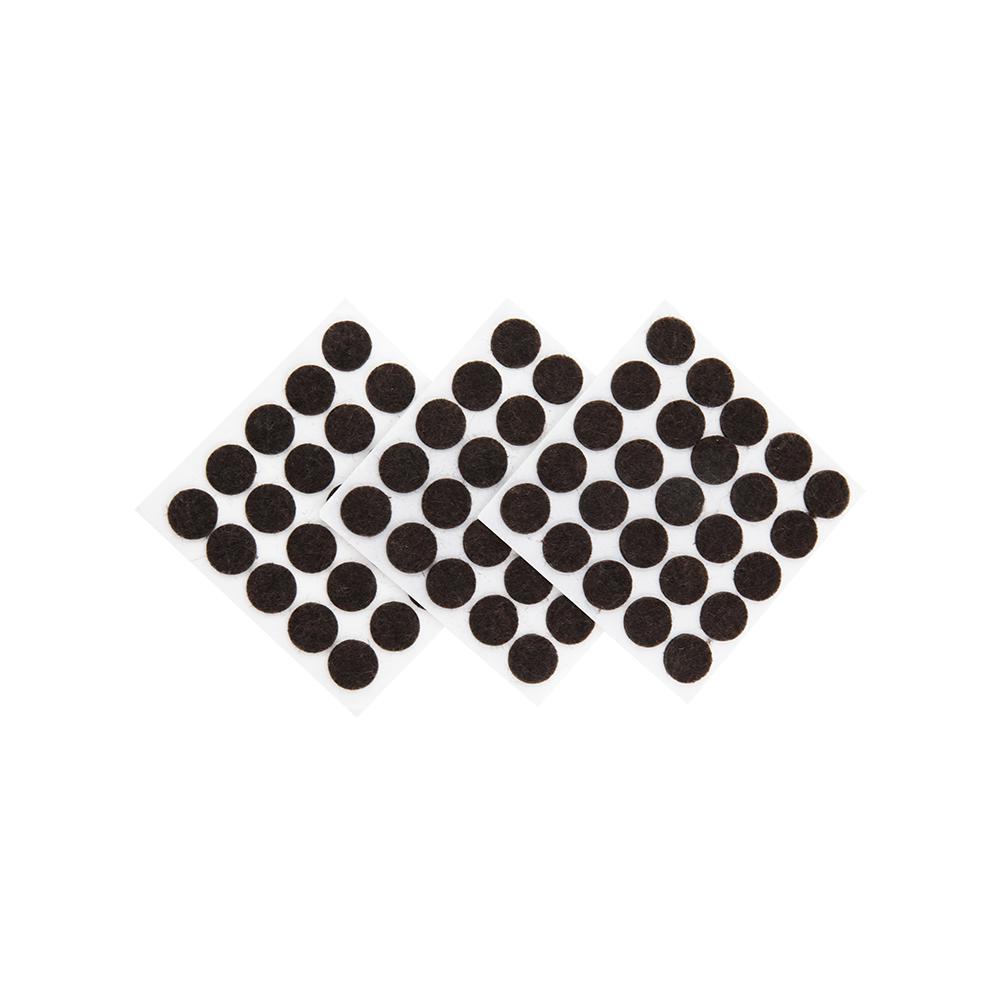
Step 1: Add felt pads to your container

Start by adding felt pads to the bottom of your container — this is optional, but can keep your container from scratching the table or wood tray you choose to place it on.
Optional: paint your terra cotta bowl
We chose to paint the outside of our terra cotta bowl gold to
uplevel
it a bit for indoor decor and provide some added texture. For a more playful feel, you can give your little one some craft paint or paint markers to decorate it however they want.
Step 2: Layer it up

GLASS CONTAINER:
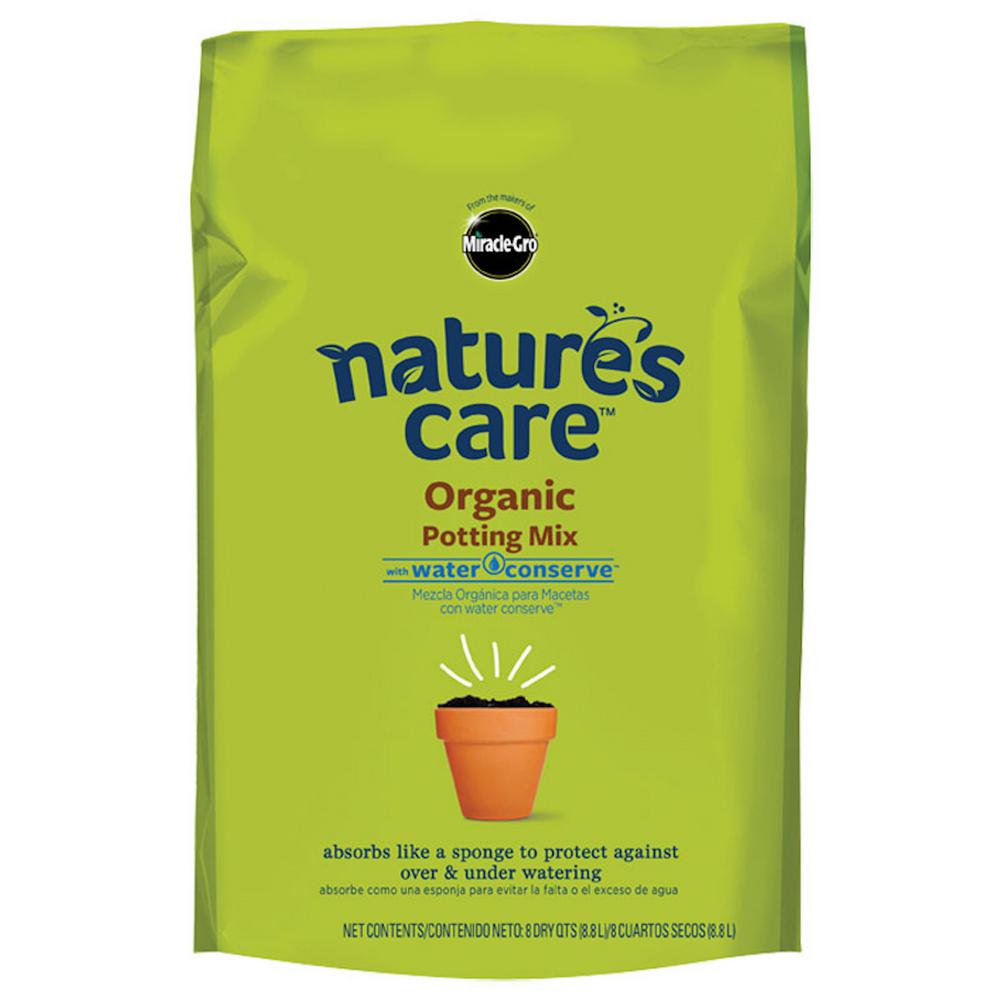
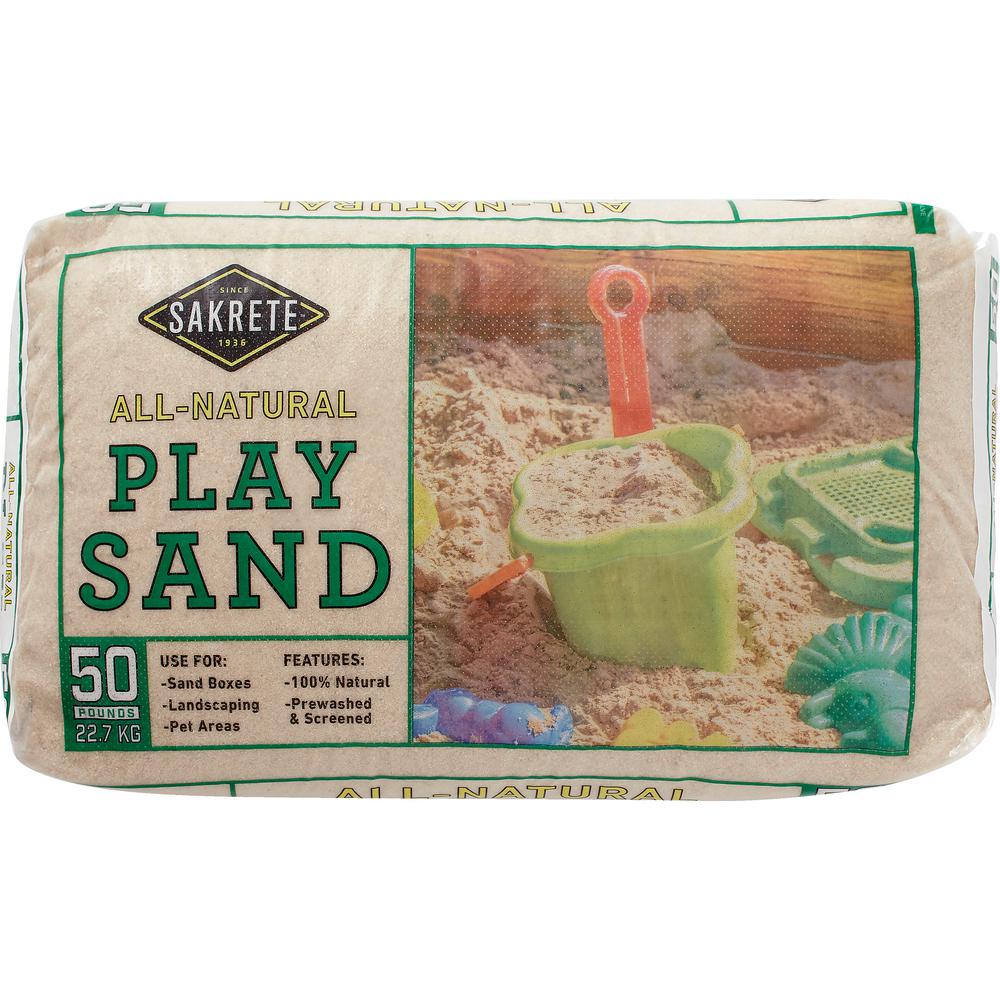
Create a decorative base in the bottom of the container by layering some of the filler materials. We chose to add in some sand, white rocks, wood chips, and potting mix.
After we scooped or poured in each material, we smoothed the layer out before adding the next.
Using your layers to vary texture and color will add interest to your terrarium.


You can also encourage your little ones to use the different materials to create a pattern. Allowing them to use their
hands and scoop each material in one by one lets them explore and play around with different textures.

TERRA COTTA BOWL:
Fill the bottom of the bowl with rocks just until the very base is filled. Add potting mixon the top until the bowl is ¾ full.
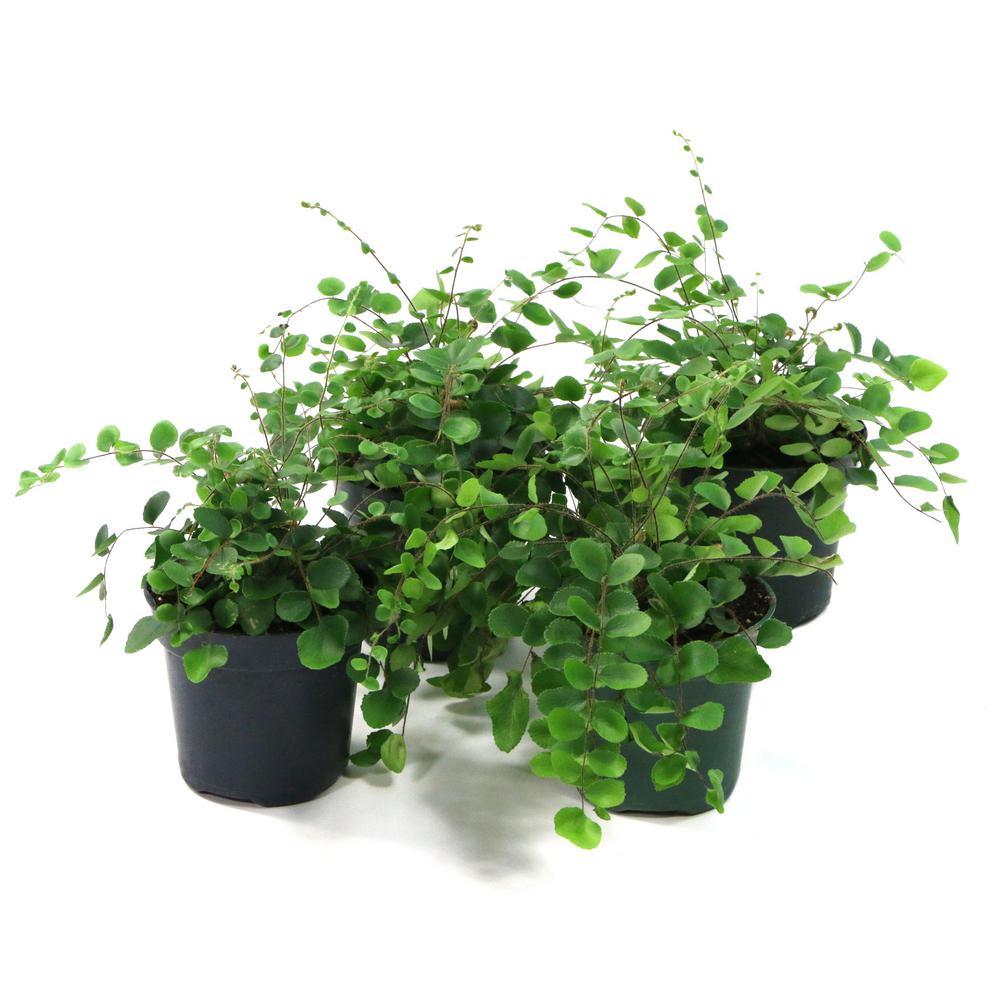
Step 3: Arrange plants

After you finish your layers, add additional potting mix on top and spread evenly. Begin removing your plants from their containers and gently massaging the roots to loosen them, allowing excess soil to fall into your container. This will help the plant re-root into its new home in your container.

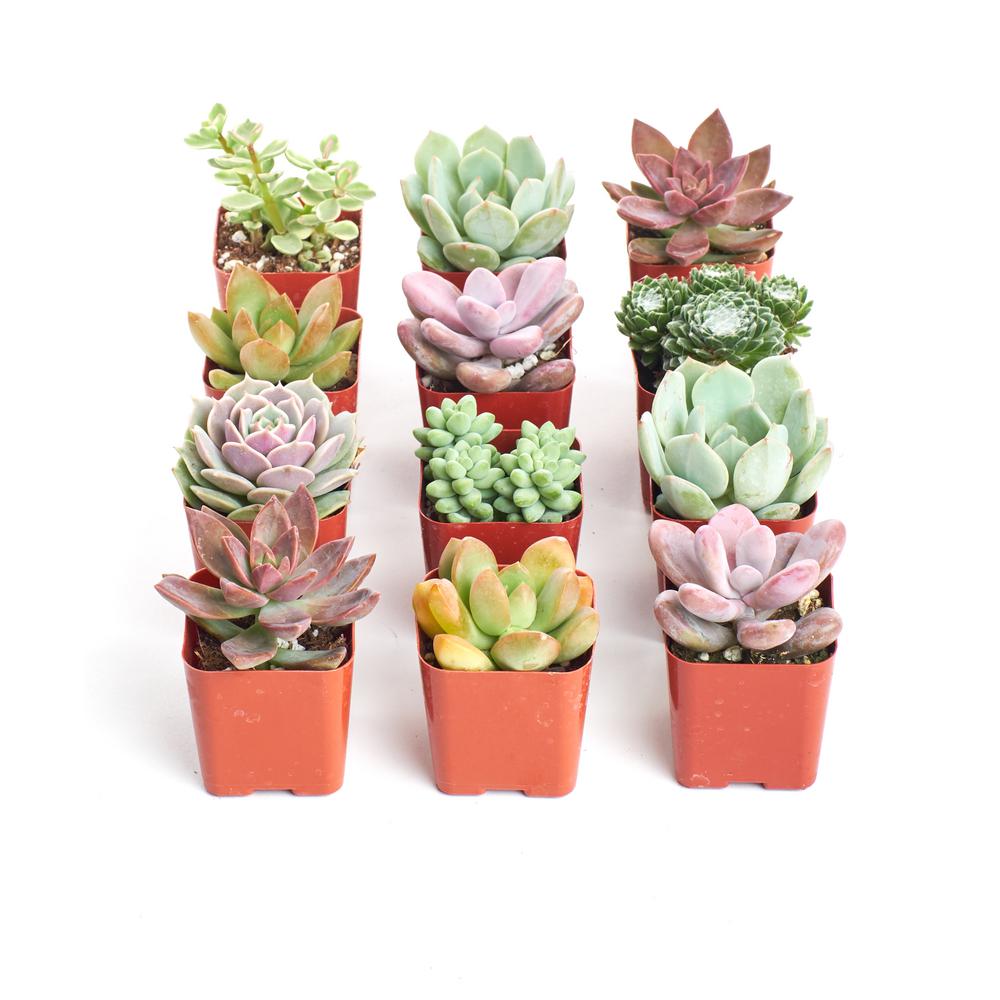
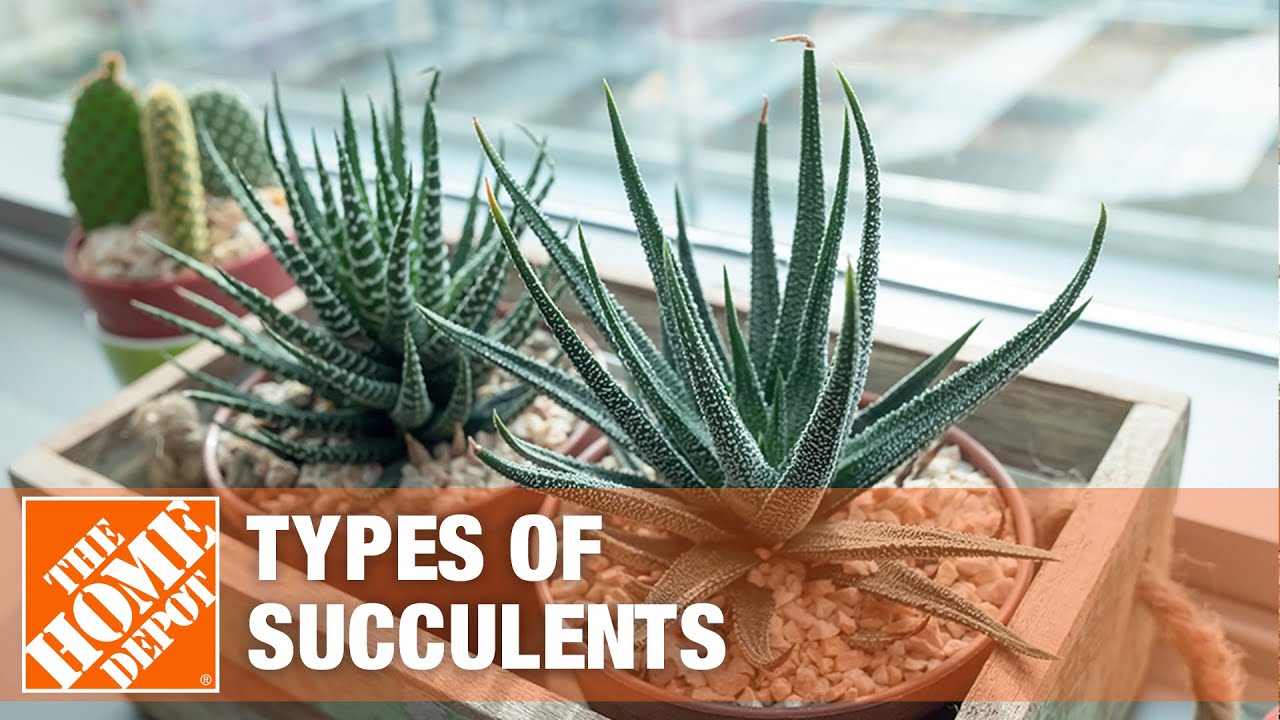
We chose a variety of succulents and fern species, but any small potted house plants work great for this project.
Pro tip: choose plants that enjoy similar watering schedules. Check your local Home Depot garden center for plant options that are available for your zone.


Starting with your largest plant, set it on the top of the soil in your container. Then arrange 2-3 smaller plants around the larger one, leaving gaps in between the plants — you’ll fill these in with some of the filler materials in the next step for added texture and interest.
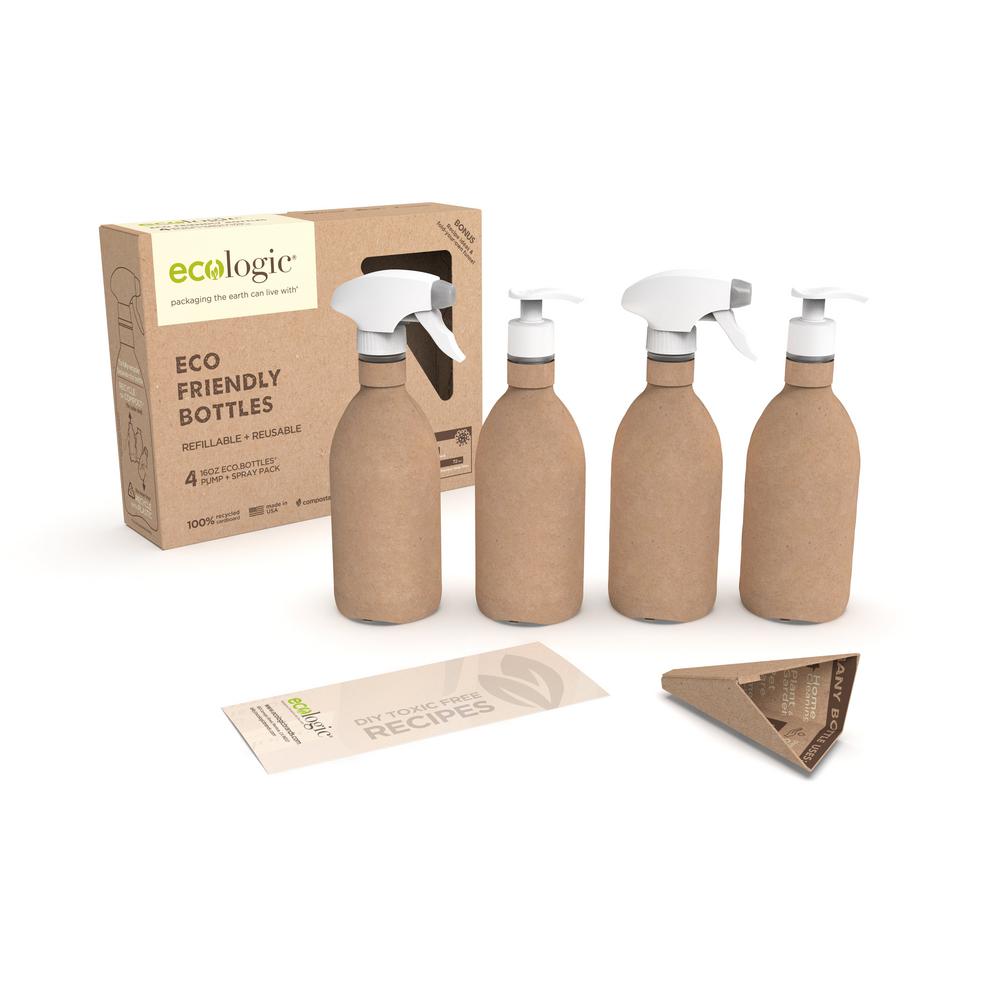
Step 4: Spray to set

Use the spray bottle to spray the potting mix with water so that it’s slightly moist. This will help set it in place as you begin to add your filler materials so that the soil doesn’t mix in with them in any way.
This is a super fun activity for little ones and a great way to water your terrarium every few days.
Step 5: Decorate + Fill in the gaps

Time to fill in the gaps! In the areas around the plants, add some of the filler materials, arranging them to vary the color and texture in each section.
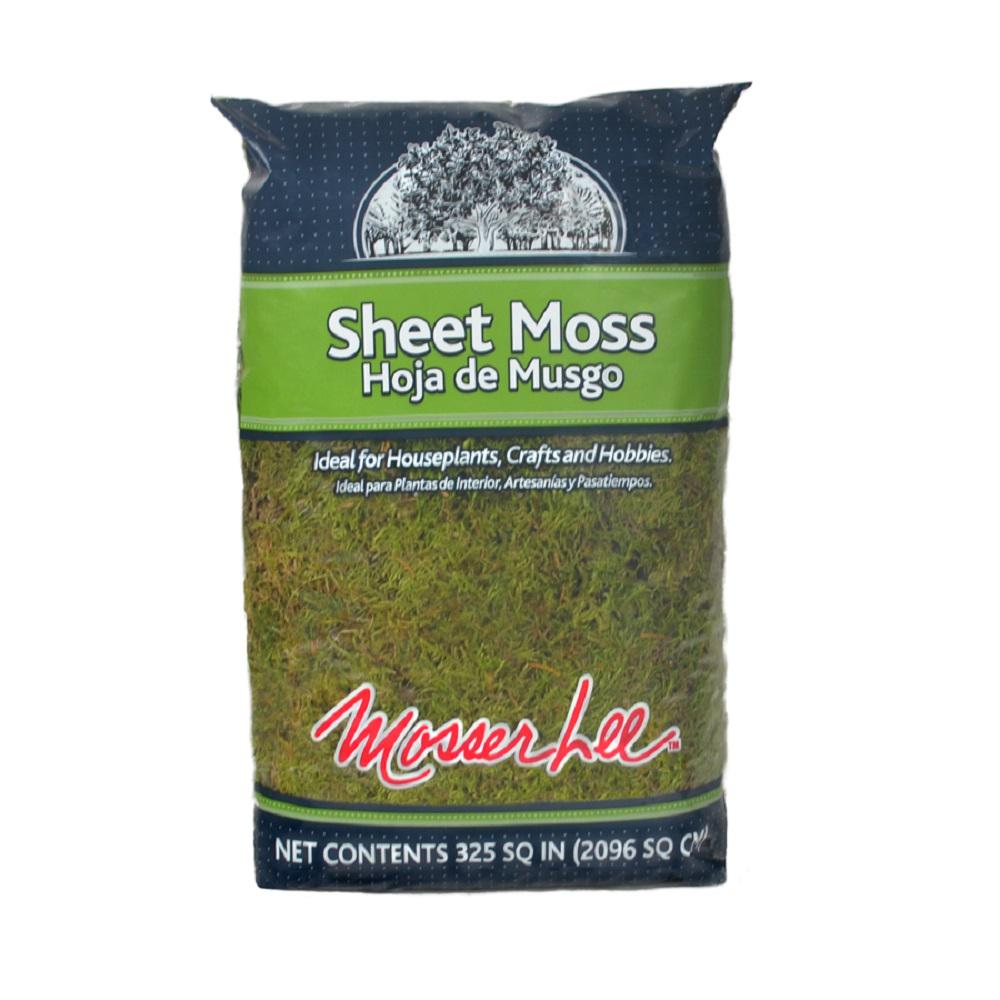
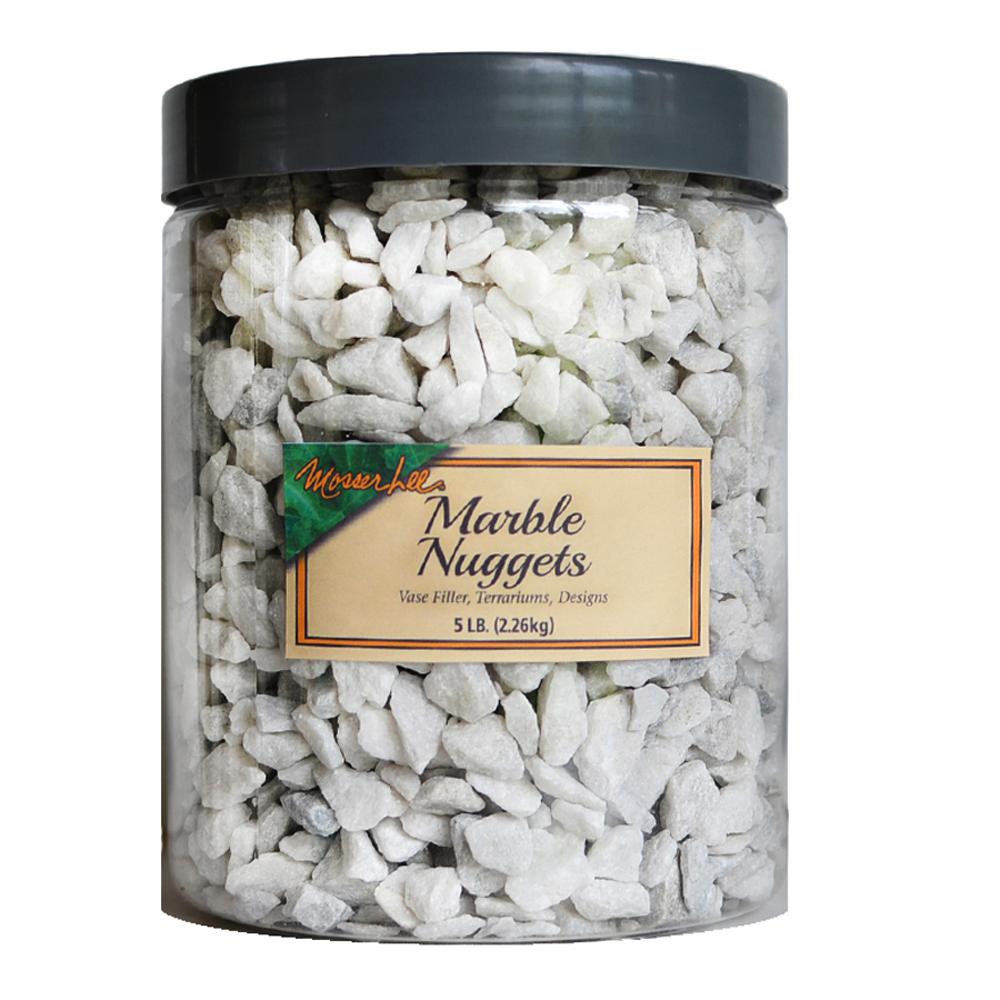
You can layer on moss in areas that need more greenery, add sand, or marble nuggets in areas that need to feel light & bright, or fill areas with river pebbles or wood chips for wood tones and texture.
Step 6: Style + Enjoy

Add the terrarium to your table as a lively centerpiece or style it on a window sill or coffee table — making sure you place it in a location with a light level appropriate for the plants you’ve selected.

Your little one can stay involved in the terrarium by checking in on it daily to see if there’s any new growth, and using a spray bottle to water it when the soil feels dry.
Check out Cara's video here.
This post was created in partnership with The Home Depot. The author may have received compensation for this article and associated images or video, potentially in the form of products and/or services. All expressed opinions and experiences are the author’s own words.