How to Make a Moveable Window Plant Shelf
Last updated August 21, 2024

Cara Newhart of Never Skip Brunch is a DIY enthusiast who lives in Houston, TX. She has a passion for empowering women to dive deep into the "masculine" world of DIY and home improvement. Her creativity has been featured in publications like PEOPLE StyleWatch, Denver Style Magazine, and she's the 2019 Home Depot Orange Tank Pitch Competition winner. Head over to her blog to see more of her chic DIY projects and tutorials.
A Note From The Home Depot
Indulge your inner crazy plant parent or brighten up a space with a splash of green by building this custom-length plant shelf from Cara Newhart of Never Skip Brunch. Grab all the goods you need from The Home Depot and breathe in that plant-fresh air.
Table of Contents
How to Make a Moveable Window Plant Shelf
STEP 01: Attach Floor Flanges, 90 Degree Elbows, & 5 in. Steel Pipes
STEP 02: Cut the Primed 1x8 Pine Board into Shelves
STEP 03: Assemble the Frame & Add Shelves
STEP 05: Paint the Pipes Gold
STEP 05: Attach the Shelf to the Wall and Style with Plants
How to Make a Moveable Window Plant Shelf
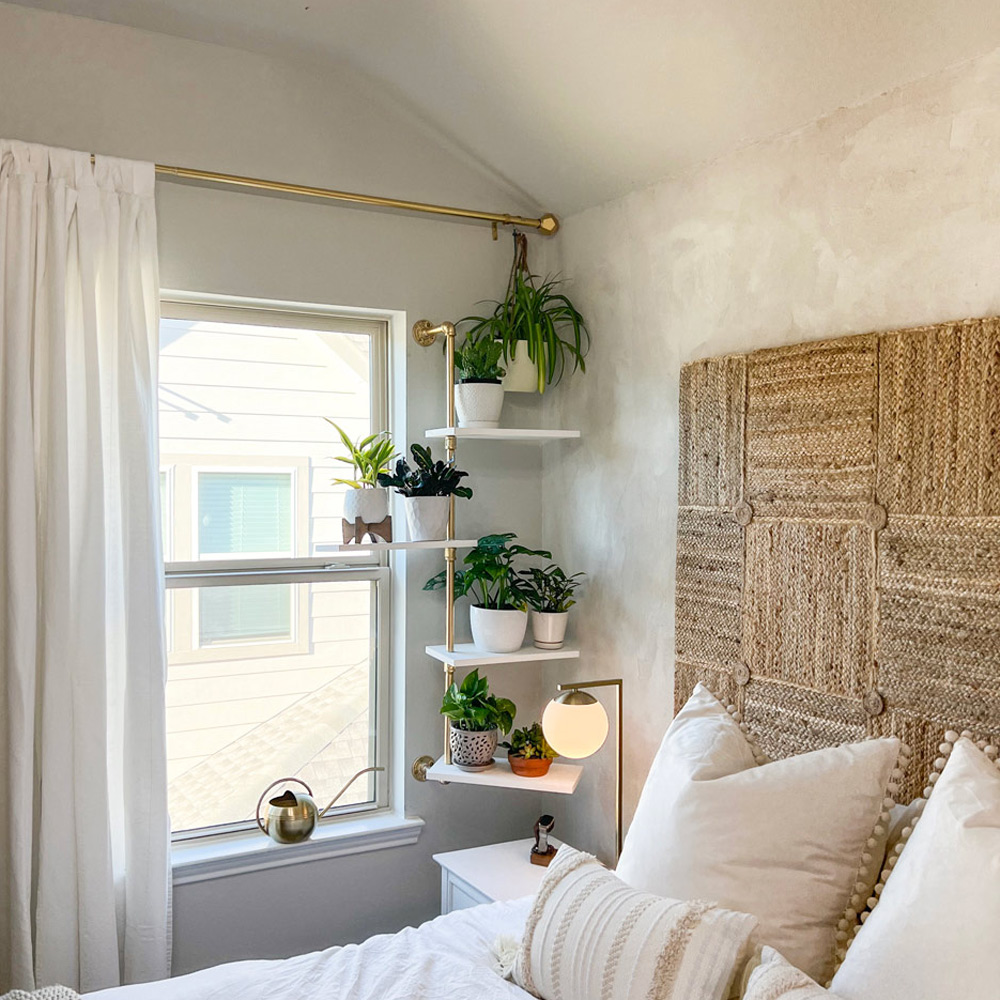
Whether you’re a plant lover all year long or you want to liven up your space with some houseplants, this shelf is the perfect way to display your favorite plants.
One of the challenges of keeping houseplants thriving is the correct balance of light—plants need window light, but windows filled with plants can block the view.
This beginner-friendly DIY workshop will help you make an adjustable window plant shelf for the best of both.
You can customize this project by adding additional shelves or swapping out the pipe length to create a fully custom plant shelf for your space.
STEP 01: Attach Floor Flanges, 90 Degree Elbows, & 5 in. Steel Pipes
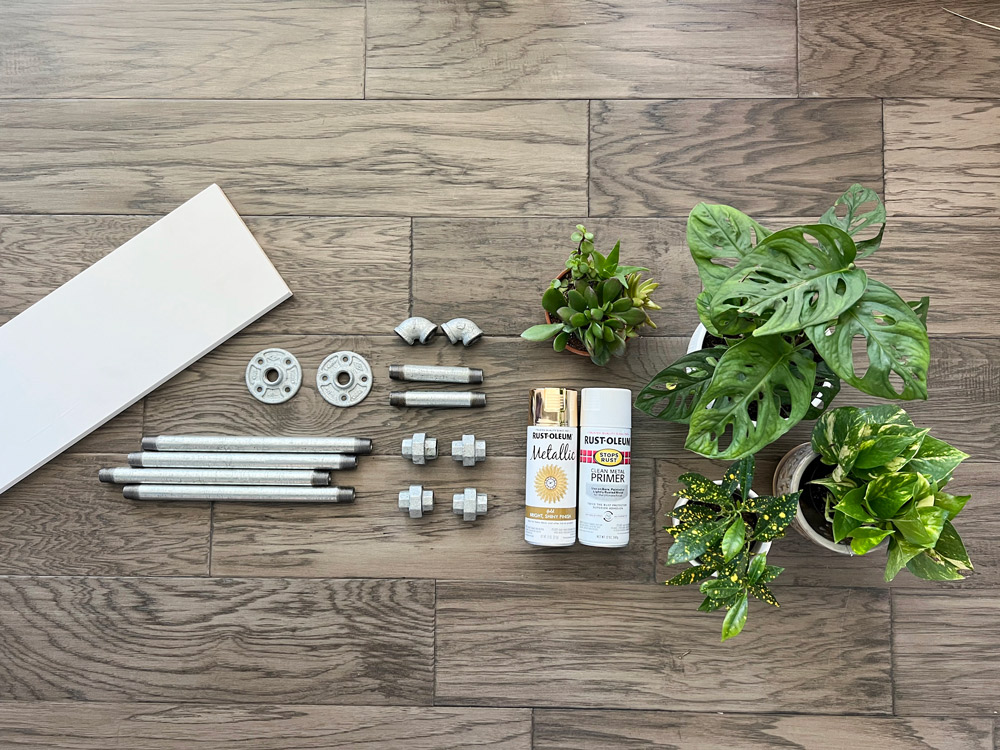
To create this moveable plant shelf, we’ll build a frame out of pipes that attach to the wall at the top and bottom, with four wooden shelves that can twist.
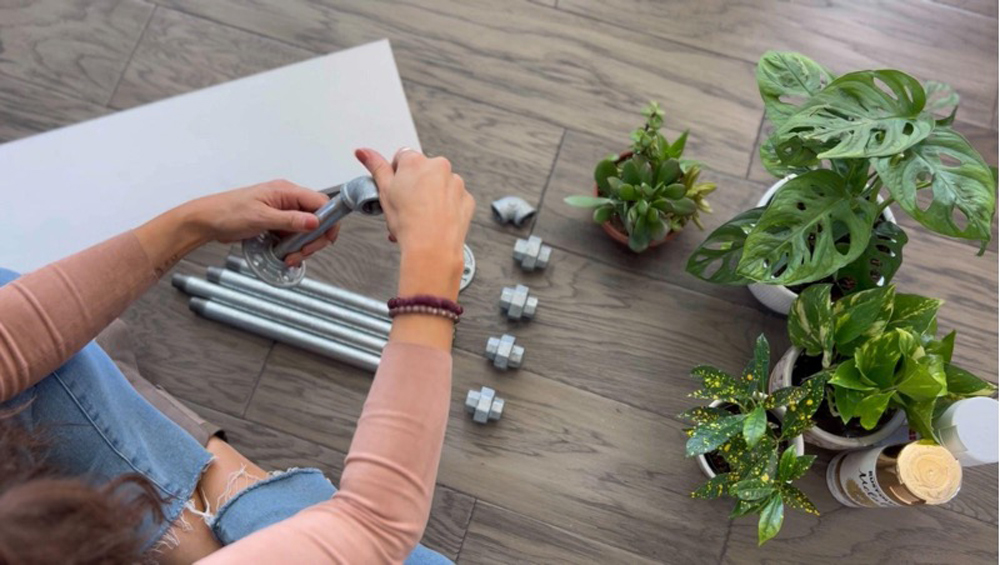
The first step is to create the pipe portions that attach to the wall—to do this, screw one end of the 5” steel pipe into the threaded end of the floor flange , twisting tightly to tighten. Attach the 90° elbow pipe to the other end of the 5” pipe, twisting it tight as well.
These steel pipes come with a light coat of oil to prevent rusting, but we want to make sure to wash this off before painting them.
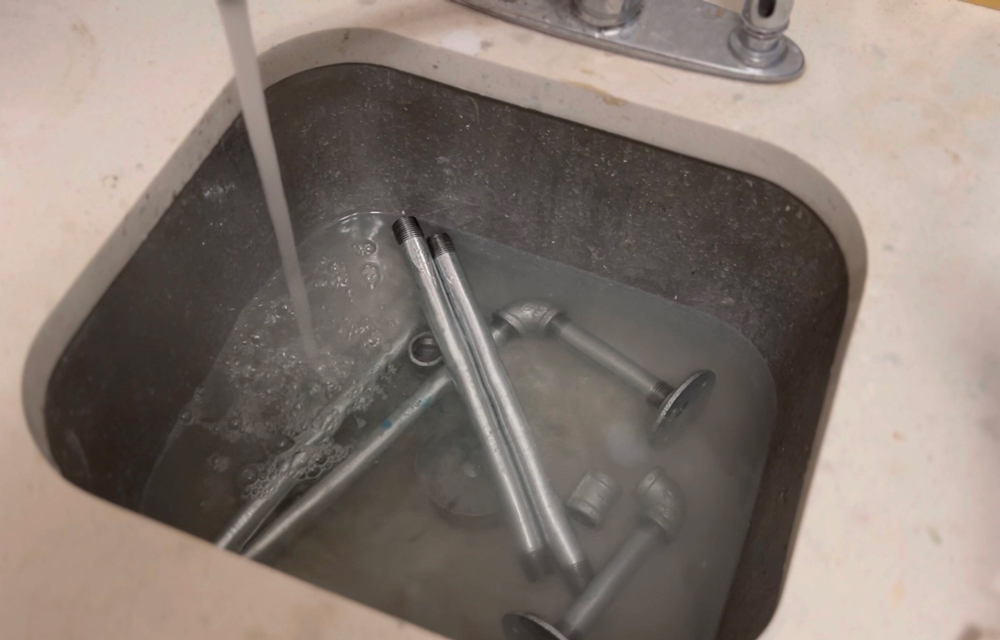
Soak the assembled pipe pieces as well as the couplings
and 12” pipe pieces in some warm, soapy water—the dish soap will help break down the oil.
Be sure to scrub them a little and dry them off with a towel. Set them aside to fully dry while we move on to create the shelves.
STEP 02: Cut the Primed 1x8 Pine Board into Shelves
Start by measuring the space to the side of the window to get an idea of how long your shelves should be. My window is right next to a corner, so the perfect distance for my shelves is about 16”.
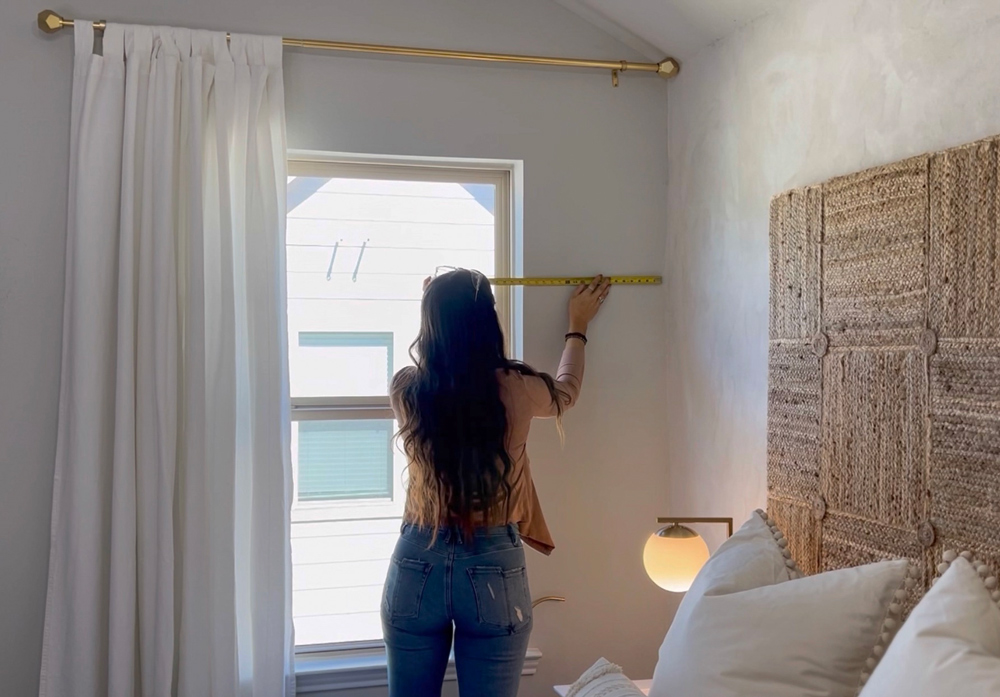
You want to be sure the shelves aren’t too long, since they’re only supported on one side by the pipe. The longest you want to make your shelves is probably 24” to 30” just to be sure they stay level and balanced.
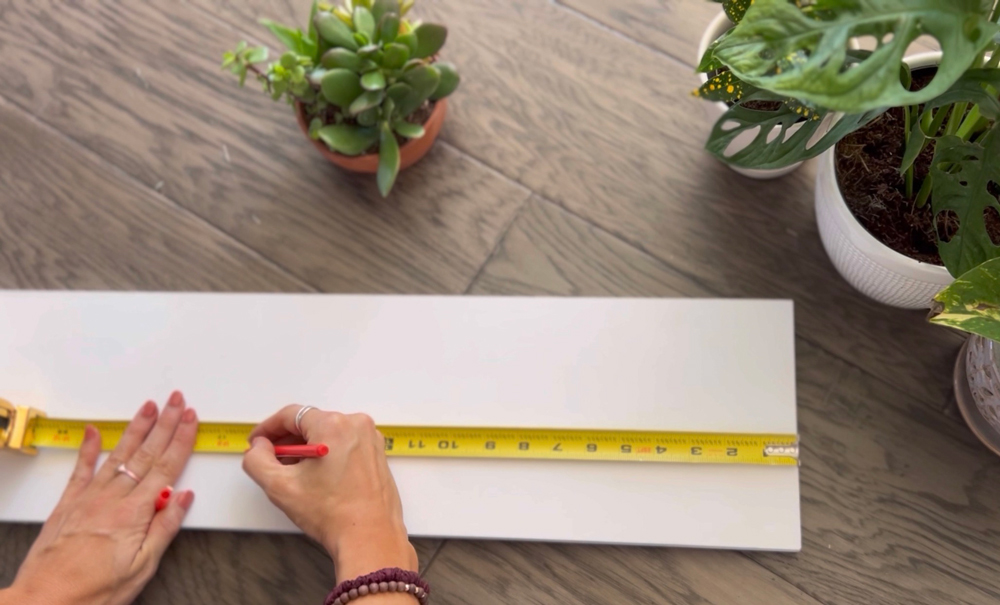
Measure your desired shelf length onto the primed - 1x8’ board and cut it down to size using a miter saw. Be sure to use all the appropriate safety gear and fully review your tool’s manual before use.
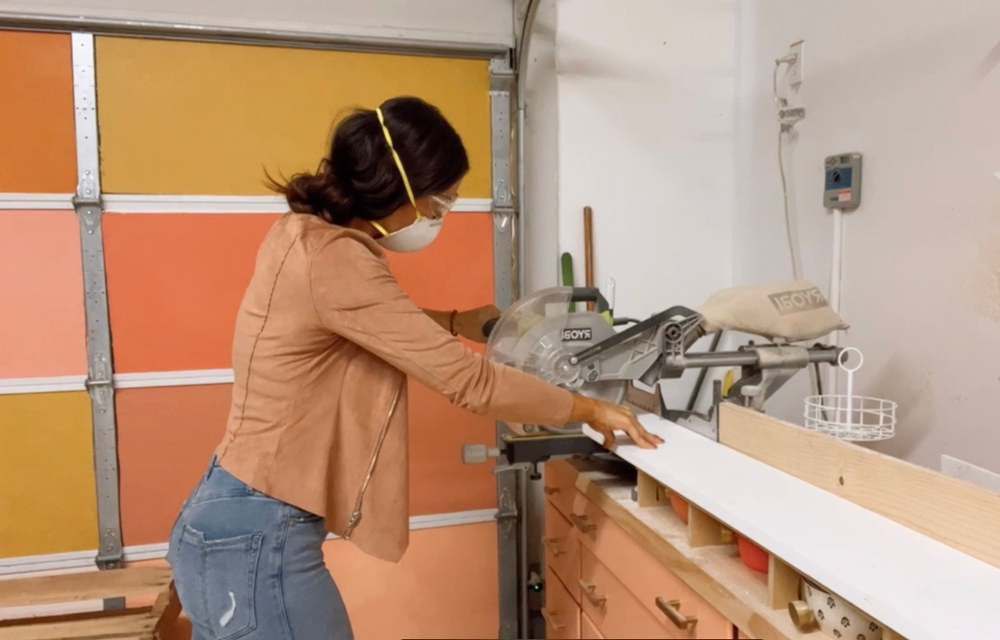
Repeat this cut with the rest of the board to create four shelves (or more if you’re adapting the plan for a custom setup).
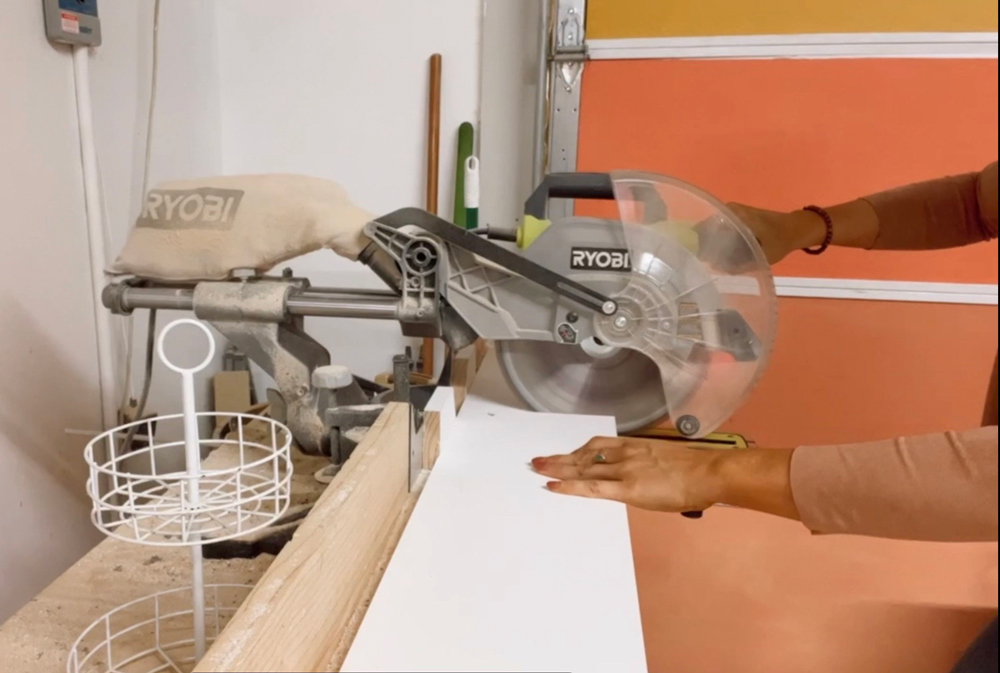
With your shelves cut, it’s time to drill a hole on one end of the board that will be used to thread onto the pipe frame.
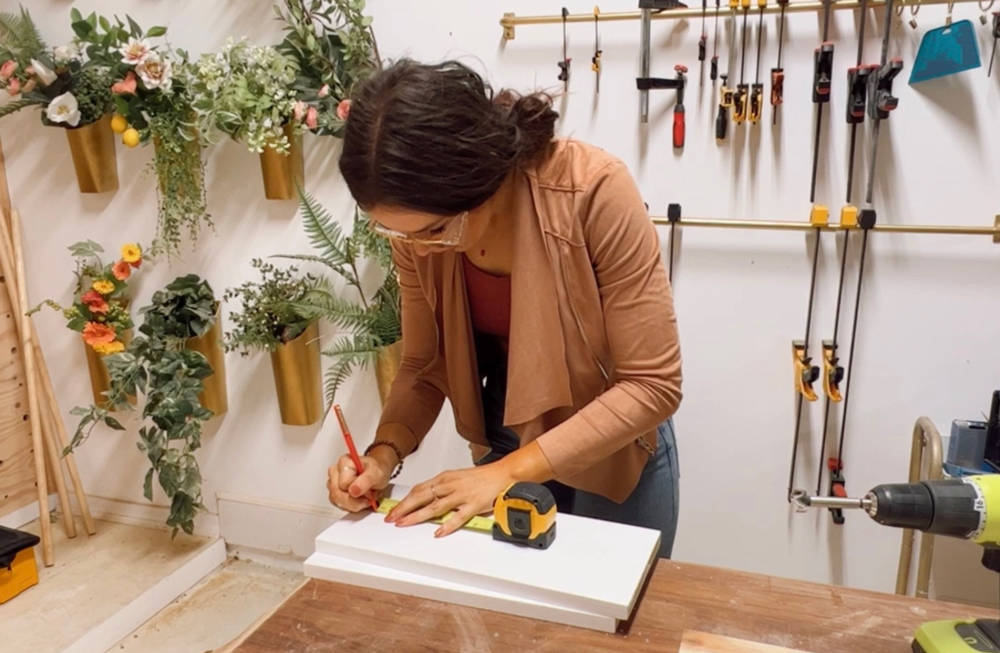
Measure about 1½” in from one of the ends of the board and mark, then measure to the center of the board to find the exact placement for your hole.
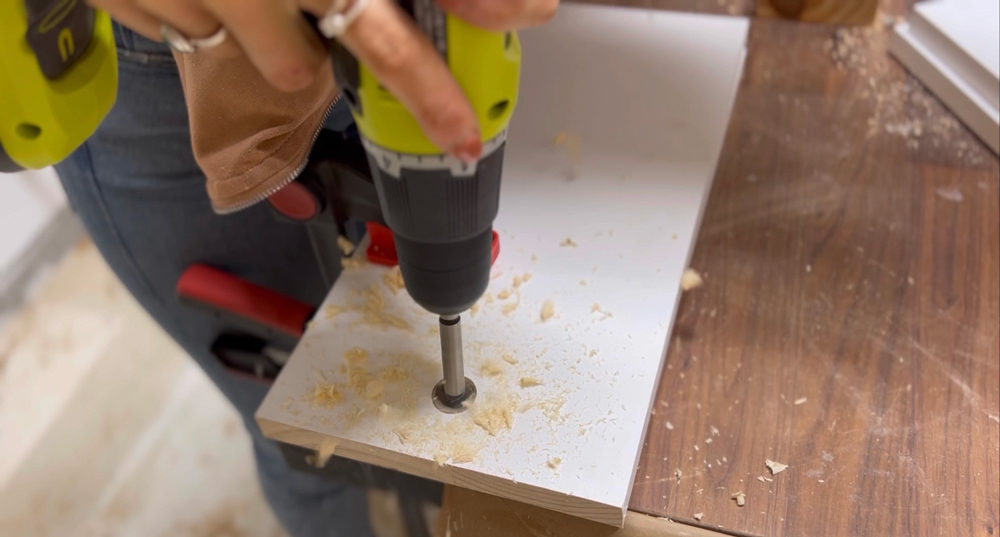
Pro Tip: To create a hole that’s smooth on the bottom with no chipping, clamp the board down tightly to your workspace with a scrap board underneath it. Then drill through the shelf board and into the scrap wood board just slightly. This will eliminate any blowout or chipping when you drill through the bottom.
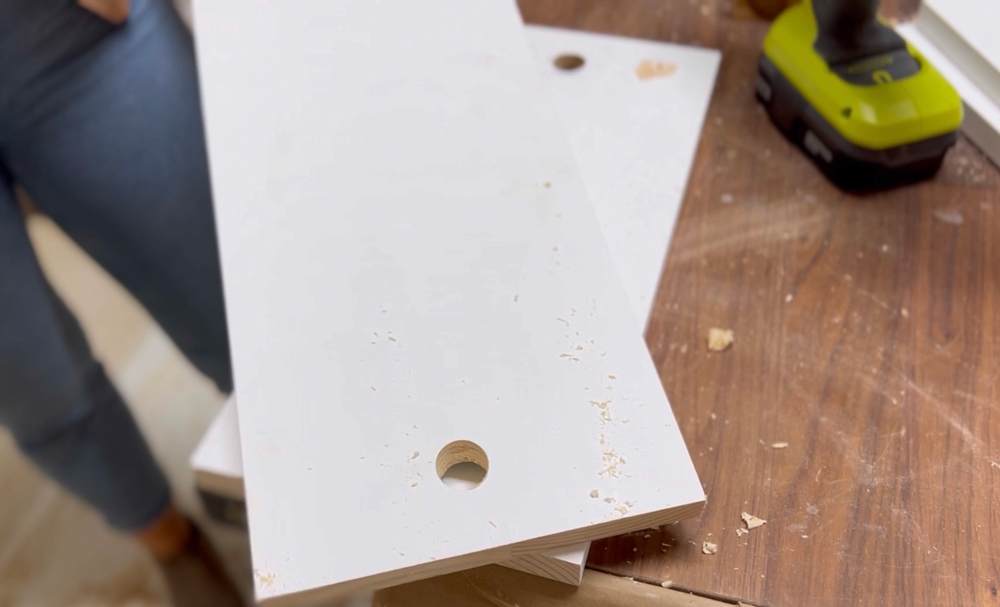
Using a ⅞” Forstner bit [100164336], drill a hole where marked. I found that tilting the drill toward the center of the board slightly creates a hole that has a tiny bit of a diagonal to it. This helps the shelf hang level when you slide it onto the pipe, since it has a tendency to tip toward the opposite floating side.
Be sure to use the right size drill bit—it's very important that this hole fits pretty tightly around the pipe, otherwise the shelf will not be level and will slope when you thread it onto the pipe.
STEP 03: Assemble the Frame & Add Shelves
Begin to assemble the shelf unit starting with the elbow/flange piece we created in step one.
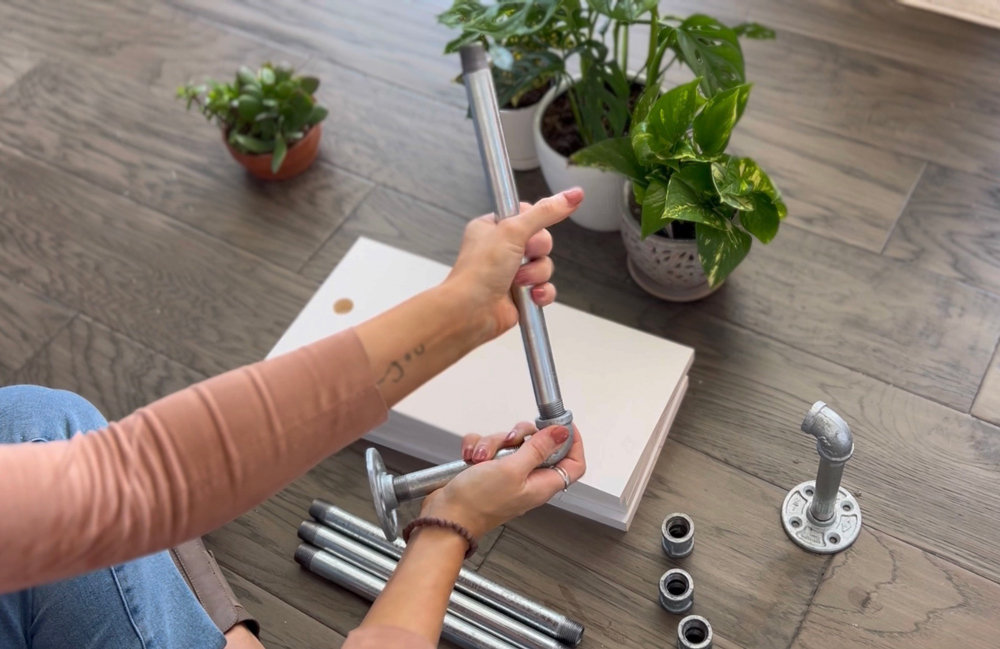
Screw a 12” pipe into the other end of the elbow and twist to tighten. Once tight, slide a shelf onto the 12” pipe then add acoupling to the other end of the pipe.
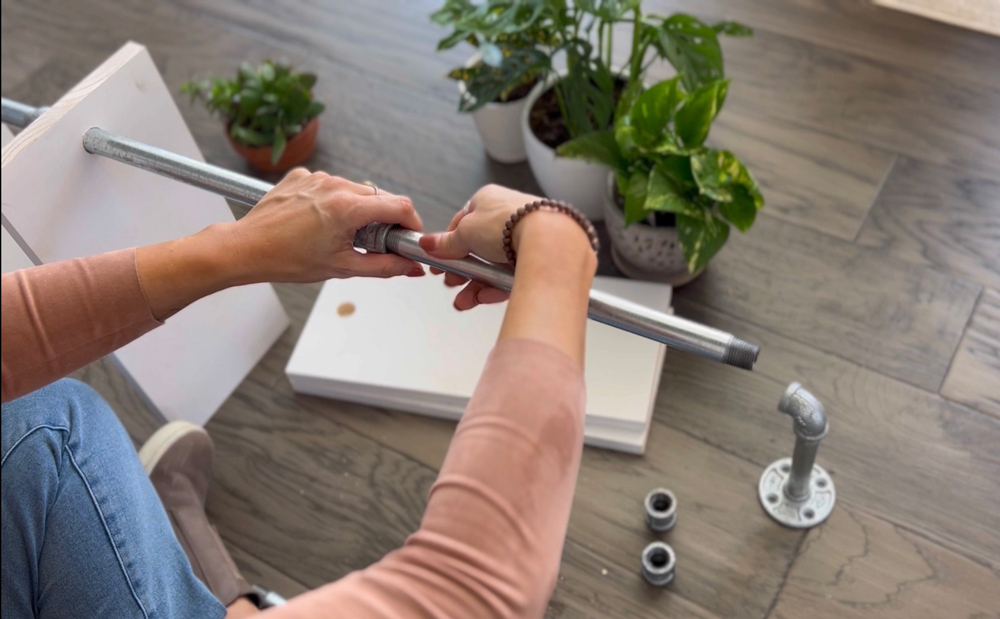
Pro tip: Steel pipes have tapered threaded ends. This means that even when the pipes are twisted together as tightly as possible, you will still be able to see some of the threading. Because of this, I recommend twisting the pipes together before you paint them so that any exposed threading gets painted once the pipes are tight.
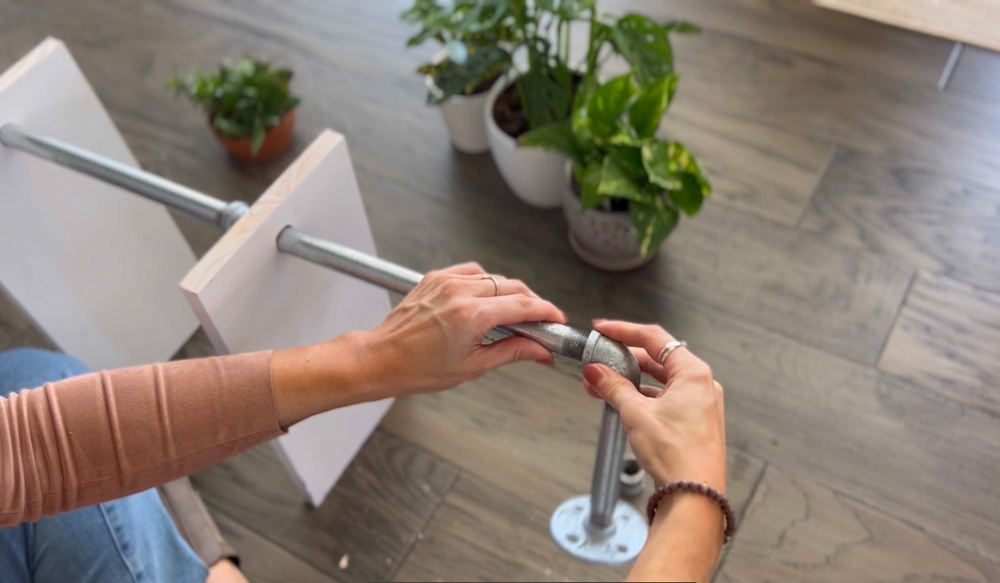
Repeat this process with all the shelves until you get to the end—twisting all pieces together tightly as you go. Once you get to the end, twist on the other elbow/flange piece to the end of the last 12” pipe.
STEP 05: Paint the Pipes Gold
This step is optional, but for a more modern look, you can spray paint the pipe portion of the shelf gold.
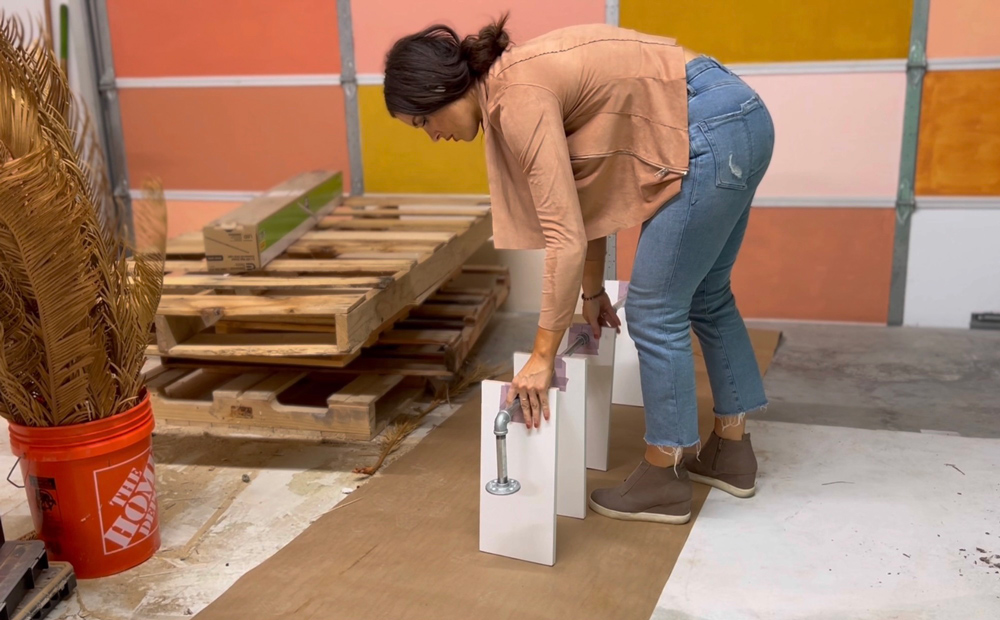
To do this, tape off the shelves around the pipes with painters tape and prime the pipe with a clean metal primer. Let dry completely.
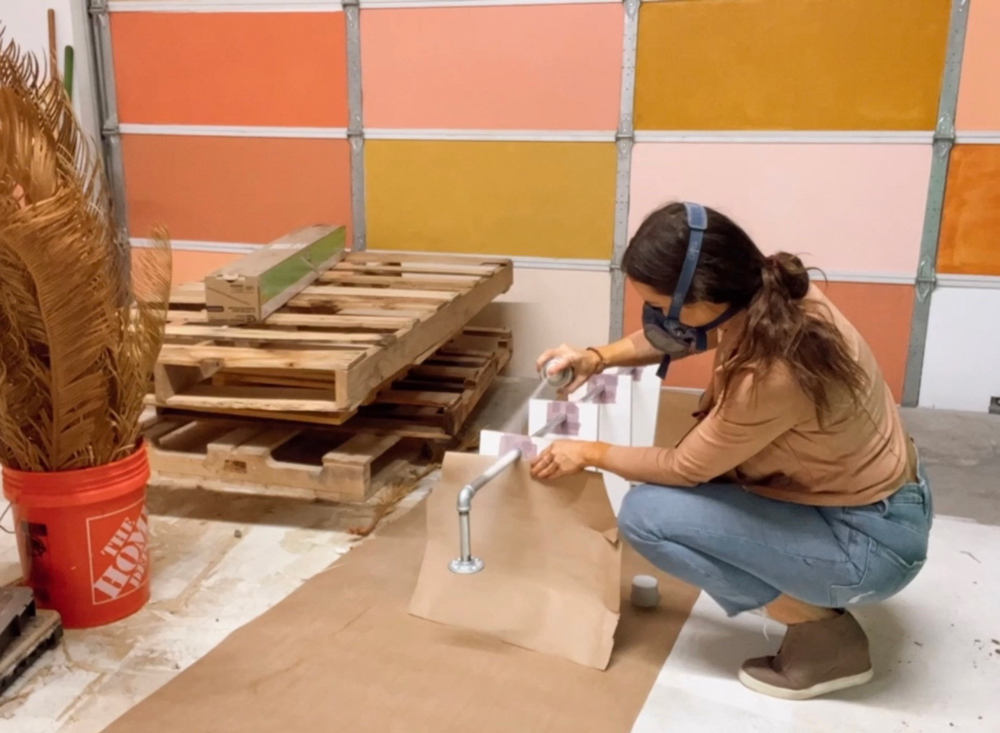
Once the primer is dry, add a coat of gold spray paint to the pipes and let dry.
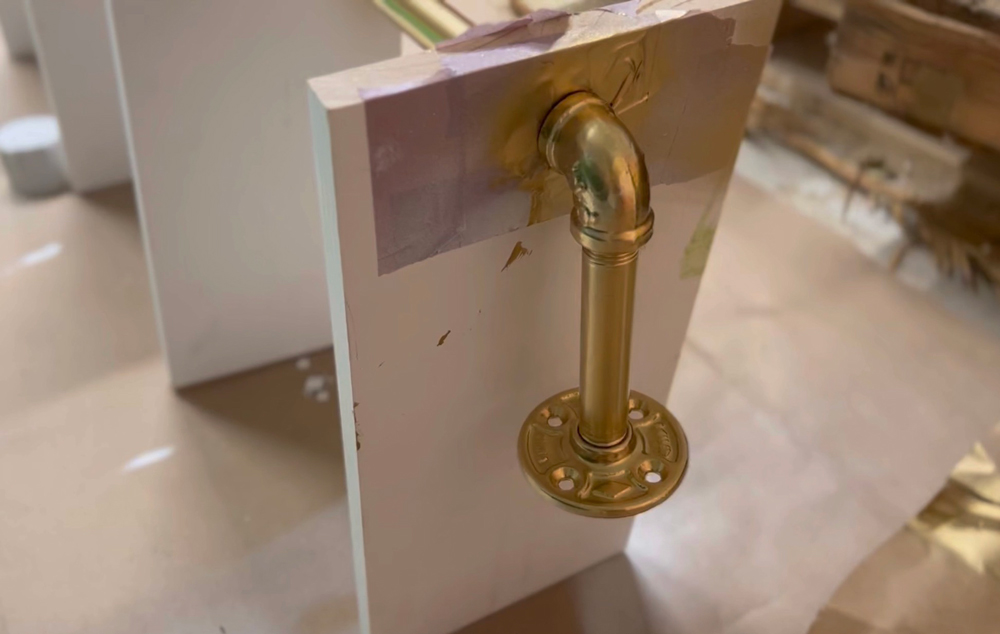
STEP 05: Attach the Shelf to the Wall and Style with Plants
Once the paint is dry, attach the shelf to the wall along the edge of the window using drywall anchors.
Mark the placement of the flange holes, then hammer a drywall anchor into each.
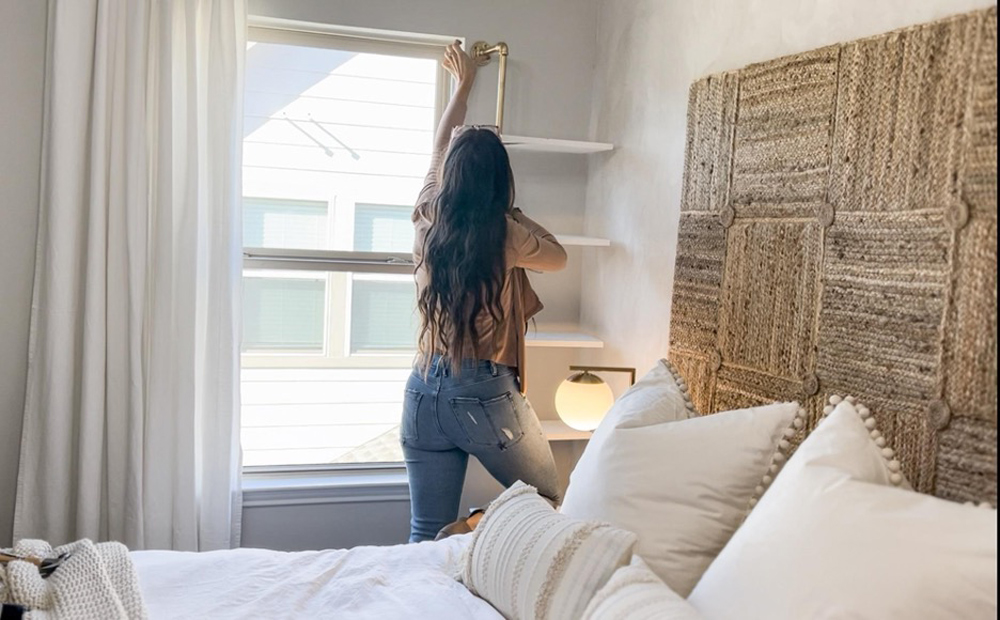
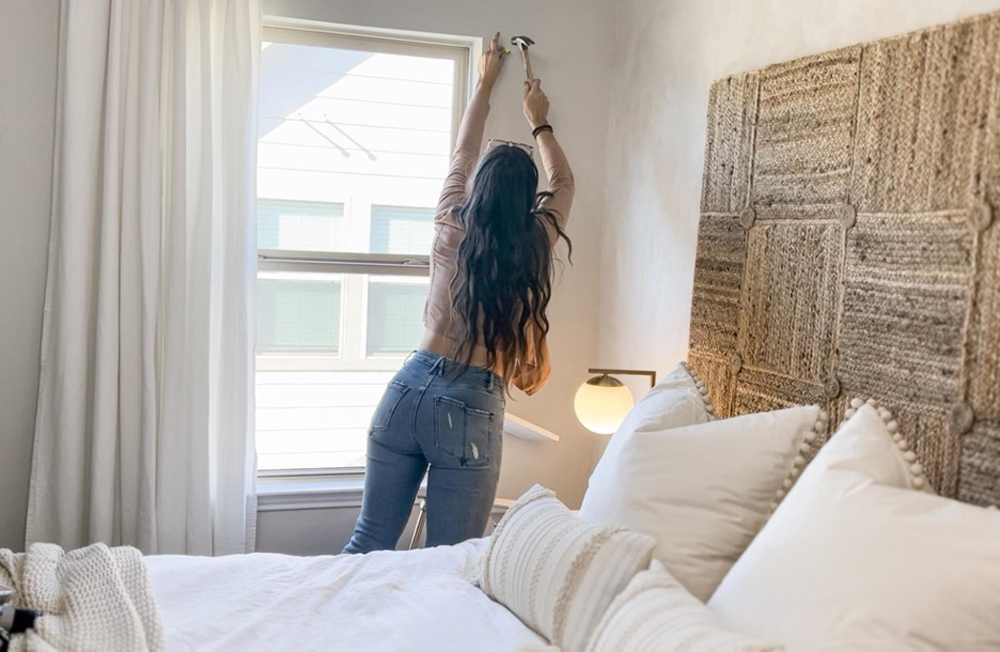
Have someone help hold up the shelf as you drive screws into the anchors.
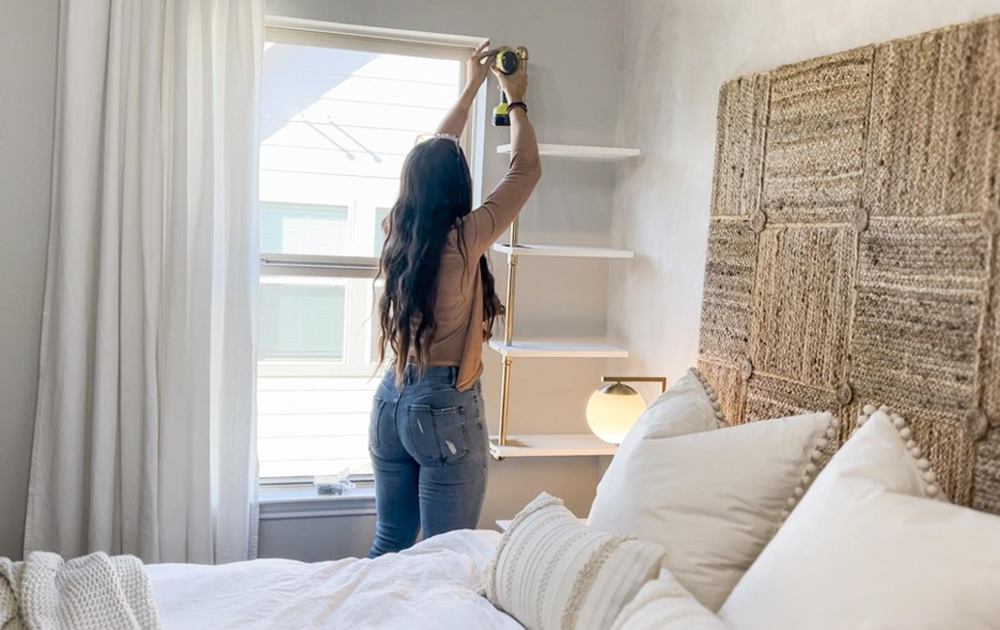
Paint the shelves with your paint of choice—the 1x8’ is primed, so it needs a coat of paint to be completely finished.
I went with Behr white for a crisp and clean look. Don’t forget to paint the wood ends of the shelves where you made the cut.

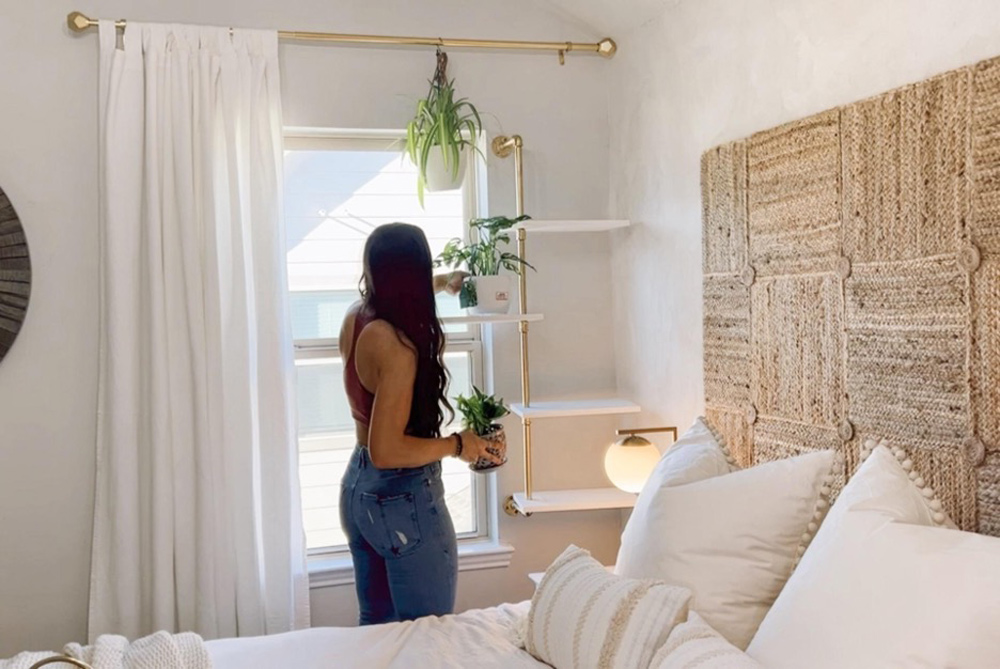
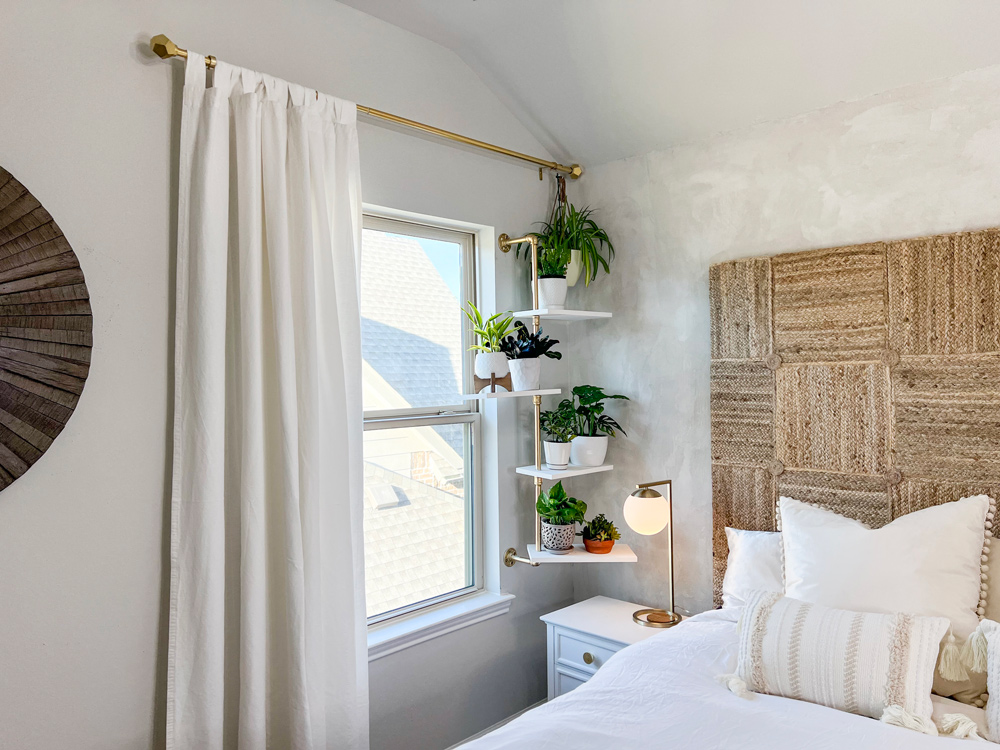
Add your favorite plants and enjoy!
This post was created in partnership with The Home Depot. The author may have received compensation for this article and associated images or video, potentially in the form of products and/or services. All expressed opinions and experiences are the author’s own words.


