How To Make an Adirondack Chair
Last updated August 21, 2024
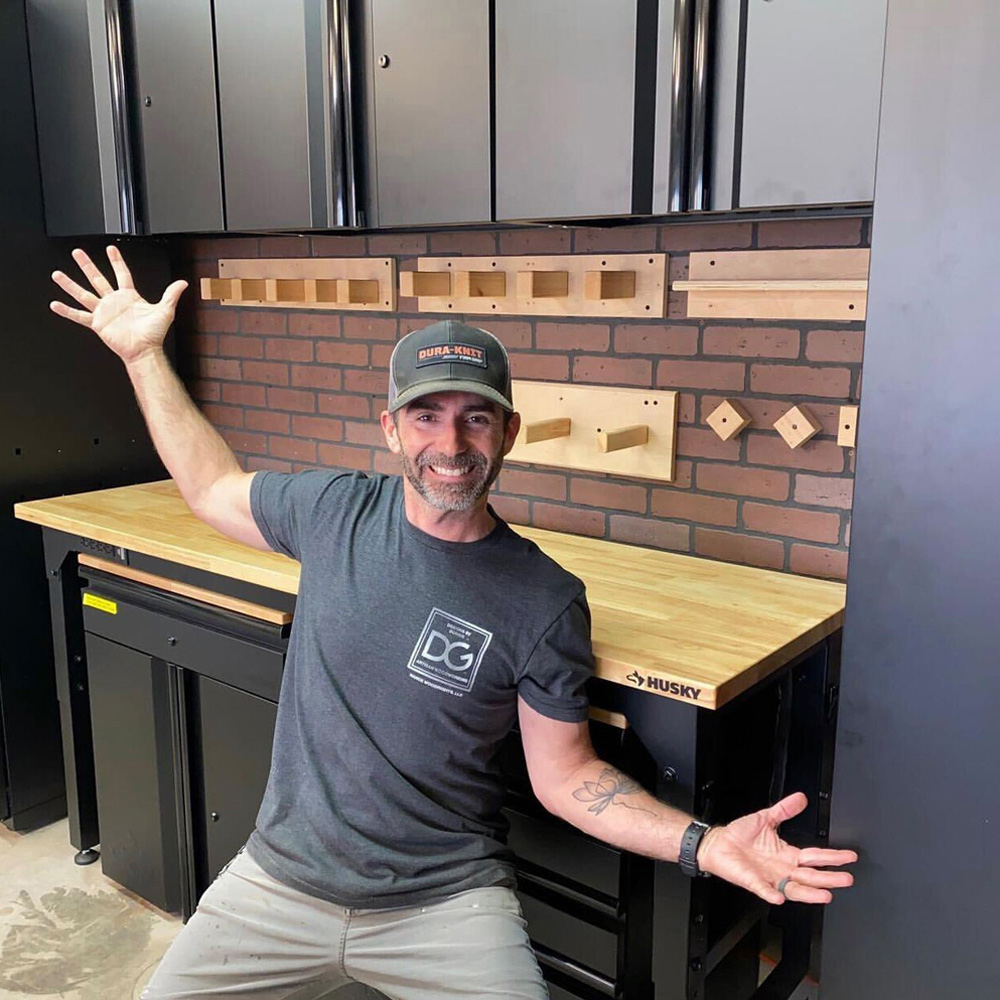
Donnie Galli of Designs by Donnie is a husband and father driven by his love for his family and his passion for refurbishing furniture and creating unique artistic furniture. Donnie was born in a garage, during what he had thought to be his lowest point in life. He is a true testament of a man finding himself through tough times. You are never too old to chase a dream!
If you can find purpose, happiness follows.
A Note From The Home Depot
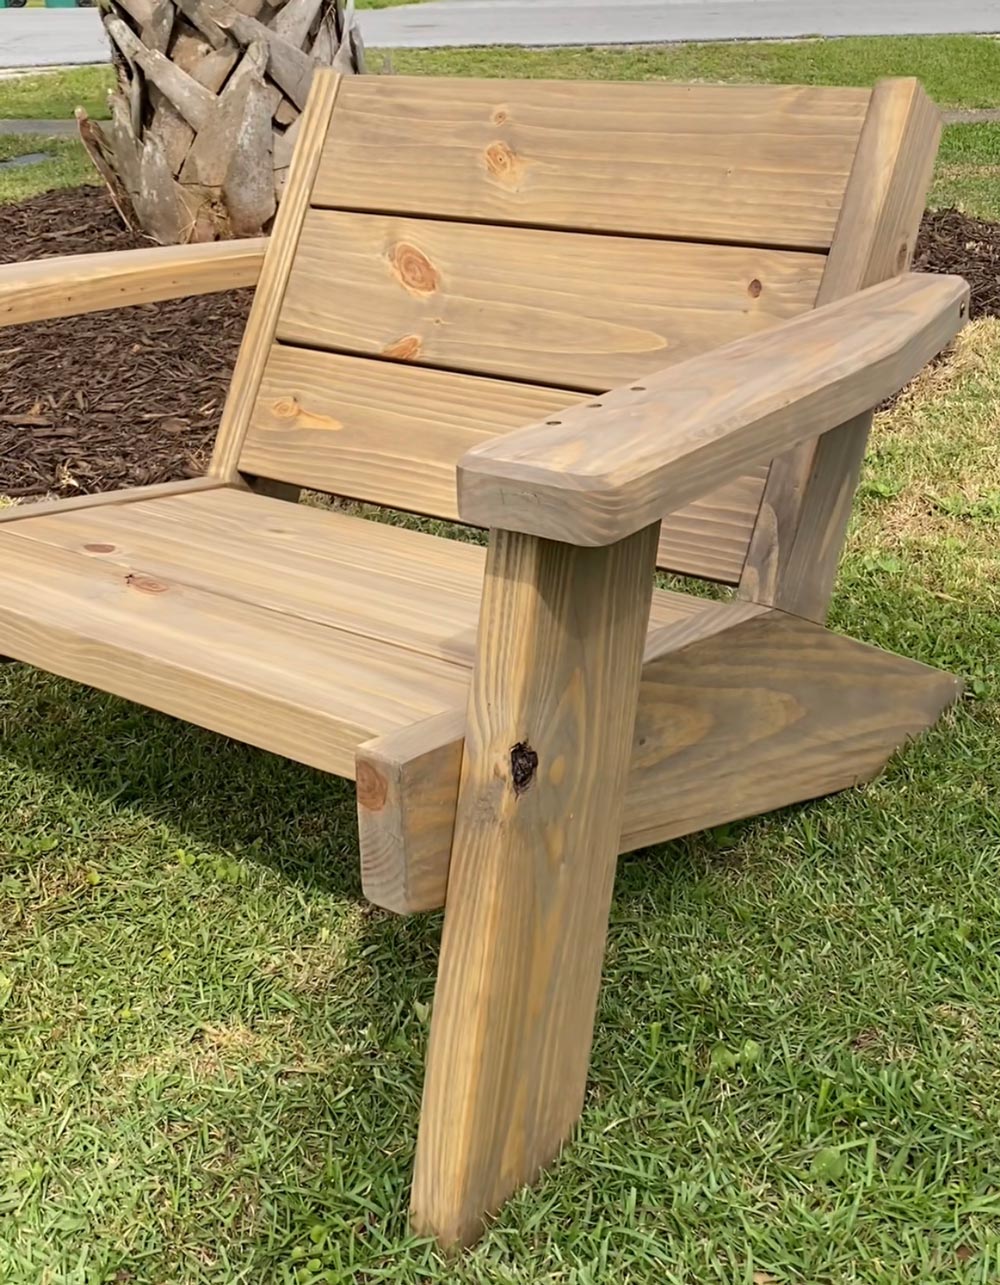
There’s nothing better than creating your dream furniture for your space. Donnie Galli from Designs by Donnie shows you how to build customizable Adirondack chairs for your Summer space. Keep reading to see how he did it with the help of The Home Depot.
Table of Contents
Step 1
Step 2
Step 3
Step 4
Step 5
Step 6
Step 1
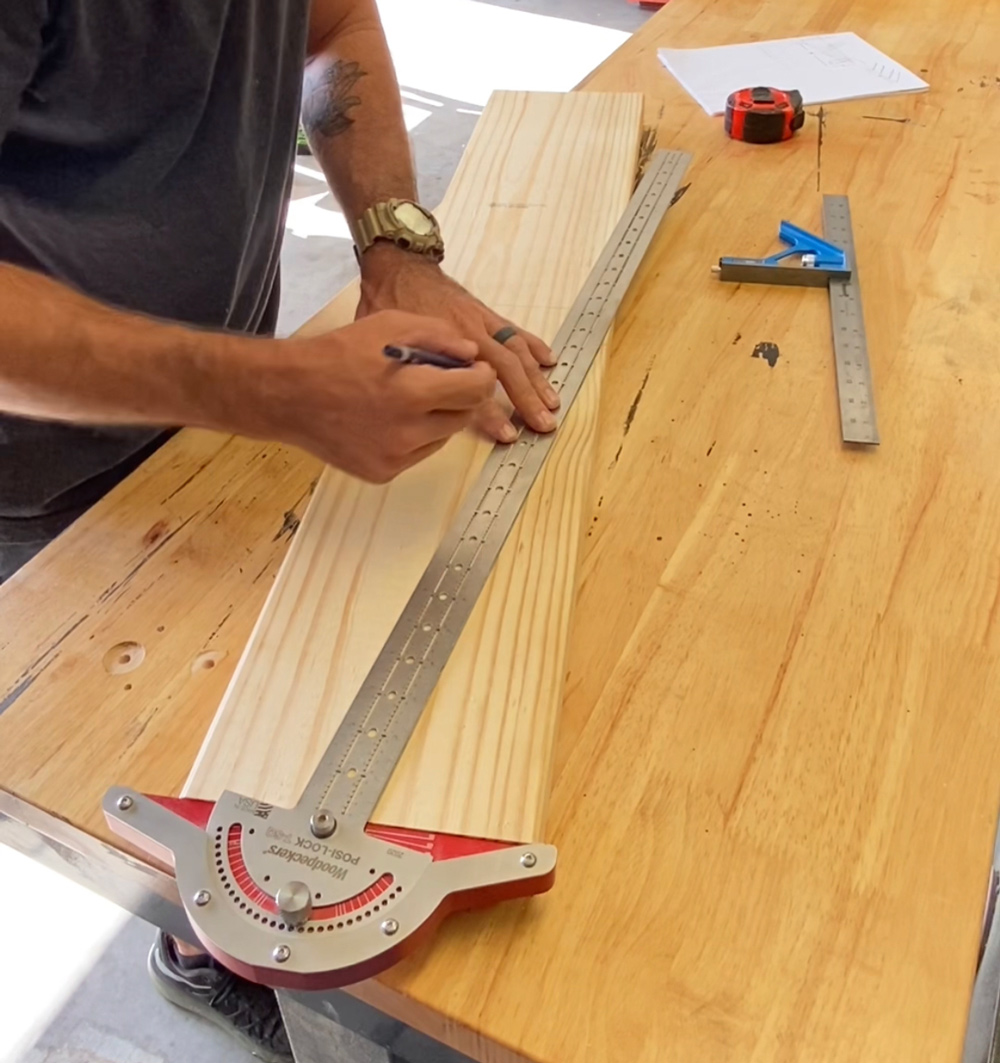
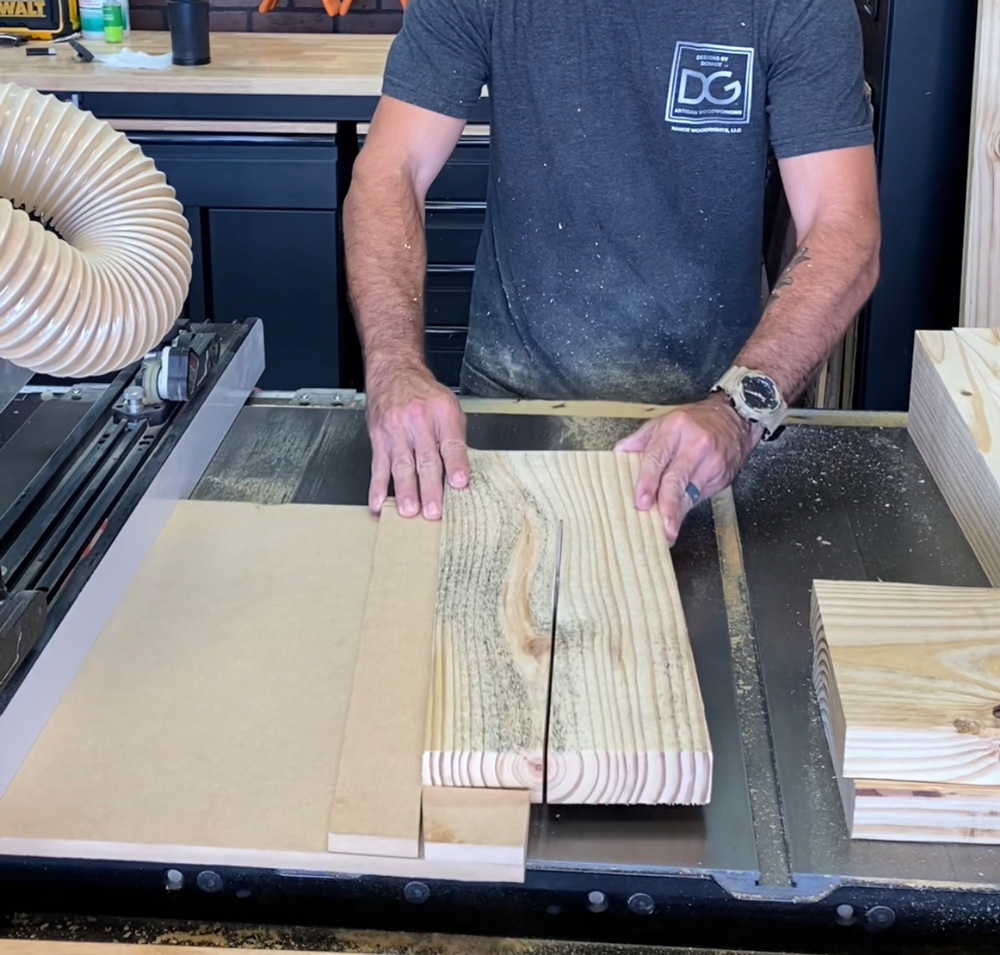
Take the 2x8x8 board and cut it into two halves at 38” long.
Using an angle finder, mark on each plank, 85 degree angle down 4” from the top right of the 38” plank then repeat this for the top left side of the plank.
Repeat these steps for the other 38” plank as this will serve as the side bases of the Adirondack chairs.
On the bottom left of each plank, make a reference line which will be a 15 degree angle, 9” long.
Step 2
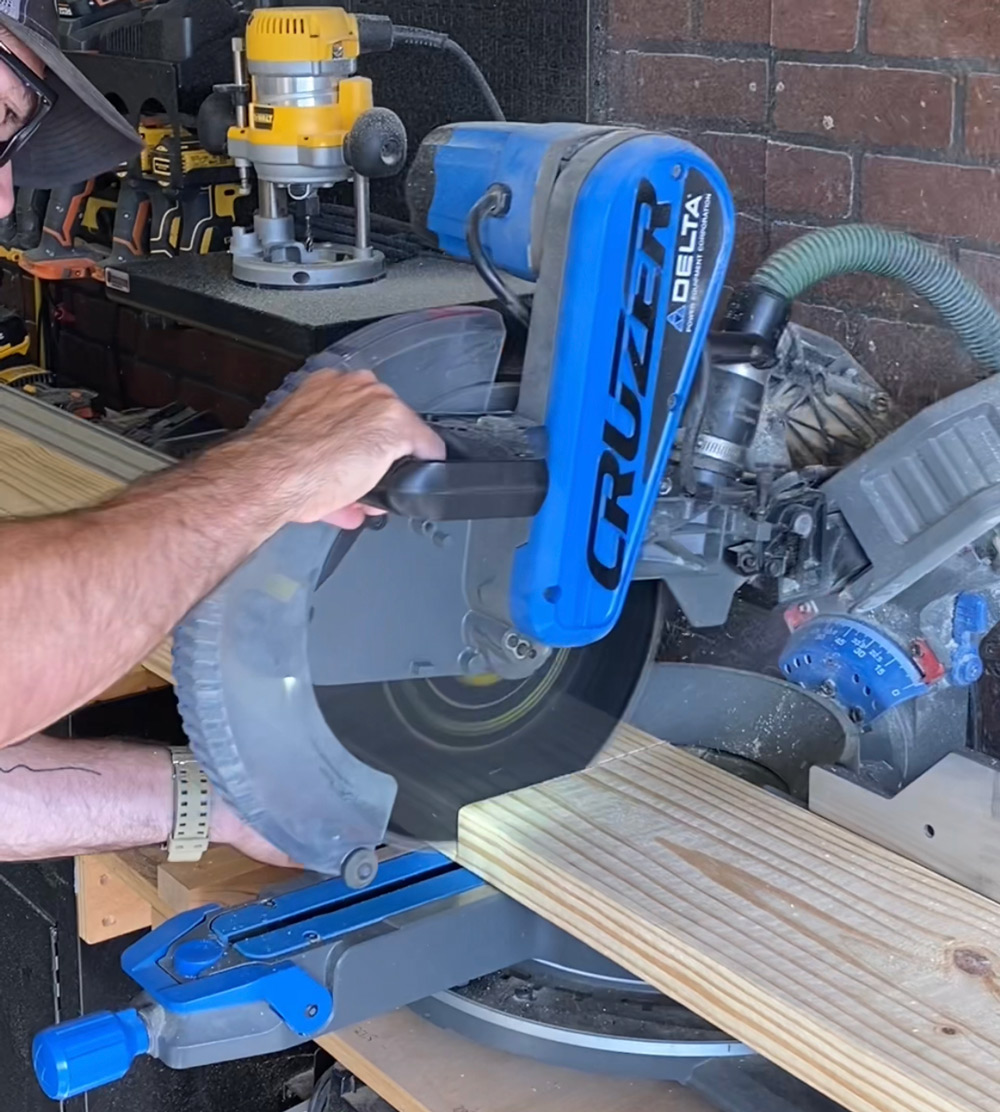
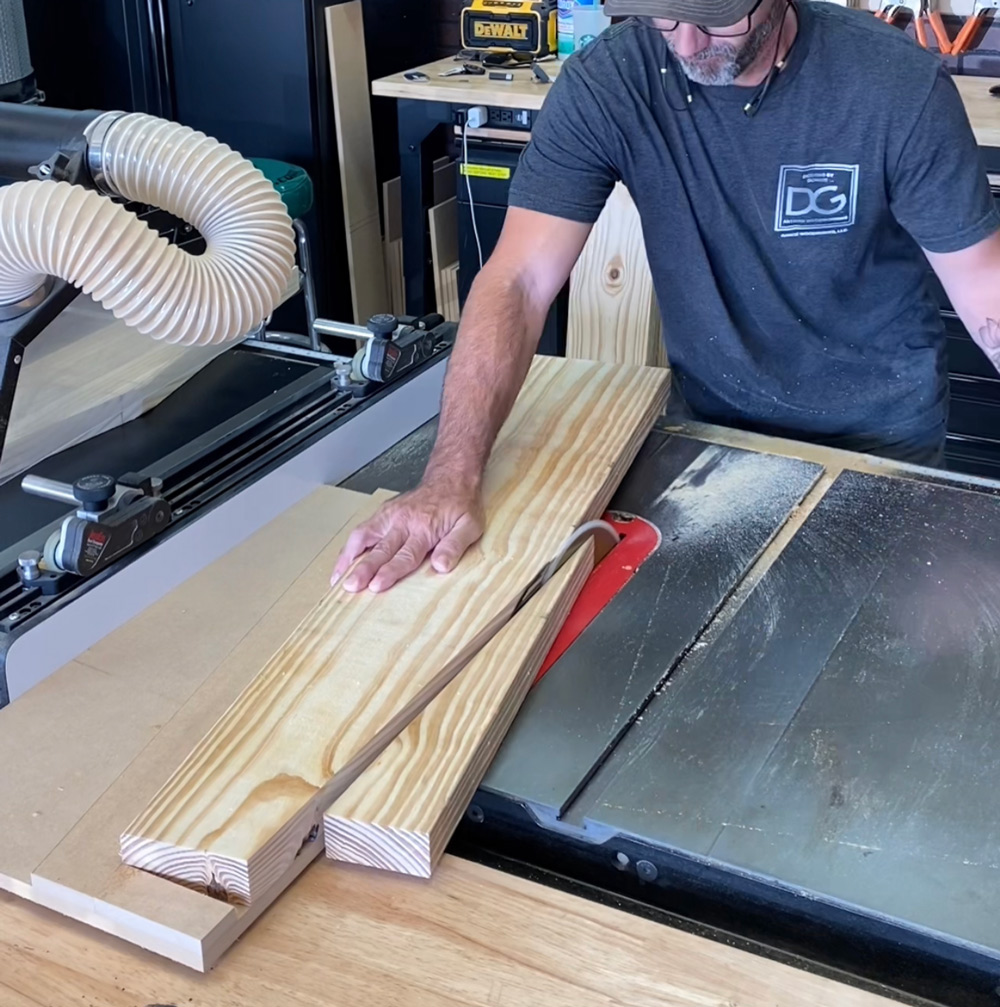
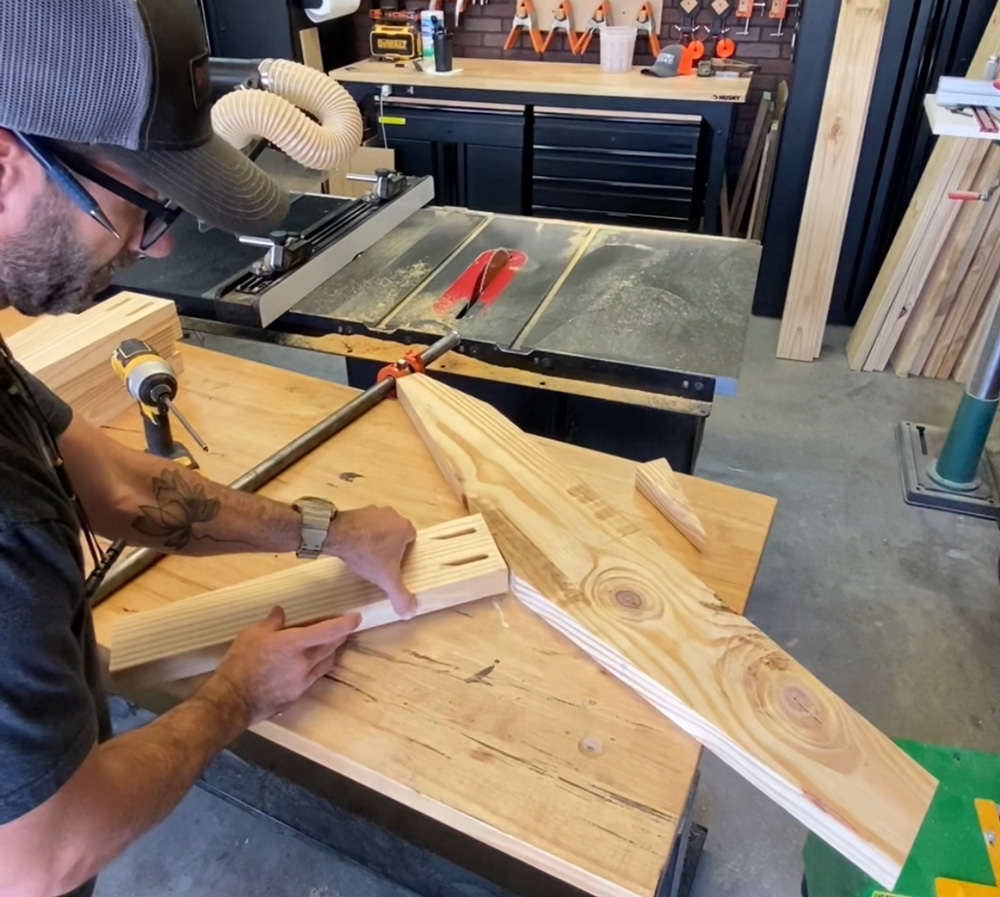
Cut these angles on a table saw following the reference lines from the previous step.
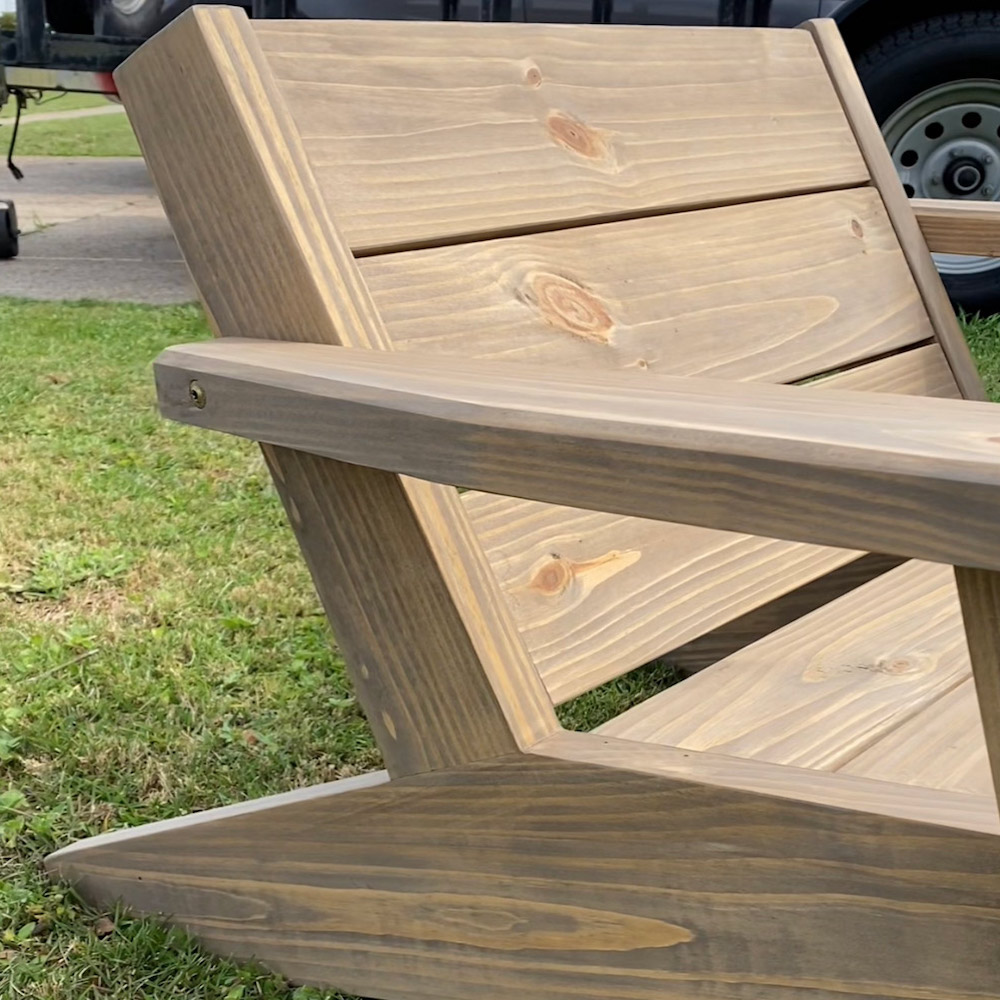
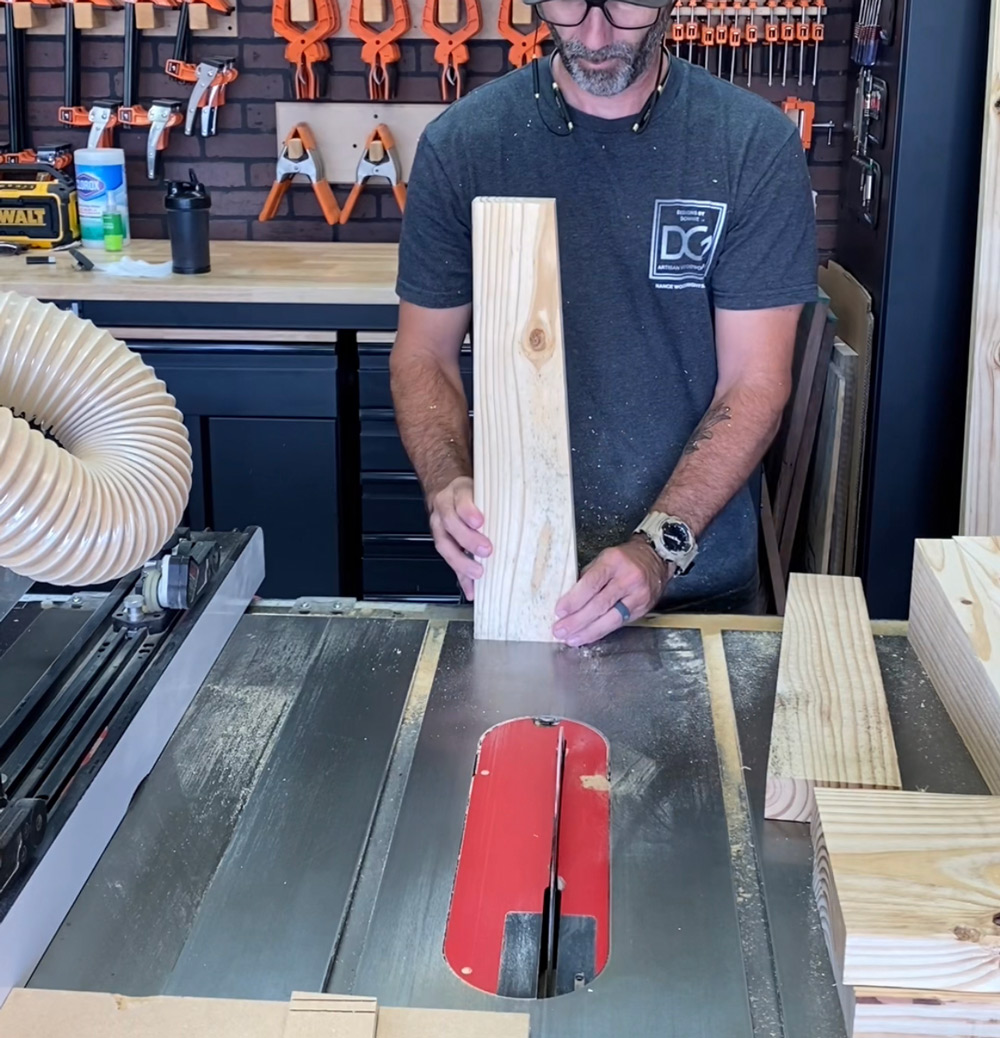
Next, take a 2x6x8 board and cut 2 boards 17.5” long (this will be the back brace.)
The back brace will have a 7 degree angle from the top to the bottom of the board.
See photo below.
Step 4
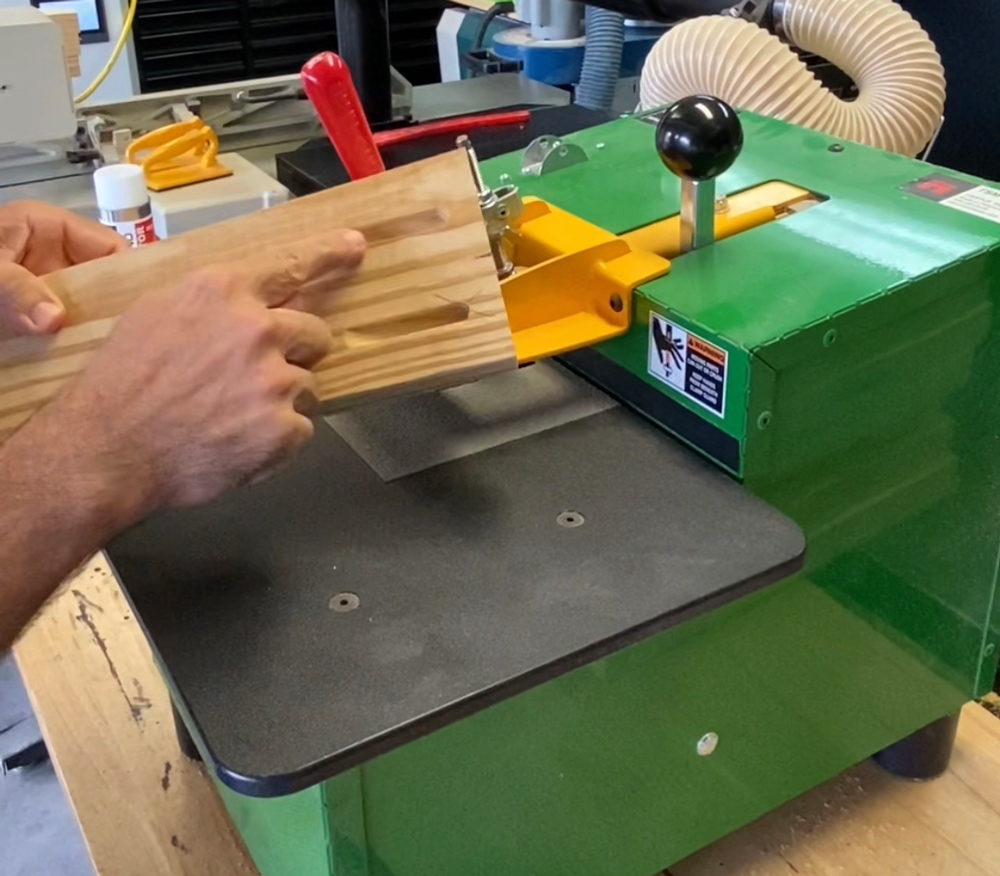
Using a table saw or miter saw, cut the 2x6x8 material to 6 boards at 23.5” long.
Then drill two pocket holes on each end of the plank, on one side only (these boards will be the seat bottom and the backboards). Sand all boards with 220 grit sandpaper.
Step 5
Time to make the arm rest! Rip a 2x6 board down to 4.25” wide and cut to length of 25” long.
Next, cut a 10 degree angle from the rear 10” long.
Using a 1” metal washer, scribe a 1” radius on three corners of the board.
This will ensure you have a perfect radius shape.
Cut the radius edges with a jig saw and sand smooth with 220 grit sandpaper.
Measure from the back edge of the board and make three reference points at 18” long, 20” long, and 22” long.
Take a recessed countersink drill bit and drill three holes on each mark.
Step 6
Time to make the legs, pre-stain/seal, and attach the seat boards and back boards.
To make the legs, use a 2x6 board and cut it to 19” long.
Next, cut two matching angles on either end of 10 degrees on a miter saw.
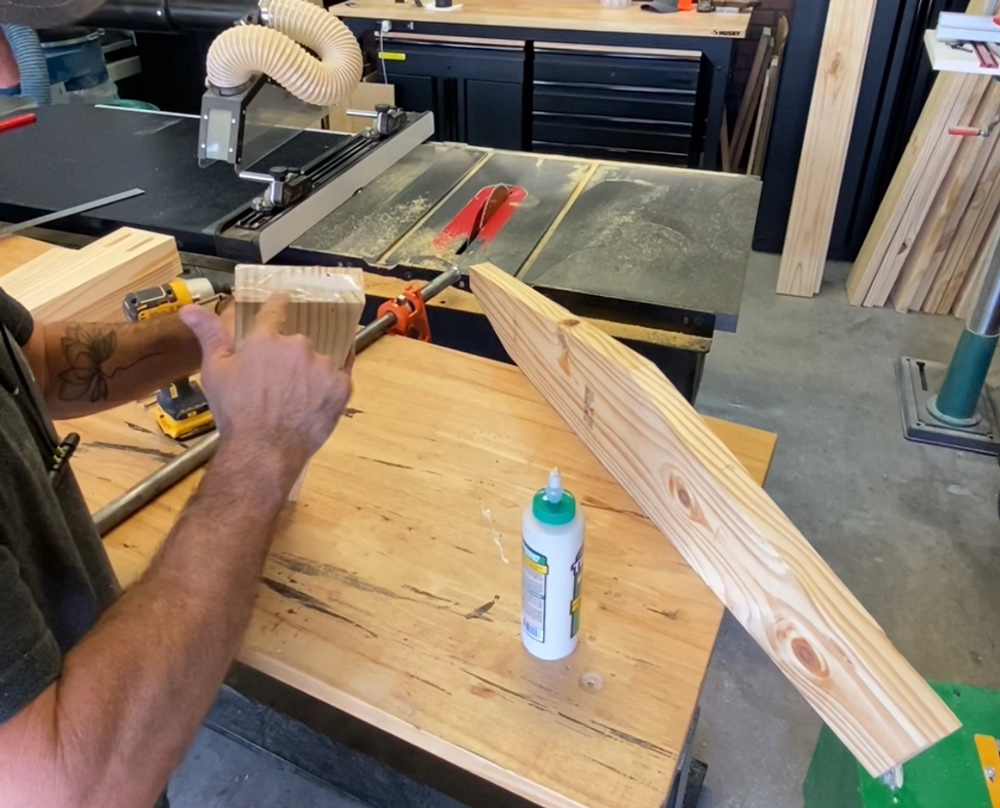
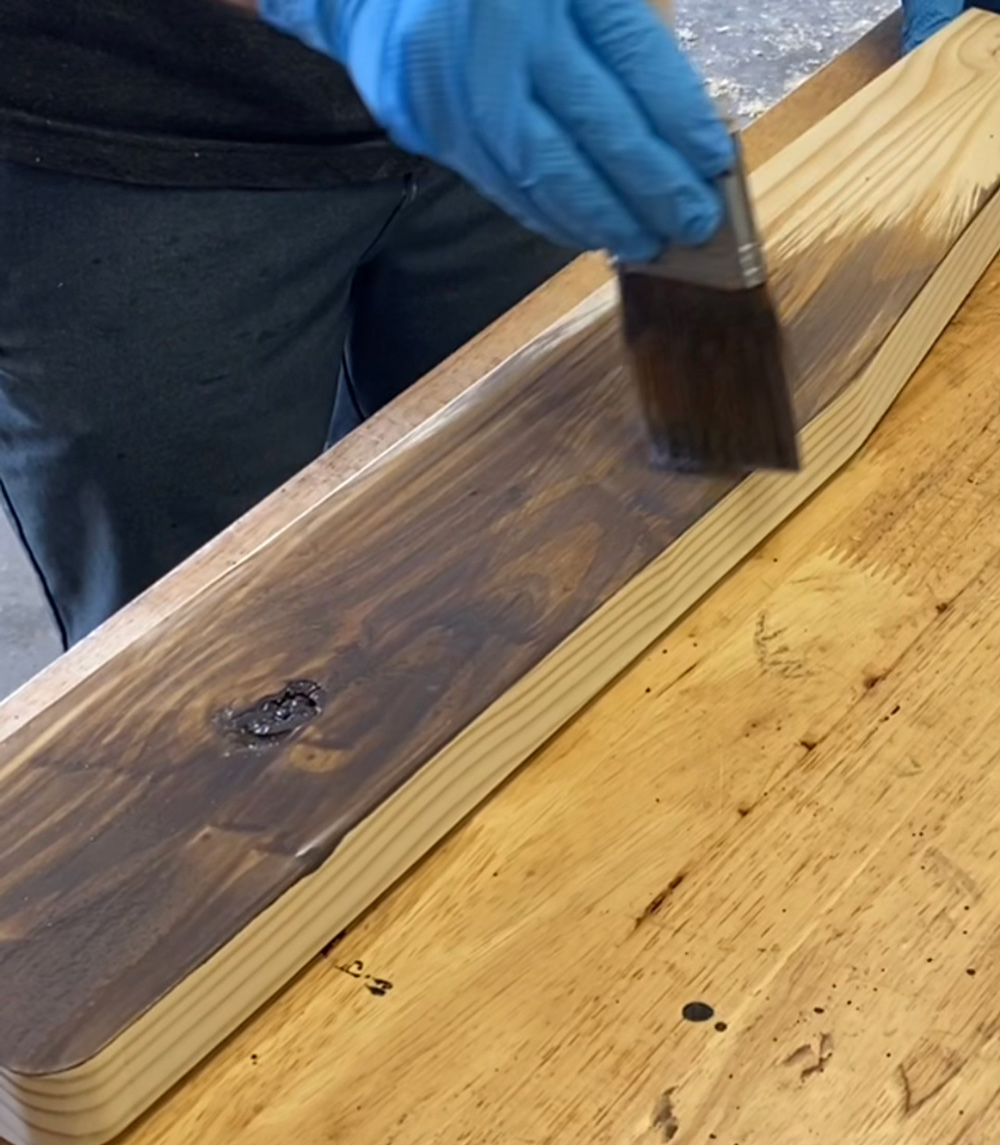
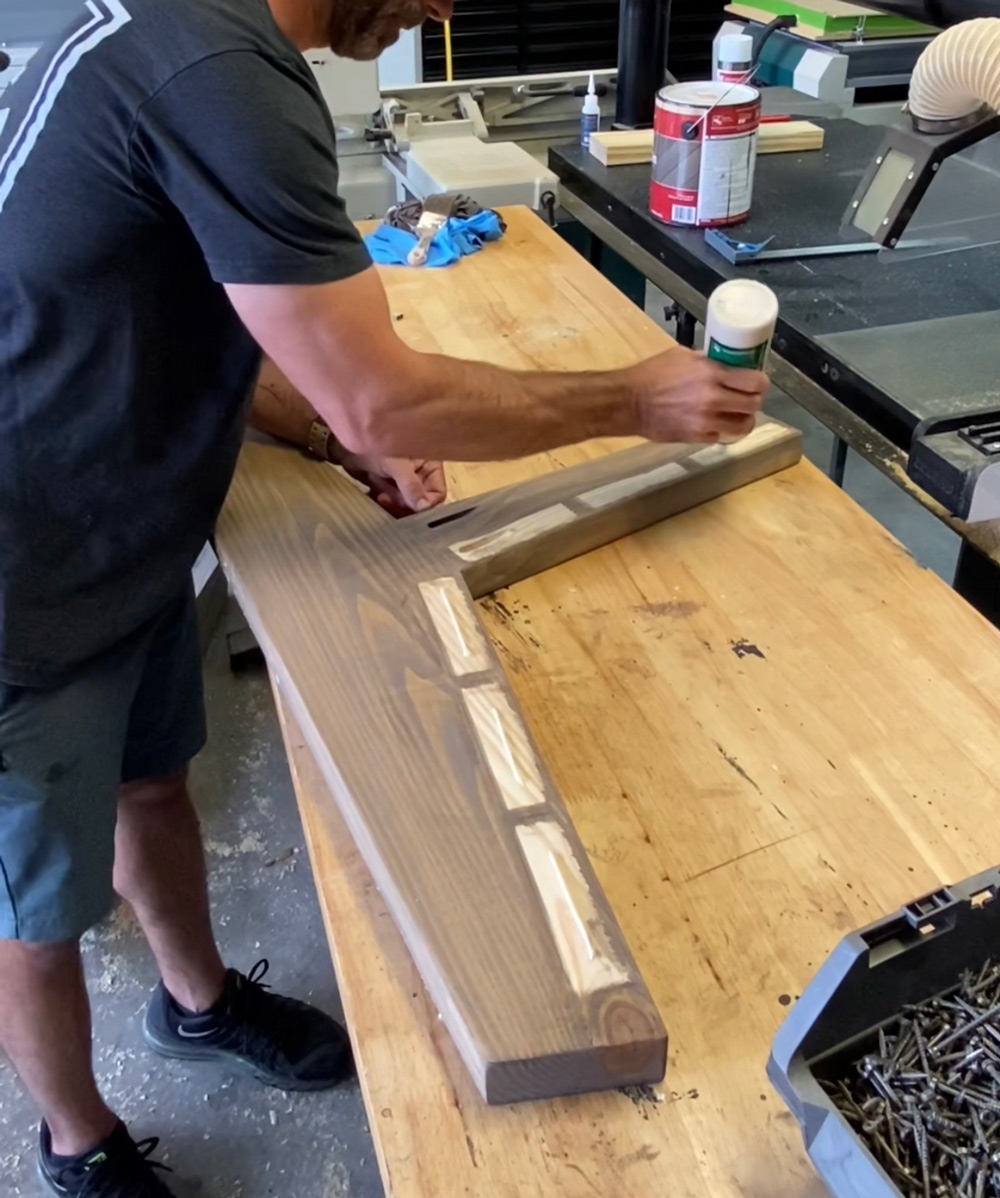
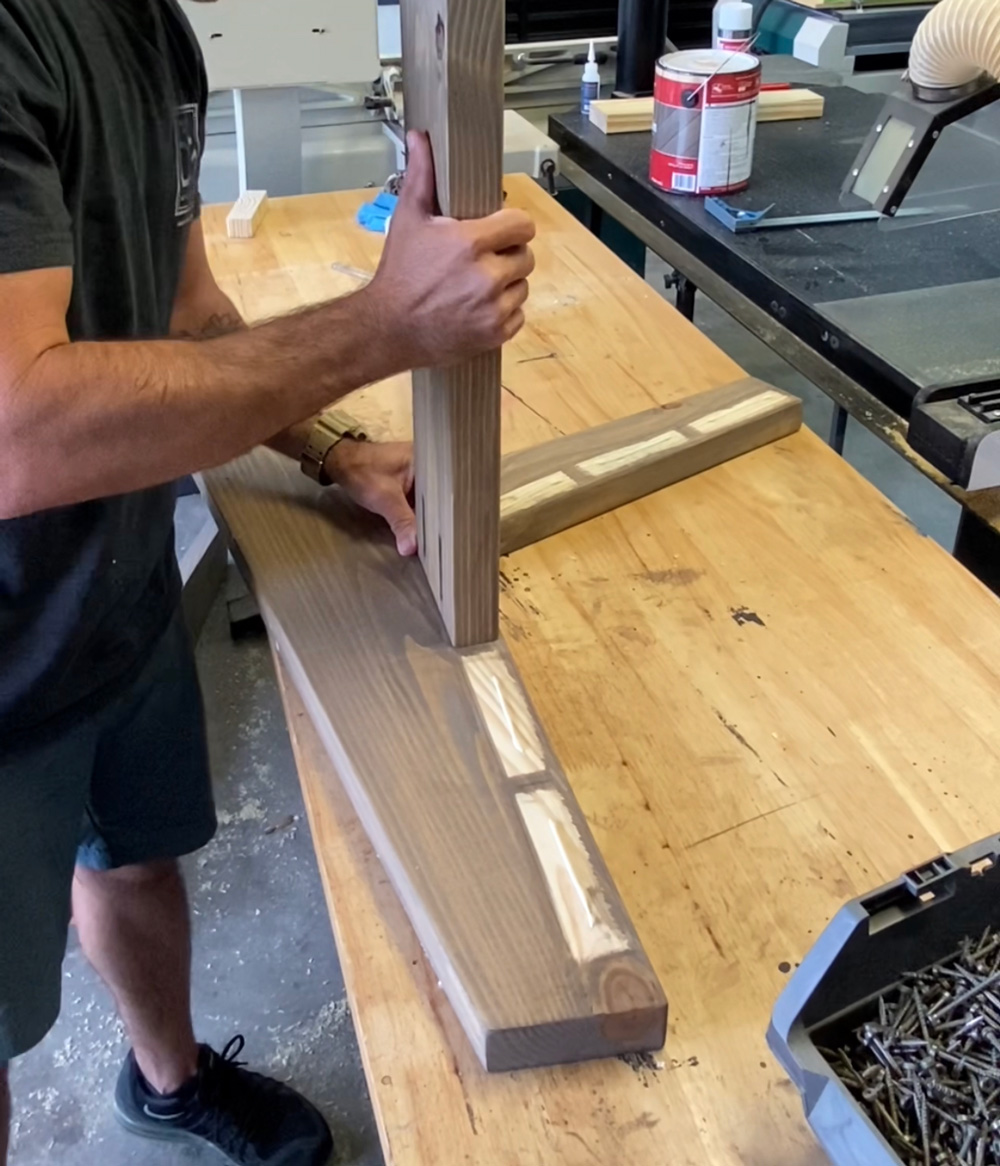
Pre-stain all boards for the chair but be sure to not stain in the spots where you will attach the seat bottom boards and back boards. (See image below)
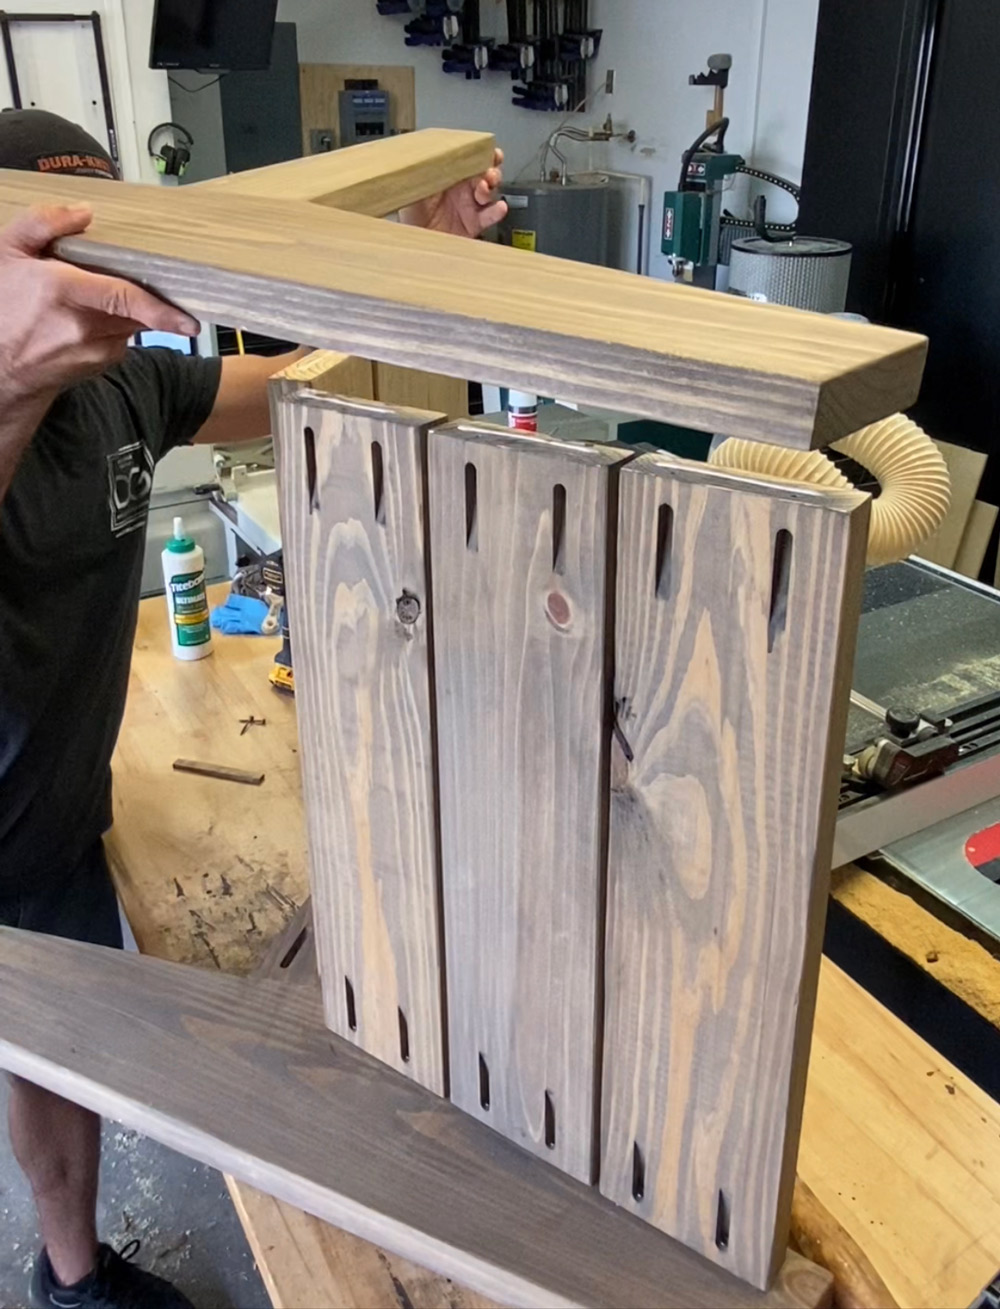
Apply glue to the unstained spots and attach the seat bottom boards using 2” pocket hole screws.
Space each board using a ¼” spacer scrap board.
Step 7
Assemble two front legs.
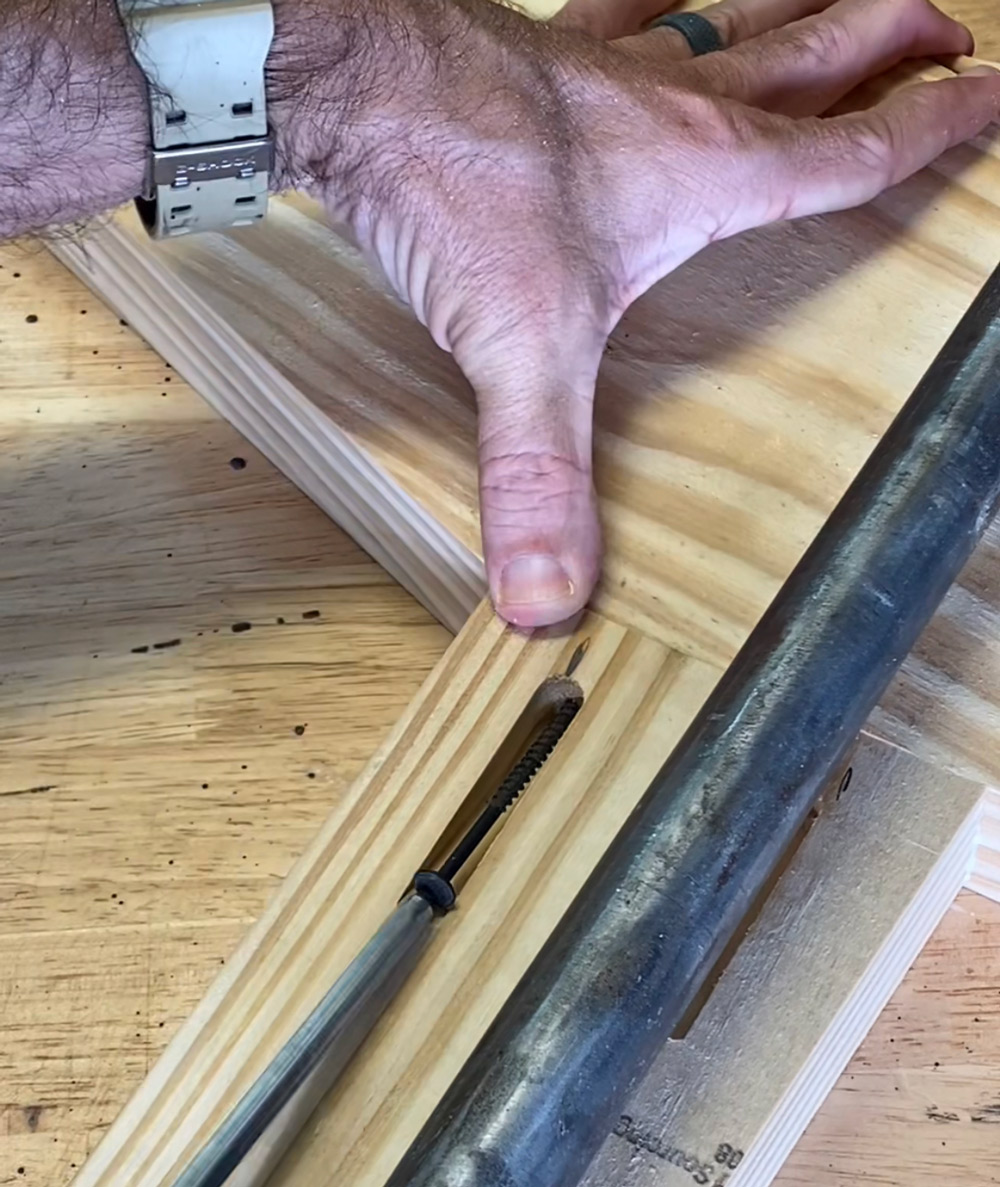
Using clamps, hold the front legs in place while you screw 3” screws from inside the chair.
Once legs are attached, remove the clamps.
The chair will be supported on its own now.
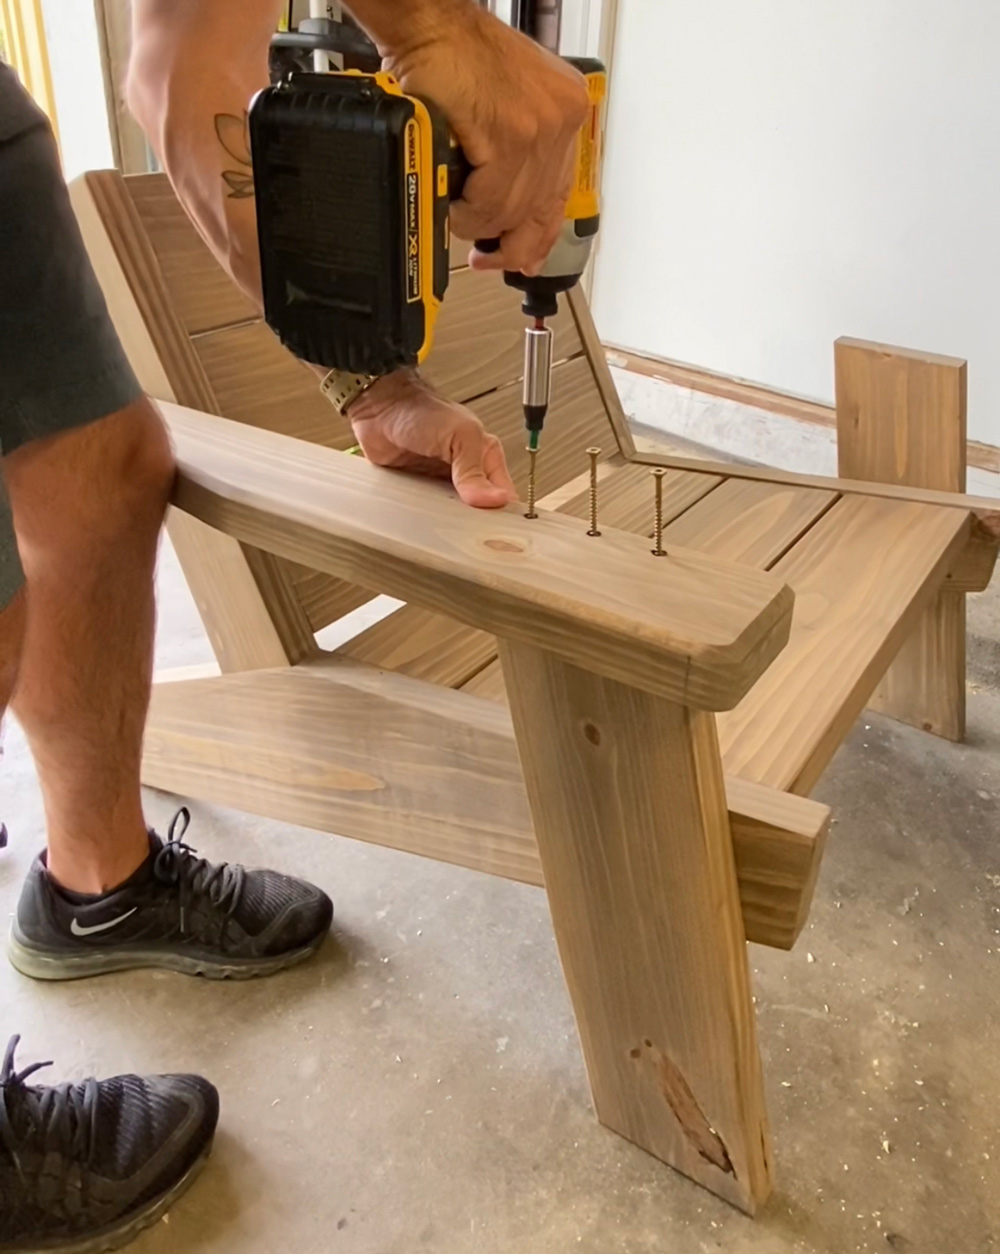
Attach the arm rest on the leg while aligning the rear of arm rest to be flush with the back support.
Use 3” screws and attach from the top side.
Next, attach one screw in the rear of the arm rest.

Step 8
Enjoy, you’ve completed the Adirondack chair!
This post was created in partnership with The Home Depot. The author may have received compensation for this article and associated images or video, potentially in the form of products and/or services. All expressed opinions and experiences are the author’s own words.


