How to Make an Outdoor Letter Ledge
Last updated August 21, 2024

Mallory Roth of **Mallory Erin Makes**is a wife and mother that loves finding reasons to celebrate! She is constantly creating and sharing fun ideas for holidays, travel, and ways to make everyone’s favorite life moments even more magical. Through her blog, she aims to inspire everyone to create, and share processes that bring joy.
A Note From The Home Depot
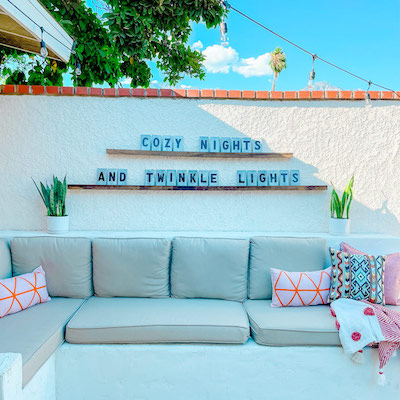
Looking for ways to make your patio fall ready? How about a changeable letter wall? Read below to see how Mallory Roth of Mallory Erin Makes made this Outdoor Letter Ledge for her cozy outdoor patio.
Table of Contents
How to Make an Outdoor Letter Ledge
Supplies
Instructions
How to Make an Outdoor Letter Ledge
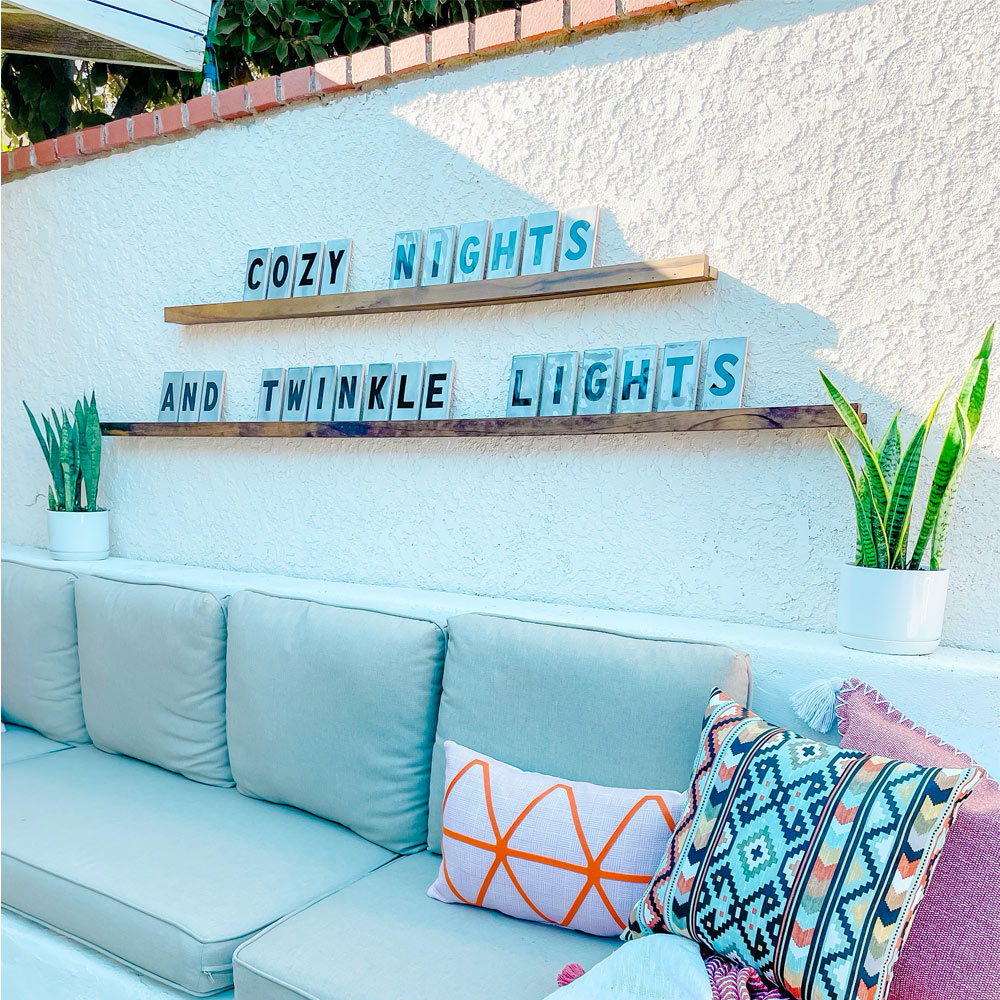
Make a statement! Throughout my house I love having pieces that are changeable. When we started thinking about our outdoor patio, I worked on dreaming up something that would have that same adaptable feel. With fall evenings coming up, I knew I wanted something that could be changed up for entertaining. Enter: the outdoor letter ledge! What better way to welcome guests than with a fun phrase or greeting to celebrate the occasion. Wish a “Happy Birthday”, a seasonal greeting, or cheer on your favorite team, all by simply switching tiles around!
The best part, you can find all the supplies you need at The Home Depot, even the letters! This is a low-cost project that you will get so much use out of. Check out the supplies and instructions below and start planning your first statement! If you don’t own some of these tools like the nail gun, The Home Depot also has daily rentals that are a great option!
Instructions
- Cut your Pine boards down to size. I decided on a 5’ top shelf and 7’ lower shelf.
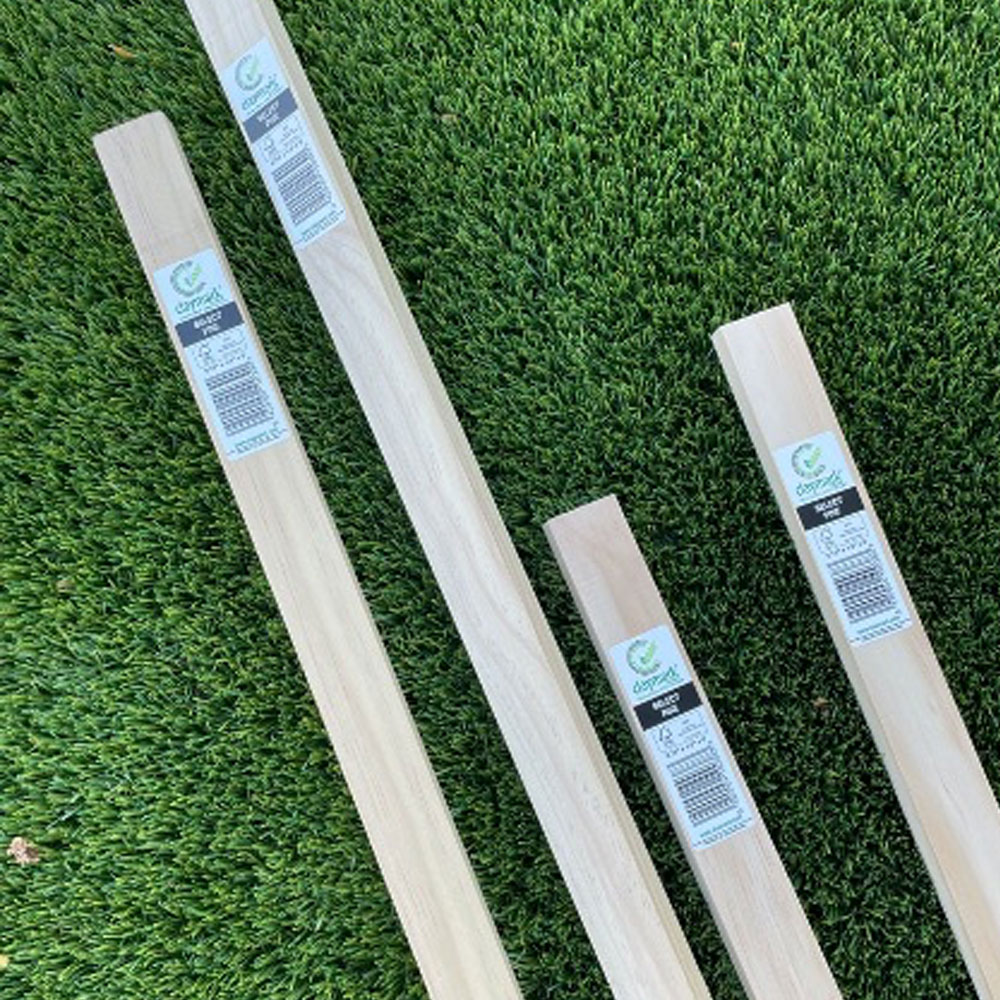
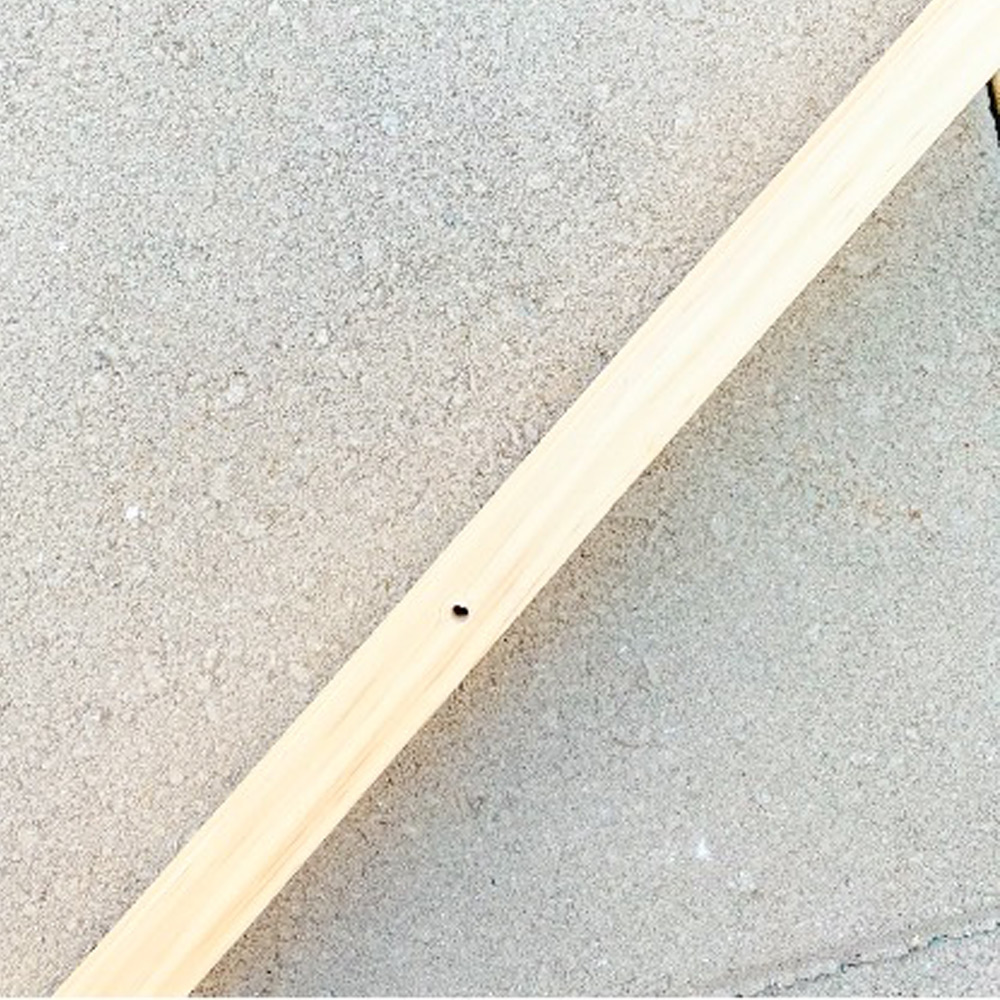
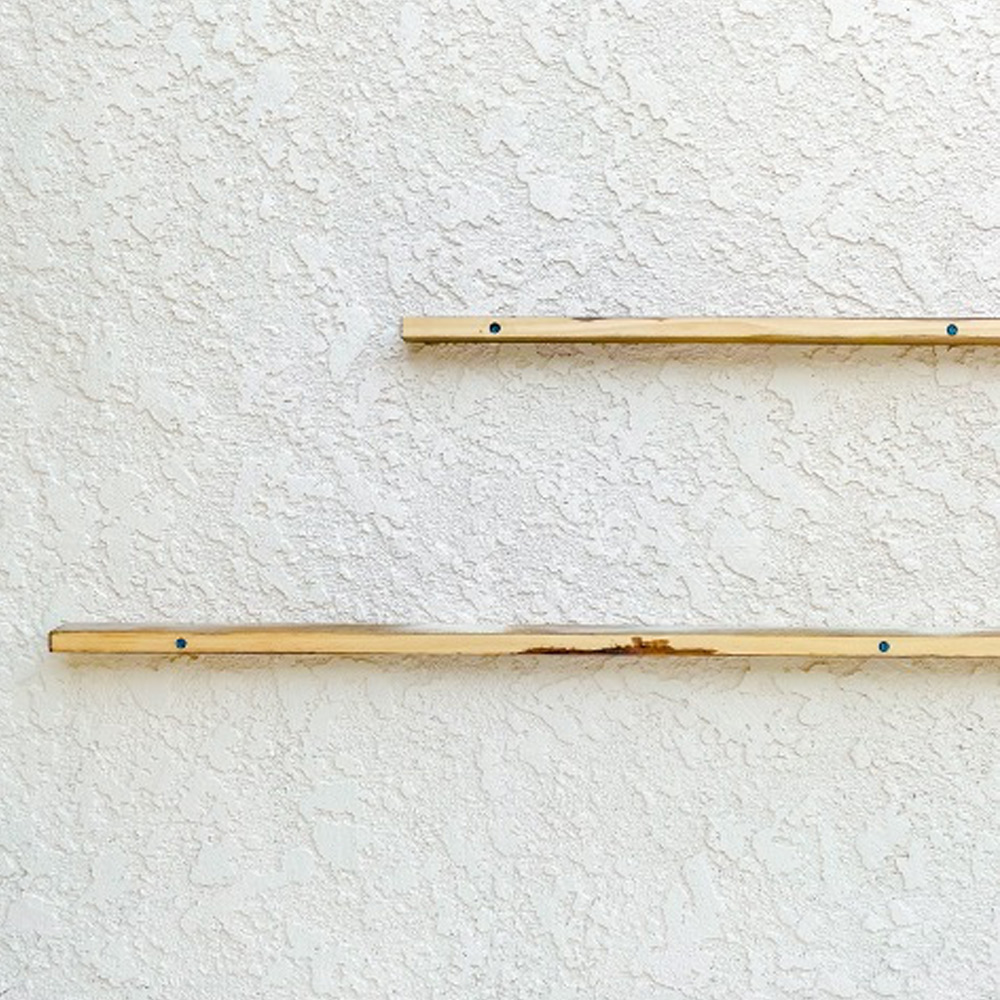
- Prepare the shelf base pieces (the ones that will sit horizontally). Pre-drill holes through the board where you want it to attach to the wall. You could also screw through the front piece if you don’t mind seeing the screw from the front.
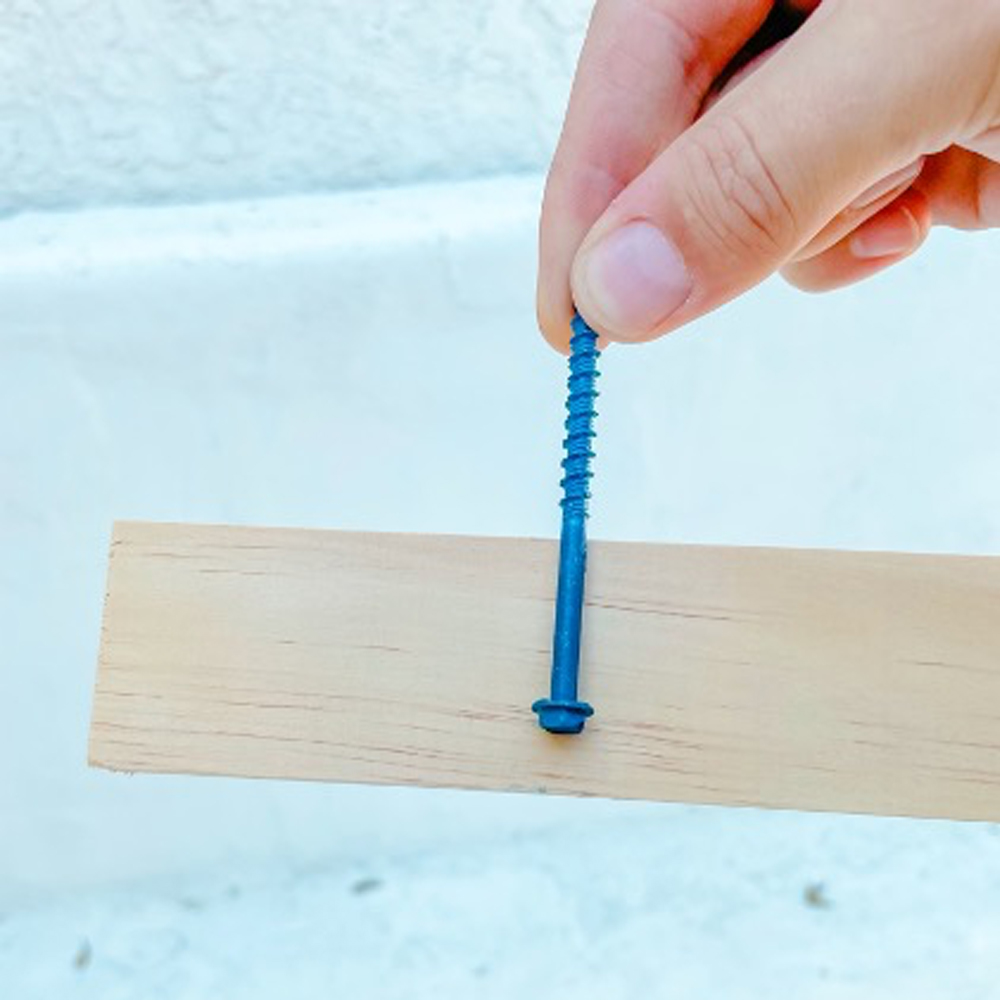
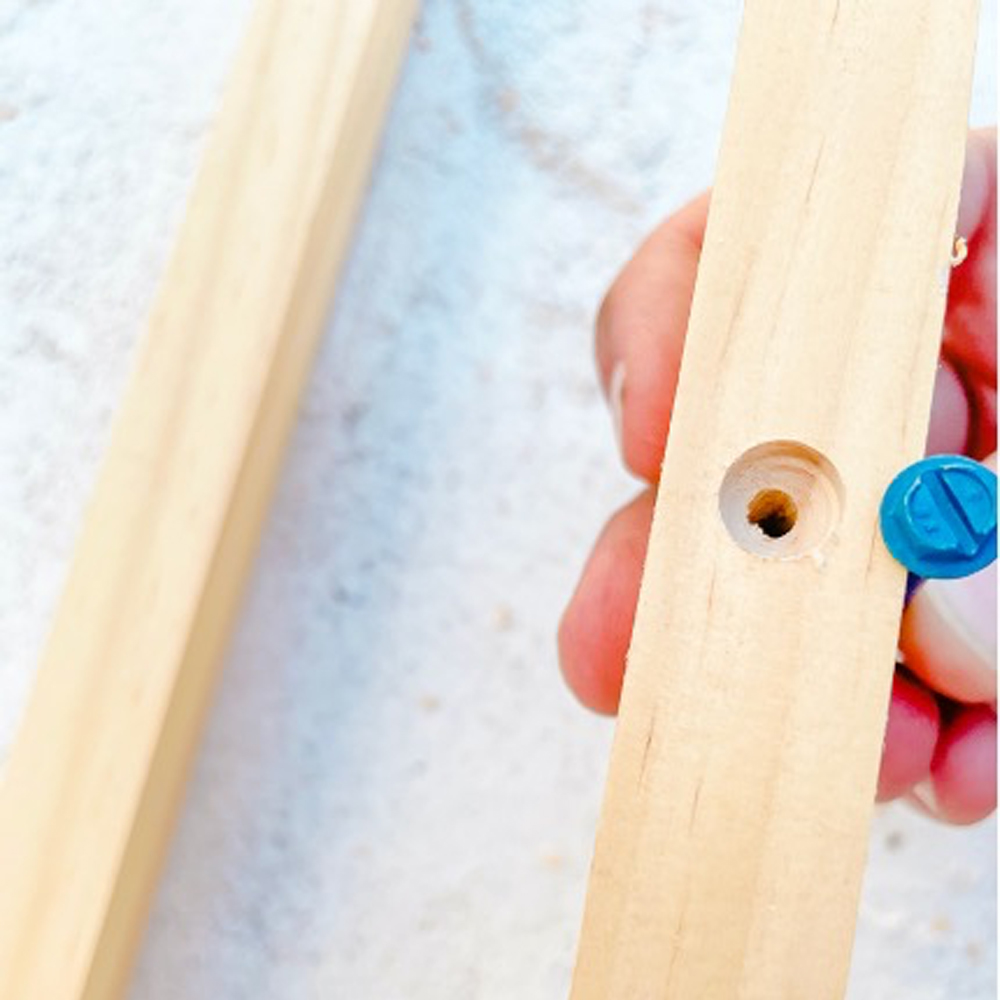
Use a drill press to insert the screw. (Again, you could skip this step, I just did it this way to hide the screw behind the front piece of the ledge)
Stain the wood and seal with your clear coat spray for outdoor weathering.
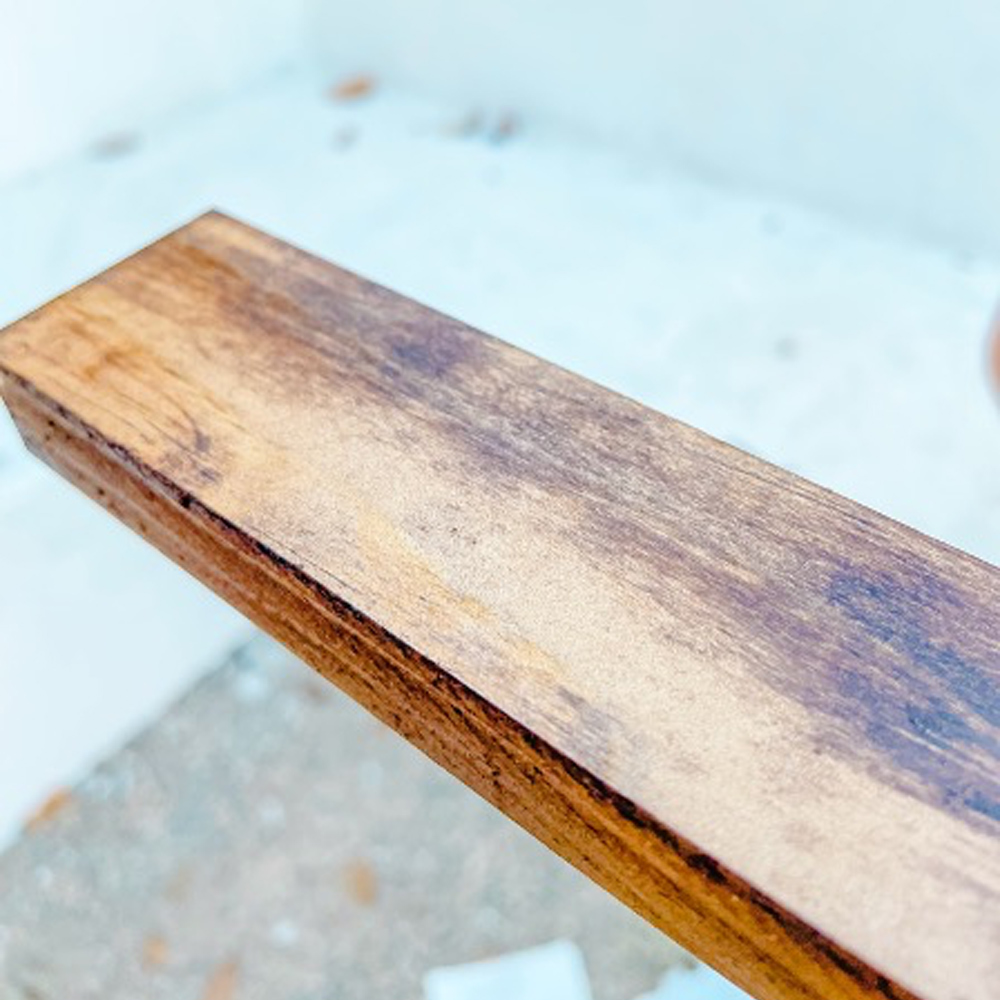
- Attach the base pieces to the wall with concrete screws.
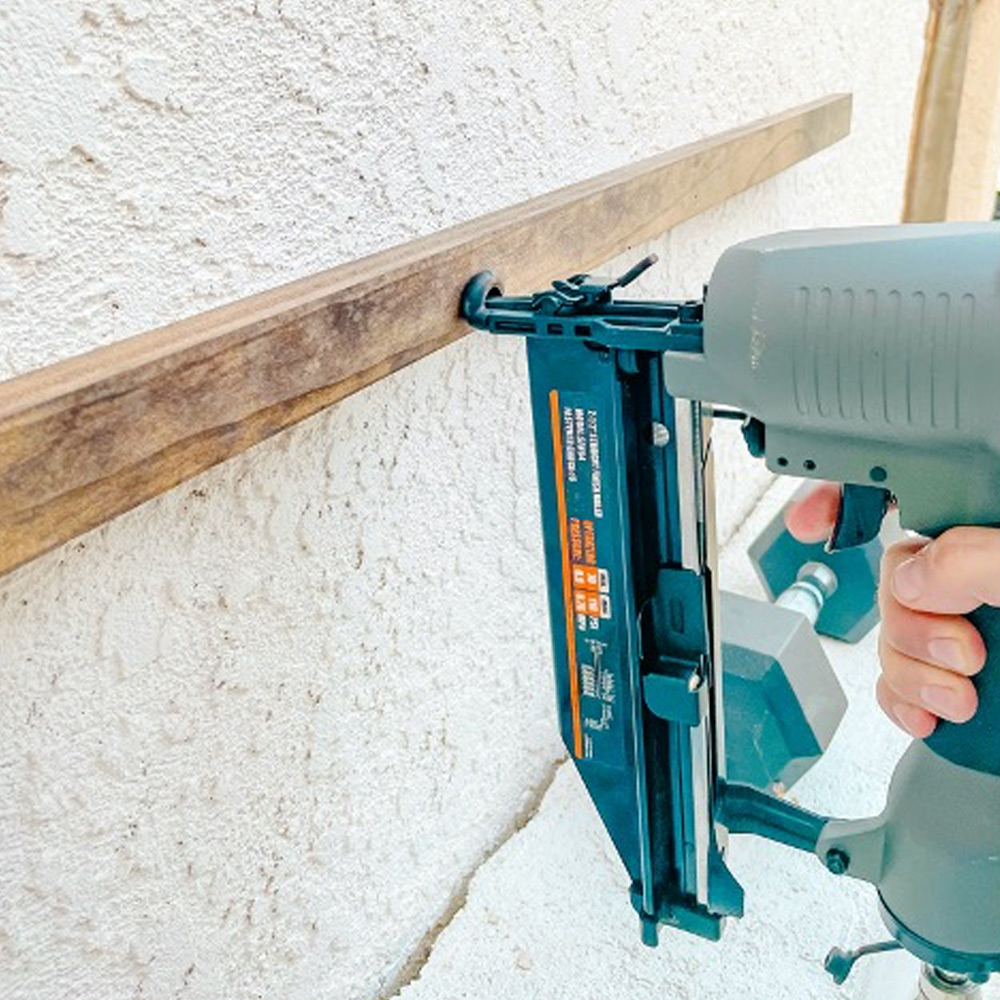
- Use a nail gun to attach the front pieces to the base. They will make an “L” shape.
- Cut the letters out with a craft knife or scissors.
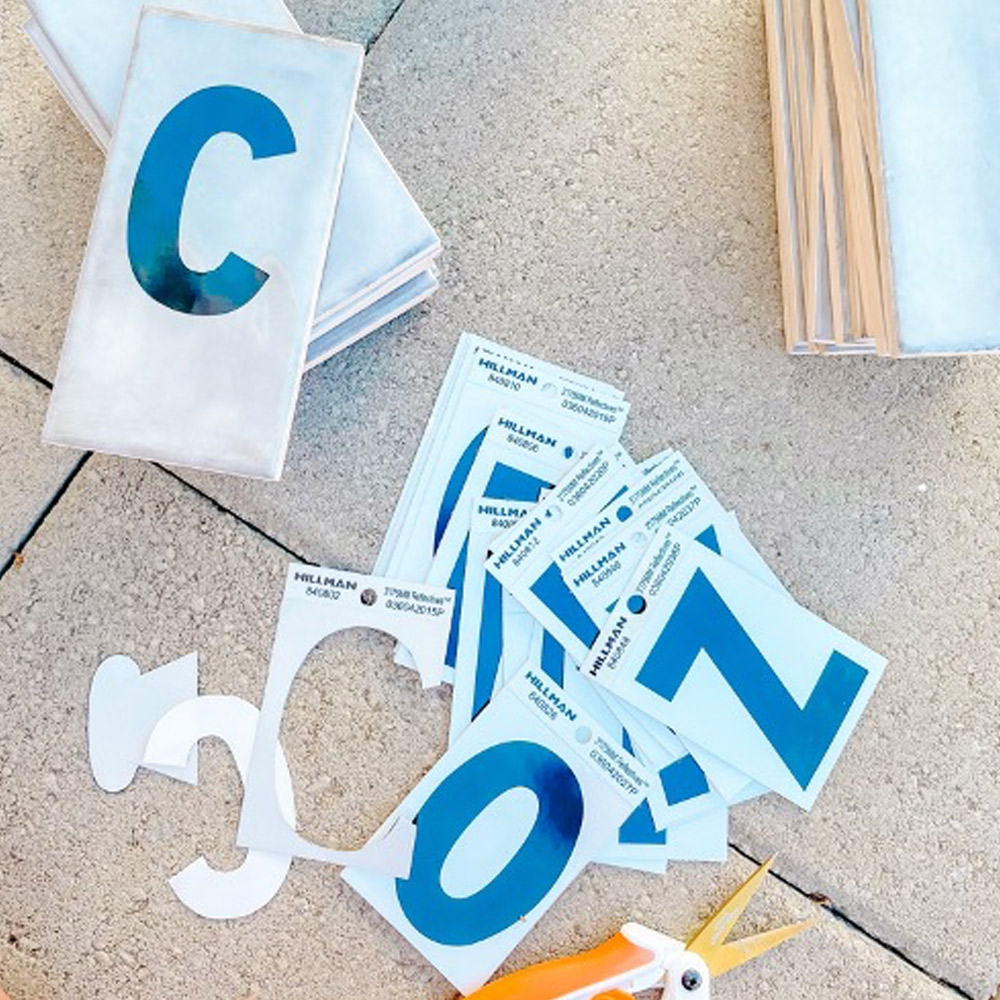
- Attach the vinyl letters to the tiles.

- Apply clear coat spray to the tiles to seal them.
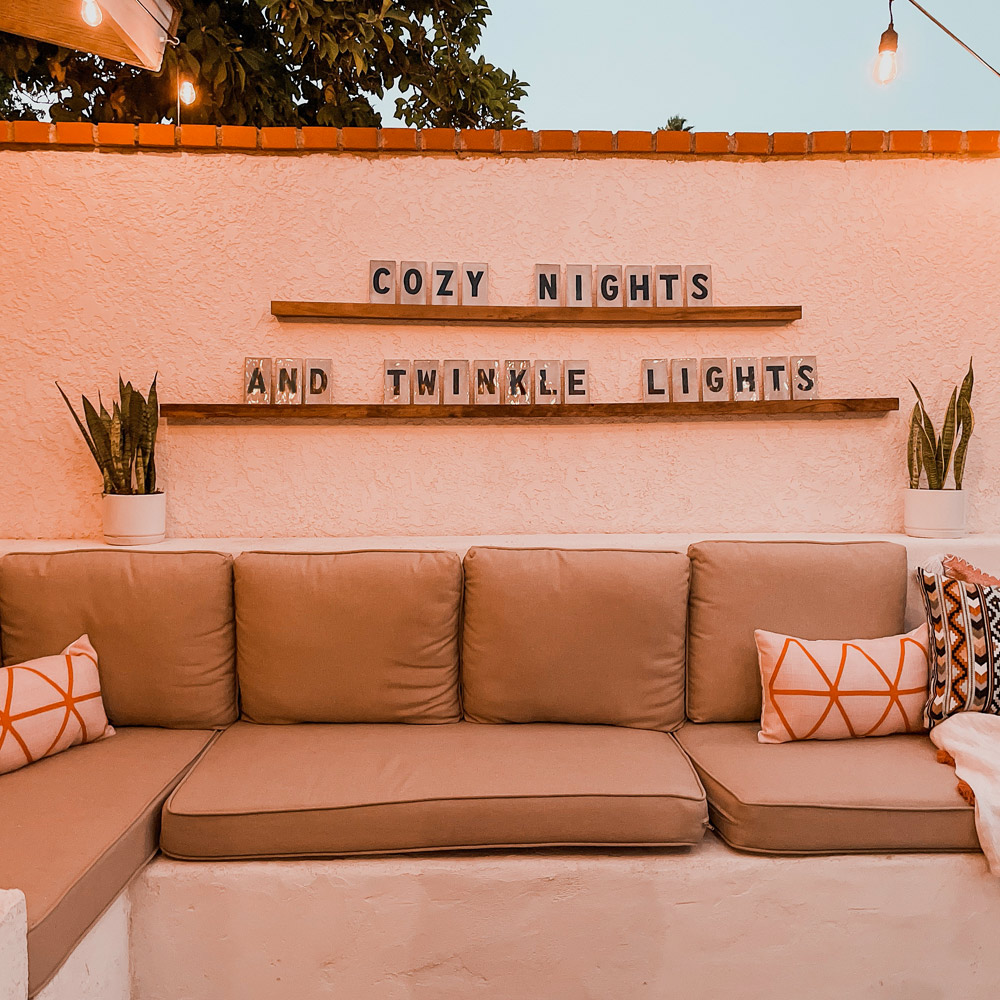
I love this project because it has so many possibilities. Use a fun paint color for the ledge or use colorful tiles to add even more pop. Make a statement by sharing a piece of your personality in your outdoor space! Happy making!
This post was created in partnership with The Home Depot. The author may have received compensation for this article and associated images or video, potentially in the form of products and/or services. All expressed opinions and experiences are the author’s own words.


