How to Make DIY Snowflake Clothespin Christmas Ornaments
Last updated November 20, 2024
.jpeg "Kourtni Munoz")
Kourtni Muñoz is the Founder and Creative Director of House on Longwood Lane, a DIY and home design blog launched in 2017. She recently traded island life and sandy beaches for a cabin in the woods of Middle Tennessee with her military husband, three kiddos, and two pups. She's currently tackling an entire home renovation and infusing her Spanish roots into each design element with textiles, color and furnishings. She shares a mix of large-scale renovations, designer worthy DIY projects, budget-friendly ways to revamp their spaces and soon cabin life in Middle Tennessee.
A Note From The Home Depot
Make a fun family holiday craft with the help of The Home Depot. Follow along as Kourtni of House on Longwood Lane teaches us how to make a DIY clothespin ornament!
Table of Contents
Step 1: Prep Your Supplies
Step 2: Paint Your Clothespins
Step 3: Assemble Your Clothespins Together to Make a Snowflake
Step 4: Drill Hole to Hang
Step 5: Add Hanging Hardware
Step 6: Hang and Enjoy!
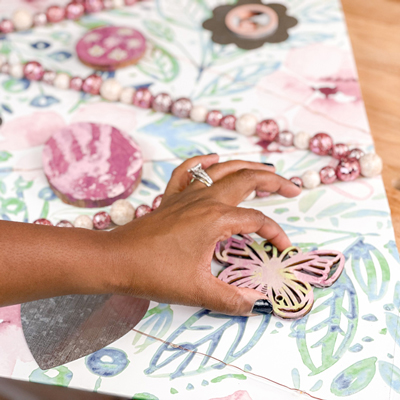
As a family we place a special emphasis on our advent calendar during the holidays. We try to fill our days in December with local free activities, family friendly crafts, baking and movie nights.
Each card in our advent calendar has an activity or theme to it. Today, we are making a snowflake clothespin Christmas ornament and headed to our favorite big orange store to get our craft supplies.

Step 1: Prep Your Supplies

Lay out your drop cloth on a designated flat surface. You’ll need eight clothespins to create one snowflake. Take those eight clothespins and pull them apart gently and set aside the silver spring (you will not need that for the snowflake).
Step 2: Paint Your Clothespins

Paint samples make the perfect size craft paint for this project and the sponge paint brushes cover the whole surface of the wooden clothespins.
Let yours and your kids' creativity fly with the paint colors! We let our kids pick out their favorite paint chips at the Home Depot paint counter. We all chose two each and came home with eight sample paint colors. After everyone has painted their clothespins, let them dry.


Step 3: Assemble Your Clothespins Together to Make a Snowflake

Once your clothespins are dry to the touch, you can assemble them into snowflakes. This is a two-part gluing process. Laying out a piece of parchment paper will make it so the snowflakes aren’t glued to the drop cloth.
You’ll flip the clothespins so the flat back part is glued together first. Hold each one together for about 30 seconds then set aside and repeat.

Once all of your clothespins are glued back-to-back you should have eight solid pieces again as shown below:


Take four glued clothespins and glue the edges together where the ridges meet.

Next, take the remaining four and add glue. Gently slide them in at the four points where the four clothespins you already glued together meet.
The glue suggests letting it cure for 24 hours before handling. We were able to move them after about four hours.
Note: Have a gentle hand when gluing the remaining four clothespins as pushing too hard will separate the snowflake.
Step 4: Drill Hole to Hang

Use a power drill and pilot hole drill bit to drill a small hole on one end of the snowflake.

Step 5: Add Hanging Hardware

Thread a piece of string about seven inches long through the hole and tie the end strings together in a knot.

Step 6: Hang and Enjoy!

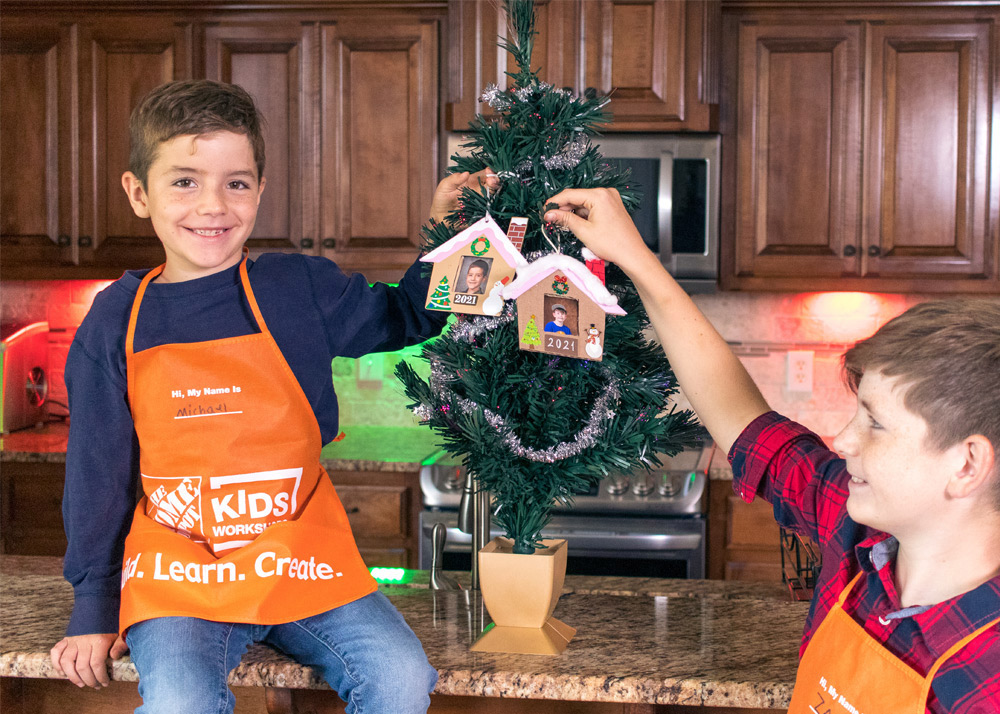
My kids’ favorite part about decorating the tree is getting to hang the ornaments they’ve made over the years, and adding these DIY Clothespin Christmas Ornaments to the tree did not disappoint!

If your kids are older, you can also stain the wooden clothespins for a different look! Just be sure to wear gloves and work in a well-ventilated area.
This post was created in partnership with The Home Depot. The author may have received compensation for this article and associated images or video, potentially in the form of products and/or services. All expressed opinions and experiences are the author’s own words.