Table of Contents
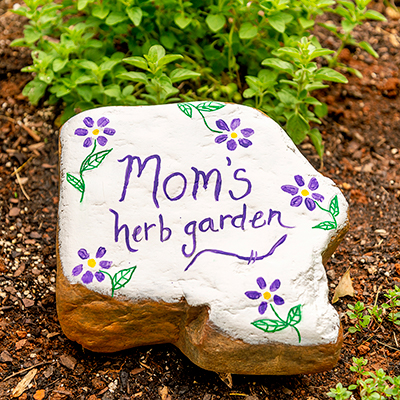
How to Plant the Perfect Herb Garden
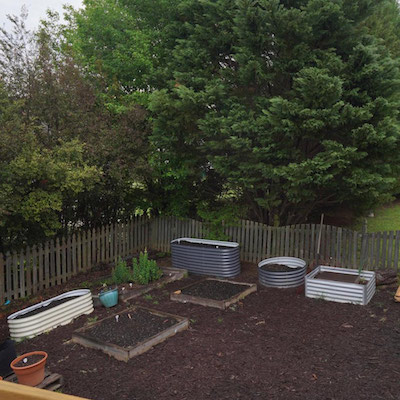
Step 1: Decide on Your Space and Take Inventory
Step 2: Choose Your Herbs
Step 3: Go Shopping!
Step 4: Plant Your Herbs
Step 5: Care for Your Herbs and Give Them a New Life!
Related Products


How to Plant the Perfect Herb Garden

Last updated August 21, 2024

Melissa Ben-Ishay is the co-founder and CEO of Baked by Melissa, a New York-based dessert company celebrated for its bite-size treats. Since it was founded in 2008, Baked by Melissa has opened 14 retail stores in the New York City metropolitan area and beyond, and ships its products nationwide. In 2020, Melissa gained popularity on TikTok with videos of her salads and everyday meals, each of which was developed to give you the perfect ratio of flavors in every bite—just like her namesake cupcakes.
A Note From The Home Depot
Spring and Summer are great times to brighten up your outdoor space with some fresh live goods. Read along to see how Melissa of Baked by Melissa refreshed her herb garden as a Mother’s Day gift to herself with the help of The Home Depot.
How to Plant the Perfect Herb Garden
When it’s warm outside, my family and I spend a lot of time on our roof, which has a grill, a pizza oven, and many planter boxes that I refresh every year with colorful blooms and herbs. This year, my Mother’s Day gift to myself was sprucing up my herb garden, so my family can enjoy delicious, homegrown herbs and a lush rooftop garden together on warm summer nights.
Fresh herbs add incredible flavor to any dish you make with them. Whether you keep chives on hand as a garnish or pack as many nutrient-dense herbs into salad dressings as I do, there’s no such thing as too many delicious herbs, especially during summer months. Fresh herbs are brighter, bolder, and it makes me feel better knowing exactly when and how they were grown. Here are a few of my tips to create a flourishing herb garden you’ll love this summer!
Step 1: Decide on Your Space and Take Inventory
If you’ve planted herbs before, you likely already have a space for it in your mind. Every year, I change what I plant a little based on what I learned the year before, considering the amount of light each area gets, the height of the plants, and what I used the most the year before. Most herbs require full or partial sunlight to thrive (it will say on the tag when you buy it).

Before I head to The Home Depot to buy any new plants or tools, I check which of my perennials are still thriving and which dead plants need to be replaced. As soon as the weather gets warmer, I go up to my roof and just spend time looking at what remains from last year’s garden and brainstorming what I want for this year. I remove the dead plants first, then get to work.
Step 2: Choose Your Herbs
This is when you could map out your garden if you want to (I’m sure my husband would love me to), but I work much better by just diving in. Based on what meals I typically cook, this year I decided to grow flat-leaf and curly parsley, Greek and Italian oregano, basil, cilantro, dill, mint, rosemary, and chives. In addition to the herbs, I wanted to get new flowers to add color to the roof around our table. Even if you don’t want to draw it, I like to place all of the new plants from the store in my planters while they’re still in the nursery containers to make sure the taller plants don’t block sunlight and I like the way it looks before digging in.
Tip: Plan to plant mint in a separate container. It’s a bully and will take up your entire planter if you add it to the same container as your other herbs.
Step 3: Go Shopping!

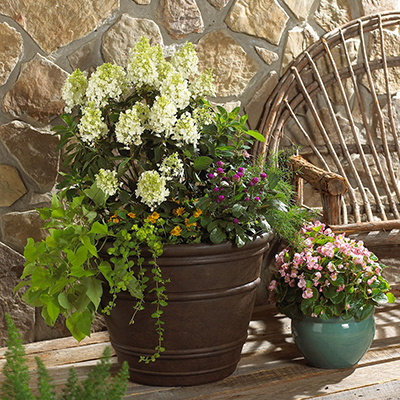
Seeing plants for yourself is so helpful in visualizing your garden, especially when it comes to new flowers. I replaced a few perennials this year based on what inspired me at the Garden Center. I picked up some colorful yellow, pink, and purple flowers to brighten up the right side of my roof and dedicated the left side to fresh herbs. Here are a few other must-haves I put on my shopping list:
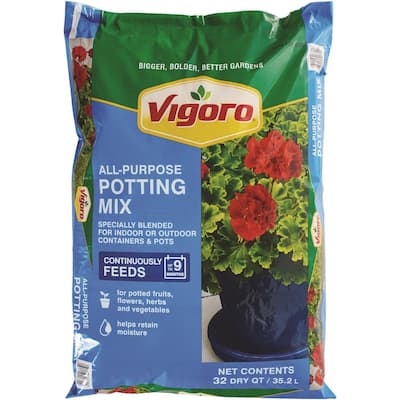
- Vigoro All Purpose Potting Soil: You always need more soil than you think!
- Digz Garden Gloves: To protect my hands and keep them clean
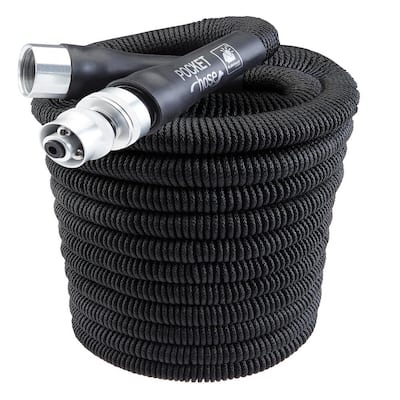
- Expandable Garden Hose: To easily water all my freshly planted herbs
- Various Planters: To keep mint separate and give my kids a fun rooftop activity


Step 4: Plant Your Herbs

Most of what I know about gardening comes from what I learned from my mom while I was growing up. My method for planting is similar to hers and doesn’t take long once you get the hang of it! To start, add soil to your planter and dig a hole either with a shovel or with your hands. Make sure the soil is moist before you add the herbs, if it isn’t get your hose or watering can to moisten the area.
Hold the herbs by the stem right where they come out of the dirt and gently pull them from the nursery container. This part is important: Break up the roots a little so they don’t stay tangled and can grow within the planter you’re putting them in. Place the herb and its roots into the hole and cover the roots with soil. Pack it just enough to keep the herb in place, being careful not to pack it too tightly. Once you’re finished, water it, and from there follow the watering directions on the herb tag. You never want your dirt to be totally dry!


Step 5: Care for Your Herbs and Give Them a New Life!
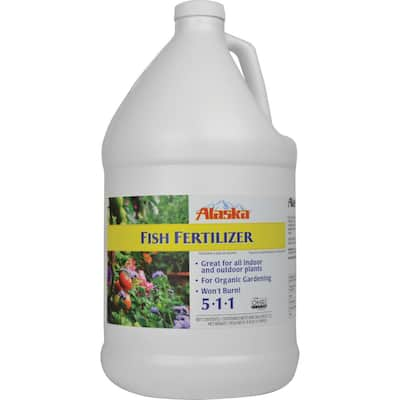
Most soils nourish plants for six months or so, and I like to use Fish Fertilizer as well to give my plants extra nutrients. My dad always taught me to aerate the soil with either a garden rake or even a fork, which I do occasionally when watering them. These tips and the right conditions should keep your herbs fresh through the fall!
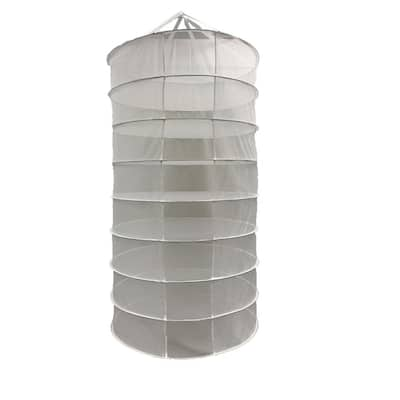
I’ve really been wanting to get into herb drying, so I also picked up this Herb Drying Rack to use especially with oregano. I use oregano much more dried than I do fresh, so I’m excited this year to play around with it fresh and dry, especially once it starts to get cold again. Dried herbs make the perfect gift, too!

This is the perfect Mother’s Day gift for myself, and can be recreated for a mother in your life as well! I’m so excited to enjoy this space and make delicious recipes with fresh ingredients from my herb garden. Special thank you to The Home Depot for having everything I needed to make this happen.
This post was created in partnership with The Home Depot. The author may have received compensation for this article and associated images or video, potentially in the form of products and/or services. All expressed opinions and experiences are the author’s own words.


