How to Refresh an Indoor Room with Tool Rental

Published January 16, 2025
A Note From The Home Depot
Whether a mansion or studio apartment, every home can benefit from an occasional update. But rather than a total remodeling, you could change up only a room or two. Simply removing wallpaper or adding a kitchen backsplash may really make a difference. At The Home Depot, you can rent all the necessary tools and equipment.
Table of Contents
Rent a Wallpaper Steamer for Removal
Consider a DIY Kitchen Backsplash Installation
Make a Kitchen Backsplash Your Own Project
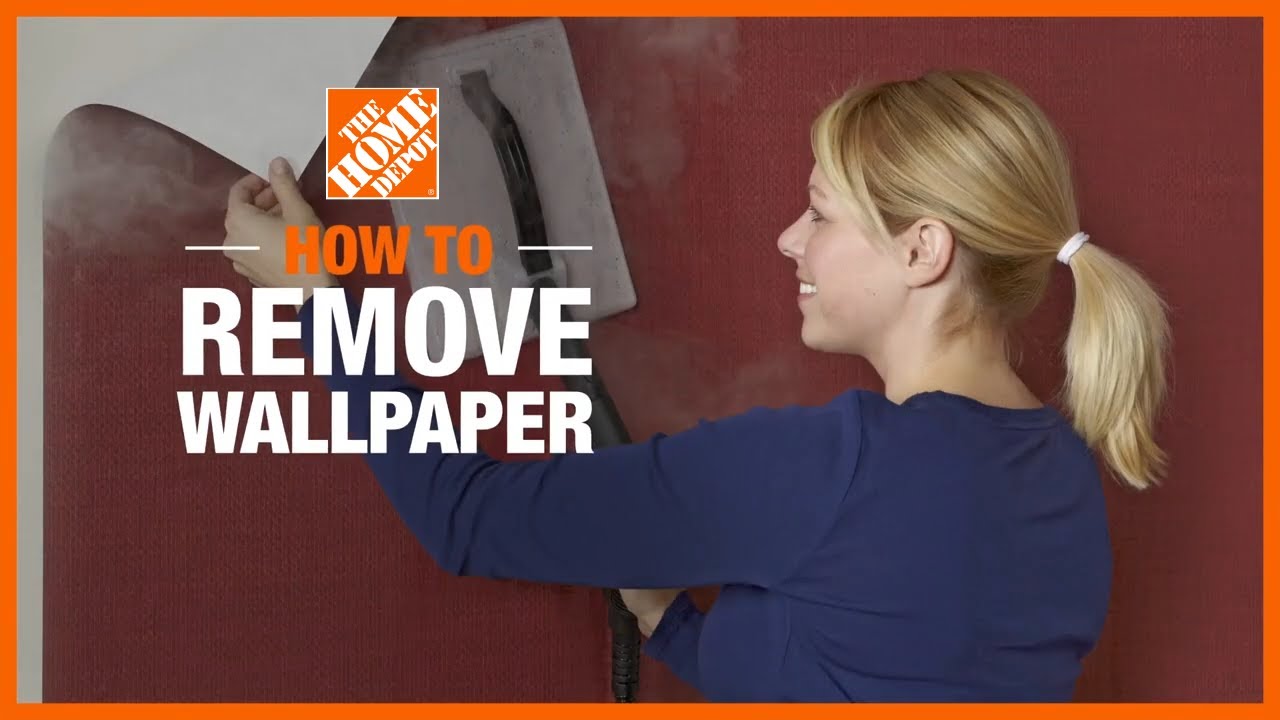
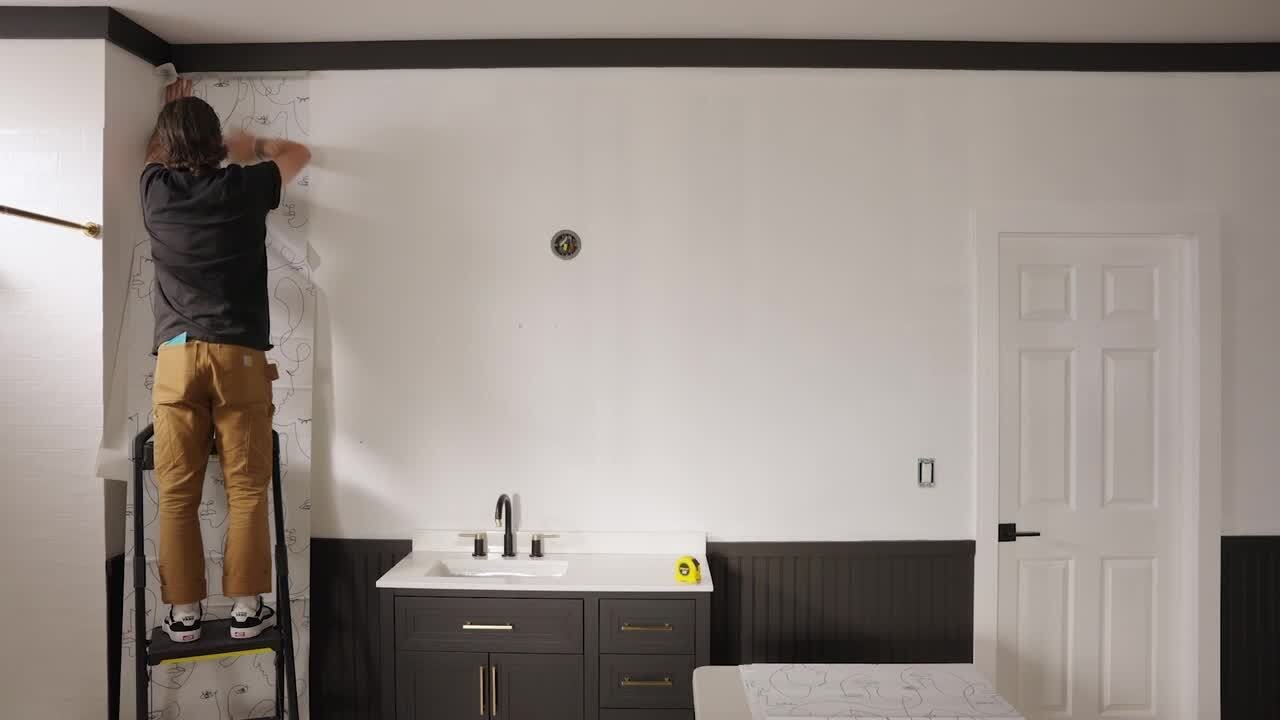
Rent a Wallpaper Steamer for Removal

One option to consider is a wallpaper steamer rental from The Home Depot. But always consult the operations manual before using your rental equipment. Without proper care, you could get burned. You’ll also want to stay away from electrical outlets and switches.
Using only water, rental steamers can quickly remove all wallpaper types. Handheld steamers usually have smaller water tanks, requiring frequent refilling. However, these rentals have larger tanks that can hold enough water to last up to 3 hours. They also feature hoses able to reach up to most ceiling heights. To use a rental steamer:
- Heat it up and begin at one corner of the room.
- Place it over the wallpaper and release steam.
- Start at the bottom, between two wallpaper strips, and thoroughly steam the area.
- Remove the steamer. With a putty knife, insert the blade underneath.
- Pull the sheet up at the corner. You may need to move the steamer, both back and forth over the top of the sheet and underneath it. You may also need to continue working the knife below the sheet.
- Scoring the wallpaper before steaming may speed up the process.
- Keep a trash can close by for the discarded wallpaper. You should also place a drop cloth on the floor. Once removed, the adhesive on the back may stick to the floor.
The top wallpaper layer should come off easily with steaming. However, the bottom layer may remain, especially with vinyl wallpaper in kitchens and bathrooms. To remove the bottom layer, steam its edges. Next, use a putty knife to remove the remnants. You can release leftover adhesive by filling a bucket with warm water. Soak a sponge or rag, let it sit for several minutes and scrub the remaining glue off. For excessive adhesive, lightly steam one spot, scraping off the glue with the putty knife. Then, scrub the rest with a soaked sponge and warm water.
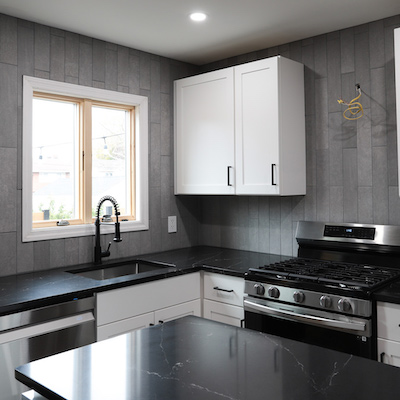
Consider a DIY Kitchen Backsplash Installation

The kitchen is the focus of much of our time and attention. Any updates can help to refresh its look and boost the value. Designed as barriers, kitchen backsplashes shield the wall behind the sink, stovetop or countertop from potential messes, from water, grease or food. Ideally, you'll want a backsplash easily cleaned with wiping.
The backsplash should also complement your kitchen’s design, with eye-catching colors, patterns and textures. You may want to contrast lighter-colored cabinets and countertops with darker backsplashes, and vice versa. This promotes more visual interest and depth to your kitchen space.
As for materials, there are many to choose from, such as glass and stone, or you can mix and match. Among the most common and durable materials is ceramic tile, an affordable type that can handle moisture. Or try porcelain tile, which is long-lasting, easily cleaned, stain-resistant and less porous than ceramic. Porcelain is also cost-effective and available in multiple colors.
Make a Kitchen Backsplash Your Own Project

If a full remodel doesn’t appeal, a DIY backsplash project can revitalize the kitchen and your home. It can be completed quickly, while sparing your budget.
- First, take accurate measurements of the intended backsplash area.
- Select and purchase the tile(s) you plan on working with. You’ll also have to buy any other required tools and materials. These include backerboard, tile spacers, mortar, grout, trowels, sponges and other cleaning equipment.
- A small tile saw, available for rental at The Home Depot, is necessary to complete the work.
- Next, clean the area, including moving aside any appliances and laying down drop clothes. Remove the frames around power outlets, using a rented power drill.
When ready, follow these steps to install the kitchen backsplash:
- Mix the mortar. Working in 2-foot sections, use a trowel to spread it on the wall in thin layers.
- Carefully place the tile onto the mortared wall, moving upward and outward. By inserting the tile spacers, you keep the tiles lined up. The tile saw rental lets you make clean cuts for corners, power outlets and switches.
- Allow the tile and mortar to dry completely before mixing and applying the grout.
- Wipe the tiles clean to get rid of any mortar dust and remove the tile spacers.
- Apply the grout and with a sponge, shape the grout joints.
- Wait for the grout to dry. For additional protection, you could apply a grout sealer.
If you’re looking to breathe new life into your home, a few simple changes can make a big difference. Consider getting rid of old wallpaper or installing a DIY kitchen backsplash. Both projects can be completed easily and quickly, while respecting your budget. The Home Depot Rental carries the necessary tools and equipment for all your home remodeling plans. You can even rent a flatbed truck to haul everything.
This post was created in partnership with The Home Depot. The author may have received compensation for this article and associated images or video, potentially in the form of products and/or services. All expressed opinions and experiences are the author’s own words.