How to Turn a Dresser Into a Bathroom Vanity

Last updated August 21, 2024

My name is Ashlyn Scott-Davila and I am a California-based interiors creator who loves all things vintage. I create laidback and cozy spaces by mixing the old with the new. Most of my home has been curated from second-hand finds and DIY projects and I truly believe a beautiful home should be attainable for all.
A Note From The Home Depot
Curious how you can transform a dresser into a beautiful bathroom vanity? Follow along as Ashlyn Scott of Davila Home takes you through a fun weekend project to give your bathroom the perfect touch-up.
Table of Contents
How to Turn a Dresser Into a Bathroom Vanity
1. Find the Perfect Dresser
2. Strip and Stain
3. Retrofit the Drawers
4. Sink and Faucet Installation
5. Install and Seal
How to Turn a Dresser Into a Bathroom Vanity

I was looking to renovate our early 90’s original bathroom on a budget. As an avid thrifter and lover of all things vintage, I always knew I wanted to try upcycling an antique dresser into a bathroom vanity. There are several ways to tackle this relatively easy project, but I decided to try to go the most cost-effective and efficient route.
1. Find the Perfect Dresser
I spent about a week checking my local thrift stores and online local marketplaces for the perfect dresser to convert.
The criteria for the “right” dresser is pretty simple – most any dresser or desk, if you’re okay with exposed plumbing, will work. Find the right-sized dresser for your bathroom and be prepared to cut the top for the sink and faucet and the drawers/back to retrofit the plumbing.

2. Strip and Stain
I actually loved the existing stain of the dresser I found, however, the top had some paint stains and unevenness that I wanted to address.
First, I stripped the top with CitriStrip to remove the paint and blotchy stain.

After removing the CitriStrip, I wiped down the top and did a light scuff sand on the entire dresser, using my Ryobi Orbital Hand Sander and 150 grit sandpaper, to prep for stain.

Next, I went in with Behr Premium Wood Stain in the color Red Mahogany – it was the perfect match! I wanted to keep the essence of the original stain but refresh it with an even coat of stain. I used two coats on the top and spot stained as needed in areas with more wear. The stain really brought the piece back to life.

3. Retrofit the Drawers
I measured out where the plumbing will enter the dresser. And used a jigsaw to cut the back of the dresser and two of the backs of the drawers. The bottom two drawers were unobstructed by the plumbing, so I left them as is, leaving more room for storage.


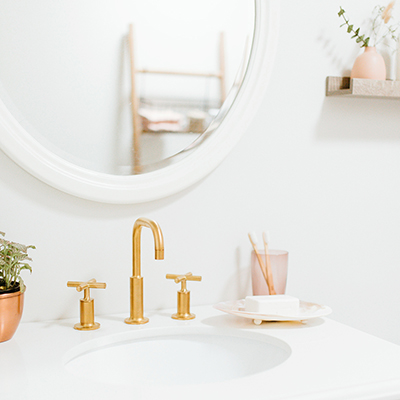
4. Sink and Faucet Installation
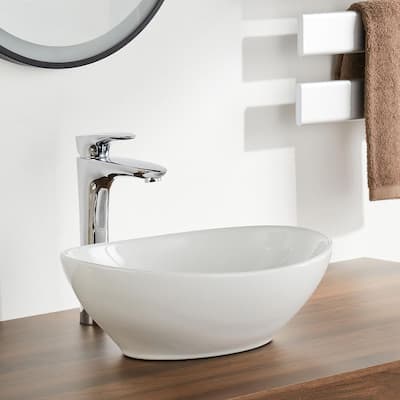
There are two options when it comes to choosing a sink; drop-in or vessel. The vessel sink is much easier since it sits on top of the vanity.
I measured out the center of the dresser and dry-fit the sink to ensure perfect placement.
After measuring the sink drain, cut a hole in the top of the dresser using a hole saw. Insert the drain and attach it, caulking the sink to the top of the vanity.
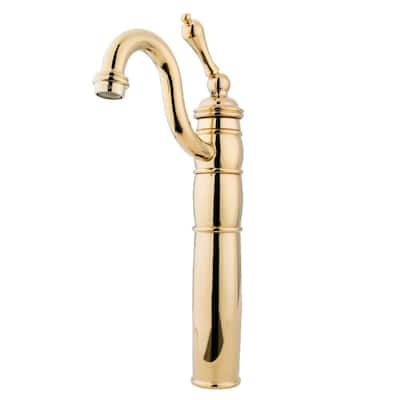
Repeat this step for the faucet.


5. Install and Seal
You’ll know you measured and installed correctly when the cuts in the back of the vanity are a perfect fit.
Lastly, I added a coat of Rust-Oleum Ultra Cover to protect the dresser.

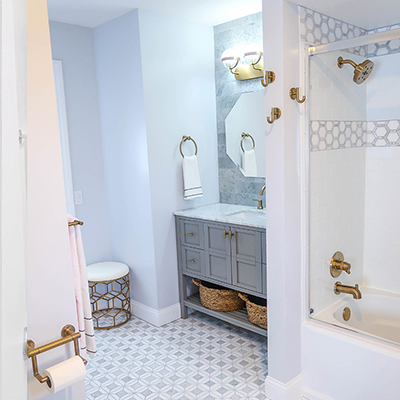
6. Final Result
It’s a perfect fit! It brings so much character to our small bathroom. A simple, affordable weekend project that was completed with a thrifted dresser and a trip to Home Depot.
This post was created in partnership with The Home Depot. The author may have received compensation for this article and associated images or video, potentially in the form of products and/or services. All expressed opinions and experiences are the author’s own words.