How to Update Kitchen Cabinets

Last updated August 21, 2024

The Home Depot is the world's largest home improvement specialty retailer with stores in all 50 states, the District of Columbia, Puerto Rico, U.S. Virgin Islands, 10 Canadian provinces, and Mexico.
A Note From The Home Depot
Refresh your kitchen with the power of paint. If you like the overall layout of your cabinets and they’re structurally sound, a fresh coat of paint can change the look of the entire room and save you a lot of money.
Table of Contents
Step 1: Prepare Your Work Area
Step 2: Clean the Cabinets
Step 3: Sand the Cabinets
Step 4: Tape off Interiors
Step 5: Create a Paint Station
Step 6: Prime Everything (X2)
Step 1: Prepare Your Work Area

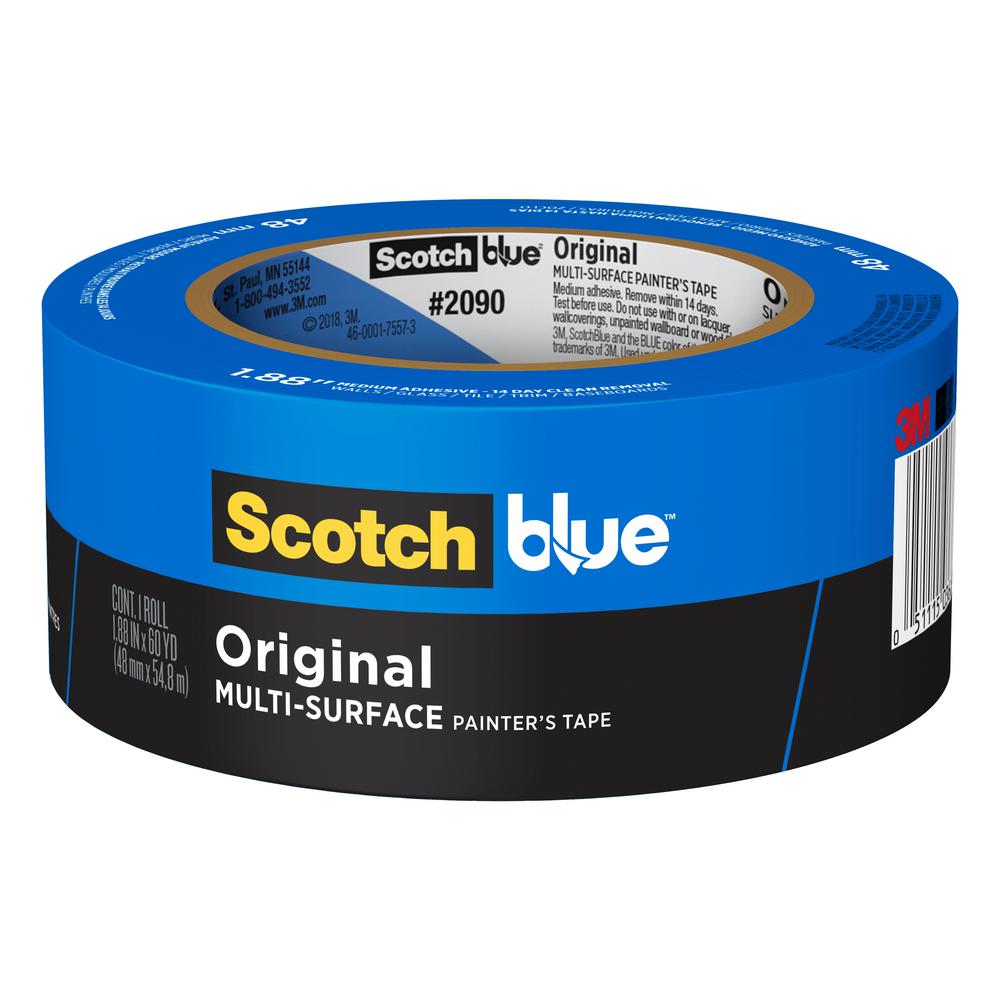
Gather your materials and tools together. Remove the existing hardware from the doors and drawer fronts using a screwdriver or drill. If you plan on reusing your hardware, place it in a plastic bag inside the corresponding cabinet. Before you remove the doors and drawers, map out your kitchen assigning a number to each cabinet and its corresponding doors to avoid guessing games during the re-installation. Use painter’s tape, so it’s easy to remove when you’re ready to begin painting.

Step 2: Clean the Cabinets

You’ll want to use a degreaser to thoroughly clean the cabinets, then wipe them down according to the manufacturer’s instructions. This helps the paint adhere correctly and ensures a more durable finish.
Wear gloves, safety glasses, and a safety mask and use clean rags if you’re using a heavy-duty degreaser. Also, be sure to cover appliances and flooring with plastic sheeting or drop cloths while you’re in cleaning mode.
Step 3: Sand the Cabinets
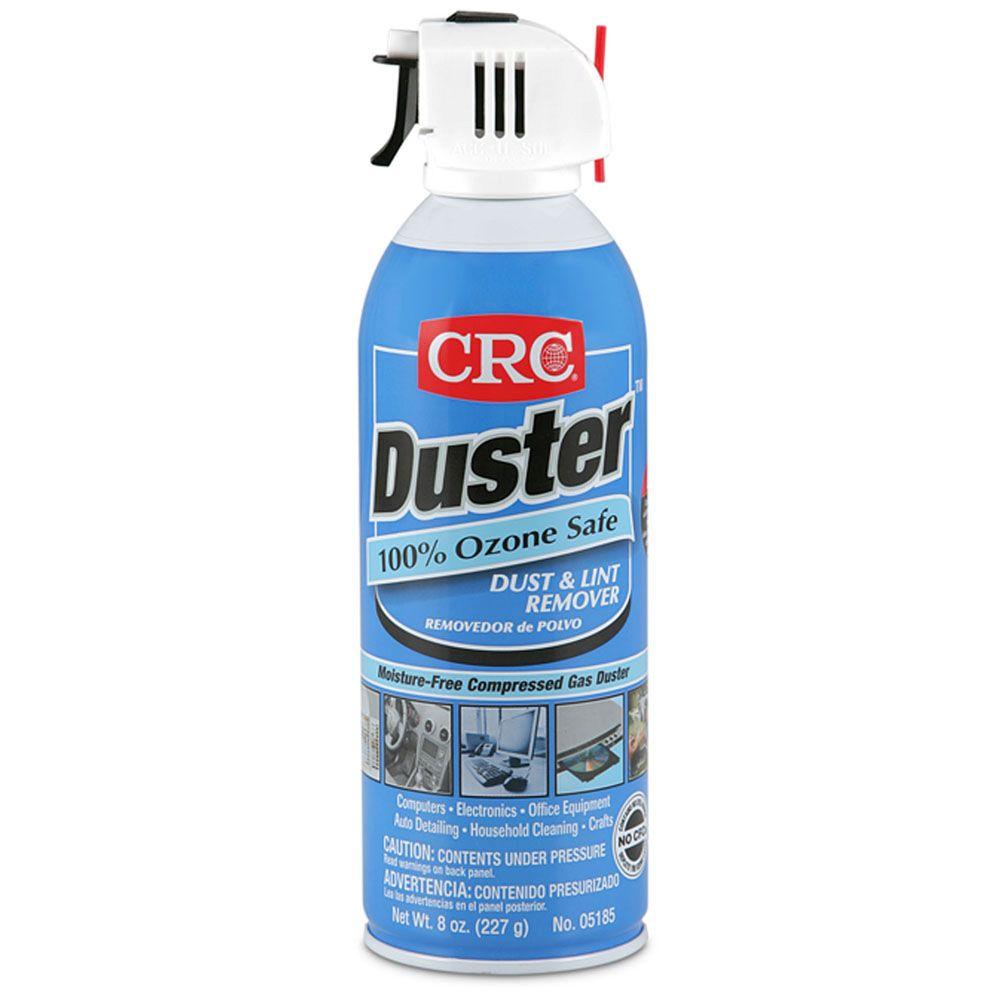
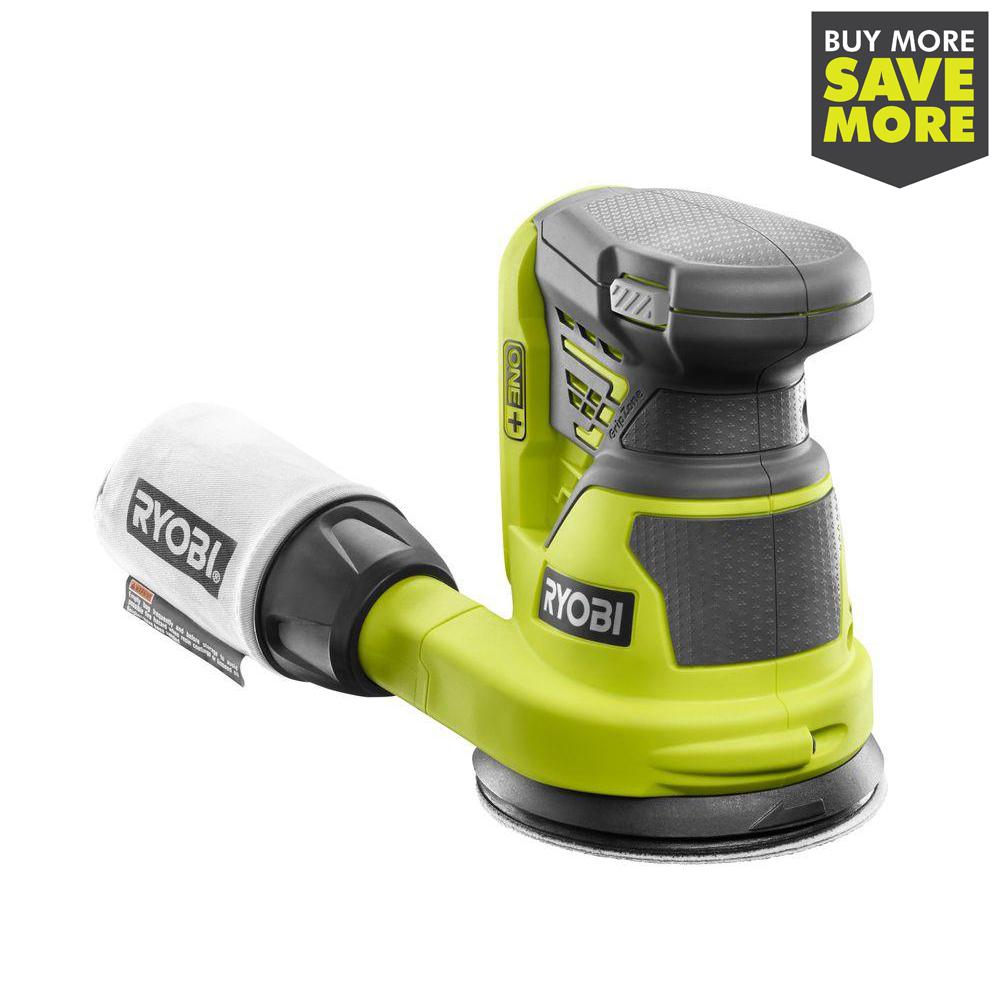
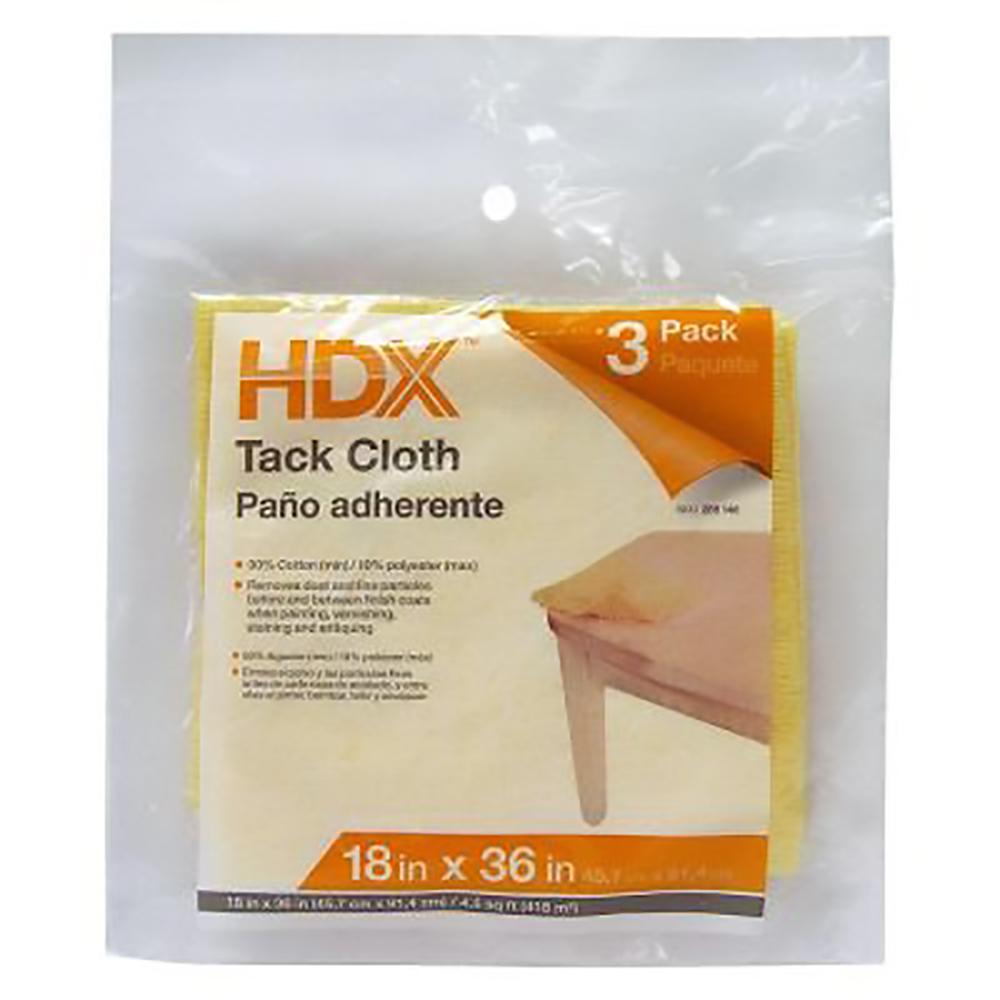
With your doors, drawers and cabinet box fronts clean and dry, use an orbital sander to sand them with a fine grit paper. The goal here is to rough up the surface just enough to help the primer and paint stick properly. Use a rag, shop vac and/or compressed air to remove fine particles from nooks and crannies. Wipe with a tack cloth so the surface is dust-free.
Step 4: Tape off Interiors
Next, tape off the interior of the boxes to prevent paint overspill.
Step 5: Create a Paint Station

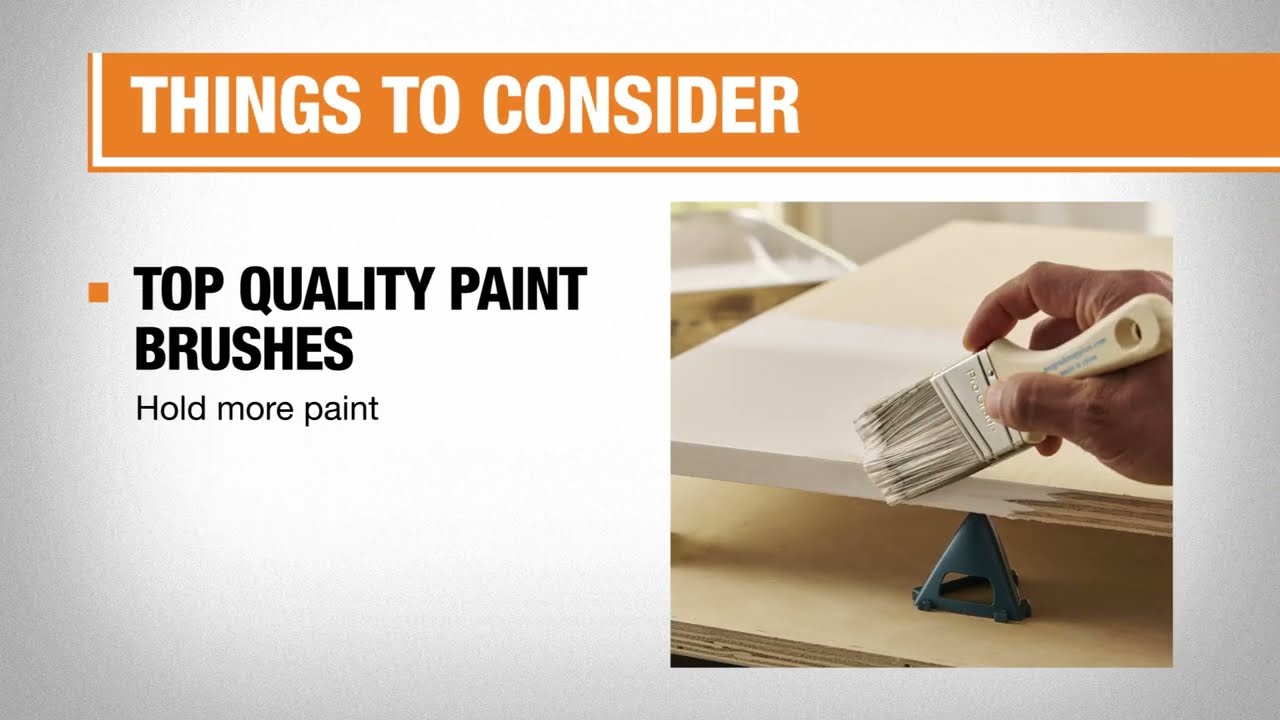
For the doors, set up a painting station that has good ventilation, light and space to move about. Place narrow wood scraps on the work surface to elevate the doors. This way you can easily paint edges and air can circulate underneath.
Step 6: Prime Everything (X2)

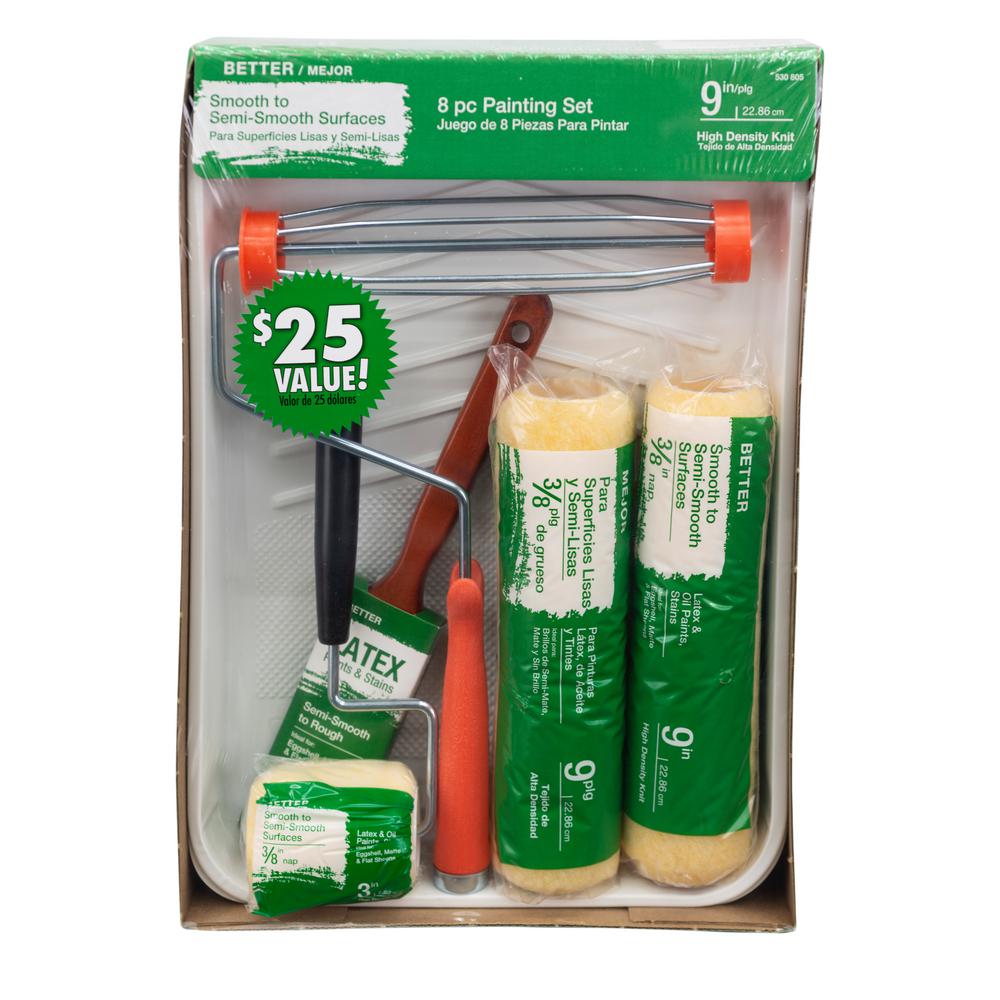
Once this is done, you’re ready to start priming everything. Using a brush, paint the interior edges first, then roll primer on the sides of the boxes, then the box fronts. To prime the doors, start with the interiors, allowing them to fully dry before flipping the doors over and priming the fronts.
HINT: If you’re painting your cabinets a bold color, have the paint department tint a high-quality primer.
After the first coat of primer has dried, lightly sand all surfaces with a fine grit sanding block, wipe clean and add a second coat, as needed.
Step 7: Apply Your Paint

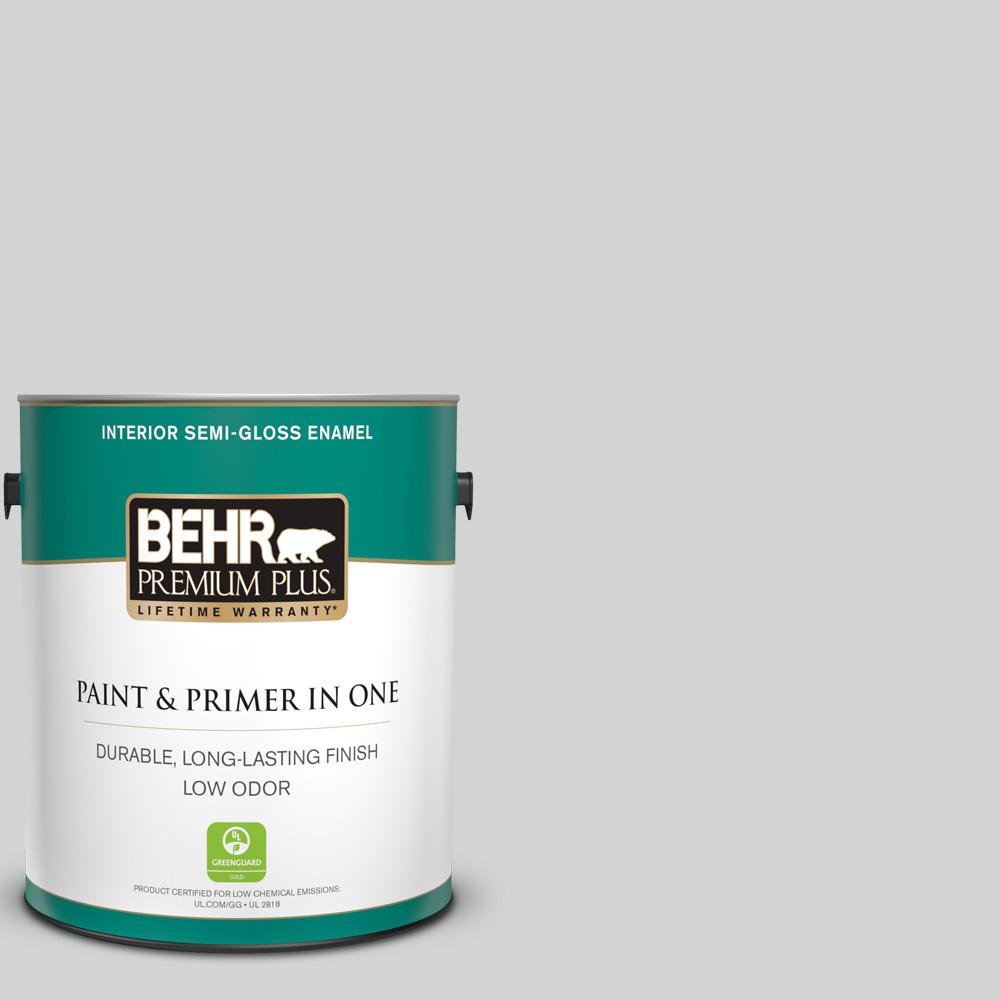
When the primer has fully dried, you’re ready to apply your first coat of semi-gloss latex. Be patient and stick with multiple light coats for good coverage and allow plenty of dry time. Lightly sand with a very fine paper between coats to minimize small imperfections.
Wipe all surfaces with a tack cloth to remove dust before applying additional coats of paint.
Step 8: Reinstall Doors & Hardware

With everything dry to the touch, reinstall the doors, then the hardware using a drill or screwdriver.
This post was created in partnership with The Home Depot. The author may have received compensation for this article and associated images or video, potentially in the form of products and/or services. All expressed opinions and experiences are the author’s own words.