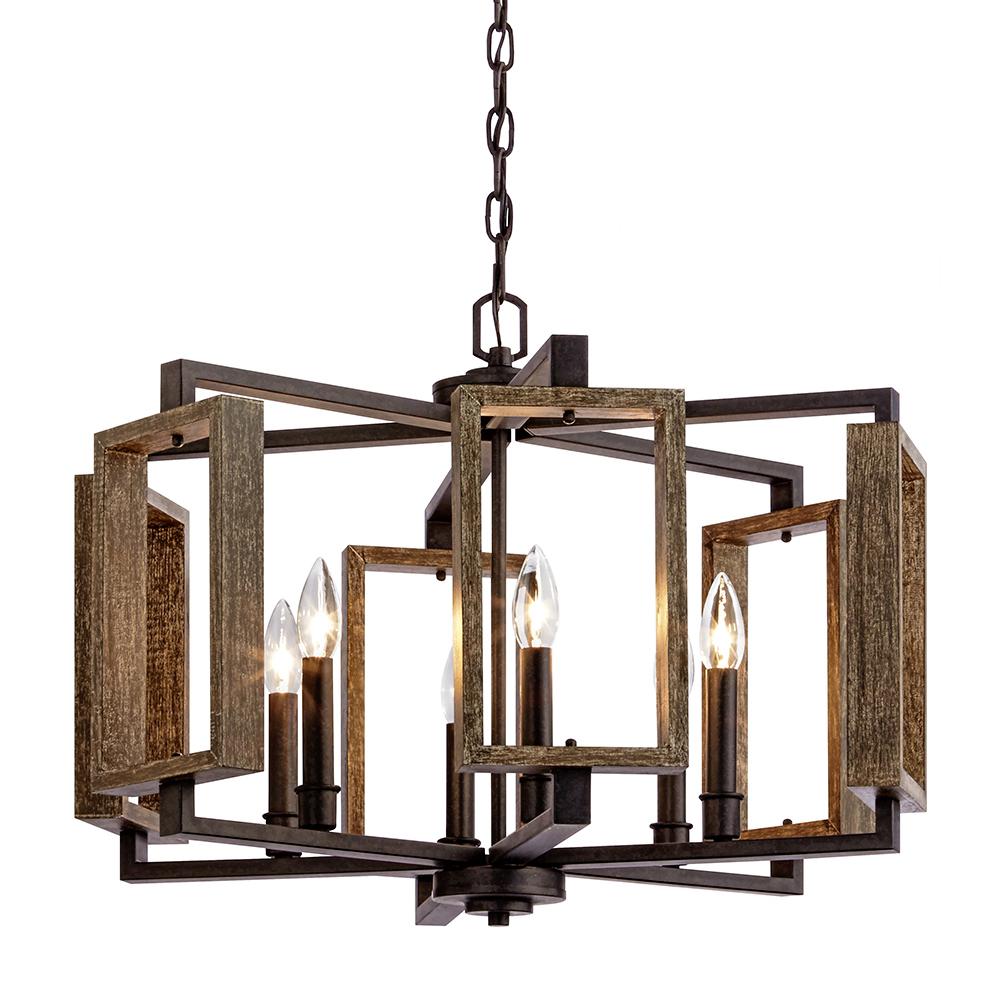
How to Update Your Bedroom With Hanging Ceiling Lights

Last updated August 21, 2024

The Home Depot is the world's largest home improvement specialty retailer with stores in all 50 states, the District of Columbia, Puerto Rico, U.S. Virgin Islands, 10 Canadian provinces, and Mexico.
A Note From The Home Depot
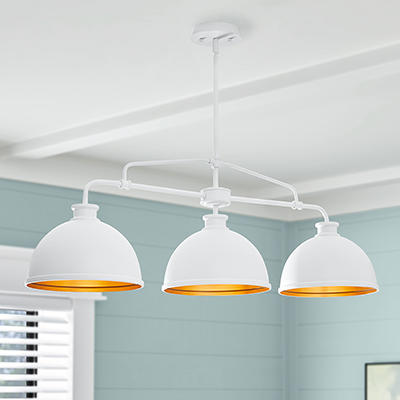
Updating your bedroom lighting is an easy way to create a more restful, stylish vibe; and you only need a few tools to do it yourself.
Table of Contents
Step 1: Flip the Kill Switch
Step 2: Remove Old Light
Step 3: Prep the New Light
Step 4: Connect the Wires
Step 5: Add Bulbs
Step 1: Flip the Kill Switch
First, you’ll want to flip the kill switch for the fixture at the breaker box to ensure the wires are safe to touch.
Step 2: Remove Old Light

With the electricity off, remove the old light fixture by backing out the screws on the canopy cover. Gently pull cover away to reveal connected wiring. Untwist the plastic wire nuts to release the wires. If working with a large or heavy fixture this is a two-person job.

NOTE: Confirm the electricity is off with a circuit tester, it only costs a couple of bucks. Just touch it to the white and black wires to check that the electricity is indeed off.
If so, disconnect the grounding wire from the grounding nut, then unscrew and remove the old mounting bar and remove the old fixture.

Step 3: Prep the New Light
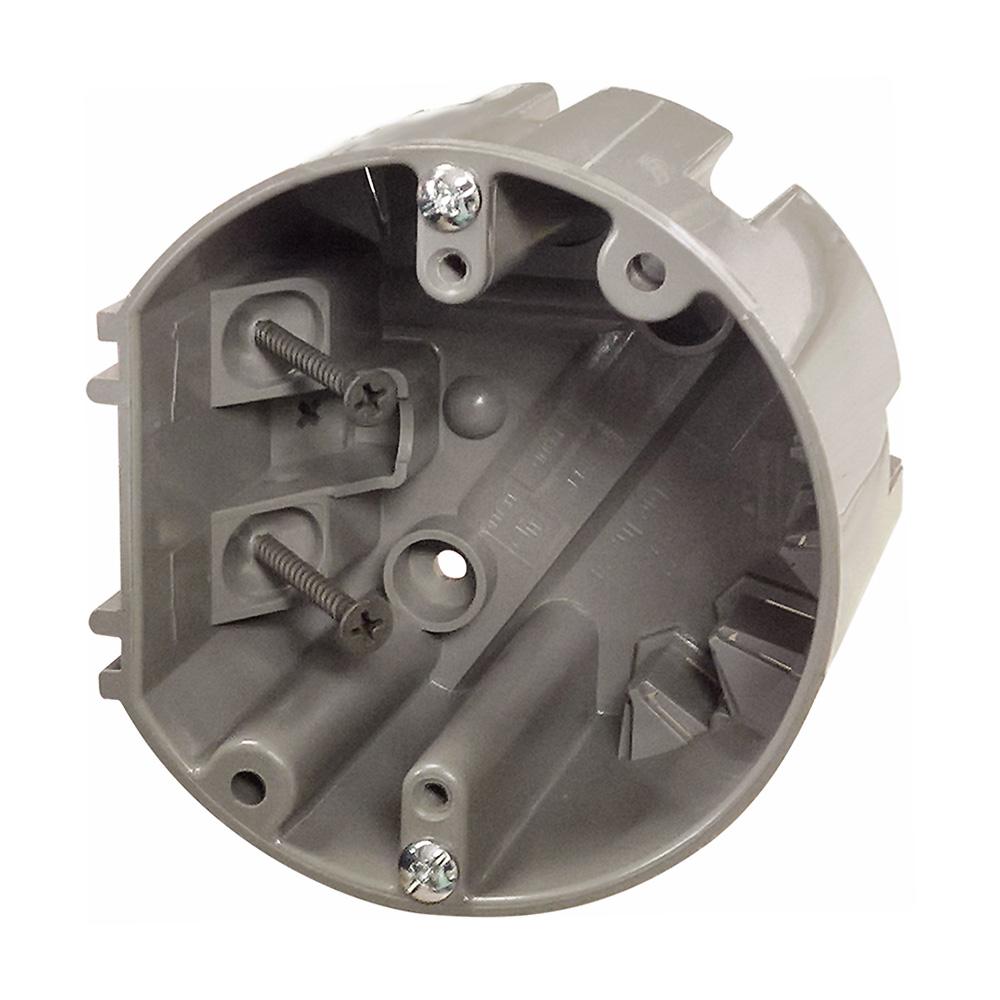
Unbox the new fixture, unwrap everything and organize its pieces and parts. Once you’ve determined that the electrical box can safely support the weight of the new fixture,* screw the threaded mounting stem into the new mounting bar, then adjust the chain and wiring to the desired height, using pliers as needed.
*NOTE: Any fixture weighing more than 50 lbs. will require extra support. This means the electrical box must be firmly secured to a ceiling joist or wood bracing, or you will need to install an adjustable support bracket (commonly used with ceiling fans).
Step 4: Connect the Wires
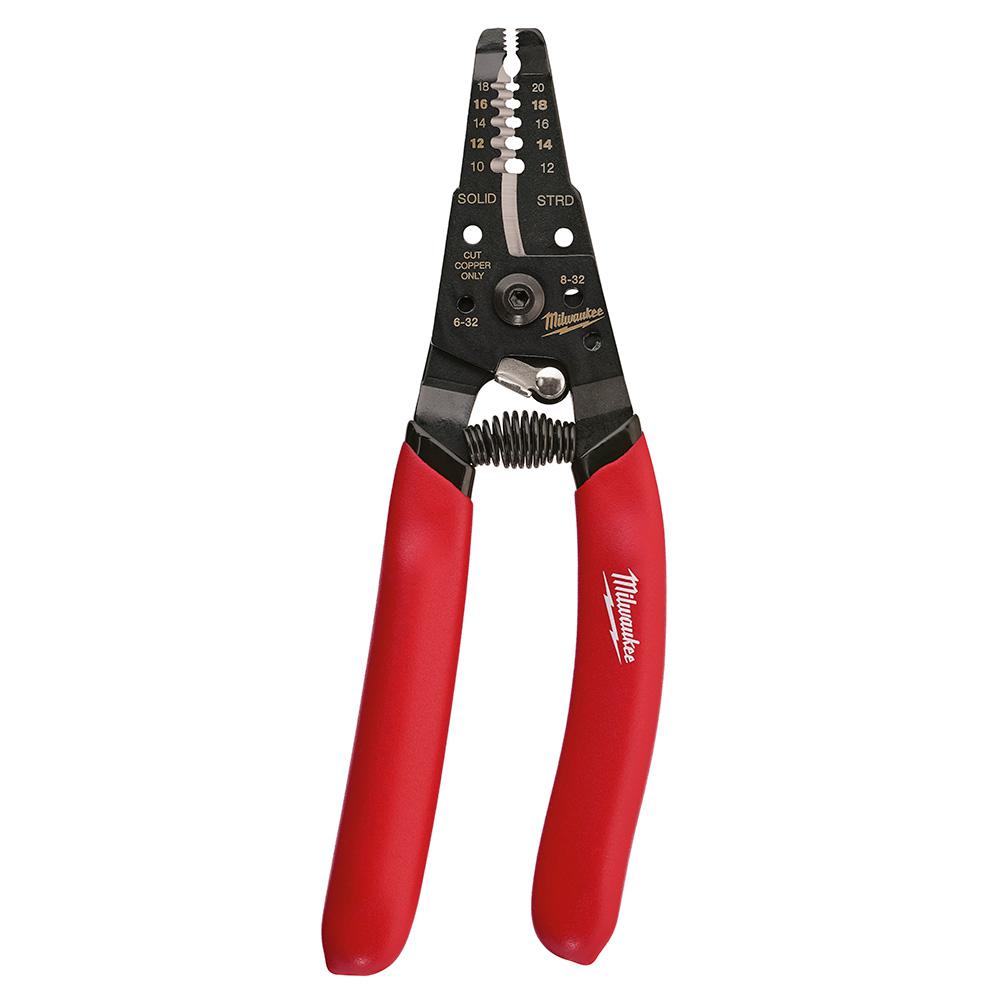
To connect the wiring, run it through the mounting stem and canopy. Use wire strippers to expose ¾-in. of wire. Then, connect white to white and black to black with the wire nuts supplied. Next, connect the copper ground wire to the grounding nut.
Step 5: Add Bulbs

Tuck the connected wires up into the electrical box and secure the new canopy plate in place. Add bulbs, turn on electricity…
and enjoy.
NOTE: Always reference your specific fixture’s installation instructions.
This post was created in partnership with The Home Depot. The author may have received compensation for this article and associated images or video, potentially in the form of products and/or services. All expressed opinions and experiences are the author’s own words.