Make Holiday Dreams Come True: Create a Life-Sized Gingerbread House

Last updated August 21, 2024

Kristen started her creative career as a local event planner. She loves to come up with things that no one else has seen or done. If you can think it, she can design it! You can learn more about her projects, as well as find DIY tutorials, and find creative inspiration for everyday on her blog- A Girl and Her Glitter.
A Note From The Home Depot
Tackle this holiday season in a big way with your very own oversized gingerbread house complete with dreamy, sugary accents! With supplies from the Home Depot, Kristen Johnson, creator of A Girl and Her Glitter, helps you create a one-of-a-kind masterpiece that is fun for the entire neighborhood to enjoy!
Table of Contents
How to Create a Life-Sized Gingerbread House
Step 1: Measure and Build Support Frame
Step 2: Create the Ginger Bread
Step 3: Weather Proofing
Step 4: Apply Spray Paint
Step 5: Pipe on the Frosting
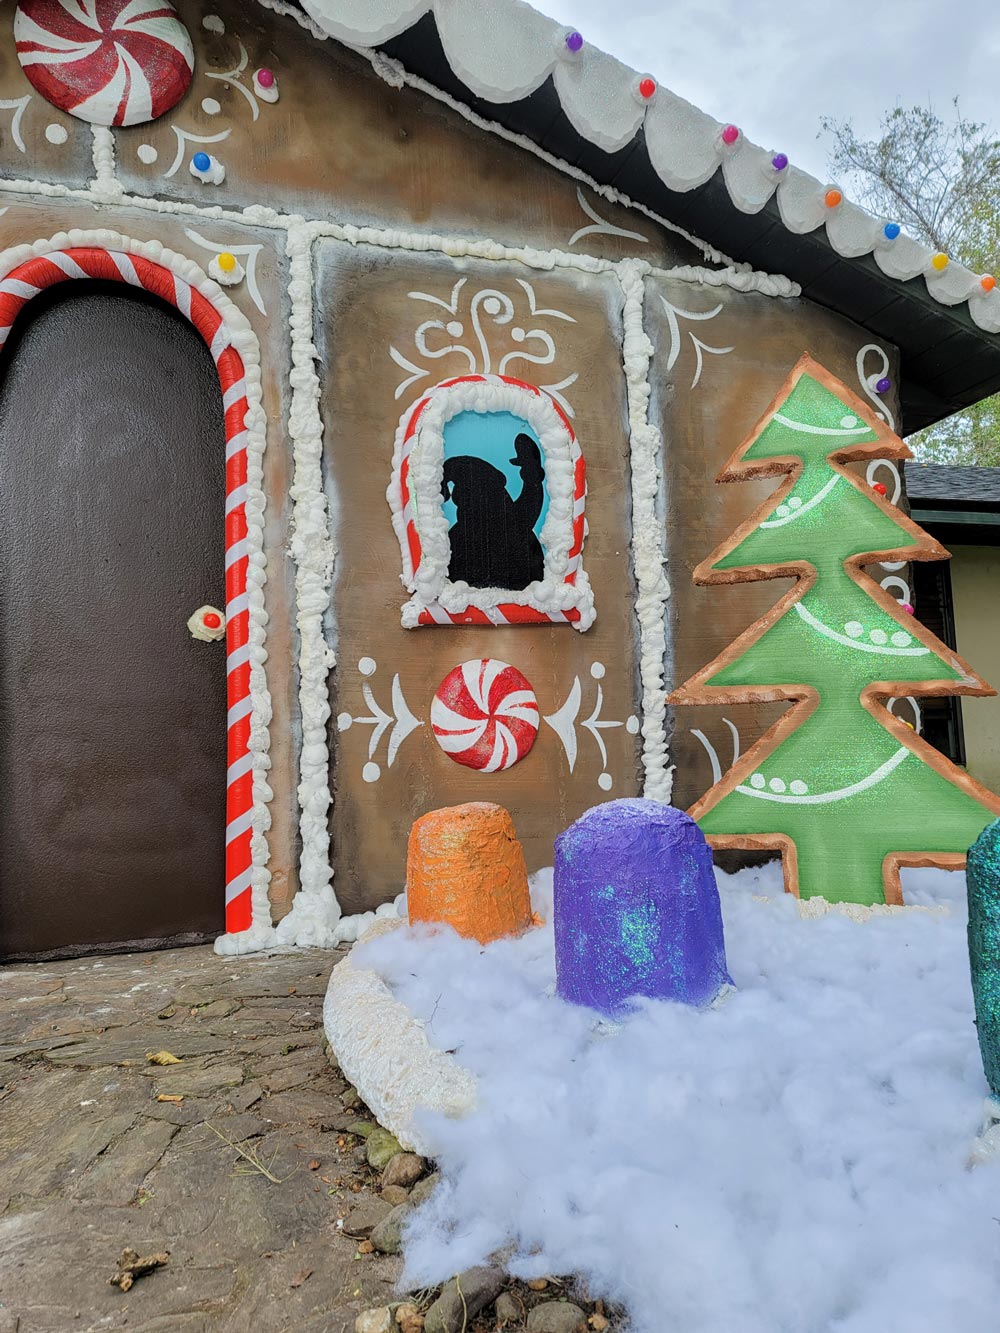
How to Create a Life-Sized Gingerbread House
The holidays are filled with so much fun and excitement with all of the lights, the crisp air and just being together to make this season bright. One of the best holiday traditions is making gingerbread houses and we love everything about them. This year, let’s make an epic life-sized gingerbread house for the entire neighborhood to enjoy! With The Home Depot, we can find everything we need to make our oversized sugary dreams come true!
Step 1: Measure and Build Support Frame
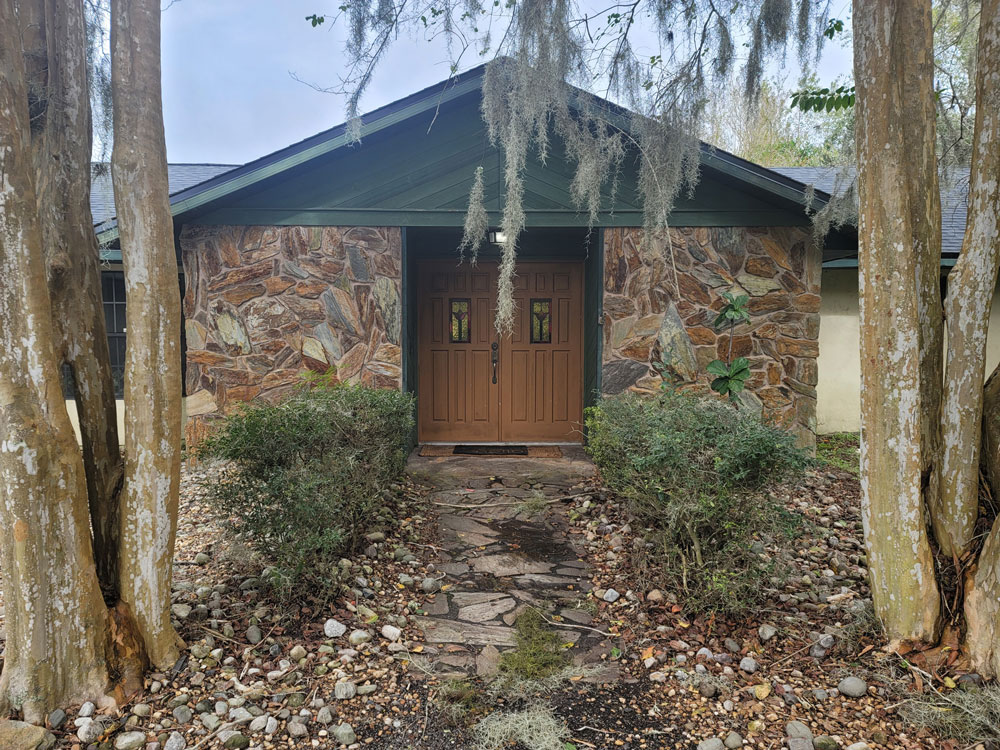
Our house was built in the 80’s and has multiple surface textures making a smooth gingerbread surface nearly impossible. With thoughtful planning and a well-prepared list for The Home Depot, the recipe was ready!
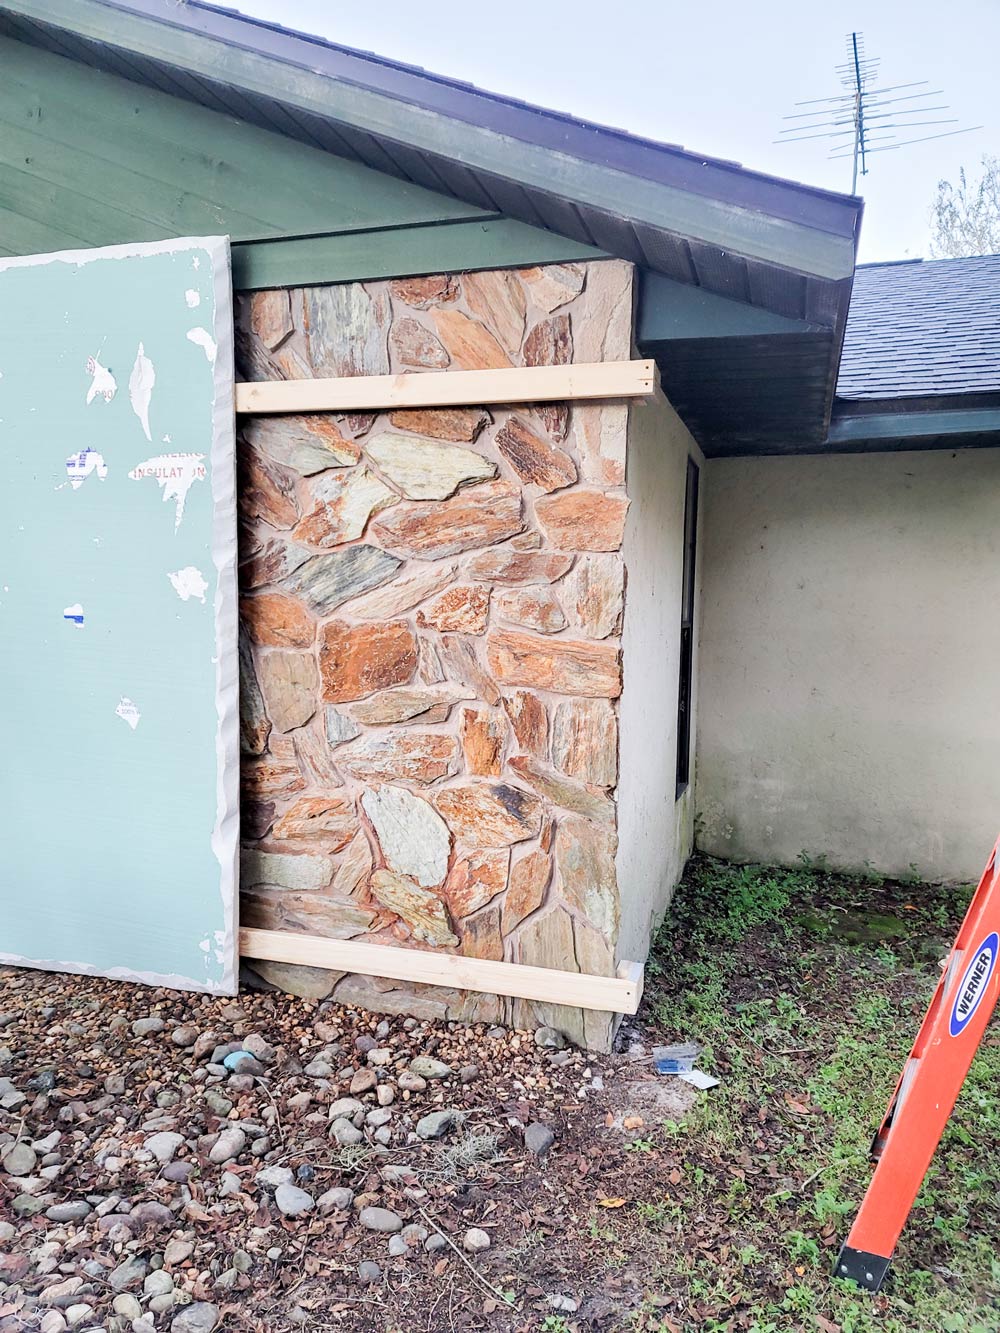
The very first project we need to tackle is the framing of the house to secure our insulation boards
into place. Using 2” X 4”s, we drilled the framing onto the side of the home and wrapped the wood to the front side. There’s nothing a little patch work won’t fix when we are ready to take it down. We secured a top horizontal beam and then a lower one as well.
Step 2: Create the Ginger Bread
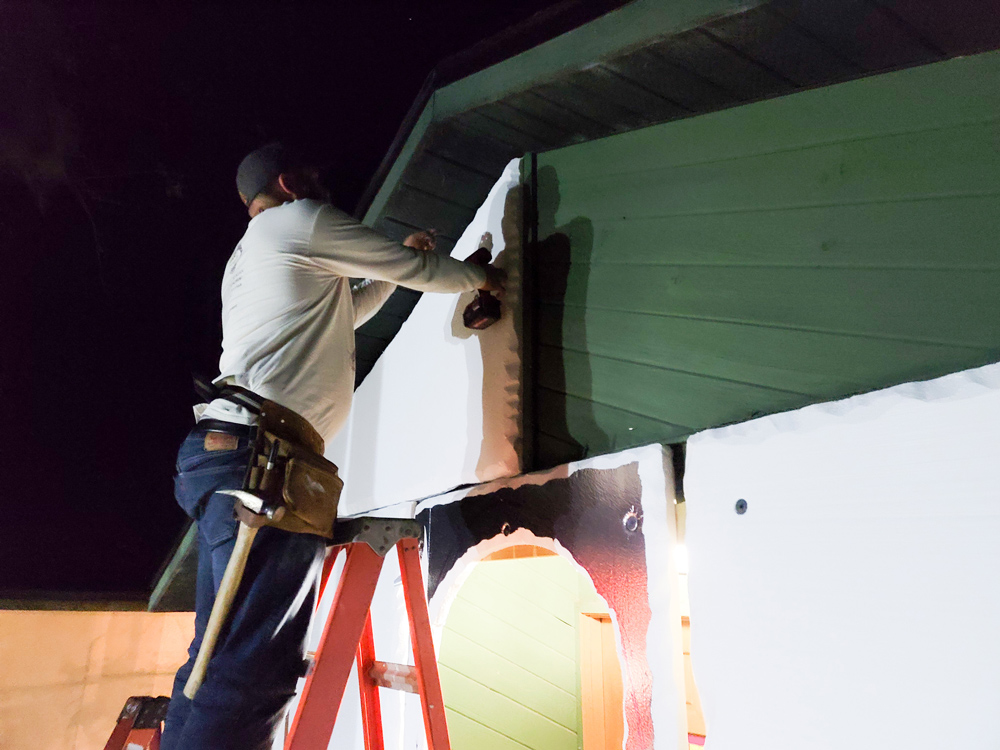
Using R-Tech insulation boards to create the oversized gingerbread panels, we screwed them into the wooden frame. Before installing the boards, the edges needed to be trimmed. To create a baked edge effect we cut away some excess insulation. The insulation boards are perfect for their size in these 4’X8’ sheets and their sturdiness. To make sure the screws stay in place, we added 1” and
¼ washers and drilled these into the wooden support frame.
Step 3: Weather Proofing
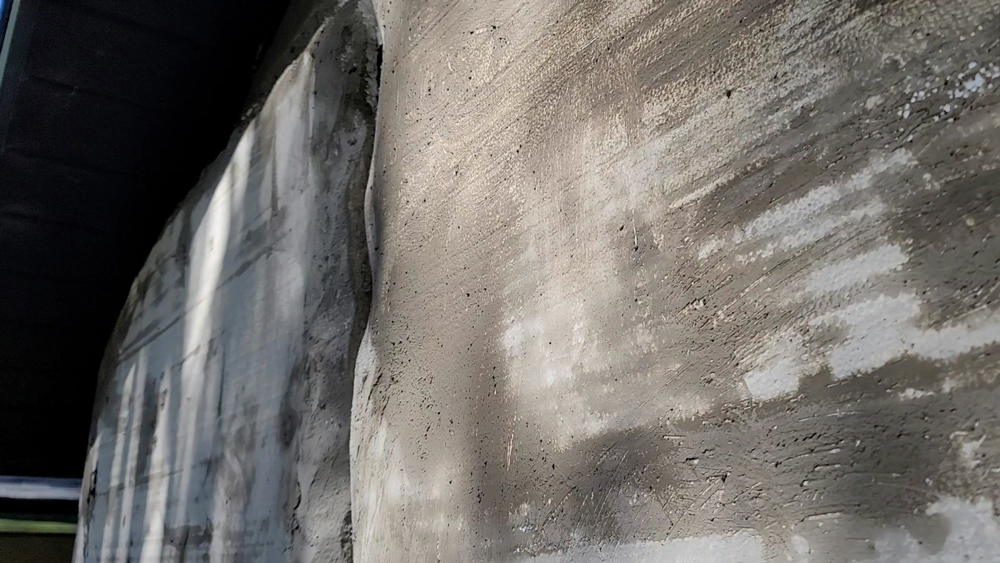
Now that the boards are up and secured, weather proofing was a must. Since this oversized gingerbread house is an outdoor display, it must be waterproof. Using a protective covering will seal in the foam and create a barrier from the weather.
Step 4: Apply Spray Paint
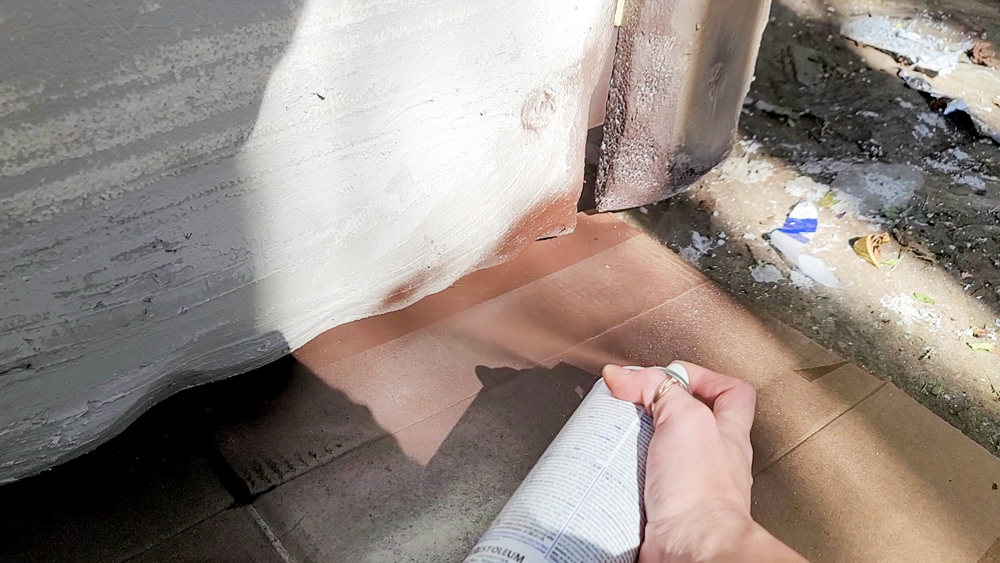
Painting the water proofed insulation board after it was secured was essential to covering the screws and washers. Once the washers and screws are covered, the mortar is applied and dried. You can use excess cardboard to protect your home and ground from overspray. To give the gingerbread dimension we applied the darker brown spray paint
to the edges and then moved toward the middle with lighter browns.
Step 5: Pipe on the Frosting
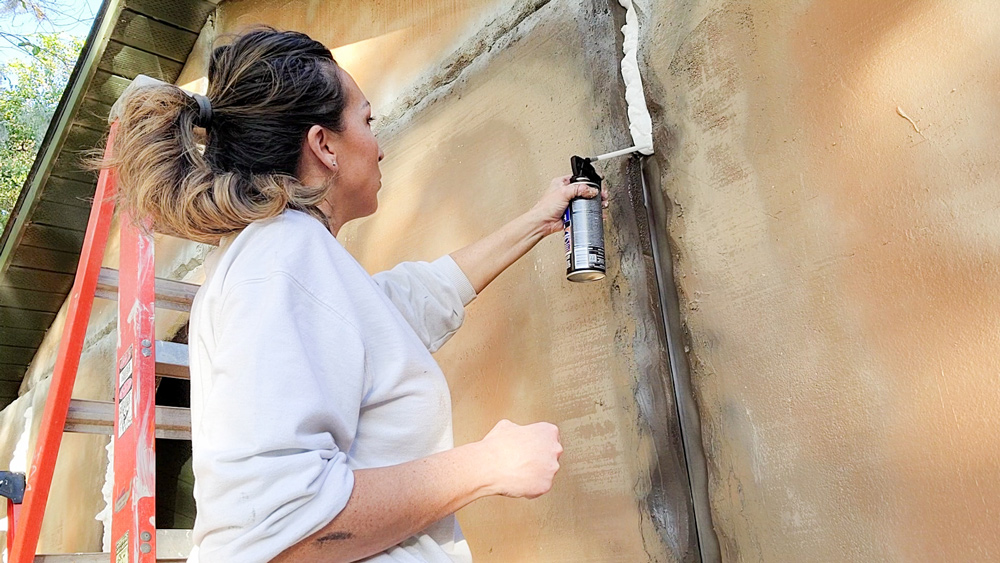
We used duct tape to line the creases of the boards to prevent the house from getting damaged from the faux frosting. Using Loctite spray foam, we filled these openings with frosting which really made the house come to life. You’re going to want an entire case if you are going this big - what’s a gingerbread house without an overflow of frosting?!
Step 6: Create the Delicious Details
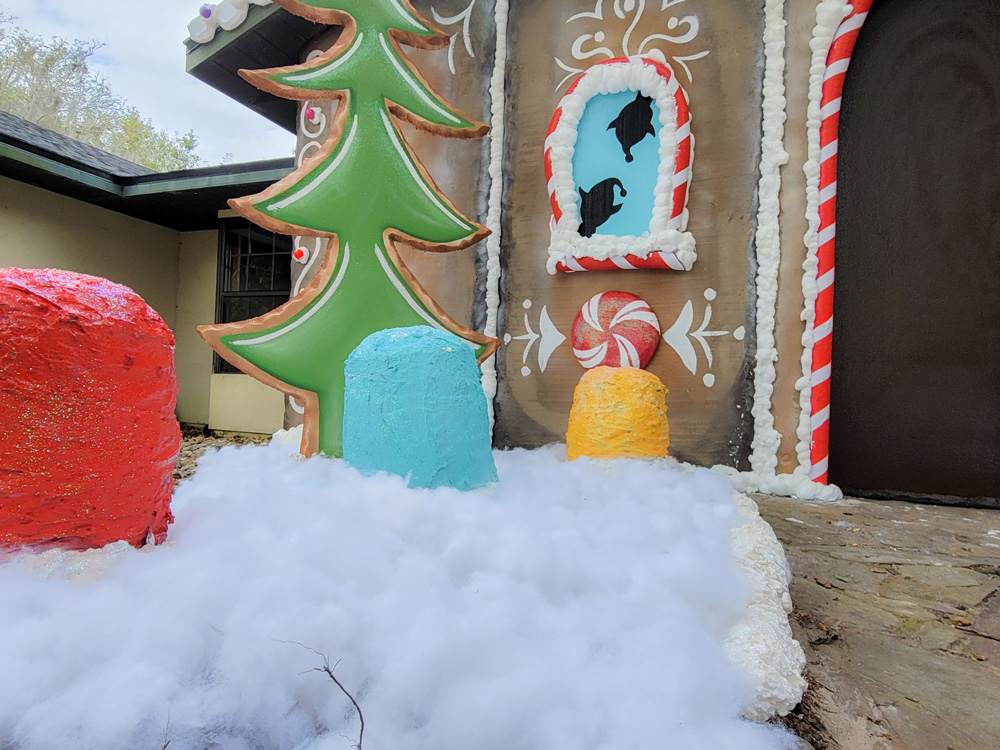
More details like iced cookies, giant sprinkles, peppermints, a candy cane door and window frames, and oversized gumdrops, really put this house over the top.

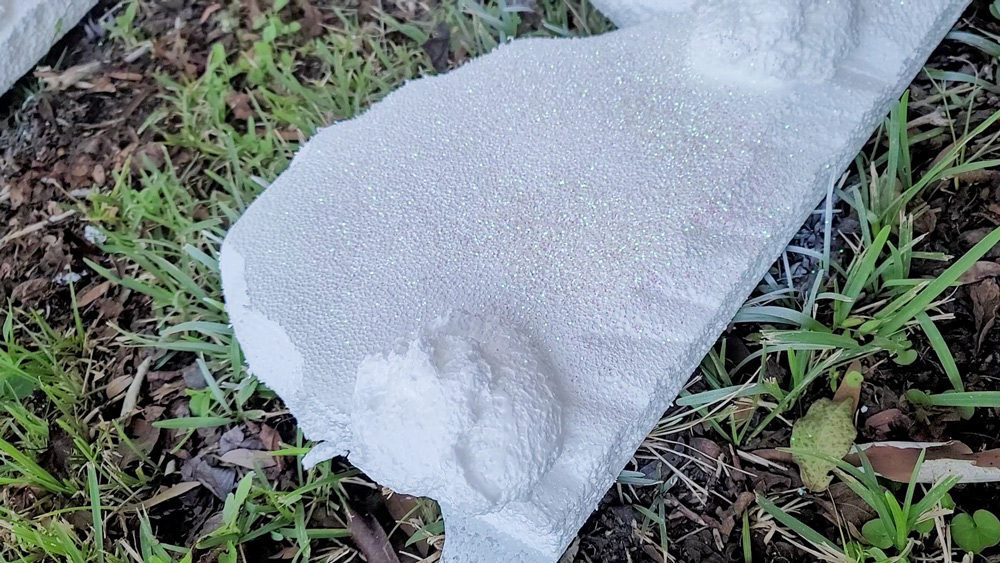
Using 5 gallon buckets, bubble wrap and some cotton-like stuffing, we taped the creases and also coated this in the mortar mix. Once the mortar mix is dry, pick your favorite spray paint
and apply paint. Top off the larger than life gumdrops with glitter
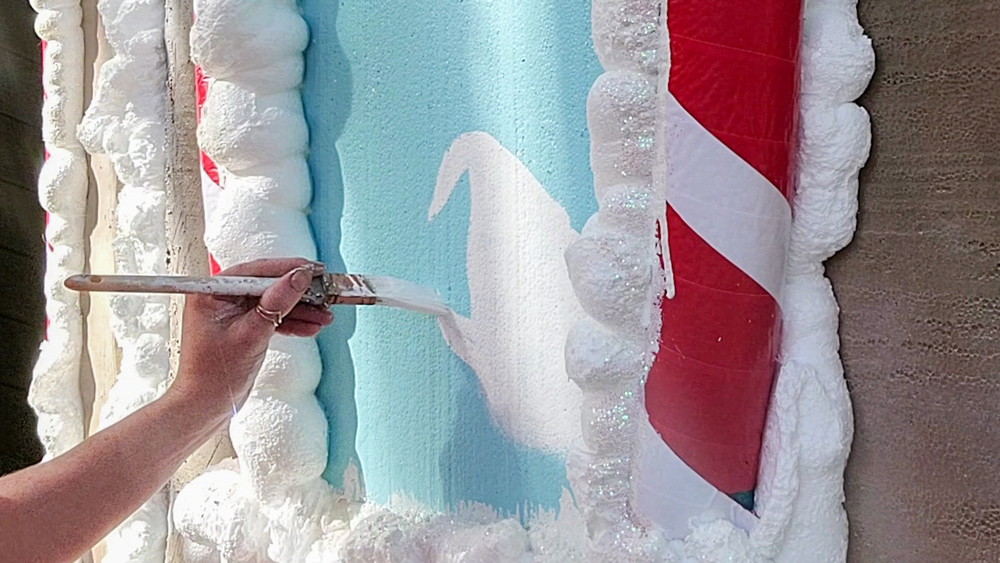
to make it pop. To make the set up look even more detailed, I hand painted the white icing directly onto the faux gingerbread and finished the painting with Santa and some elves. You could always use a stencil or sticker to create this effect if you would like.
Step 7: Style the Set

Simply style your larger than life gingerbread house to your liking and you’re done!
This holiday set up is sure to make all of your sweet holiday dreams come true.
This post was created in partnership with The Home Depot. The author may have received compensation for this article and associated images or video, potentially in the form of products and/or services. All expressed opinions and experiences are the author’s own words.


