Modern Bathroom Remodel With Floor to Ceiling Tile

Last updated August 21, 2024

Emily is happiest when she's creating. Whether it's watercolor paints with her boys, words on paper, styling a photoshoot, or yet another craft project. She loves to push the envelope and is fearless in style and in life. She lives for good music and books and has a drawer full of concert ticket stubs and a wall full of well-loved literature to prove it. She's a tender heart and whatever you go through, peaks or pits, she goes right along with you. Her favorite days are spent laughing with her family near the water: the ocean, lake or a neighborhood pool, she's not picky. This could explain her childhood dream of being a Marine Biologist/Pop Star.
A Note From The Home Depot
When Emily Frame of Small Fry Blog was ready to update her bathroom, she used floor-to-ceiling tile and bright white grout to visually expand the small space.
Emily shows us how the new tile and bathroom fixtures to create a new, modern bathroom, look.
Table of Contents
The Bathroom Before the Renovation
Laying the New Bathroom Floor
Tiling the Bathroom Walls
New Bathroom Fixtures

We moved into our fixer upper home nearly nine years ago, taking on one project at a time. The very first room in the house we renovated was our guest bath! Now so many years later, it was begging for an update! We decided on a modern bathroom renovation with the help of new grout and tiles.
I knew I wanted to do ceiling to floor tile, I had make the mistake with our first renovation having lots of horizontal lines which broke up the space and made it feel even smaller than before! Having that continuous line for your eye to follow creates the illusion that the space is that much bigger! Ready to see the transformation?
The Bathroom Before the Renovation

Above, you see the bathroom before the renovation. We had chair rails and lots of graphic color, but left all the hardware and fixtures from when it was built in 1998.
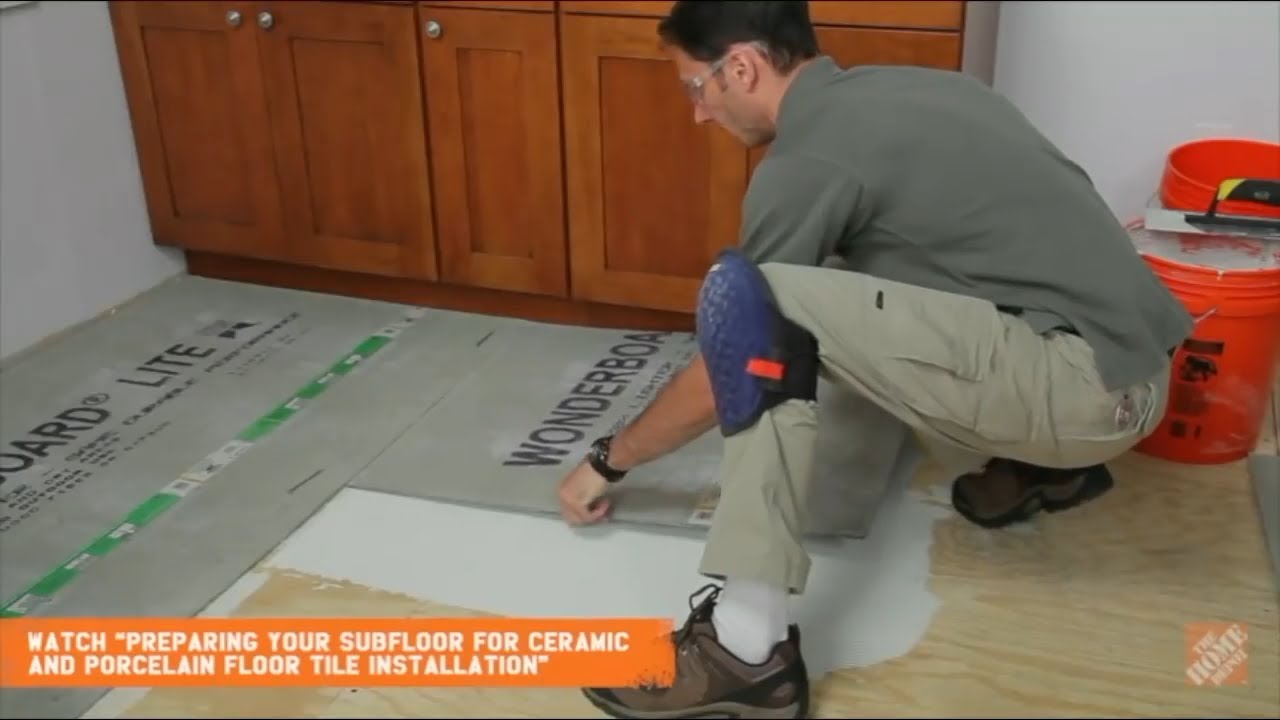
Laying the New Bathroom Floor

We ripped up the old tile, tore out the faux shower walls, took out the chair rails and started with a clean slate.
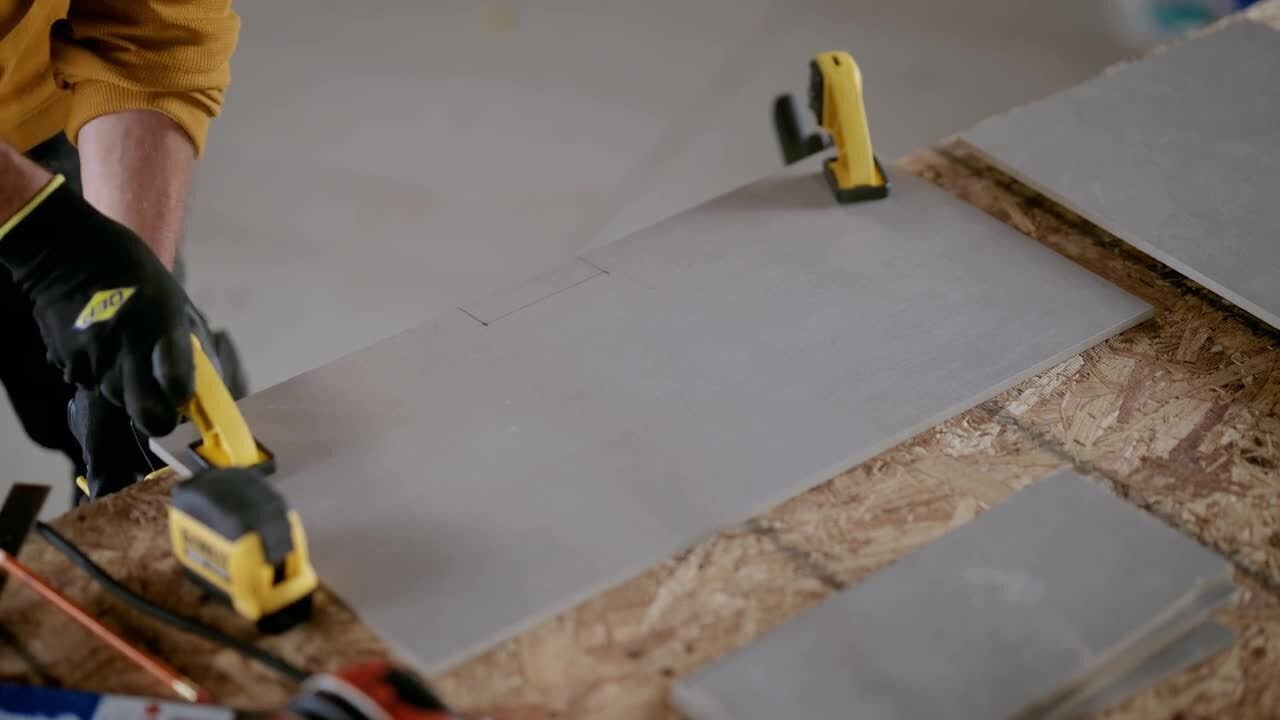
Once everything we didn’t need was out, we started with laying the floor tiles.
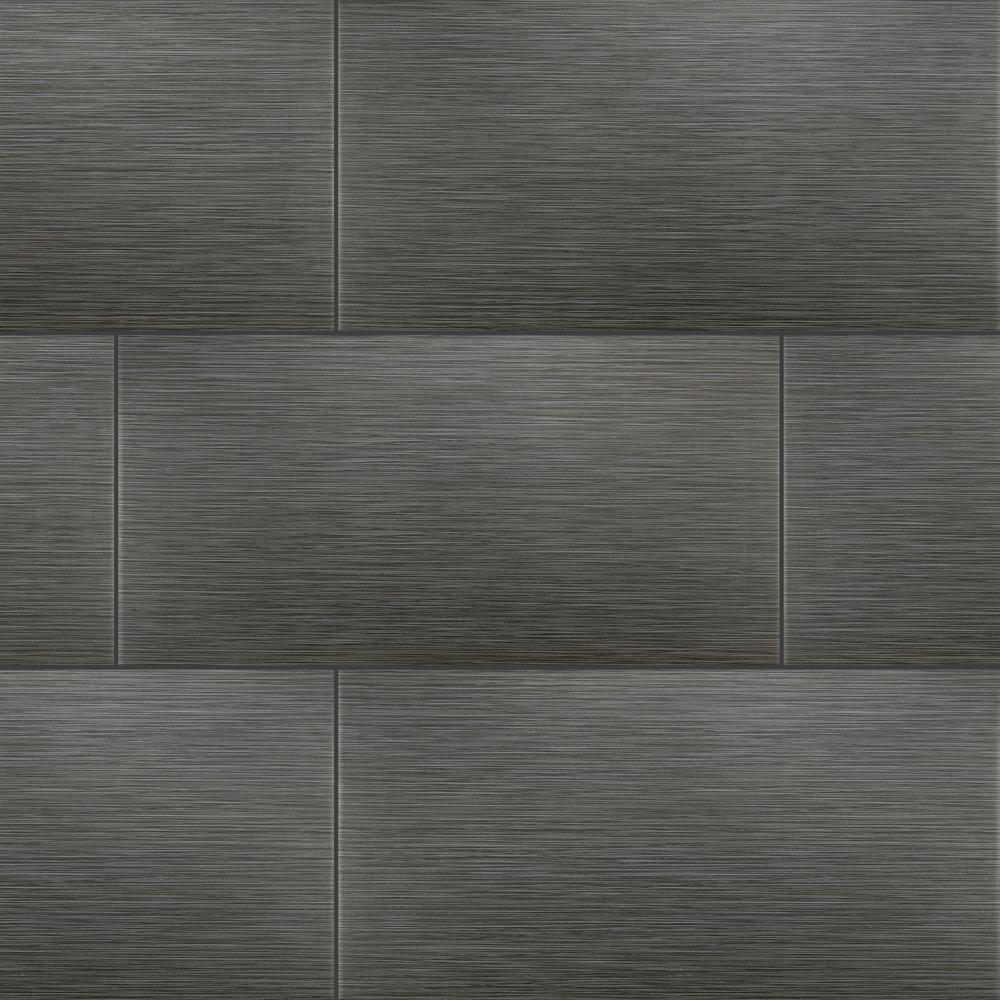
We loved these MSI Metro glazed porcelain tiles in Gris. It’s a rich gray with lighter lines through it, so it’s interesting, but not busy. We use these 1/16 inch spacers to keep everything uniform.
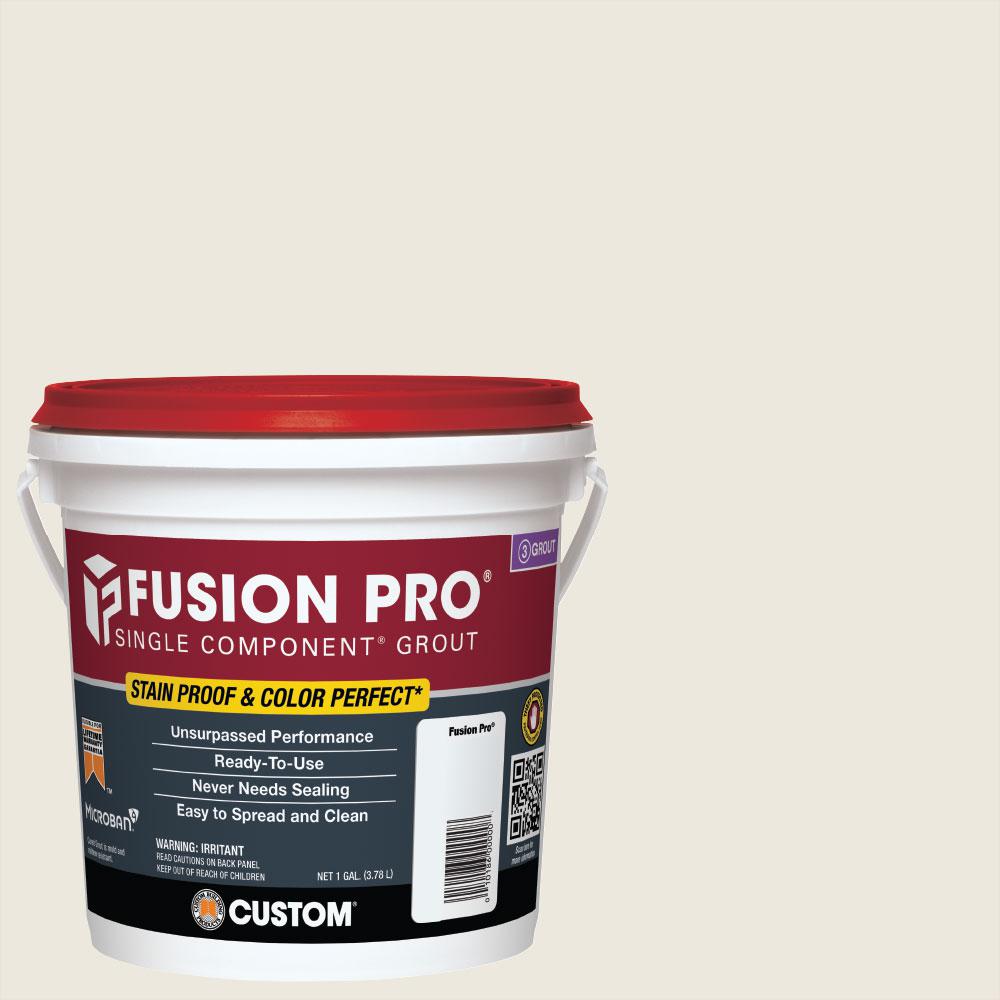
My husband is in construction, and we were both so impressed with this Fusion Pro Grout, which comes in dozens of colors. We chose Bright White grout for our bathroom remodel. Fusion Pro is pre-mixed and dries super quick, so our project moved so much quicker without the waiting time. It’s also stain-resistant and anti-microbial so it lasts and lasts without that dingy look grout can take on.

The tile floors were done in a matter of an hour or so. Then we moved right onto the big project: the walls!
Tiling the Bathroom Walls
Before we started we needed to waterproof since it will be in contact with water often.


Red Gard to the rescue! It seals and protects and has never let us down.

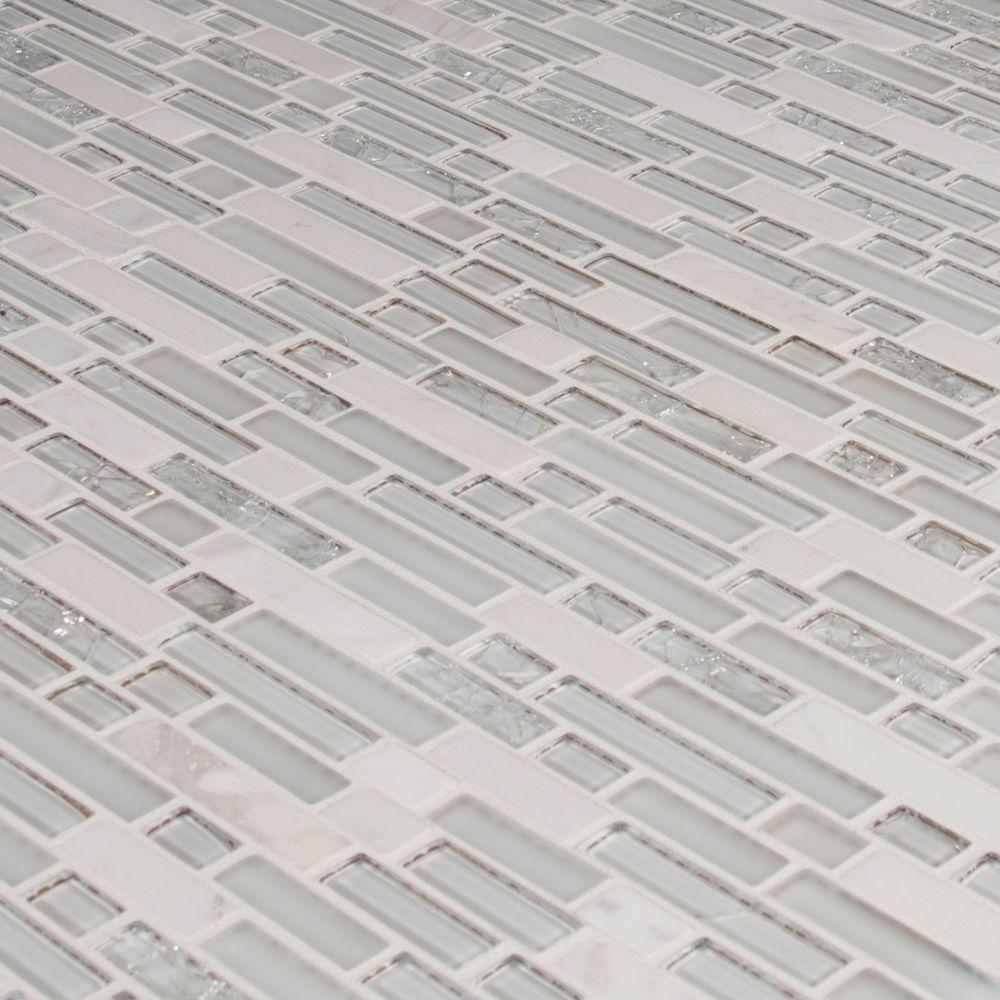
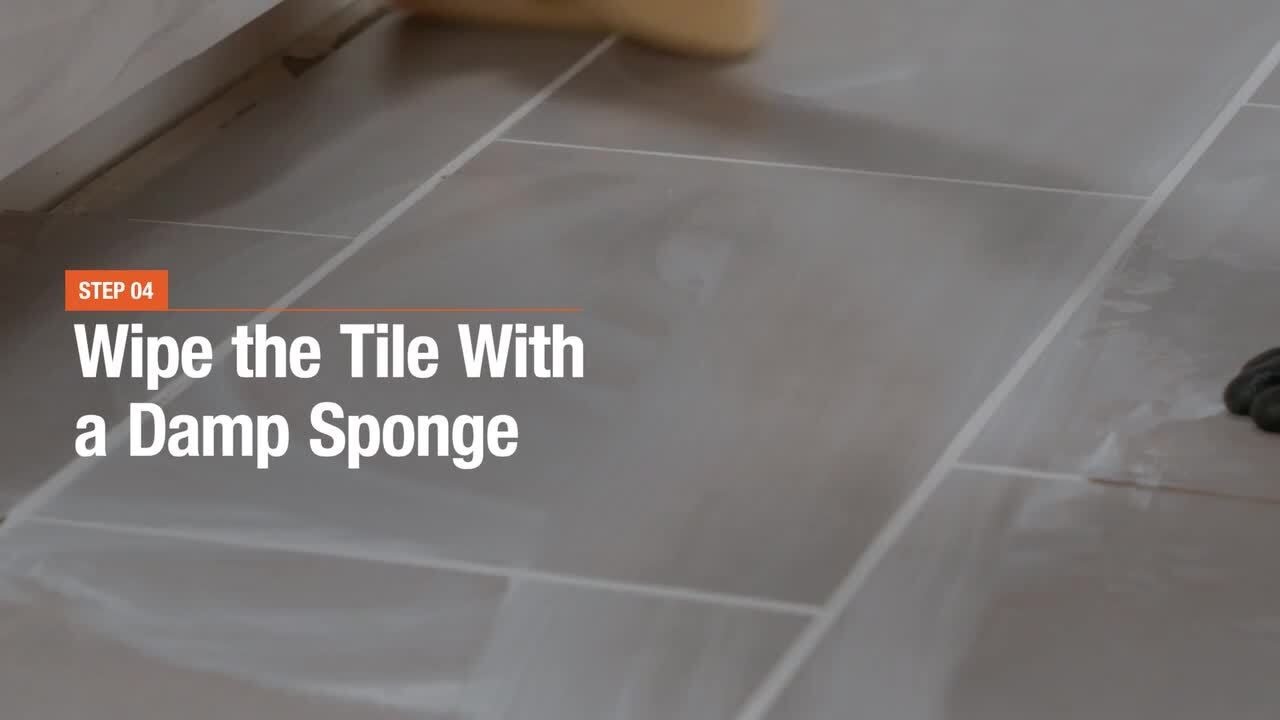
We love this beautiful Delano Blanco tile. It has a mixture of glass, stone, and different shades of white and gray. It comes on mesh sheets, which makes laying it that much easier.
We used Fusion Pro grout in Bright White and just as suspected makes the bathroom look huge!
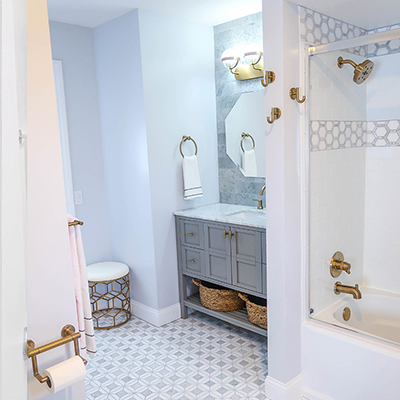
New Bathroom Fixtures

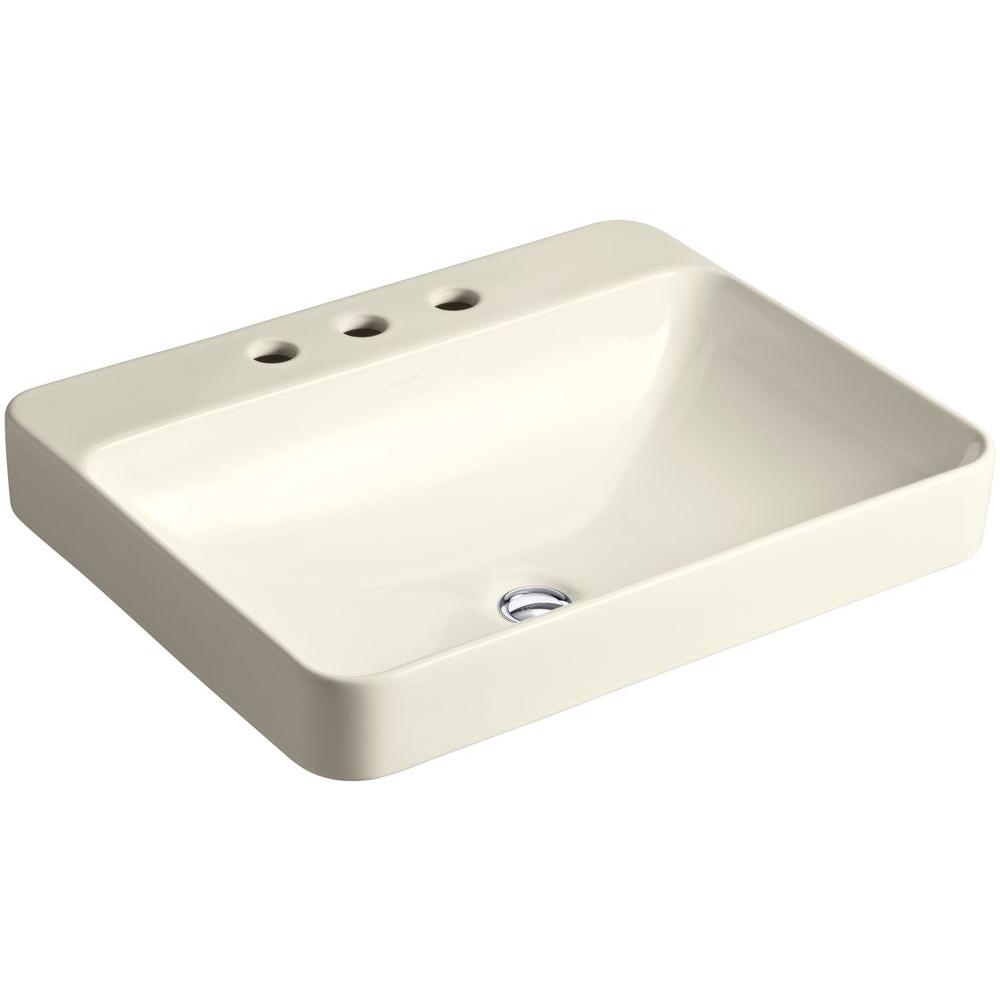
We created a custom wood vanity and set this Kohler Vox above-counter sink on top. There’s a matching shelf below for storage for things like extra towels and all the hair products my boys could need. We paired the sink with this Pfister Venturi faucet.

To keep things affordable, we opted to leave the tub, but update the fixtures with Pfister Venturi shower head and faucet, which match the sink faucet.
It’s amazing what that one upgrade did for the space!

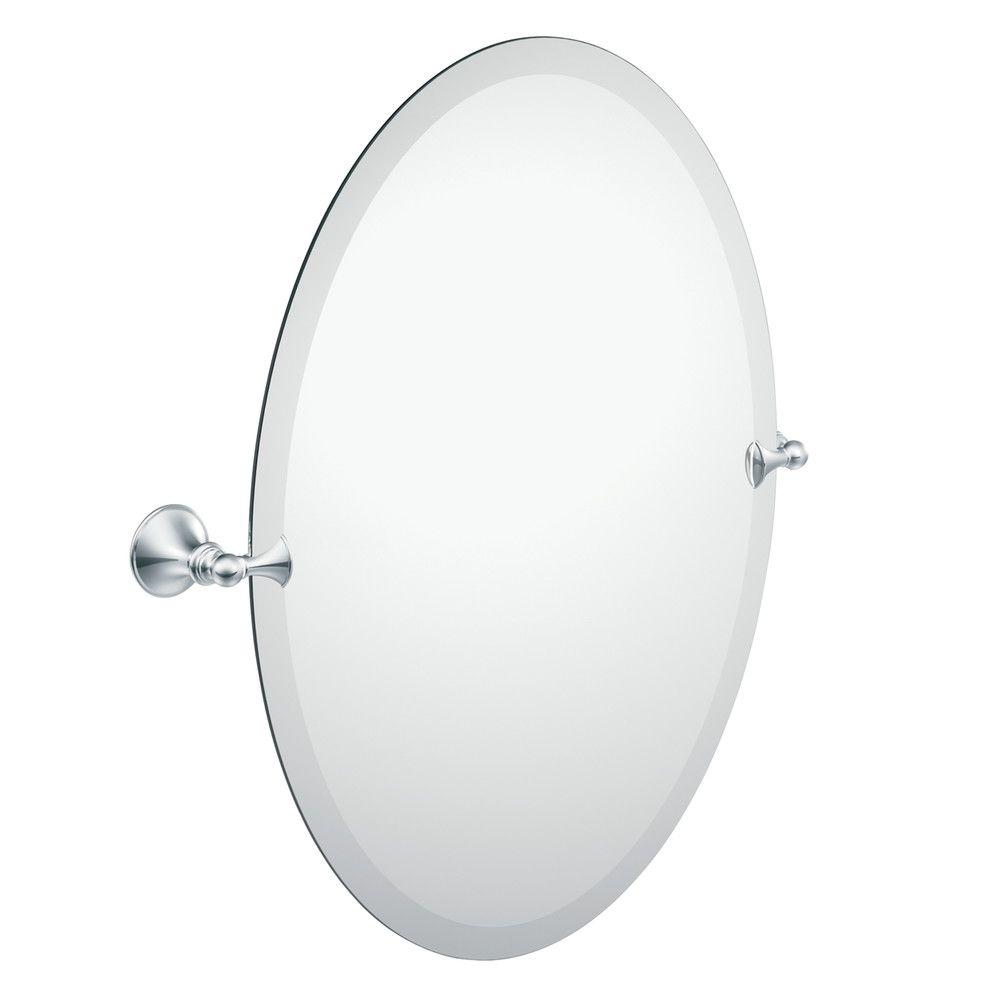
We loved the amount of light our old bathroom fixture gave us, so we just swapped it out for a four-light bathroom bar light in brushed nickel that looked much like the old fixture. Also wanted things to feel fresh so we used Edison-style bulbs! This Moen Glenshire Mirror is perfect for our family because it tilts, so we can accommodate even the shortest of members.


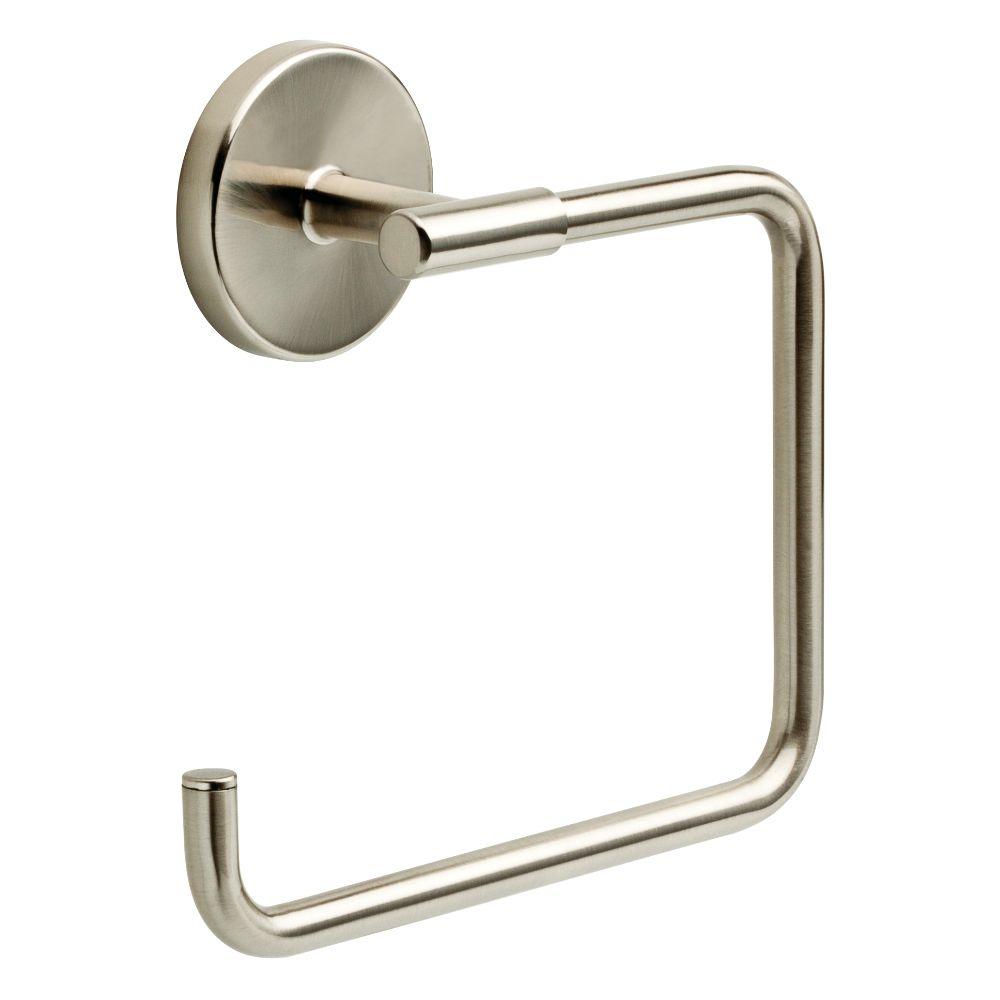
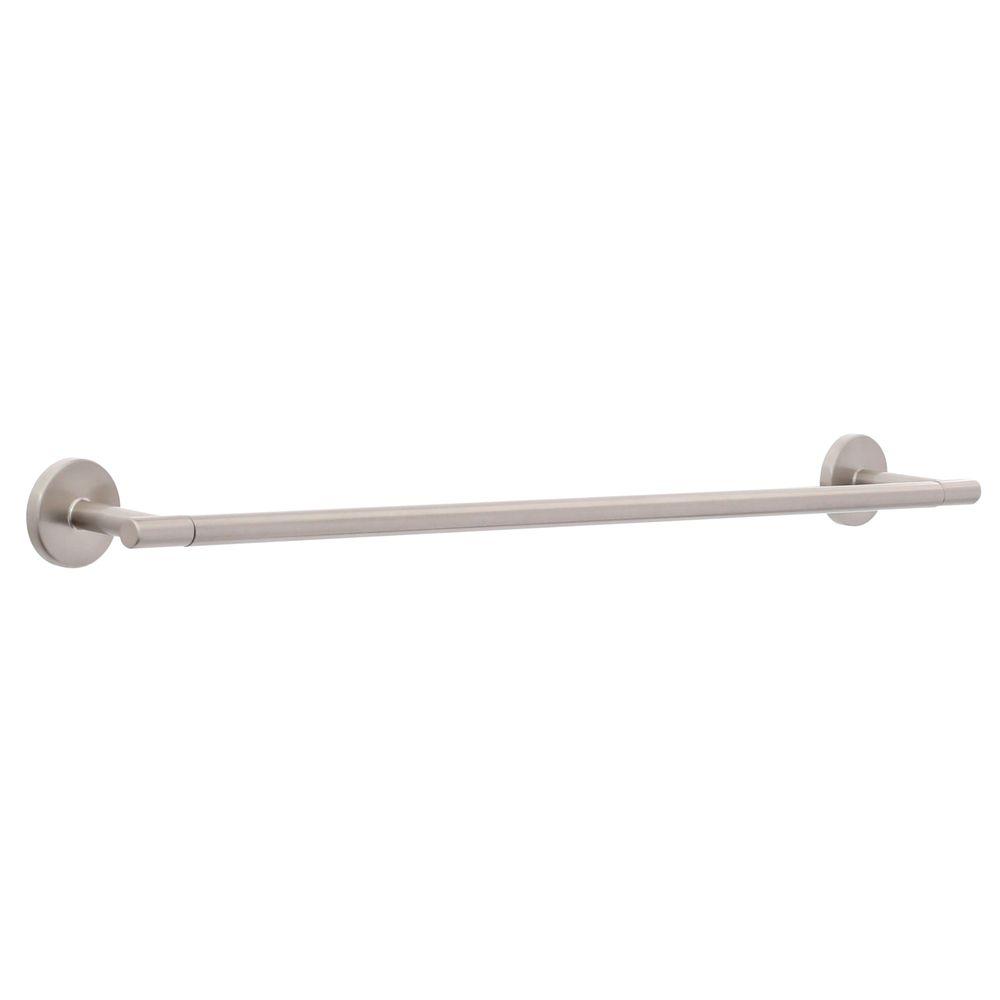
Lastly, we also upgraded our house’s original lighting and towel holders. Another super inexpensive way to make the bathroom look new and fresh. The Lyndall collection is our favorite, it’s so sleek and modern and minimal. We used the 24 in. towel bar, towel ring and toilet paper holder.
We love that the bathroom is really neutral so we can change up the accessories to add color, texture or pattern.
Stay connected with Emily’s upcoming projects on Small Fry Blog. Emily re-tiled her bathroom herself, but The Home Depot’s Home Services and Installation Department can do it for you.
Follow our Inspiring Tile pinboard on Pinterest for more ideas and tips for bathroom remodels.
This post was created in partnership with The Home Depot. The author may have received compensation for this article and associated images or video, potentially in the form of products and/or services. All expressed opinions and experiences are the author’s own words.