Modern Breakfast in Bed Tray From Copper Pipe

Last updated August 21, 2024

Your Southern Peach began in 2010 as a space for Amy to challenge her creativity, practice her writing and document her adventures in cooking and other domestic delights. After years of working in the corporate world, Amy wanted to embrace her time at home, learn new things and enjoy time with her family. YSP is a space for anyone and everyone.
A Note From The Home Depot
Adding copper pipe legs can turn a simple wooden tray into a lovely and functional breakfast in bed tray. This simple pipe project comes to us from the very creative Amy Mikkelsen of Your Southern Peach.
It’s part of our series, DIY Challenge: Pipe. We asked Amy and several other ingenious crafters and bloggers to come up with ingenious DIY projects that use pipe as an ingredient. It could be just about any kind of pipe: galvanized pipe, PVC pipe or, as in this case, copper pipe.
Amy takes this copper pipe project a step further, making it super elegant by gilding the pipe with copper leaf to make it extra shiny. It looks terrific.
Follow the step-by-step instructions to create your own version of this breakfast in bed tray.
Table of Contents
Breakfast in Bed Tray Tutorial
Step 1: Prime & Paint
Step 2: Cut Pipe
Step 3: Assemble
Step 4: Mark Holes
Step 5: Secure Legs
Breakfast in Bed Tray Tutorial
I’m due with my third son in just a few short weeks! I know there won’t be a lot of down time to recover with two other little ones running around, but I put together this gorgeous copper pipe breakfast in bed tray in hopes that I might get breakfast in bed a few times after I return home from the hospital. This tray can also function as additional space on the nightstand to hold baby essentials for the first few weeks when the baby is sleeping in my bedroom.

Step 1: Prime & Paint
Begin by priming and painting your wooden tray of choice. I painted mine white for the contrast with the copper.
Step 2: Cut Pipe
After measuring the width and depth of your tray, cut copper pipe pieces accordingly with a pipe cutter. For my tray, I cut four pieces at 10¼-in. long (for the vertical legs) and 2 pieces at 15½-in. (for the horizontal legs.)
Step 3: Assemble
Using the copper elbows, assemble the tray legs in a U shape. Then attach copper tube caps to bare end of pipes.

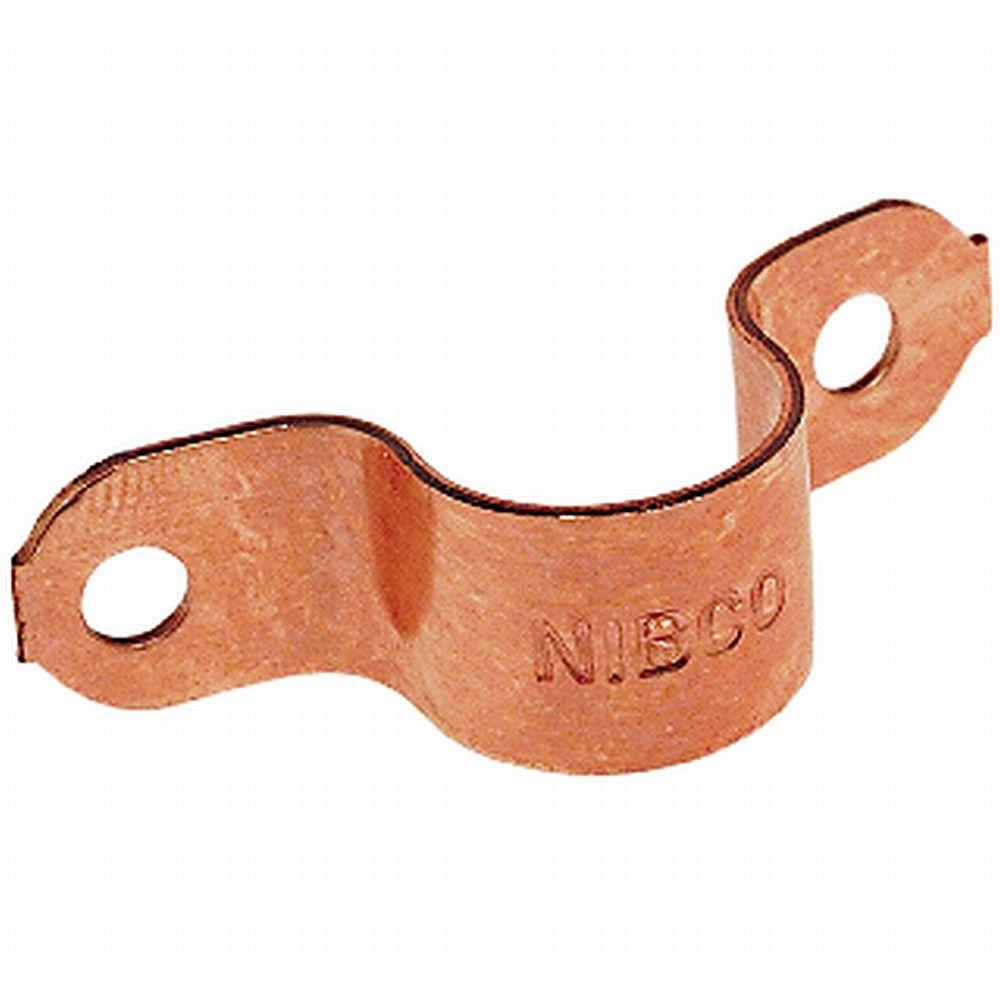
Step 4: Mark Holes
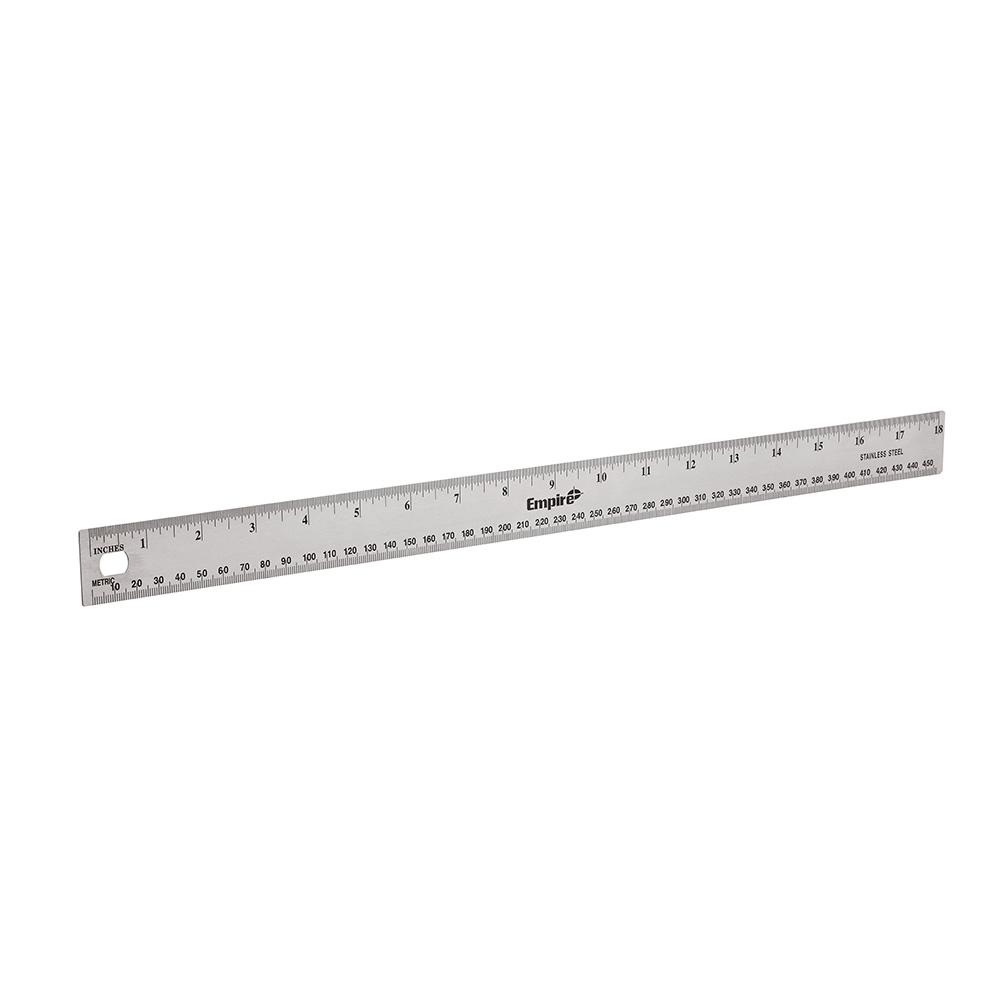
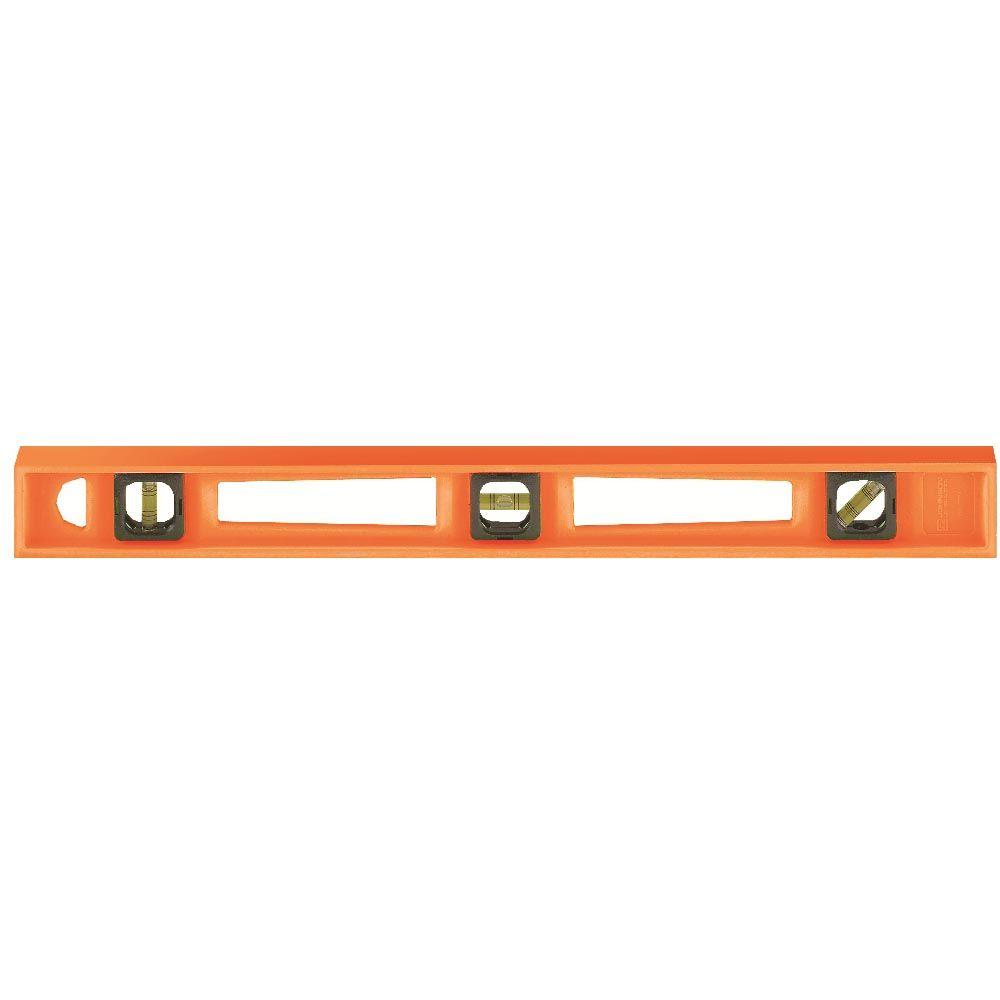
Using a ruler and level, mark where you want to secure your tube straps. Be sure your holes are low enough so that the pipes rest flush with (or below) the top of your wood breakfast tray.

Step 5: Secure Legs
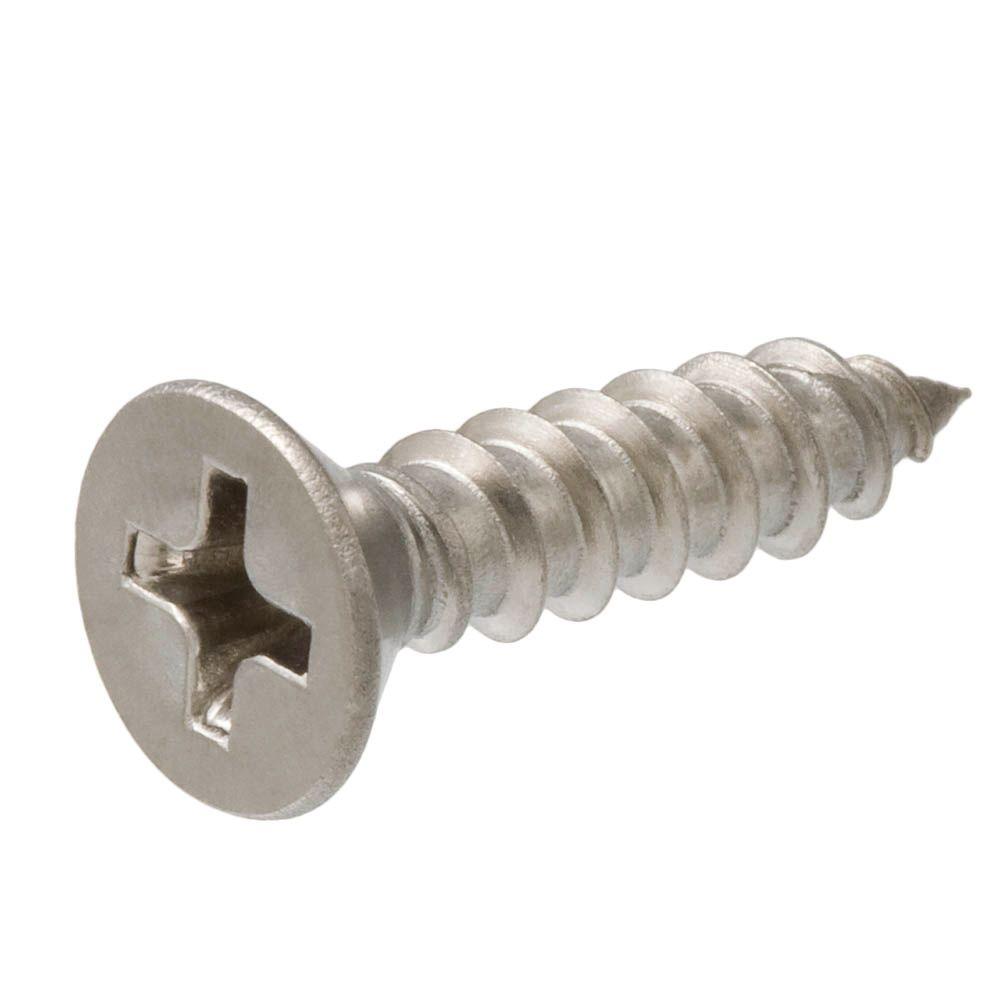
Secure the legs to your breakfast tray with screws and tube straps, being careful not to drill through your tray!

Step 6: Add Copper Leaf
Despite the copper having a lot of natural beauty, I chose to add copper leaf to my tray legs because of the red printing on the pipes.
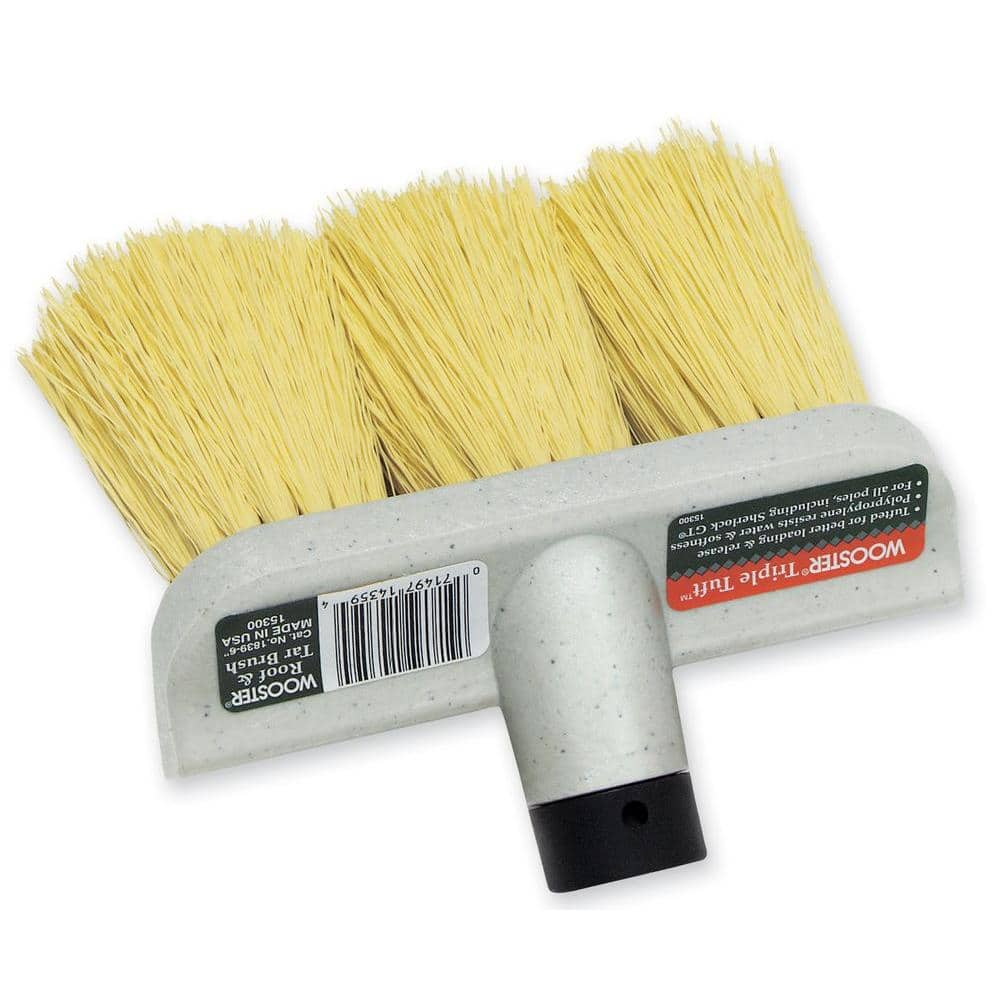
The easiest way to do this is by turning the tray upside down. Then apply gilding glue according to the directions and patiently add copper leafing to your pipes. Once this is dry, you can brush away loose flakes, which I recommend doing outdoors to minimize mess.

Step 7: Copper Hobby Wire
Finally, if the design of your breakfast tray allows, add copper hobby wire, carefully twisting it around the handles of your tray until desired look is achieved.


This breakfast in bed tray can be used in so many ways like displaying small house plants, holding office supplies and organizing crafting tools. For now, (fingers crossed) this tray will serve me breakfast in bed. And don’t forget that on Mother’s Day!
Amy Mikkelsen is an Atlanta native and genuine Georgia peach. She’s the creative mind behind the southern lifestyle blog Your Southern Peach, where she shares recipes, entertaining tips and other domestic delights. She’s the mom of two young gents with a third one on the way! She’s also an avid yogi and gardener.
Follow our Projects Using Pipe board on Pinterest for more fun projects using copper pipe.
Browse your nearest Home Depot store or our online Plumbing Department for supplies for your next DIY project using pipe.
This post was created in partnership with The Home Depot. The author may have received compensation for this article and associated images or video, potentially in the form of products and/or services. All expressed opinions and experiences are the author’s own words.