Moody Guest Bedroom Makeover with Wallpaper

Last updated August 21, 2024

Kayla is an Interior Designer and Fearless DIYer. She is passionate about leaving spaces better than she found them. She absolutely believes a happy home that reflects you, and offers a sense of peace + security isn't a luxury, it's a necessity. That's exactly why she shares on Home DIYary. (Diary) It's her ultimate passion to share her design knowledge and DIY skills to equip her community with the tools, inspiration and confidence to create their own DIYary.
A Note From The Home Depot
Transforming a guest bedroom is easier than you think. Kayla Nelson shows us how she makes her guest bedroom moody with the help of some wallpaper and a DIY nightstand.
Table of Contents
Moody Guest Bedroom Makeover with Wallpaper
Installing the Wallpaper
DIY Side Table
Cut List
Materials
Step 1
Moody Guest Bedroom Makeover with Wallpaper

Today we are transforming my guest bedroom into this beauty with the help of wallpaper.
A design trend that I am really enjoying right now is dressing the ceiling and incorporating it into your design. You can do that by painting it or applying patterned wallpaper. Both are fun options. Like any design choice, it’s an added layer to express yourself and show off your style. Today we are installing peel and stick wallpaper onto the ceiling. It totally transformed the feel of the space.
This small room was the perfect opportunity for me to get my feet wet. To achieve the moody vibe, I decided to wrap the entire room in the same color. The distressed wallpaper is so fun in this application because from the hallway it looks like the wall color is carried onto the ceiling. It isn't until you're in the room that you’re able to see the dimensions and added interest of the wallpaper.
Installing the Wallpaper
Let’s get into the install process. Wallpapering the ceiling is no easy feat and if you’re going to DIY, grab a buddy to lend you an extra set of hands. Make sure to select wallpaper with a design that is very forgiving and doesn’t have a prominent repeated design. It’s much easier to align the panels that way. I used The Home Depot wallpaper calculator to ensure I ordered enough material to cover the surface the first time.
First, I measured the width of my room and the width of my panels so I knew how many rows of wallpaper I would need to install. If you choose a wallpaper with a prominent design, you’ll want to center the pattern, so you should also center your grid.

Then, translate those measurements onto the ceiling. My walls aren’t square so I allocated an extra inch to my first guideline to ensure the wallpaper would be installed straight.
Using a laser level, I mapped out and created the guidelines for the wallpaper install.

Working left to right I applied the first panel along the plumb line that I created. Not the wall. Walls are rarely square and the last thing you want is crooked wallpaper.

Now we’re ready to install the wallpaper! Make sure to follow the directions the supplier provides.
DIY Side Table

I had one more project in mind for this room, a side table. I needed a side table/nightstand on the opposite side of the bed to balance out the dresser. However, the space is only 19 in. It felt like a fun opportunity to introduce a structural element with a pattern, so let’s make something!
Cut List
3/4-in. Plywood
- (2) 15 in. x 18 3/4 in. for the top and bottom pieces
- (2) 18 in. x 27 in. for the left and right panels
- (2) 15 in. x 27 in. for the front and back pieces
Materials
- Plywood
- Kreg Pocket Hole Jig
- Pocket Hole Screws
- Nail Gun
- Nails
- Wood Glue
- Wood Filler
- Sandpaper
- Primer
Step 1

After you have all your pieces cut, the first step is to create pocket holes along the top of the left and right panel.
Step 2
Lay the top piece down and secure the two side panels with wood glue and pocket hole screws.
Step 3
For the front and back pieces, apply a layer of wood glue to the perimeter of the cube and use your nail gun to tack your plywood down.
Step 4

You built the structure! Now onto the finishing touches. Grab the wood filler and apply it to the unfinished plywood edges that are visible. You may need two coats of wood filler. If so, sand in between each coat.
Step 5
Prime! I used Zinsser 123 Primer to prime the entire cube and seal all the knots in the wood.
Step 6

At this point you can finish the cube pedestal with whatever pattern/material best fits your design style. For this bedroom, I was inspired by a classic bone inlay design. To DIY the style, I used painter’s tape, BEHR Broadway and BEHR Confident White. Here is the finished look!
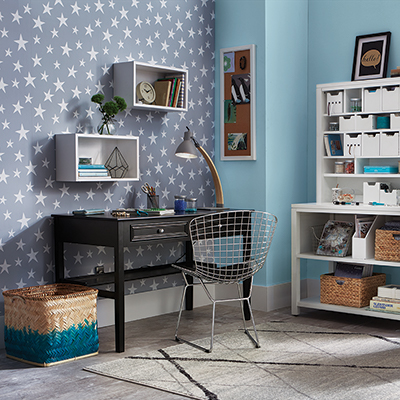
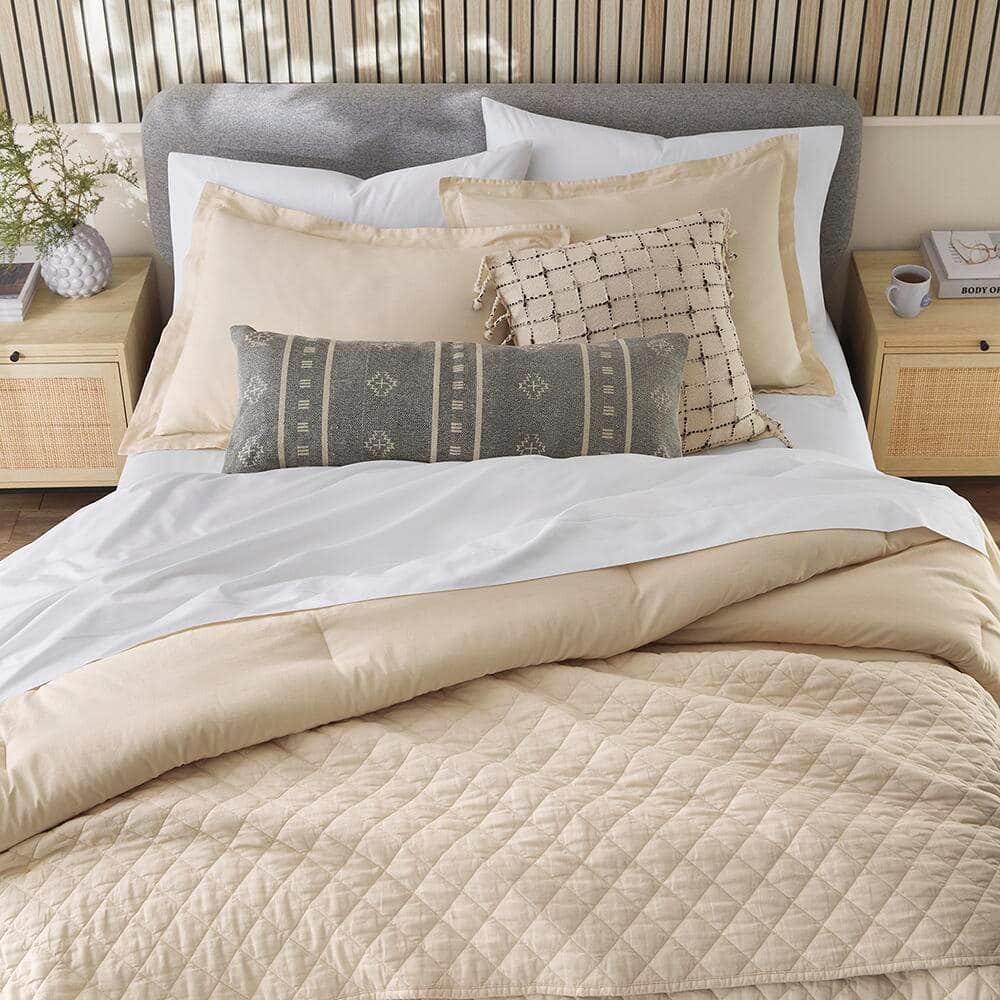
Furnishing the Space

Once the ceiling and side table were complete, I headed to homedepot.com to select a few furnishings and accessories. I completed the moody vibe with an arched full length mirror, striped bedding, a Moroccan-inspired area rug and more.
Would you incorporate the ceiling into your design? You can always start small like I did here. I think a powder room is a great space to flex your creative muscles! It’s a fun element that’s unexpected.
This post was created in partnership with The Home Depot. The author may have received compensation for this article and associated images or video, potentially in the form of products and/or services. All expressed opinions and experiences are the author’s own words.