One Week Bathroom Makeover with The Home Depot

Last updated August 21, 2024

Danielle Pierce is a wife and mother who lives in Alpharetta, GA. She is a lifestyle content creator who has a passion for all things DIY, travel and food. Her home projects focus on simple & affordable renovations that make a big difference. You can learn more about what she has coming and enjoy her comedic Reels on her Instagram **@daniellepiercee****.**
A Note From The Home Depot
As a homeowner, there are always projects that you want to take on to improve your living space. Danielle Pierce was in the middle of planning and executing a refresh on her bathroom space, and in the middle of the project had to sell her family home to relocate! Read below to see how she was able to makeover her bathroom in a time crunch with the help of The Home Depot.
Table of Contents
One Week Bathroom Remodel with The Home Depot
Step 1: Applying Paint
Step 2: Peel and Stick Wallpaper
Step 3: Refresh the Vanity
Step 4: Replace the Lighting and Mirror
Step 5: Board & Batten Wall
One Week Bathroom Remodel with The Home Depot

Would you believe me if I told you I got this beautiful bathroom completely renovated in under five days and... wait for it... now we have to move?! Would you also believe me if I told you this is our fourth move in... wait for it... THREE YEARS?! No, we are not a military family, but it sure does feel like we should be by this point. You’re probably wondering, "Why do you move so much?" The answer is simple; it’s because of my husband's being so good at his job that they won’t stop promoting him. I was kind of joking, but not really. When my husband receives a promotion, it typically requires a move to a different territory, which is typically in various states and has bigger titles, more responsibilities, and all that big corp lingo. So in the past 10 years, my husband has been working with his company, we have moved from FL to SC, TN, LA, NC, and now on to GA. At some point, I know we will eventually settle down in one spot, but I honestly love it and we are taking it on as a family the best way we know how. Now back to focusing on what you really care about—this STUNNING bathroom.
When it came to the space of this guest bathroom, I knew I wanted something a little more dramatic and romantic than what I was used to. I was going for a "casual escape" and I believe I fully accomplished that goal. I wanted a space that was informal but refined and provided a relaxing oasis away from the commotion of the rest of our home. I wanted this bathroom to show a balance of country cottage style combined with fresh contemporary touches.
I also wouldn’t have been able to get this bathroom done so quickly if not for the help of The Home Depot. They had everything I needed to not only renovate this space in such a short amount of time but had all of the supplies to curate a space any homeowner would be proud of. Their variety of product selections is top-notch, and their free shipping was a game changer for the timeline of this renovation.
Step 1: Applying Paint
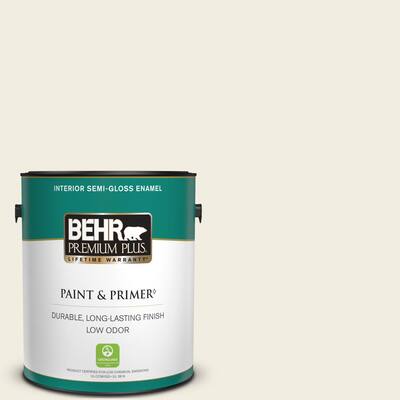
The first step in the process was brightening up our space with a new coat of white paint. I chose to go with Behr Premium Plus in Swiss Coffee because it is more of a creamy white with warm undertones. I painted one full wall and left another half painted because I knew we would eventually be adding a board and batten feature to cover up the old paint.

Step 2: Peel and Stick Wallpaper
I knew the wallpaper was going to be the star of this makeover, and I wanted to go with a pattern that was timeless. I chose this pattern because I knew it would look incredible in any house, no matter the design choices, and would never go out of style. This pattern can work with a variety of decor pieces and would stand the test of time through ever-changing home decor trends. This wallpaper was very easy to apply, repositionable, and 100% removable without any sticky residue left behind.


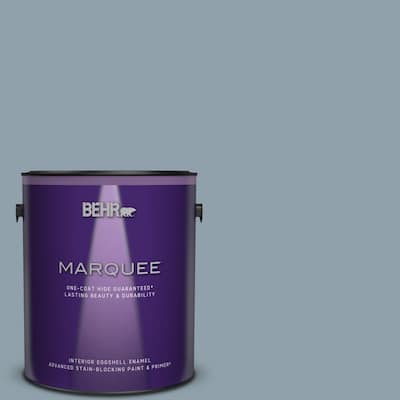
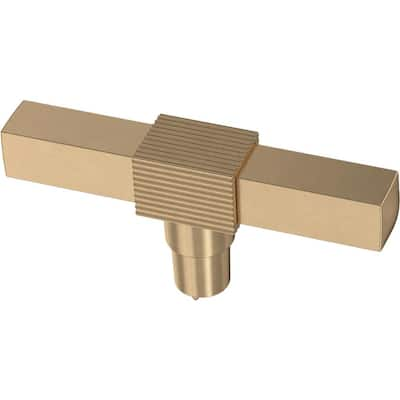
Step 3: Refresh the Vanity
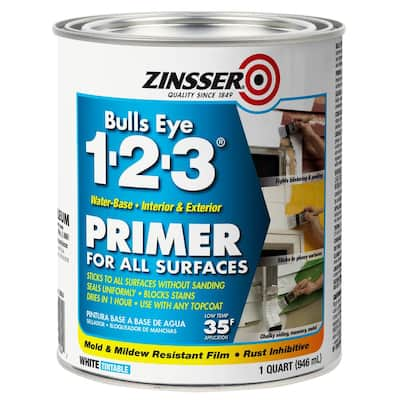
Instead of purchasing a new vanity, I wanted to give our old one a facelift by changing the outdated hardware and going with a bold paint color. This is a super easy way to not only save money but drastically upgrade your existing space. I wanted to pull from the darker blues in Wallpaper, so I went with Behr Marquee in Champlain Blue. I primed the entire vanity using one coat of Bullseye 1-2-3 primerand 2-3 coats of Behr Champlain Blue. Once dried, I changed out the old hardware and replaced the entire faucet to add in some gold elements.


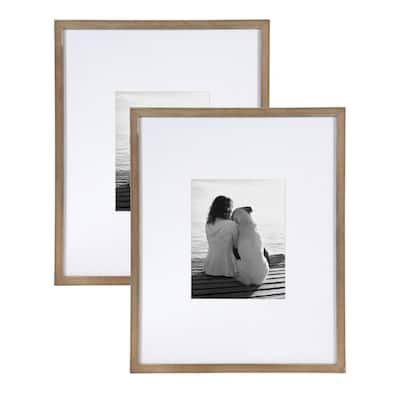
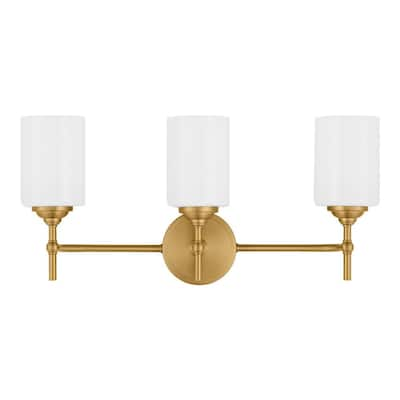
Step 4: Replace the Lighting and Mirror
I replaced both the mirrorand vanity lighting. Instead of going with your traditional square or round mirror, I wanted a piece that was modern, sleek, and stylish and that would tie in the gold elements. When picking out vanity lighting, I also wanted to make sure it was gold and that it wouldn’t clash with the remainder of the space, but enhance it. The glass cylinders were a perfect touch as they provided another timeless element.


Step 5: Board & Batten Wall
This was my first time creating a board and batten wall, and it was incredibly easy and gave the space a whole new look. We started by measuring to determine how high and wide we wanted the board and batten wall to be. Then it was a quick trip to The Home Depot to pick up 4x1 wood boards. To save time we had The Home Depot staff cut our wood to our measurements. After we had our boards cut to size, it was as simple as using our RYOBI nail gun to secure the boards. 2 horizontal and 4 vertical boards. Apply caulk to keep out moisture from behind the wood. Then apply wood filler to the nails, sand, and paint.


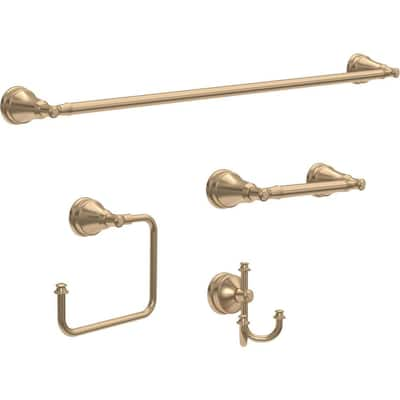
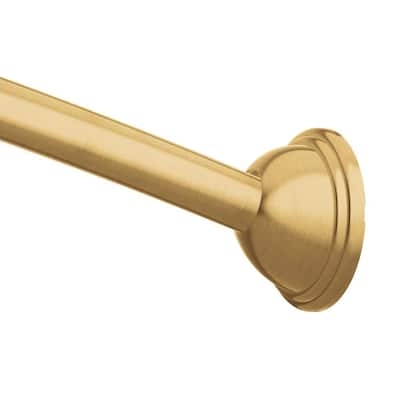
Step 6: Change the Shower Fixtures
I replaced all of the old bronze fixtures and shower bar with gold to continue with the theme. The existing shower curtain was round and I wanted to keep that unique feature with this remodel. I was so pleased when I found a rod that was not only round but came in gold! I also needed to make sure all of my fixturesmatched the gold elements already installed so I made sure that each fixture matched by taking a small piece of gold hardware with me to my local Home Depot store.


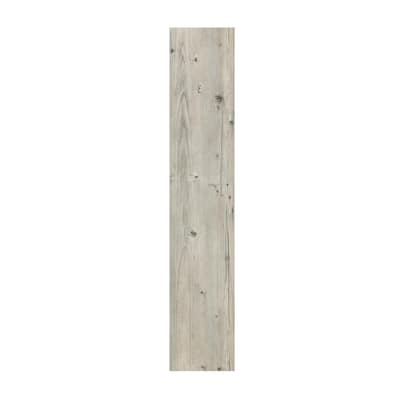
Step 7: Install the Floor Tiles
For a quick and easy upgrade, I decided to go with peel-and-stick floor tiles. These tiles are super heavy, durable, and water-resistant! I wanted to tie in colors from the wallpaper, and when I saw this beautiful grey wood tone, I was smitten. I started by laying out all of the full pieces of tile that didn’t need to be cut. I then measured and cut various planks until the floor was completed.


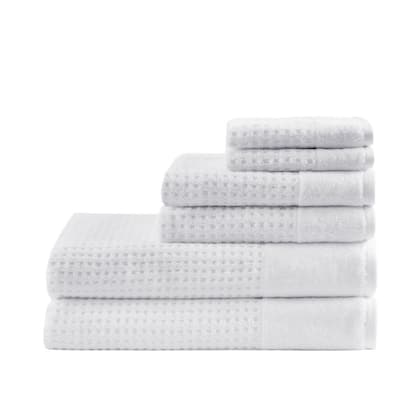
Step 7: Finish Decorating
Time to bring it all together and add a few fun decor items to finish the space. When picking out decor items, I wanted to focus on neutral elements that would enhance the “casual escape” theme. I again pulled from the wallpaper and used pieces that were rustic and provided a balance of the country cottage style combined with fresh contemporary touches. These muted, natural colors help create spaces that feel calm, inviting, and clean.

It’s hard to stop gushing about this space because I love it so much. In just one weekend, you too can accomplish a makeover like this by shopping at The Home Depot. From paint to decor to accent walls, they truly have it all. I am so sad to leave this beautiful bathroom behind but I have a feeling the new homeowners will love it as much as I do and it will be a wonderful space for them as well. I am so excited about this new move and I can’t wait to tackle my next DIY project in our new home.
This post was created in partnership with The Home Depot. The author may have received compensation for this article and associated images or video, potentially in the form of products and/or services. All expressed opinions and experiences are the author’s own words.