Outdoor Entertaining Space: Modern Backyard Makeover + DIY Floating Deck
Last updated August 21, 2024

Cara Newhart of Never Skip Brunch is a DIY enthusiast who lives in Houston, TX. She has a passion for empowering women to dive deep into the "masculine" world of DIY and home improvement. Her creativity has been featured in publications like PEOPLE StyleWatch, Denver Style Magazine, and she's the 2019 Home Depot Orange Tank Pitch Competition winner. Head over to her blog to see more of her chic DIY projects and tutorials.
A Note From The Home Depot
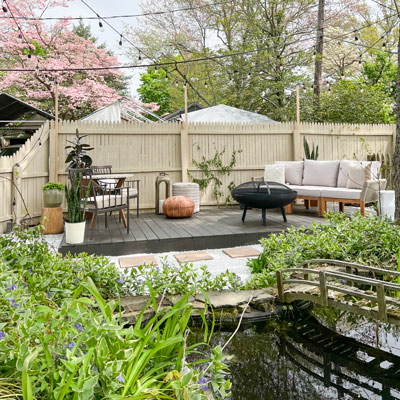
Give your outdoor entertaining space a modern refresh. Read more about how Cara Newhart from Never Skip Brunch leveled up her backyard
Table of Contents
The Transformation
The Transformation
I’m transforming this yard from overgrown to an up-leveled outdoor entertaining space…and I’m doing it solo.
From cleanup to landscaping to a DIY floating deck with new furniture, this space is getting a full overhaul just in time for summer entertaining.
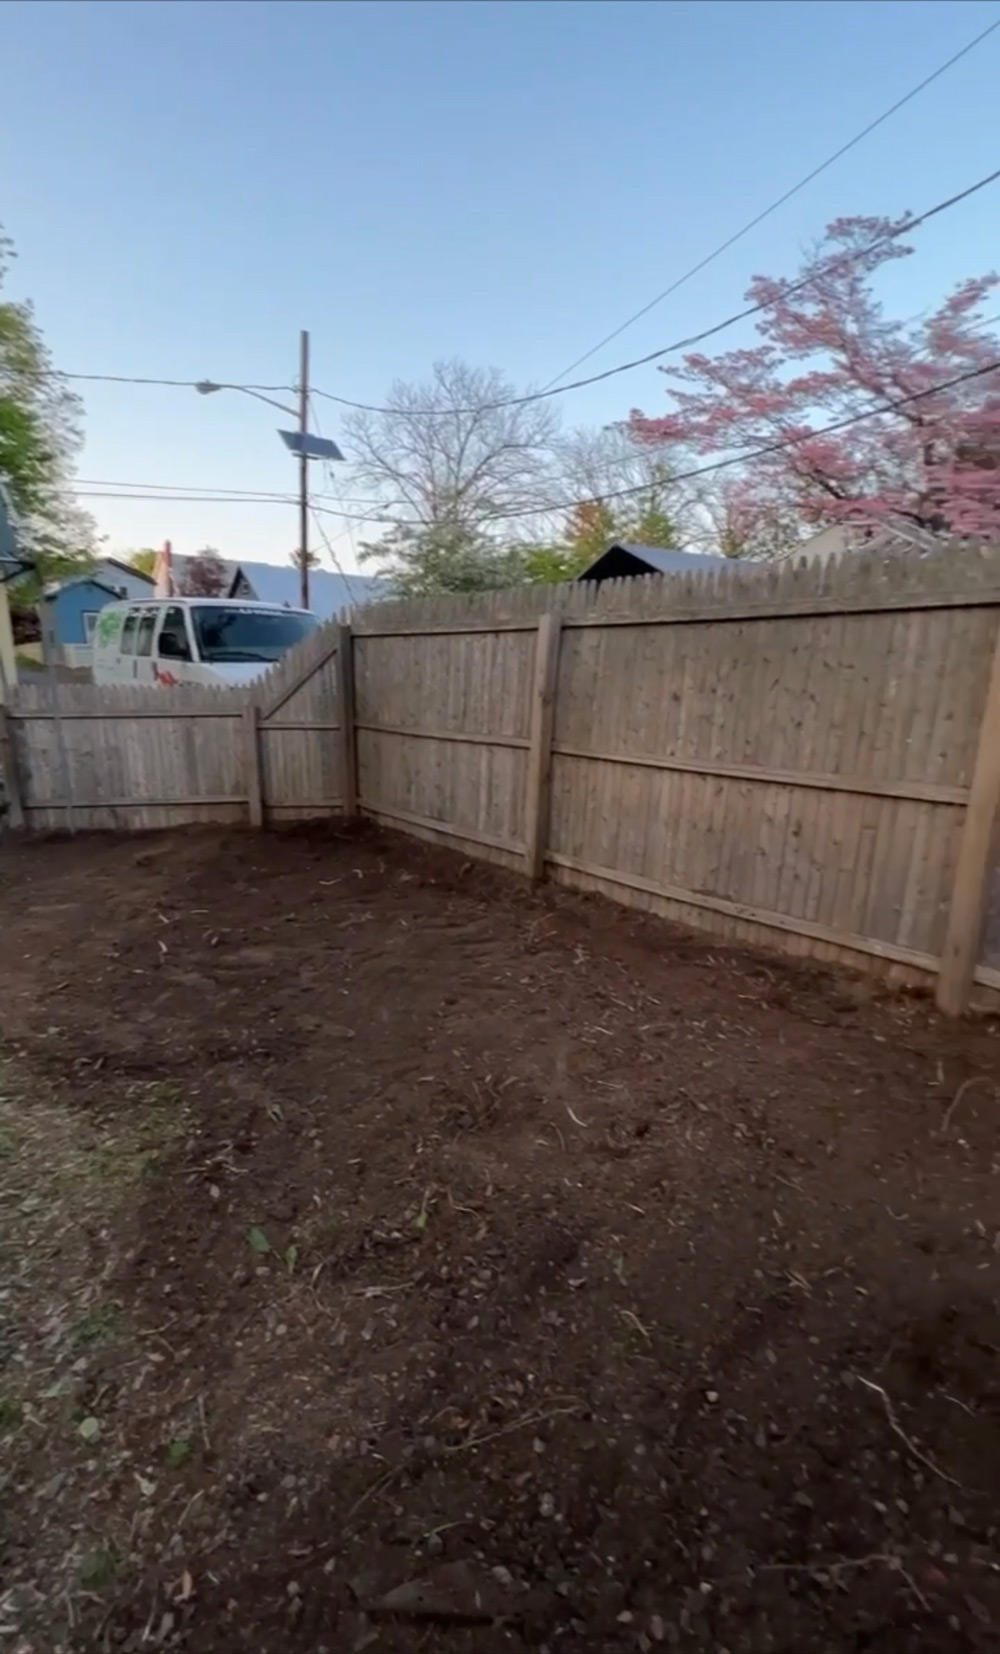
Here’s where we started — the yard was overgrown with lots of debris and an old brick paver patio that was worn and uneven.
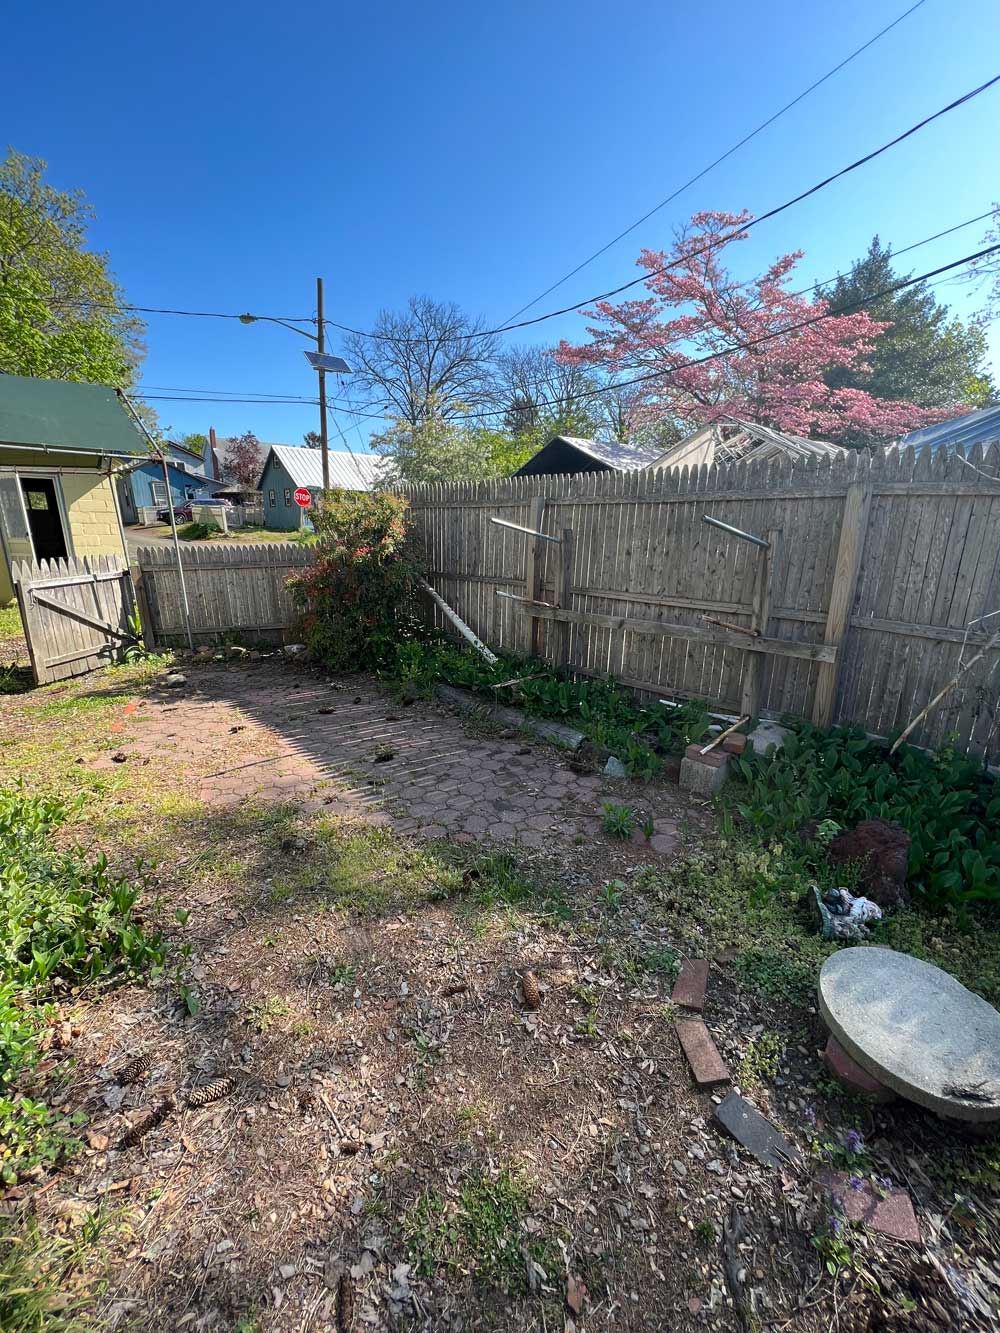
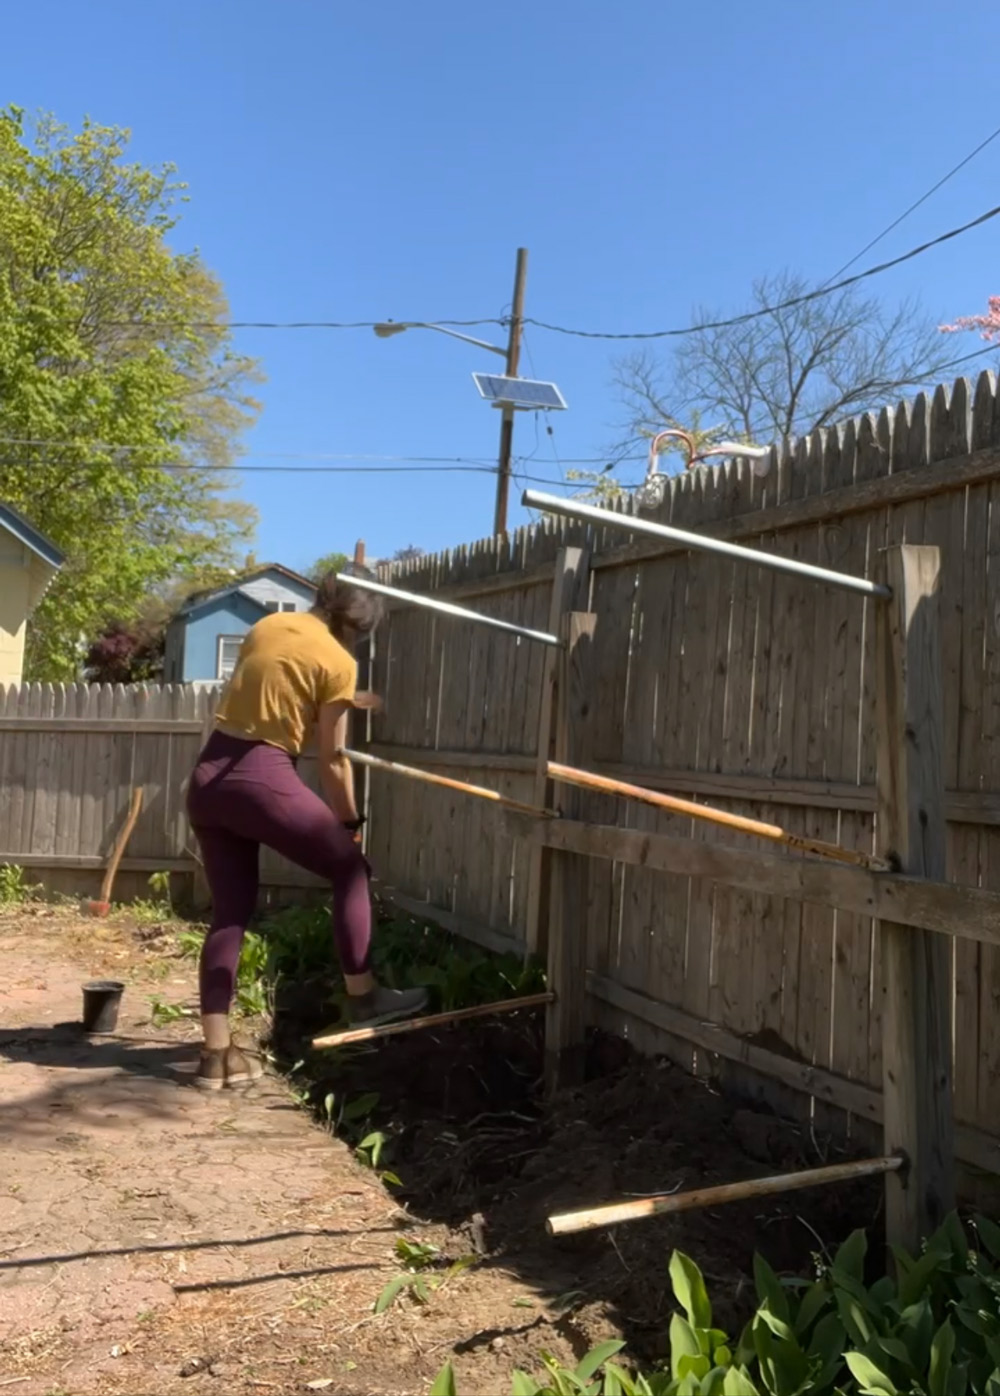
The first phase was cleanup — I cleared out all the bricks and plants. and I also removed an old pipe rack that was against the fence. There was a lot that needed to be removed from the bed, including some roots and dirt to make everything more level.
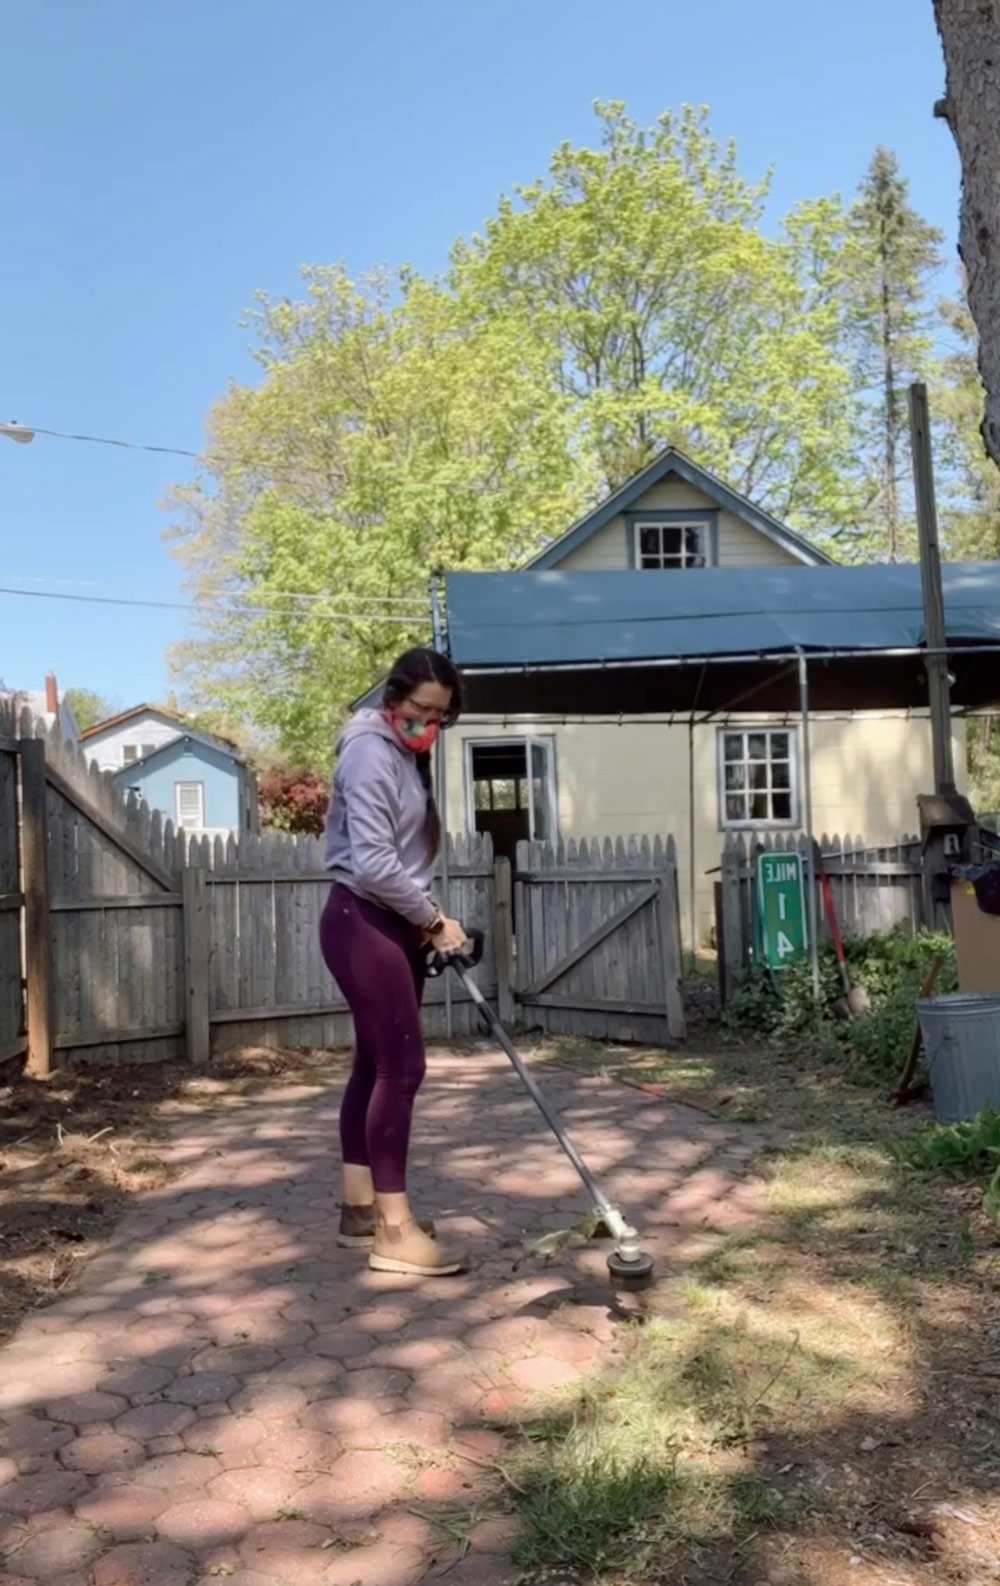
I used my Dewalt trimmer to cut down the grass in the surrounding area and used the Dewalt blower to clean up debris. These two tools come as a set and are battery powered — they make yard work so easy!
Once everything was cleaned up I leveled out the existing patio with a fresh layer of topsoil. I tamped this down with a 10” tamper to ensure the dirt was settled before adding a landscape fabric barrier. This is an important step, especially since I’ll be building a deck and I don’t want the soil to settle later.
Once the landscape barrier was in place I began to lay out the frame for my DIY floating deck. For floating decks you don’t need to sync posts — they are built right on top of the ground and leveled out with concrete pavers and/or gravel.
I’m using 2 x 6 boards that are eight feet long to build a base for the deck - the total dimensions will be 16 feet long by 18 feet deep.
I begin constructing the deck by building two squares out of the 2 x 6 boards. I attached the corners of the squares using corner braces and deck screws.
After the squares were built I added in three additional 2 x 6 boards on each side using some joist hangers — these will support the floorboards of the deck and give them something to attach to.
Once the frame was built I ensured it was level and used some pavers underneath the corners to stabilize it. I then poured gravel into some of the corners of the frame just for some extra support and to keep the deck from shifting.
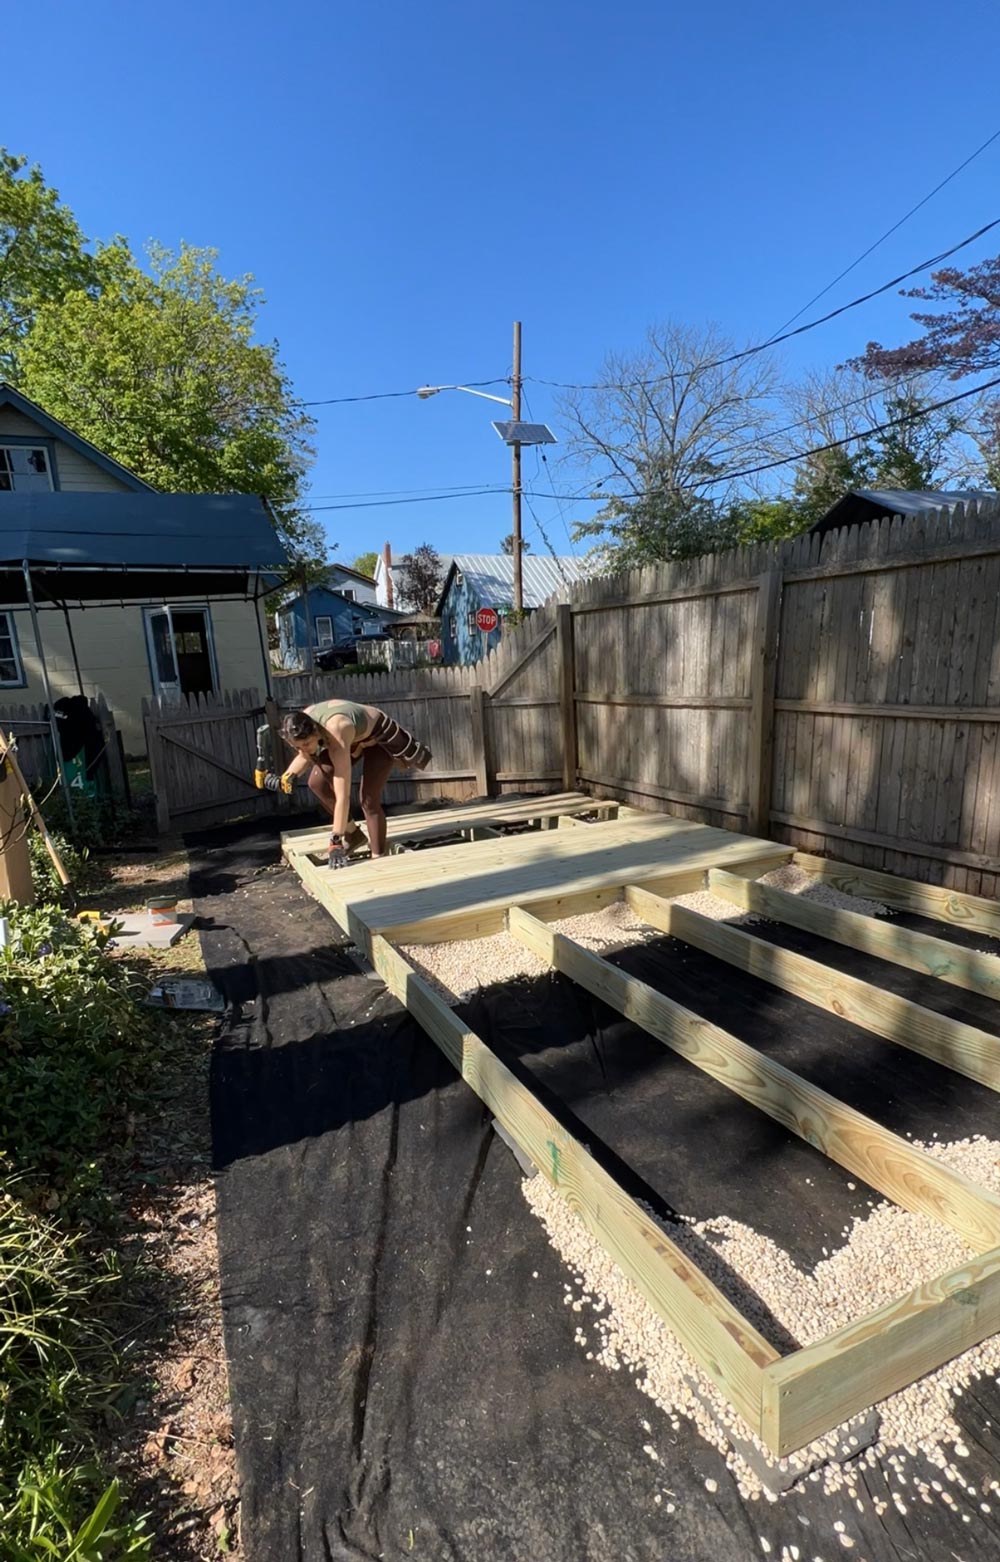
Once the entire frame was built I began adding the top floorboards of the deck. I used the Camo screw system including the marksman edge tool and Camo deck screws. This allows you to attach floorboards with no visible screws for a polished look. you can find both the tool and the screws linked at the bottom of the post.
I started in the middle and attached the deck boards going from the center outwards to ensure they were even, lining up each deck board at the front of the deck so that it’s flush.

With the deck finished I moved some of the furniture out just to get an idea of a potential layout and to help me visualize before I went to choose paint colors.
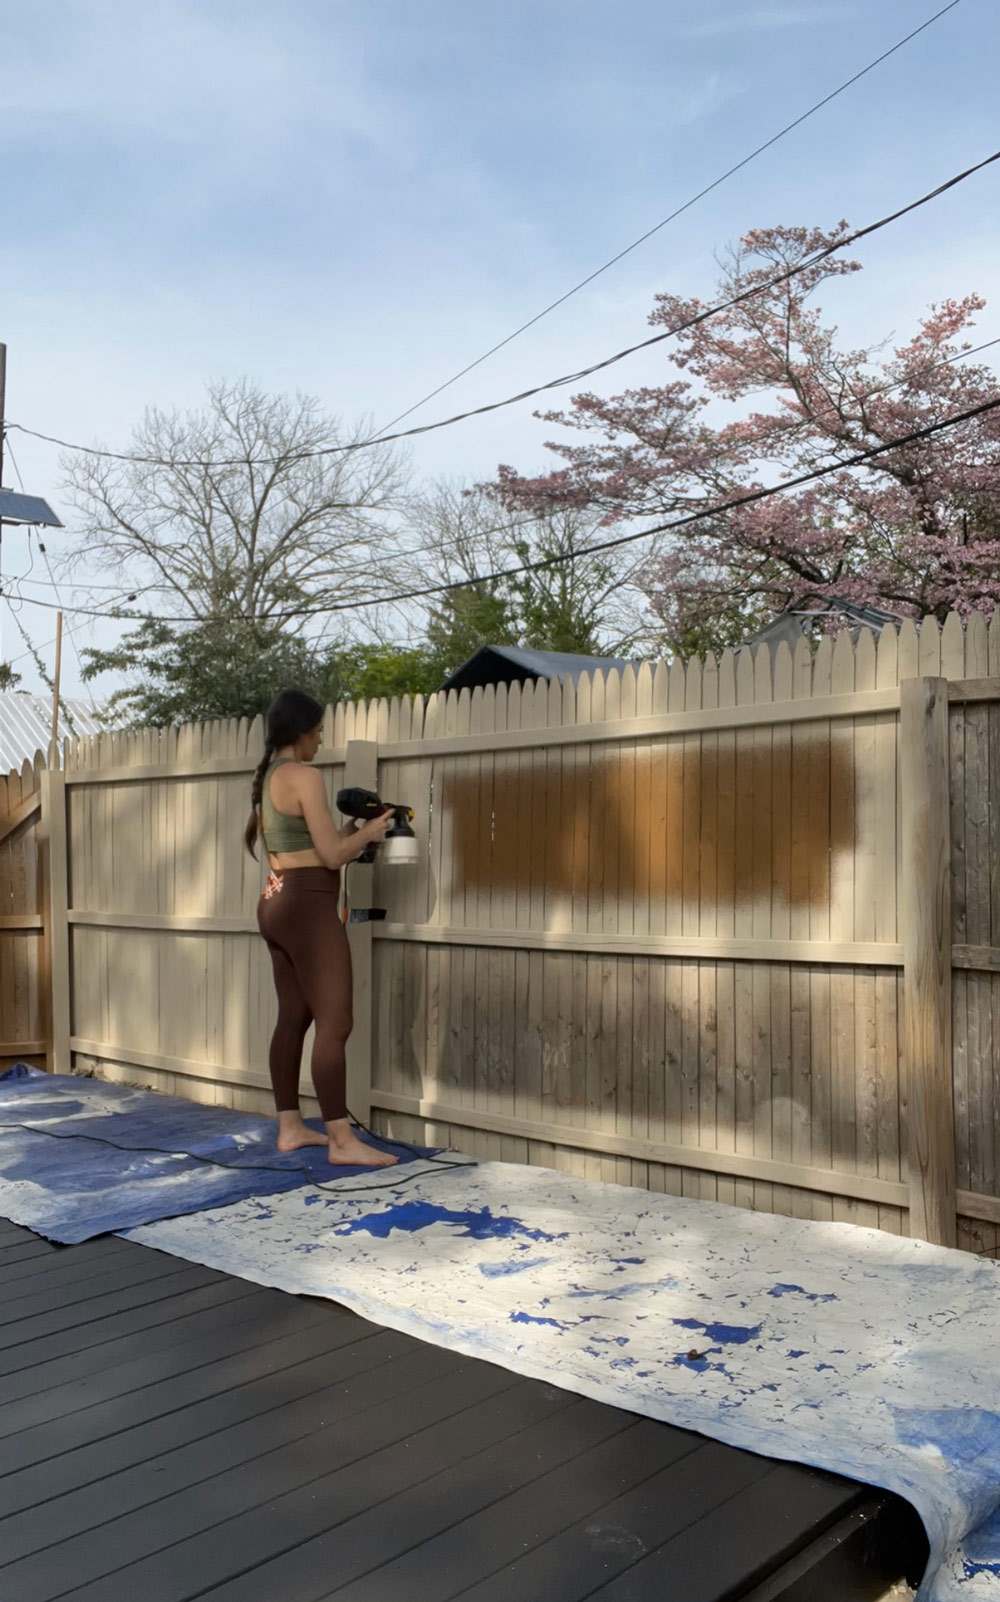
Next it was time to paint the fence and the deck. I painted the deck with Behr porch and patio paint in the color black mocha. Since the wood was fresh I just made sure it was completely dry before painting.
The fence required a bit more prep work before paint. I power washed the fence using the Ryobi 2300 power washer to ensure I removed any dirt and debris for a smooth paint job. This is a super important step since your paint won’t adhere well if there is debris or dirt on the fence.
I then used Behr deck over paint in a custom color match ”light mocha” — and applied The paint using my Wagner flexio 2500 paint sprayer. Just a simple coat of paint went so far to make this fence feel fresh and new.
While the paint dried I began placing concrete stepping stones along the edge of the deck. The landscape fabric base will ensure that no plants or weeds grow through the hardscaping.
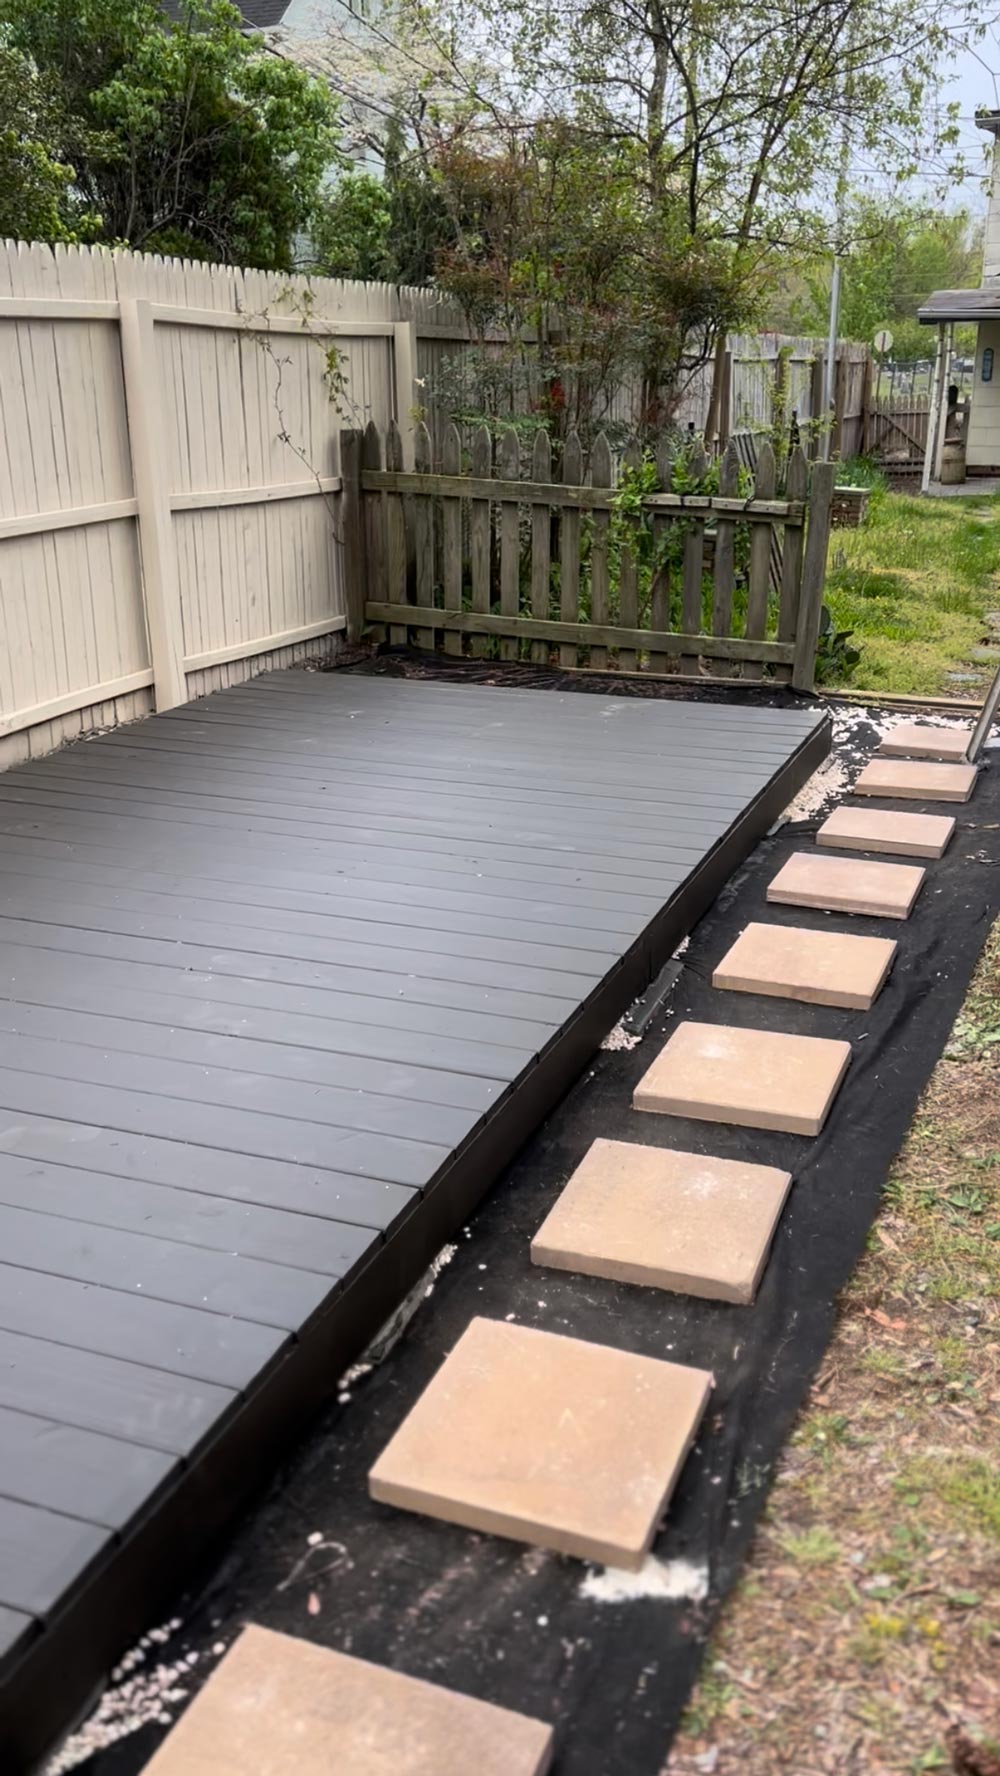
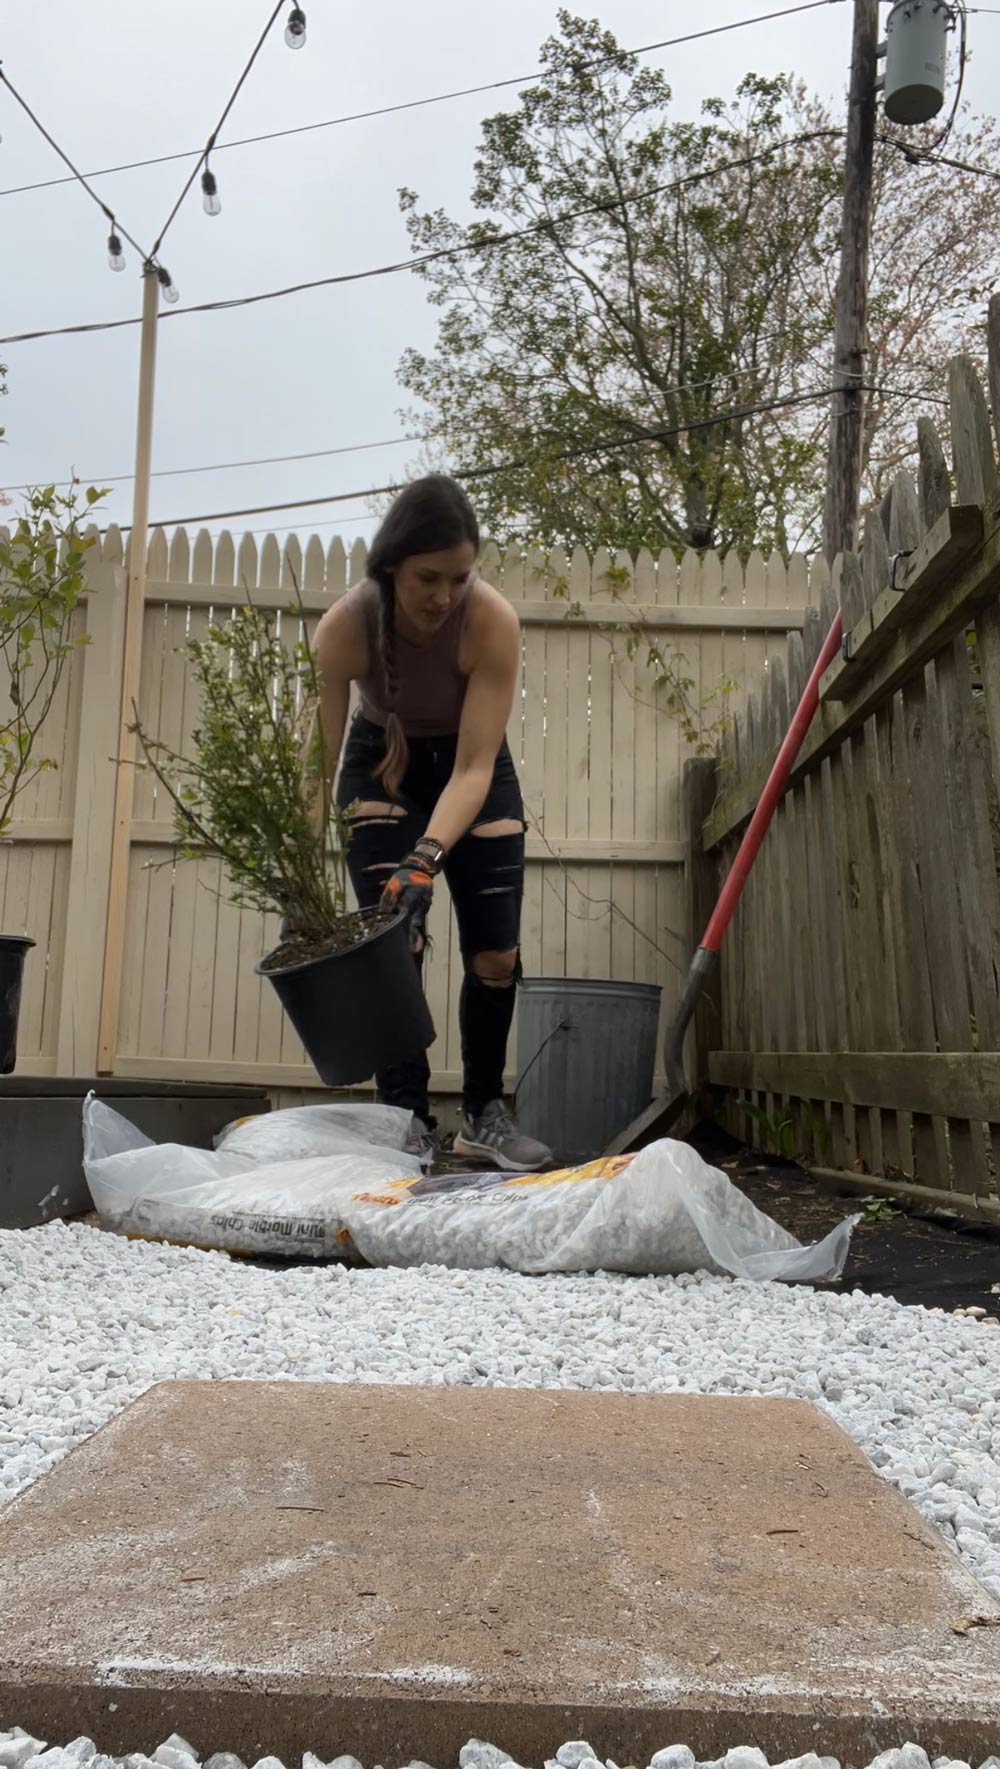
With my stepping stones in place, I added mini marble ship landscape rock between the pavers and around the outside of the deck.
On the sides of the deck I had enough room to add plants. I planted two blueberry bushes before adding marble chip rocks evenly around the base of each plant.
With the hardscaping in place it was time to add some lights. I used 8 ft long 2 x 2 pine boards and attached them to each fence post to give me some additional height for hanging lights.
I place all the holes near the top of each 2 x 2 board and twisted in a screw hook. I also added two more screw hooks to the large pine trees on the other side.
I then added string lights stringing them back-and-forth between the posts and trees and attaching the string lights to the screw hooks using some black zip ties.
I used plug-in string lights that were 48 feet long and it took two strings to complete the space. I've also linked similar lights that are solar powered below if you don’t have electricity or an outlet readily available.
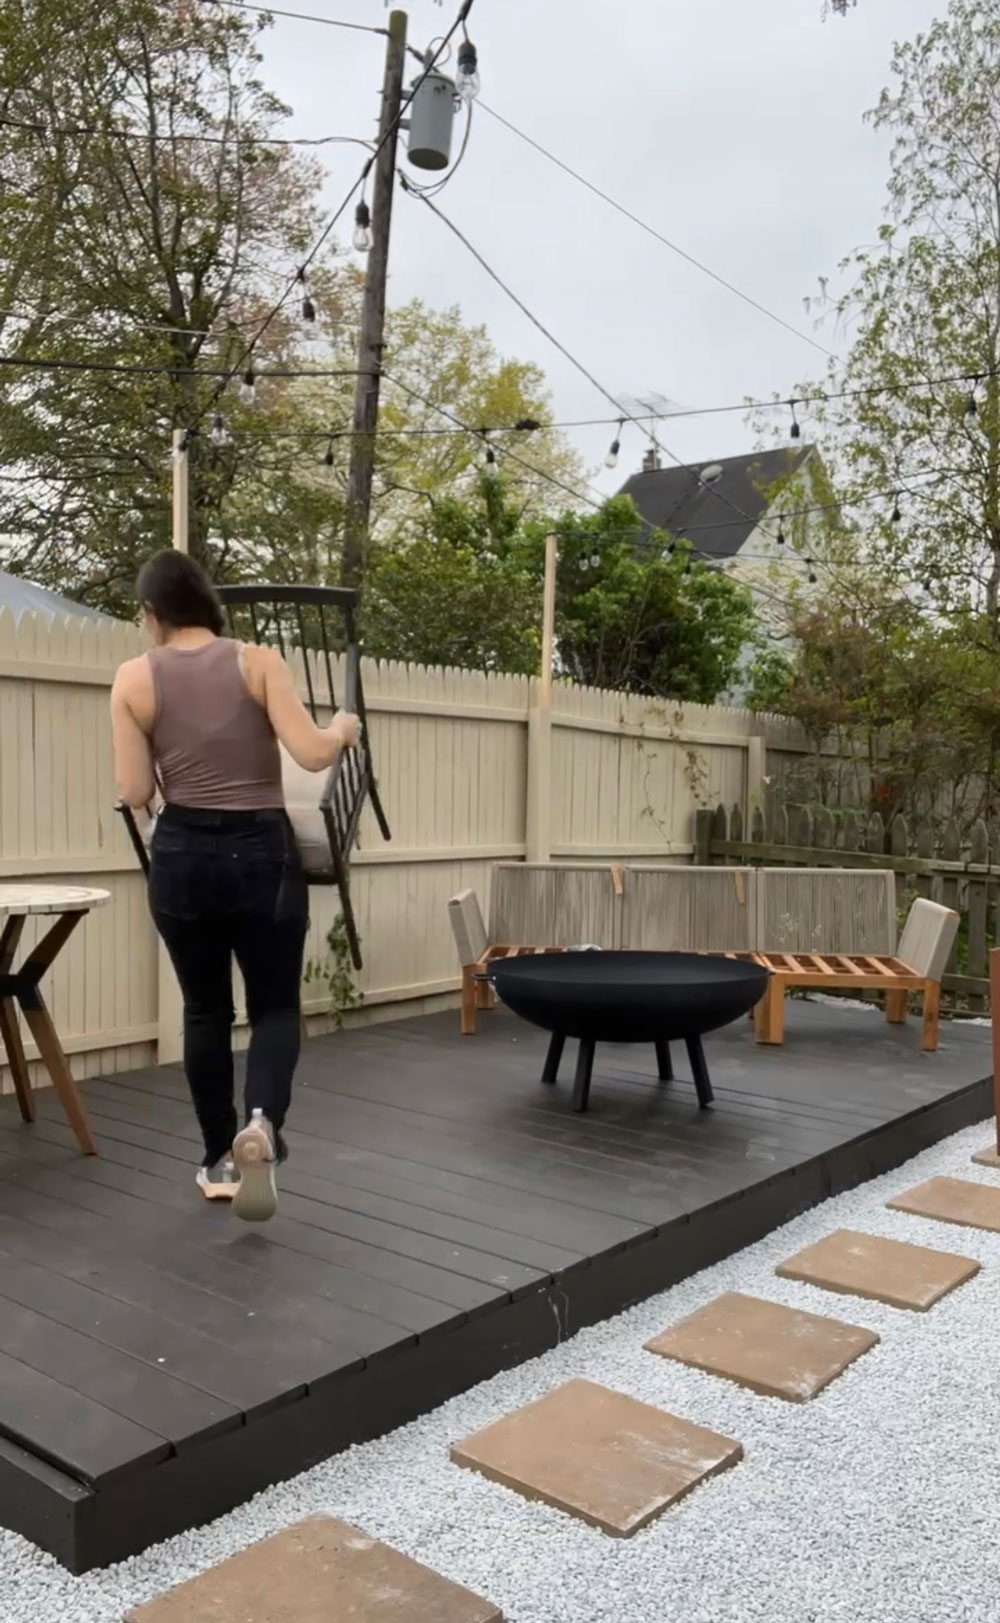
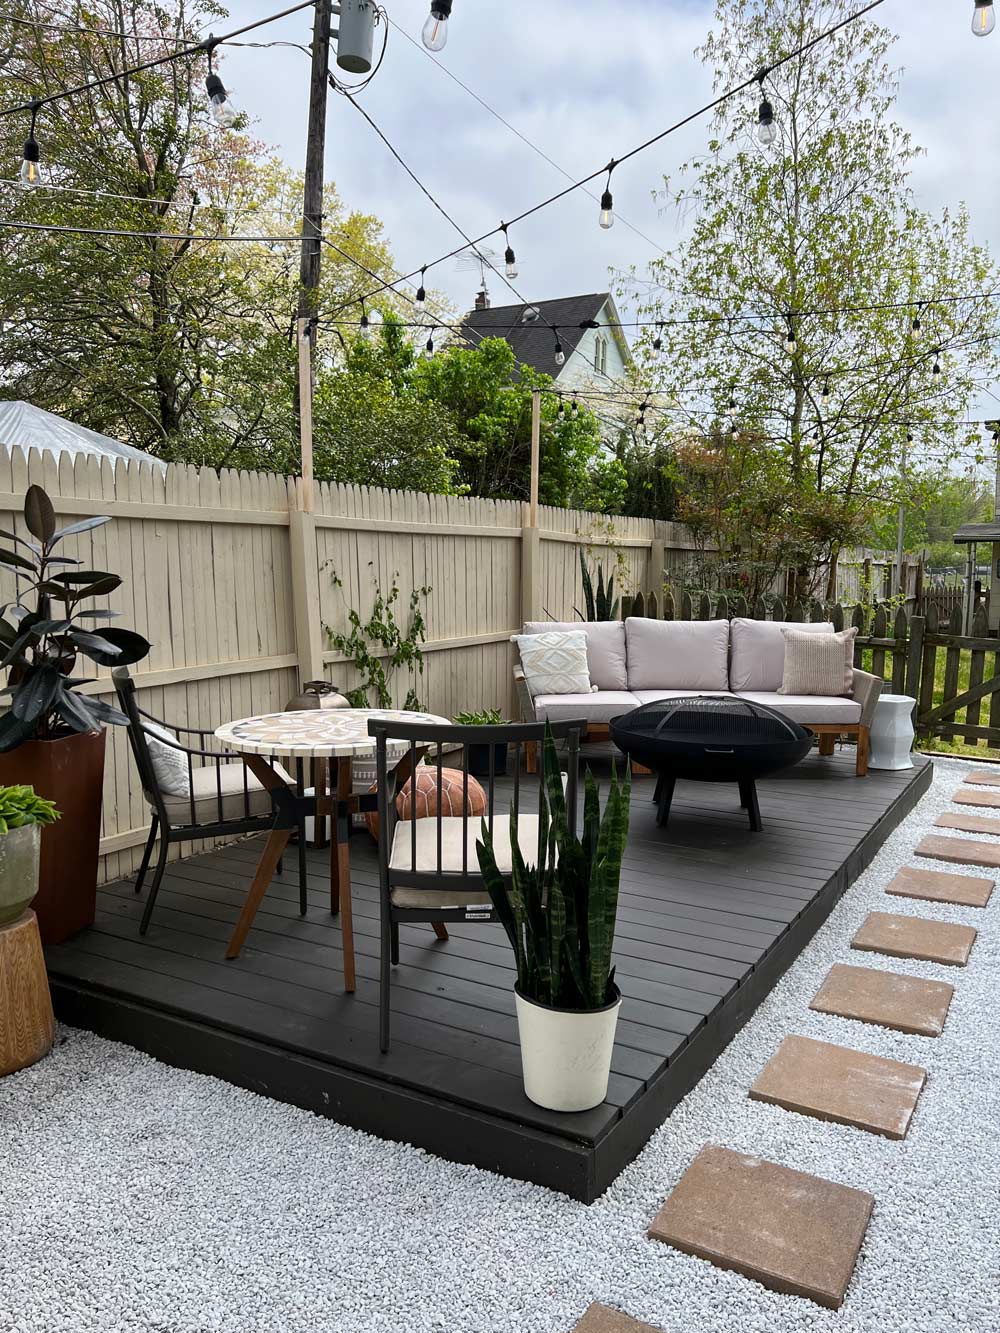
Next I began bringing in all the furniture. I added an outdoor sofa and a bistro table with some black metal patio dining chairs that came in a set of two.
I also picked out a 40 inch wood burning fire pit with a modern profile and added a few ottomans and poufs [316325085] for additional versatile seating.
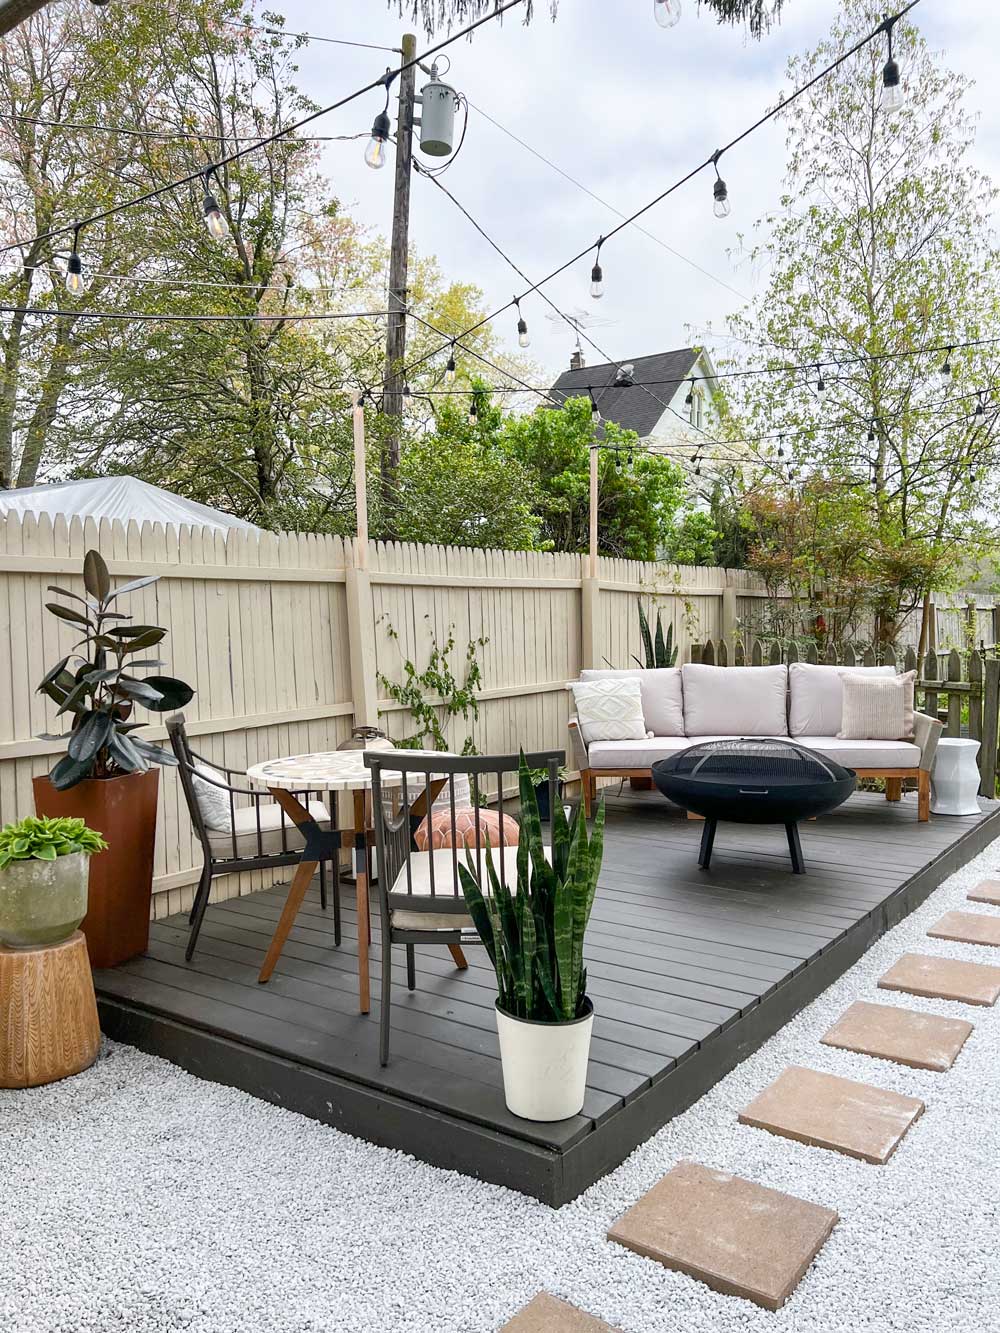
One of my favorite touches is a modern white hexagon ceramic garden stool I used as a side table.
To finish it off, I added additional greenery via some terra-cotta look planters that also provide texture and a pop of color.
This post was created in partnership with The Home Depot. The author may have received compensation for this article and associated images or video, potentially in the form of products and/or services. All expressed opinions and experiences are the author’s own words.


