Outdoor Oasis and DIY Painted Patio Floor

Last updated August 21, 2024

Fariha is the creative behind home décor and DIY blog Pennies for a Fortune. She is a self-taught DIY-er and Interior Decorator with a background in Painting. Pennies for a Fortune started off as a space to document her DIY journey, transforming her builder grade home into a custom dream home. Over the past year it has grown into a large community that appreciates good design and the struggles of DIY.
A Note From The Home Depot
Refresh your patio floor for springtime. Check out Fariha Nasir of Pennies for a Fortune as she makes her patio pop with a DIY painted-floor project.
Table of Contents
Outdoor Oasis and DIY Painted Patio Floor
Step 1 - Clean those floors
Step 2 - Lay the Base Color Down
Step 3 - Draw the Diamond Pattern
Step 4 - Paint the Squares
Step 5 - Optional Decorative Step
Outdoor Oasis and DIY Painted Patio Floor

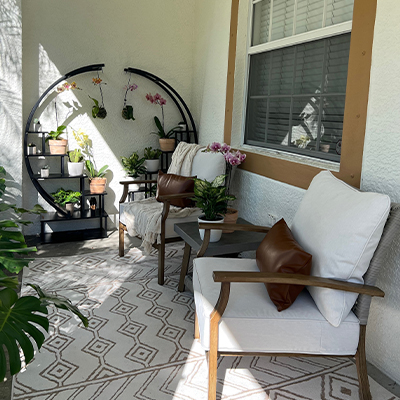
Spring is the time for outdoor projects, and I wanted to do a quick and easy makeover for my friend. Her patio needed some love, and what better timing to do this project than just in time for Spring! My goal was to give her a high-end look with a custom painted floor but still keep everything within a small budget. Once I had figured out the design I was going for, I made a shopping list for the project on The Home Depot App.

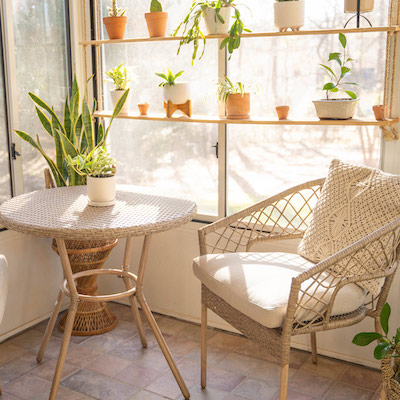
Let’s look at some “before” pictures of the space.


Here is a step-by-step guide of how you can get the same diamond-pattern painted floor for your outdoor space:
Step 1 - Clean those floors
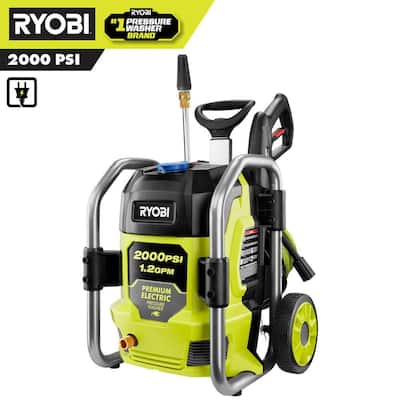
The first thing on the agenda is to thoroughly clean your concrete floor. I pressure washed the floor using the Ryobi Pressure Washer and used a wiper to get rid of the excess water. If there is any paint or stain on the concrete, you will have to strip that down using a paint stripper.

Step 2 - Lay the Base Color Down
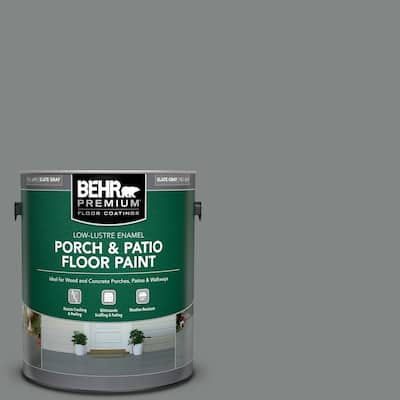
Once the floor is completely dry you are ready to paint the base color for the patterned floor design. I picked Behr’s Porch and Patio paint in Creamy Mushroom. The quality of this paint is amazing, and one coat gave amazing coverage. But I still did a second coat to make sure I’d get a solid color on. I cut in using a paintbrush and rolled the paint on the whole floor using my paint roller attached with an extendable pole.
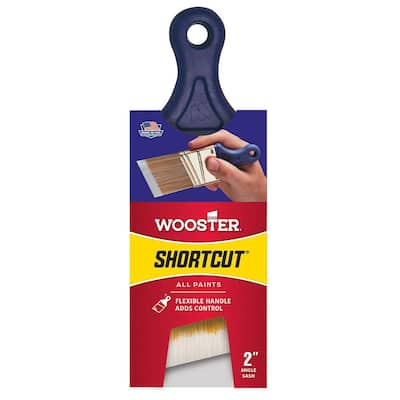
Tip: One of my favorite tools for any paint project is the Wooster Short Angled Brush—it’s a very comfortable paintbrush to get into the corners, and it's light weight making it easy on the hand, too.

Step 3 - Draw the Diamond Pattern
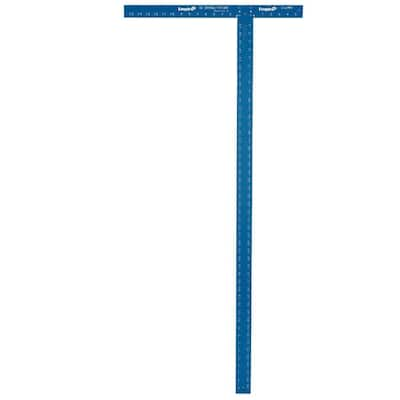
Now it's time to draw the checkered pattern on top of the base color. I used an 18" square tile as a guide and used that to draw my first few squares. Next, I used a Drywall T-Square to extend the lines and draw 18" squares on the entire patio.
Step 4 - Paint the Squares
This is my favorite part! You get to see the pattern come to life when you paint every other square a different color. I used Sharkskin Suit by Behr, which is a beautiful blue-gray color. I used the same Wooster short, angled brush to paint the squares.
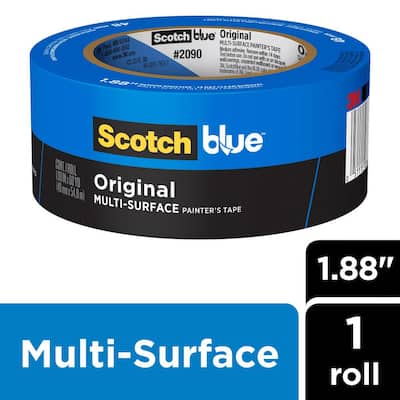
Tip: The best way to get a crisp paint line is by taping out each square with blue painters tape.

Step 5 - Optional Decorative Step
This part is completely optional, but I highly recommend doing this step to elevate the look to a more high-end designer looking pattern. I used a small foam roller to paint a dot between each square. I used the paint color Divine Wine by Behr for this part, and I love the contrast and depth it adds to the look.
Step 6 - Seal the Floor
The very last step is the most important: once the paint is completely dry, sweep it one last time to get any debris off. Roll on two coats of a concrete sealant using a foam roller and follow directions on the packaging for best results. Once this is done, your painted floor will not budge and you can even pressure wash it without fear.
Tip: I love using Crocodile Wipes to clean off the tools, the floor and even my hands. They are a handy product to have around when doing any DIY project.


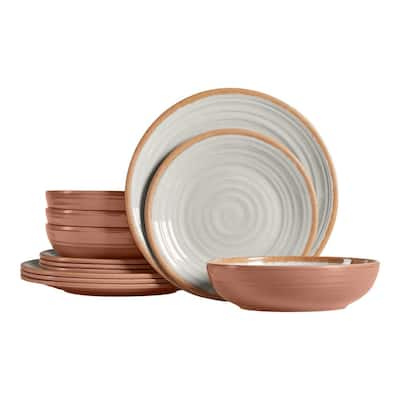
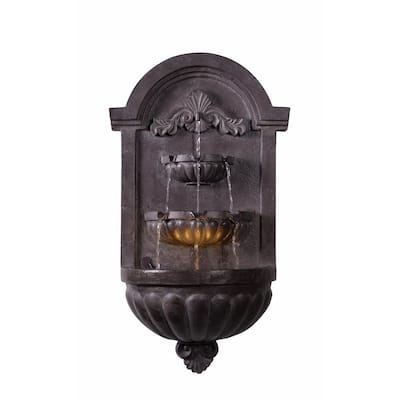
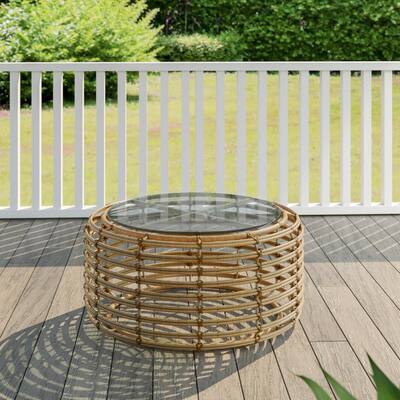
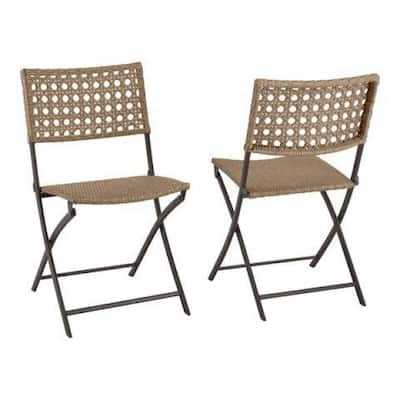
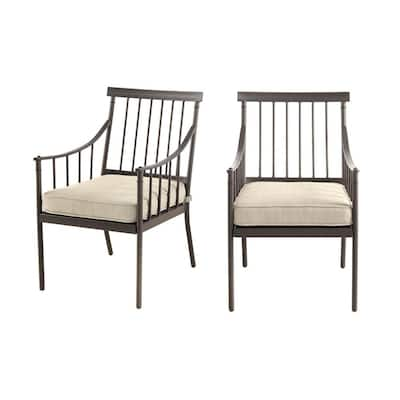
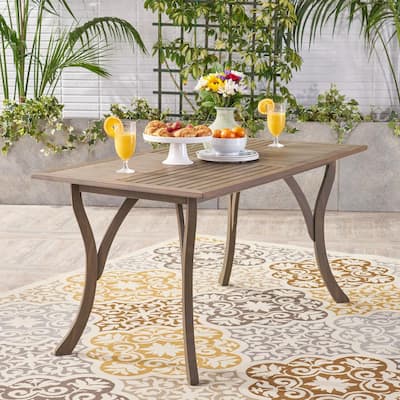
To get the look of this budget friendly patio makeover, check out the list of all furniture and decor I used!
This post was created in partnership with The Home Depot. The author may have received compensation for this article and associated images or video, potentially in the form of products and/or services. All expressed opinions and experiences are the author’s own words.