Painted Arch Office Project

Last updated August 21, 2024

Kelly is the California-raised face behind the *CITYGIRL MEETS FARMBOY* blog. She has always loved using her creative side to come up with ways to decorate her space, and had to get creative as a young mother on a tight budget. She taught herself how to stain, paint, craft, glue and sew, and these hobbies kept her mind fresh and her hands busy. She had always wanted to build things, and once her husband (farmboy) taught her how to use tools she was hooked! She committed to a project a week for an entire year, and slowly started to document these projects, and *CITYGIRL* *MEETS* *FARMBOY* was born. Over the past few years Kelly has not only continued her projects, but grown a community of likeminded people that are also learning as they go encouraging all ‘wanna-be’ DIYers to just get out there and try it!
A Note From The Home Depot
A Quick Note to the Home Depot: Learn how to re-decorate your office space with Kelly Ballard of City Girl Meets Farm Boy as she uses products found at The Home Depot to transform her space!
Table of Contents
Step One - Choosing Paint Colors
Step Two - Prep Your Walls
Step Three - Draw Your Lines
Step Four - Paint Your Arch
Step Five - Decorate Your Space

Beautiful wall arches are a big hit right now in home decorating. They are inexpensive to do and easy to create.With the many color choices at The Home Depot, the options are endless.
Want a specific color to match your decor, not a problem either, The Home Depot has you covered!
Here is how to create simple wall arches for any decor style. I am partnering with The Home Depot to showcase how you can color match any paint you need while renovating your space with these wall arches. Follow along as I share how to create simple boho wall arches with paint for any space.

This office space area has been many things over the years and has recently turned into a storage room.
It is time to return it to its rightful place as a home office! After seeing all the beautiful wall arches on Pinterest, I decided on a boho style for the space. My inspiration came from the BEHR® Color Trends 2022 Palette from The Home Depot and its neutral pallet.

Step One - Choosing Paint Colors
After getting some ideas off of Pinterest, I headed into The Home Depot to grab some color samples. You can also take any sample into the store and they can color match it for you. Here
is a great article to read if you are unsure how to do it. They can match anything from anything - seriously! I needed more paint for my current walls and so I took a thumbnail size off the wall and brought it in.

I spent some time looking over the colors in the paint department and settled on a few.
Then I took some time to pair them up together and was able to finalize my top three.
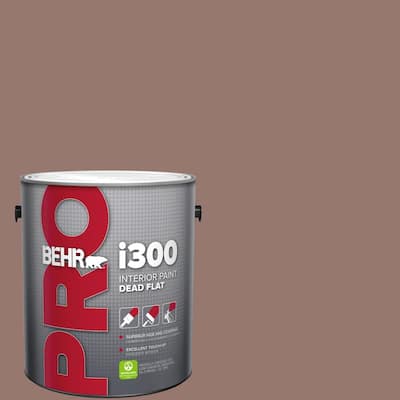
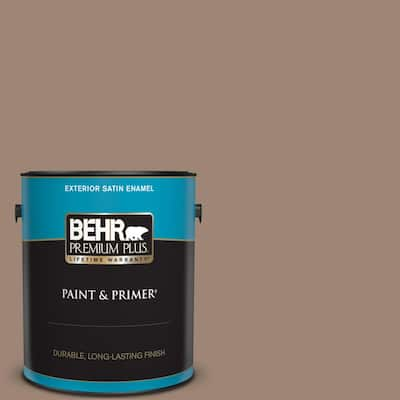
The three paint colors I decided on where Eiffel for You (MQ2-37), Earthnut (PPU5-16), and Chocolate Delight (N160-5).

Step Two - Prep Your Walls
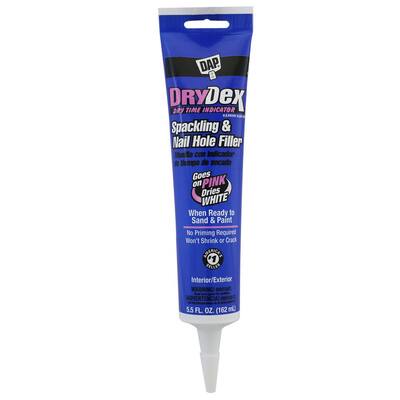
I made sure that my walls were all clean and the nail holes were filled up. The filler I use is called DAP DryDex and you can buy it from The Home Depot here .

Wait for the filler to become completely dry before moving on to the painting part of this project.

Step Three - Draw Your Lines
Now it's time to draw your arches. There is a simple technique using a pencil, string and nail.

Here are the steps to creating your arch:
• Measure your string HALF the size of the desired arch
• Tie your string to your pencil
• Tie the other end of the string to a nail
• Hammer the nail to the center area of the desired arch
• Extend the pencil all the way until the string is tight
• Draw your line the entire arch while keeping the string tight

Step Four - Paint Your Arch
I had never hand painted an arch before and was nervous about it. I realized if you go slow and steady, it is totally possible! I followed the lines I made first, and then filled in the center of the arches. Additionally, I used a level and straight edge to measure my lines, then taped them with Frogtape® before painting.


Once you have made an arch, you can easily create a full circle.
I added this shape to the space for more visuals.
I really love how it turned out.

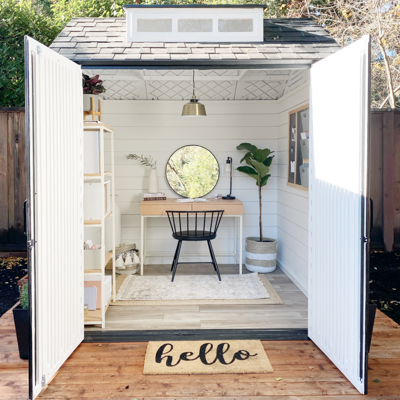
Step Five - Decorate Your Space
This is the fun part after your boho wall arches are dry. I chose to keep it simple with some floating shelves, some artwork that I did myself, and some plants. What do you think of the space now?!


I love the way this room turned out and how inexpensive it was. I know any of you could do this project, and I am cheering you on - I know you can do it! You can also find more paint projects on my blog here .
This post was created in partnership with The Home Depot. The author may have received compensation for this article and associated images or video, potentially in the form of products and/or services. All expressed opinions and experiences are the author’s own words.