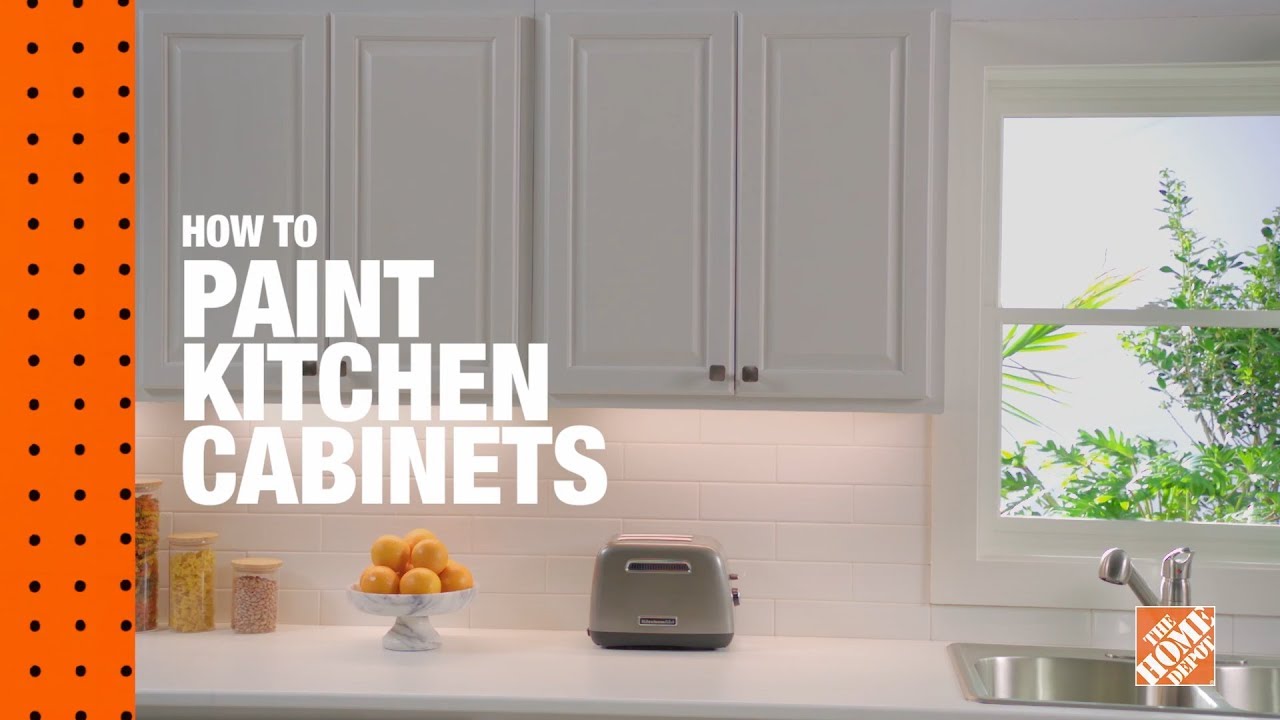
Painting Cabinets With Glidden Diamond Interior Paint

Published December 29, 2023
 "Ashley Dixon")
Ashley Dixon is the interior designer, speaker and lifestyle influencer behind Alexander Renee Design. She shares her love of home décor, fun DIY projects, organization, as well as home hacks and life tips over on Instagram and TikTok @alexanderreneedesign.
A Note From The Home Depot
If you find yourself wanting to give your current space, or more specifically cabinets a fresh new look, or want an affordable yet custom way to enhance a space - try painting! Read below to see how Ashley of Alexander Renee Designs transformed her gorgeous basement bar with the power of paint.
Table of Contents
Transforming Your Home: A Step-by-Step Guide on Painting Cabinets with Glidden Diamond Interior Paint
1) Planning and Preparation
2) Surface Preparation
3) Painting the Cabinets
4) Finishing Touches
5) Enjoy Your New Cabinets!
Transforming Your Home: A Step-by-Step Guide on Painting Cabinets with Glidden Diamond Interior Paint
Painting can be a cost-effective and rewarding DIY project. In this step-by-step guide, we'll walk you through the process of painting cabinets, like my DIY wet bar with my favorite Glidden Diamond Interior Paint and Primer found at the Home Depot. We will talk all things preparation to finishing touches, allowing you to breathe life into your living spaces.
Here’s my DIY Bar plan: I want to take this unfinished wall in our movie theater and turn it into a wet bar that will double as a concession stand using store bought cabinets and a paint transformation with the help of Glidden Diamond Interior Paint and Primer.
1) Planning and Preparation

Before diving into the painting process, it's crucial to plan and prepare adequately. Here are the essential steps:
EVALUATE YOUR CABINETS: Assess the condition of your cabinets. Check for any damage, loose fittings, or structural issues that might need fixing before proceeding with painting.
DECIDE ON A COLOR SCHEME: Choose a color scheme that complements your existing décor or one that will bring a fresh vibe to your space. Consider neutral shades for a timeless appeal or bold colors for a striking statement.
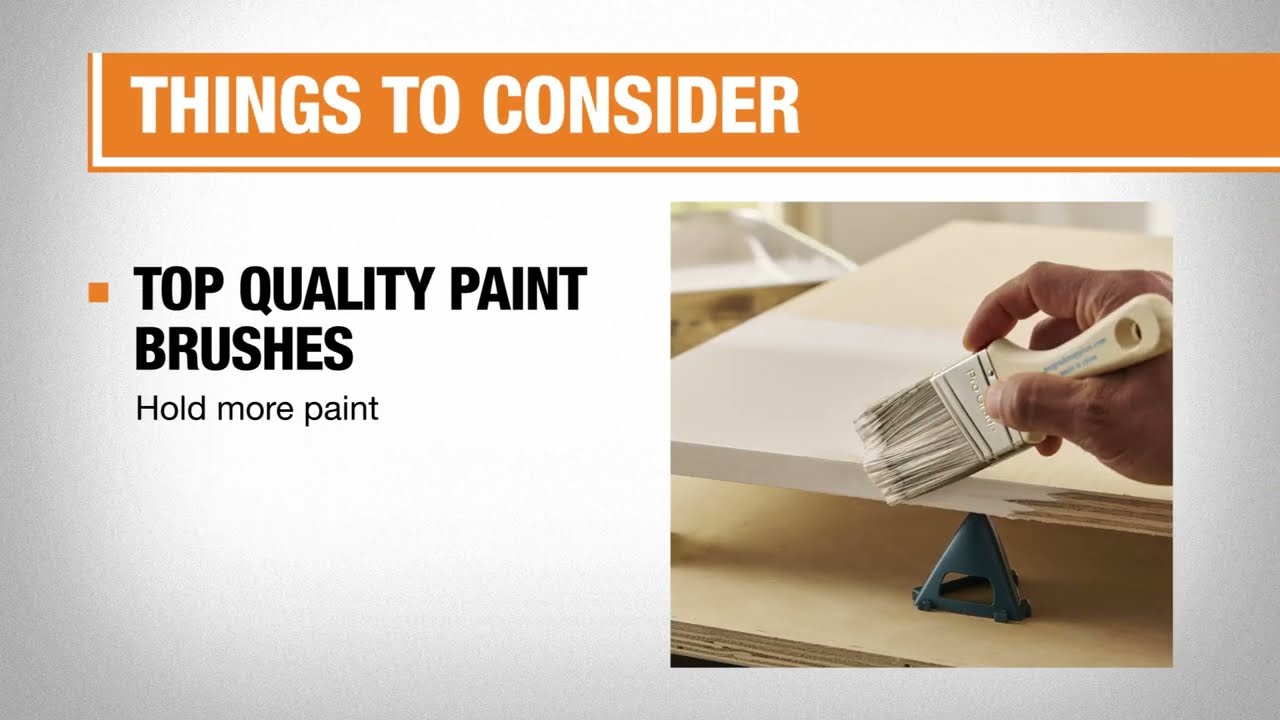
GATHER MATERIALS: Ensure you have all the necessary materials, including a paint and primer like Glidden Diamond Interior, sandpaper, brushes, painter's tape, drop cloths, and cleaning supplies.
REMOVE CABINET DOORS AND HARDWARE: Take off the cabinet doors and remove the hardware (such as handles and hinges) for easier painting and to achieve a smoother finish.
2) Surface Preparation

Achieving a professional-looking result largely depends on proper surface preparation. Follow these steps:
CLEAN THOROURGHLY: Wipe down all surfaces with a mild detergent to remove any grease, grime, or dust. A clean surface ensures better paint adhesion.
SANDING AND PRIMER: Lightly sand the cabinet surfaces and doors to create a rough texture, helping the primer and paint adhere more effectively. To avoid needing a separate primer, I’d recommend Glidden Diamond Interior Paint and Primer Primer helps the paint adhere better and ensures a uniform finish.
3) Painting the Cabinets

Now comes the exciting part - applying paint to your cabinets. Follow these guidelines:
CHOOSE THE RIGHT PAINT: Opt for a high-quality paint suitable for the material of your cabinets. I love Glidden Diamond Interior Paint and Primer as it’s super easy to use and starting at $30/gallon super affordable too! Semi-gloss or satin finishes are popular choices as they are durable and easy to clean. Glidden Diamond Interior is ultra durable and scrubbable and since this will be used as a movie theater wet bar and concession stand for my family, keeping sticky hand free is a plus. For my wet bar, I chose Pine Forest (PPG1134-7), a timeless deep green color. Can we take a moment for this color...seriously in love.
PAY ATTENTION TO DETAILS: Take your time when painting the edges and corners to ensure a professional-looking result. Use painter's tape to create clean lines and avoid accidental smudges.
APPLY PAINT IN THIN COATS: Apply the paint in thin, even coats to avoid drips and achieve a smooth finish. Allow each coat to dry completely before adding the next. If you can I would opt for a paint sprayer for the perfect finish, but a roller can work just as well. Remember less is best when it comes to painting. What I love about using the Glidden Diamond Interior Paint is that so many of its colors are one coat coverage, which means finishing this project faster.
4) Finishing Touches
The final steps of the painting process involve reassembling your cabinets and adding the finishing touches:
ATTACH CABINET DOORS AND HARDWARE: Once the paint has dried completely, reattach the cabinet doors and hardware carefully. For a complete makeover, consider installing new knobs, handles, or pulls that complement the new cabinet color.
STYLE YOUR SPACE AND CLEAN UP: Style your new space with pieces that complement your color palette, aesthetic. Don’t forget to clean your workspace and tools thoroughly to keep them in good condition for future projects.
CELEBRATE: Pat yourself on the back and enjoy completing your DIY paint project.
5) Enjoy Your New Cabinets!

Painting cabinets is a fantastic way to customize your home and infuse it with your unique style. By following this step-by-step guide and investing some time and effort, you'll be rewarded with beautifully painted cabinets that breathe new life into your living spaces. With Glidden Diamond paint you can easily go from inspiration to action and create the space of your dreams. Remember to plan carefully, prepare diligently, and take your time during the painting process, and you'll achieve stunning results that you can be proud of for years to come. Happy painting!

You can find all of the supplies you need at homedepot.com.
This post was created in partnership with The Home Depot. The author may have received compensation for this article and associated images or video, potentially in the form of products and/or services. All expressed opinions and experiences are the author’s own words.