Patio Privacy Screen Ideas

Last updated August 21, 2024

Caitlin is a designer, DIYer and styler. She's a desert dweller who loves the thrill of the thrift, abstract art, and her three fur babies.
A Note From The Home Depot
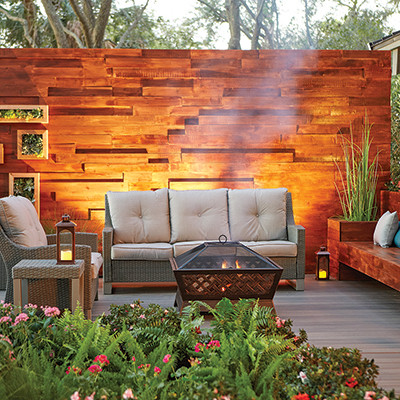
This DIY outdoor screen, with its horizontal slats and dark stain, is as gorgeous as it is functional. Caitlin Ketcham, of the blog Desert Domicile, came up with the idea for the slatted privacy screen as part of a major overhaul of her backyard as part of our Patio Style Challenge series.
Caitlin came up with the backyard design ideas, and The Home Depot helped with the construction of some of the bigger DIY projects in her backyard makeover, including building a floating deck, constructing a built-in outdoor bench, and laying artificial grass in her backyard.
Caitlin wrote up this step-by-step tutorial for her lovely outdoor privacy screen so you can see how it was constructed. This can serve a as a guide to building your own slatted wood screen.
Table of Contents
DIY Outdoor Privacy Screen Tutorial
Step 1 – Determine Screen Dimensions
Step 2 – Decide on Your Slat Board Spacing
Step 3 – Measure and Mark Vertical Anchor Boards
Step 4 – Cut Vertical Anchor Boards Down to Size
Step 5 – Stain and Seal the Vertical Anchor Boards
DIY Outdoor Privacy Screen Tutorial
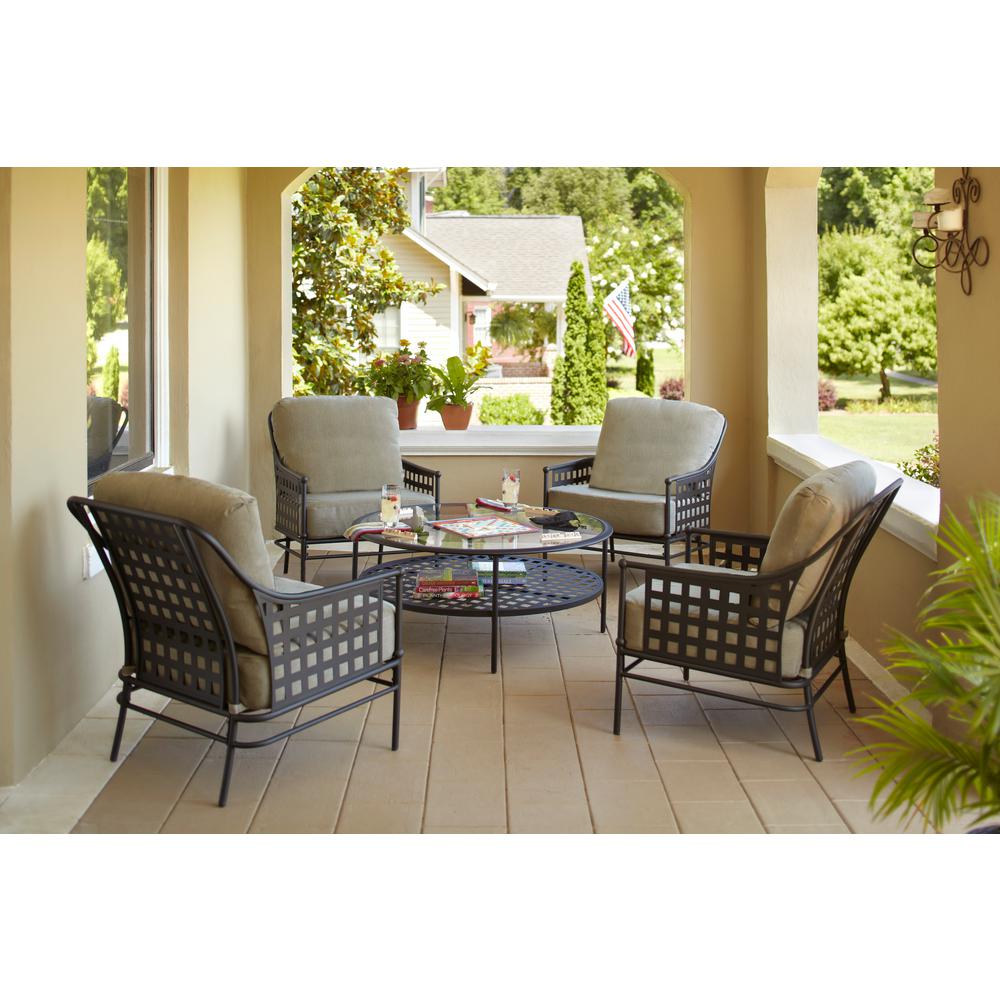
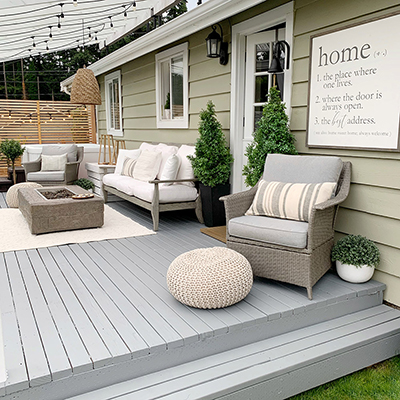
I wanted to make my outdoor space feel more like an outdoor living room and less like a back patio. Below you can see my patio before adding the privacy screen– or much of anything else.
I knew we’d be adding a striped outdoor rug, a patio sectional, a patio lounge chair, and an outdoor coffee table, and I wanted the “room” to feel intimate and cabana-like when everything was all said and done. Part of that cabana vibe would come from blocking the view of the side of our neighbor’s house– just to make the space a little more cozy.
An outdoor slatted privacy screen was exactly what we needed. Here’s how this outdoor privacy screen was built.

Step 1 – Determine Screen Dimensions
Before you begin to build your outdoor privacy screen, you’ll need to determine it’s dimensions. We used a measuring tape to measure the height and width of my space (9 ft.tall x 93½ in. wide) so we could determine the length of the 2 x 4 anchors I’d need for the sides (9 ft. tall).

Step 2 – Decide on Your Slat Board Spacing
After you’ve determined the size of your slatted screen, decide on the spacing you’d like between your slats. This spacing will help you determine how many 2 x 6 boards you’ll need ahead of time so you don’t have to run back to the store mid-project!
Based on the dimensions of my space, we decided on a ¾ in. gap between each 2 x 6 board (starting at the top) because we wanted to avoid having to rip any boards down to size at the end. We also wanted to leave enough space for air and light to get in.

Step 3 – Measure and Mark Vertical Anchor Boards
Once you have all of your dimensions, grab your 2 x 4 x 10 pieces of pressure treated lumber. Use a measuring tape and pencil to mark and measure your previously determined height on each board.

Step 4 – Cut Vertical Anchor Boards Down to Size
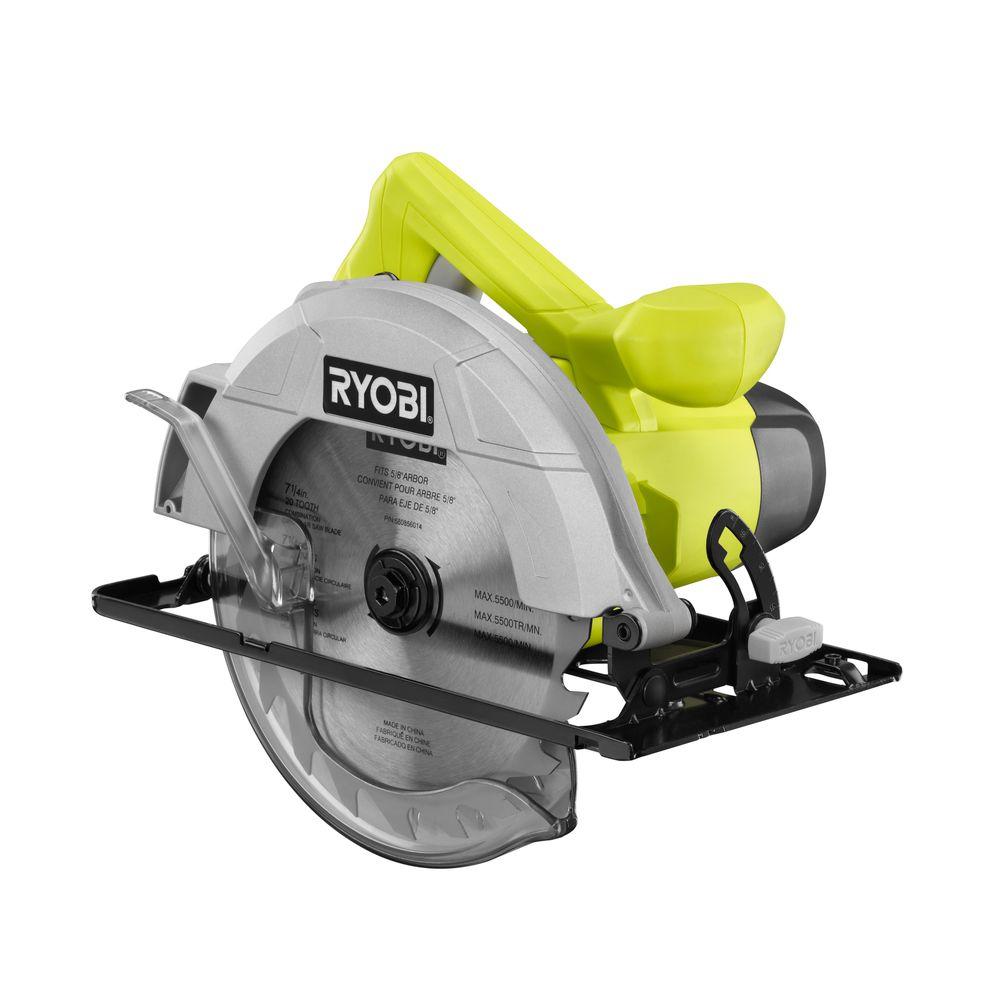
If the height you need is less than 10 ft., cut each 2 x 4 x 10 piece of pressure treated lumber down to the correct size using a compound miter saw or circular saw. If the height you need is 10ft. on the dot, skip ahead to the next step!

Step 5 – Stain and Seal the Vertical Anchor Boards
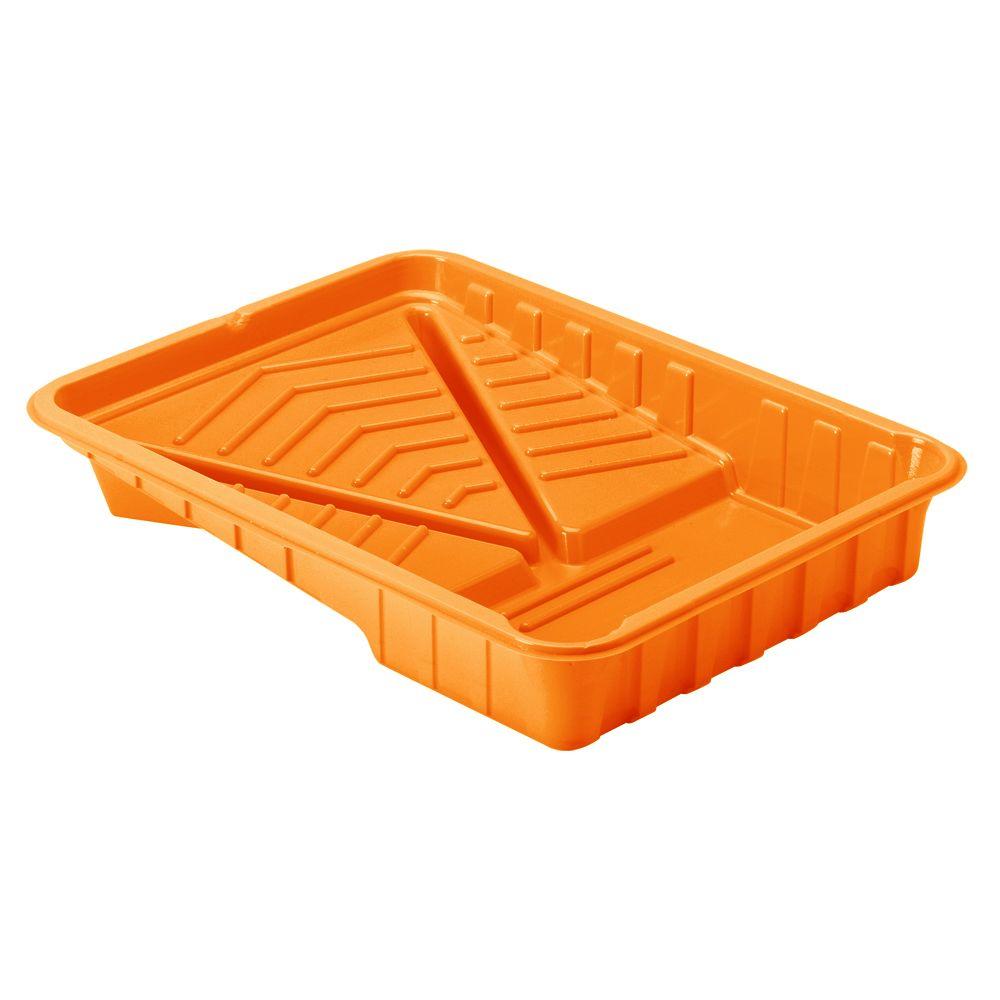
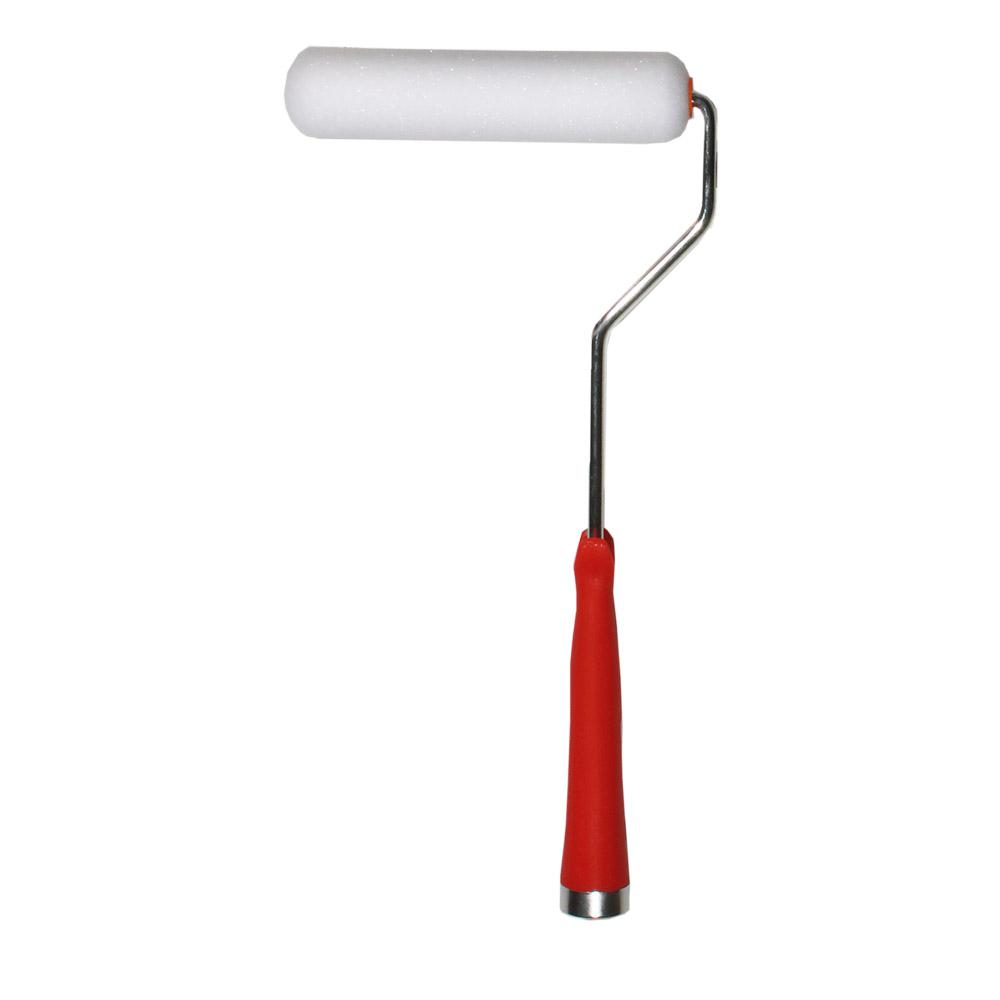
After your 2 x 4 x 10 boards have been cut down to size, line a paint tray with a paint tray liner, pour some exterior stain into the lined tray, grab your foam paint roller and start staining.
Use a rag to wipe off any excess stain as you go and don’t forget to stain the ends of the boards!
Repeat the staining process until the boards are stained to your desired darkness. Set each board aside to dry according to the time listed on your stain can/bucket.
Note: The stain I chose had a built-in sealer so I didn’t have to seal my boards any further. If your stain doesn’t have a sealer in it, seal your boards after the stain has dried.

Step 6 – Attach Anchor Boards
When the stain has dried completely, it’s time to attach the anchor boards to your house!
We used a drill to attach my pre-cut 2 x 4 boards to our exterior stucco walls. We anchored each board into a stud (very important!) with eight 3/8 x 5 in. lag bolts (four per board). The type and size of screw you use will depend on the type of material you’re attaching your boards to.

Step 7 – Measure and Mark Horizontal Slat Boards
Remember when we measured the height and width of our space back in Step 1? Well, the width of your space (93½ in. wide in my case) is going to be the size you’ll need to cut your 2 x 6 decking boards down. Use a measuring tape and pencil to mark and measure your width on each board you need.

Step 8 – Cut Horizontal Slat Boards Down to Size
Cut each 2 x 6 x 8 piece of decking board down to the correct size using a compound miter saw or circular saw.

Step 9 – Stain and Seal the Slat Boards
After your 2 x 6 x 8 boards have been cut down to size, grab your foam roller and your paint tray full of stain and start staining again!
Use a rag to wipe off any excess stain as you go and don’t forget to stain the ends of the boards! Repeat the staining process until the boards are stained to your desired darkness. Set each board aside to dry according to the time listed on your stain can/bucket.
Note: the stain I chose had a built-in sealer so I didn’t have to seal my boards any further. If your stain doesn’t have a sealer in it, seal your boards after the stain has dried.

Step 10 – Attach Cut and Stained Slat Boards to Vertical Anchor Boards
When the stain has dried completely, start attaching your 2 x 6 slats to the 2 x 4 vertical anchor boards using 3 in. deck screws (two screws per end). Work from the top down leaving a ¾ in. gap (or whatever size gap you decided on in Step 2 between each board.

After you’ve finished attaching all of your slats, move your patio furniture in place, pour yourself a big glass of your beverage of choice and sit back and relax!
Adding the outdoor privacy screen to our patio has made such a difference. I love how much light streams in through the slats and I love the coziness it adds to our outdoor space.


This post was created in partnership with The Home Depot. The author may have received compensation for this article and associated images or video, potentially in the form of products and/or services. All expressed opinions and experiences are the author’s own words.