Pet Turf to the Rescue

Last updated August 21, 2024

Rashida Banks is a brand marketing consultant to small businesses and also a lifestyle influencer who recommends the best of all things home decor, coffee and beauty. She loves to blog about helpful, simple, and practical tips on DIY home projects! Rashida also provides inspiration on personal growth as well, so you’ll get encouragement on how to live your best “free” life!
A Note From The Home Depot
When your outdoor space is small, it’s important to make room for your pets too. Read below to discover how Rashida Banks used artificial turf to make her small outdoor space an oasis for both her pups and guests!
Table of Contents
Pet Turf to the Rescue: DIY Install
Pet Turf to the Rescue: DIY Install
Do you love spoiling your pets? I know I do! My husband and I adopted our dogs Jax and Chase a little over 8 years ago. Over the years they’ve gotten the cutest doggy coats, tons of comfy beds, countless toys (because they typically destroy them ha!), and of course tasty treats. Of all the awesome things I’ve been able to watch them enjoy, our new Lifeproof with Petproof Technology Premium Artificial Turf tops the list!

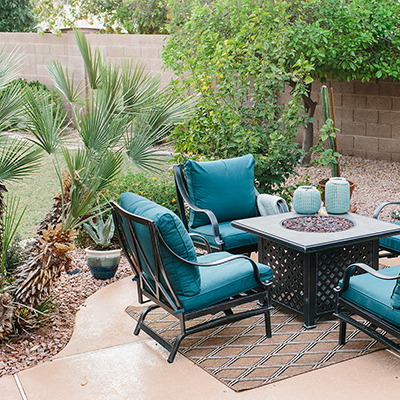
We live in a row house in DC, and if you know anything about DC row homes, you know that space is often a limiting factor. Although small, our backyard still provides enough space for the dogs to play and go potty, and for a small group of people to gather. The area where the dogs relieve themselves was covered with mulch. Because of that, over time it would start to have a nasty stench. And on the right summer day, it would be downright unbearable! It was sometimes embarrassing to have guests in the back, because who wants to entertain when there’s that pesky pet odor in the air? My husband and I knew we had to make a change but we just didn’t know what the answer was, until now. Artificial turf!

So, here are a few reasons why we love Lifeproof with Petproof Technology Premium Pet Turf:
- The Petproof technology is pet friendly, odor resistant, and easy to clean. Simply rinse off and you’re good to go.
- Super easy to install. My husband and I installed it ourselves, and The Home Depot also provides installers depending on location.
- It’s both heat and frost resistant, so we don’t have to worry about the dogs overheating during the hot months, or having any frost related incidents in the winter.
- The durability of the turf is a huge win, because the boys play pretty rough and pretty often lol.
- The turf is designed to replicate grass, and it truly does! We love that it has a natural look, and is a nice even transition to our patio area.
- We no longer have to deal with mulch being kicked around the yard, or the dogs rolling around in it getting super dirty.

There are so many more reasons to love this Lifeproof with Petproof Technology Premium Pet Turf. No more muddy paws being tracked in the house! It also gives our small backyard more character and vibrance. Did I mention the grass look, without all the grass maintenance? I can go on and on, lol.
If you’re considering Artificial Turf for your backyard, here is an overview of the steps we took to install, and some supplies you may need:
Calculate the square footage that you need, and order your Lifeproof with Petproof Technology Premium Artificial Turf found exclusively at Home Depot.
We prepared the turf area by digging down about 3-4 inches, making sure that grading was good for proper drainage.
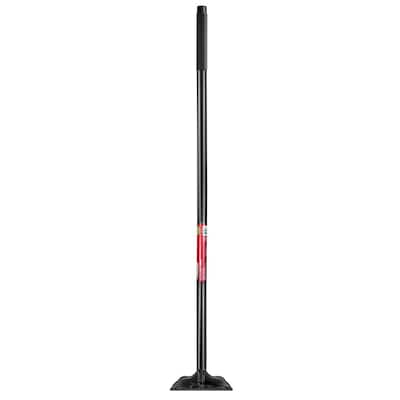
Hand tamped the soil to prepare for sub-base.
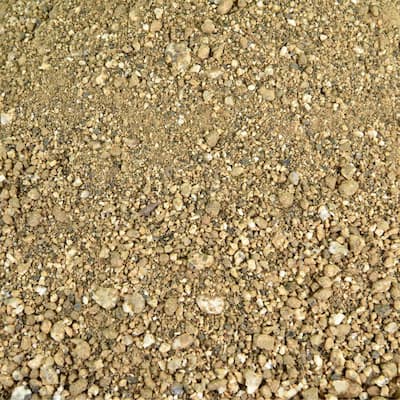
We then put down our weed barrier and covered it with a sub-base of finely ground stone, such as decomposed granite. We used crushed rock. Hand tamped/watered the sub-base making sure it was nice and even, and covered enough depth to leave about 0.5in for the pet turf. We used a hand tamp because we have a small area, but you can rent a compactor for larger areas.
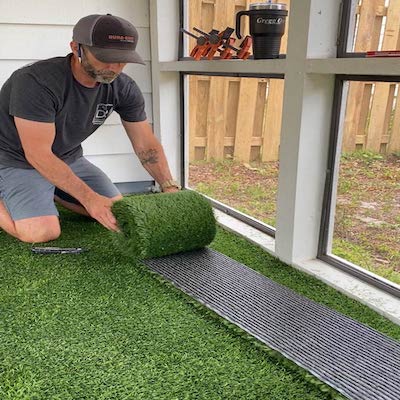
After we let the turf acclimate by rolling it out in the sun for a while, we laid it down and made our cuts.
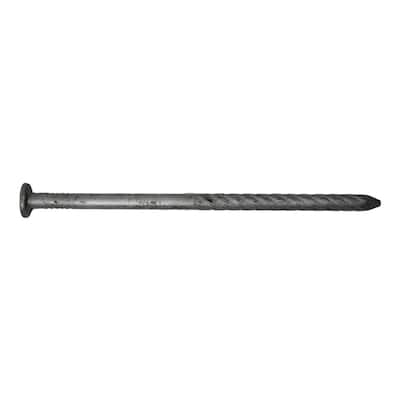
Next, we cut off excess and nailed the turf down using 6in galvanized nails. Quick tip: make sure that you place the turf down in the position you’d like the blades to face before nailing. Typically, the blades should point towards the house if installed in the backyard, and the blades should point towards the street if installed in the front yard.
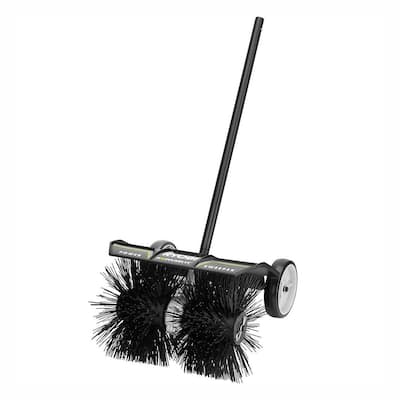
Lastly, we brushed the blades to lift them up, and we put down infill using the Ryobi Expand-It Sweeper, which both helped spread the infill and made the blades stand up. You can use an outdoor broom instead, it will just take a little more elbow grease.


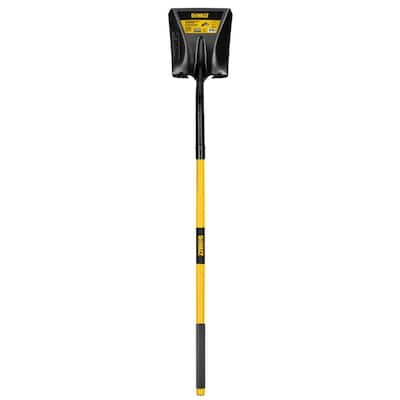
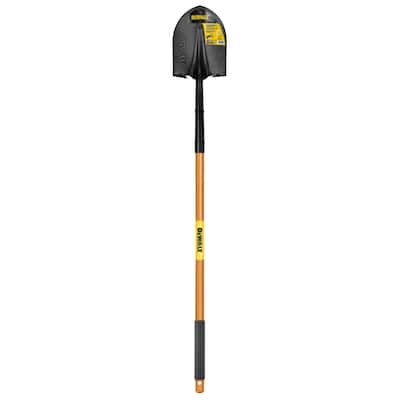
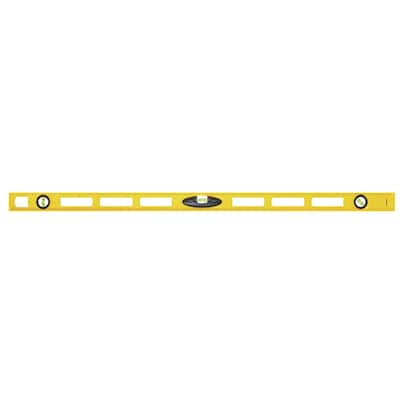
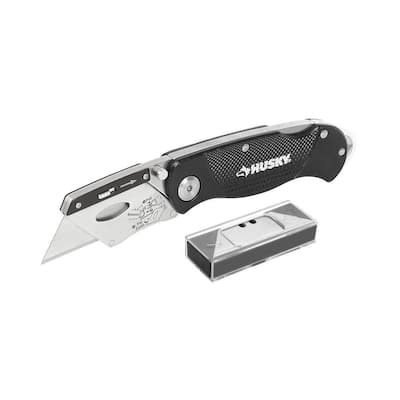
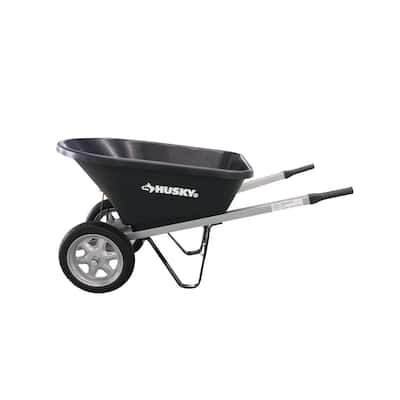
Items you will need for installation:
- 6in galvanized nails
- Infill
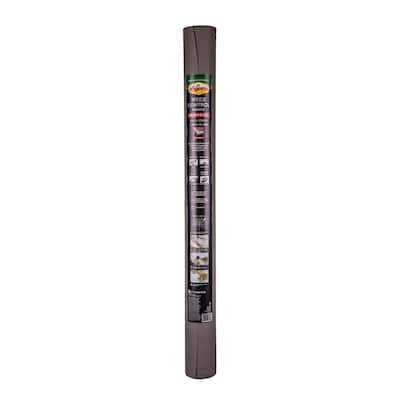
- Weed Barrier
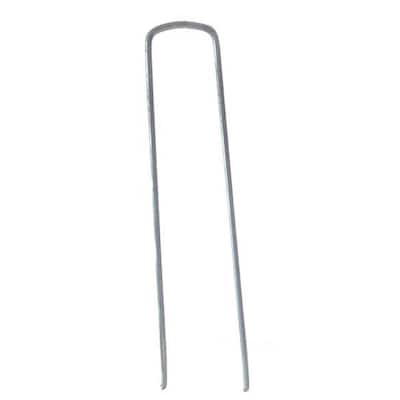
- Grass staples to secure the weed barrier
- Wheelbarrow
- Hand Tamper
- Utility knife to cut the turf
- Leveler
- A digging shovel and a transfer shovel
- ¾ Crushed Rock with sand mix (You can get this locally)
- Other things like brooms, racks, and gloves will come in handy as well
That’s it! This is an install that can be fun with friends and family, or just you and your spouse like I did it. Jax and Chase are already loving the Artificial Turf, it’s like their new playground. I feel like I have a new, stress free backyard that’s easy to clean, odor free, and will last for years. Great decision!


This post was created in partnership with The Home Depot. The author may have received compensation for this article and associated images or video, potentially in the form of products and/or services. All expressed opinions and experiences are the author’s own words.