Pumpkin Patch Baby Shower

Last updated August 21, 2024

Ciera is a content creator living the PNW life with her husband Colten, and two daughters—Marloe & Sorel. Her family is currently based in the Pacific Northwest home, and together they love to travel, bond as a family, and create photo & video content for brands they love. Follow along on their journey through life on her socials (@cierahudson), and watch as they try to raise their little girls, and take them along on all their life’s adventures!
A Note From The Home Depot
Help welcome the newest pumpkin in the patch with Ciera Hudson’s fall themed baby shower. Head to your local Home Depot to pick up everything you need!
Table of Contents
Pumpkin Patch Baby Shower
Step 1
Step 2
Step 3
Step 4
Step 5
Pumpkin Patch Baby Shower
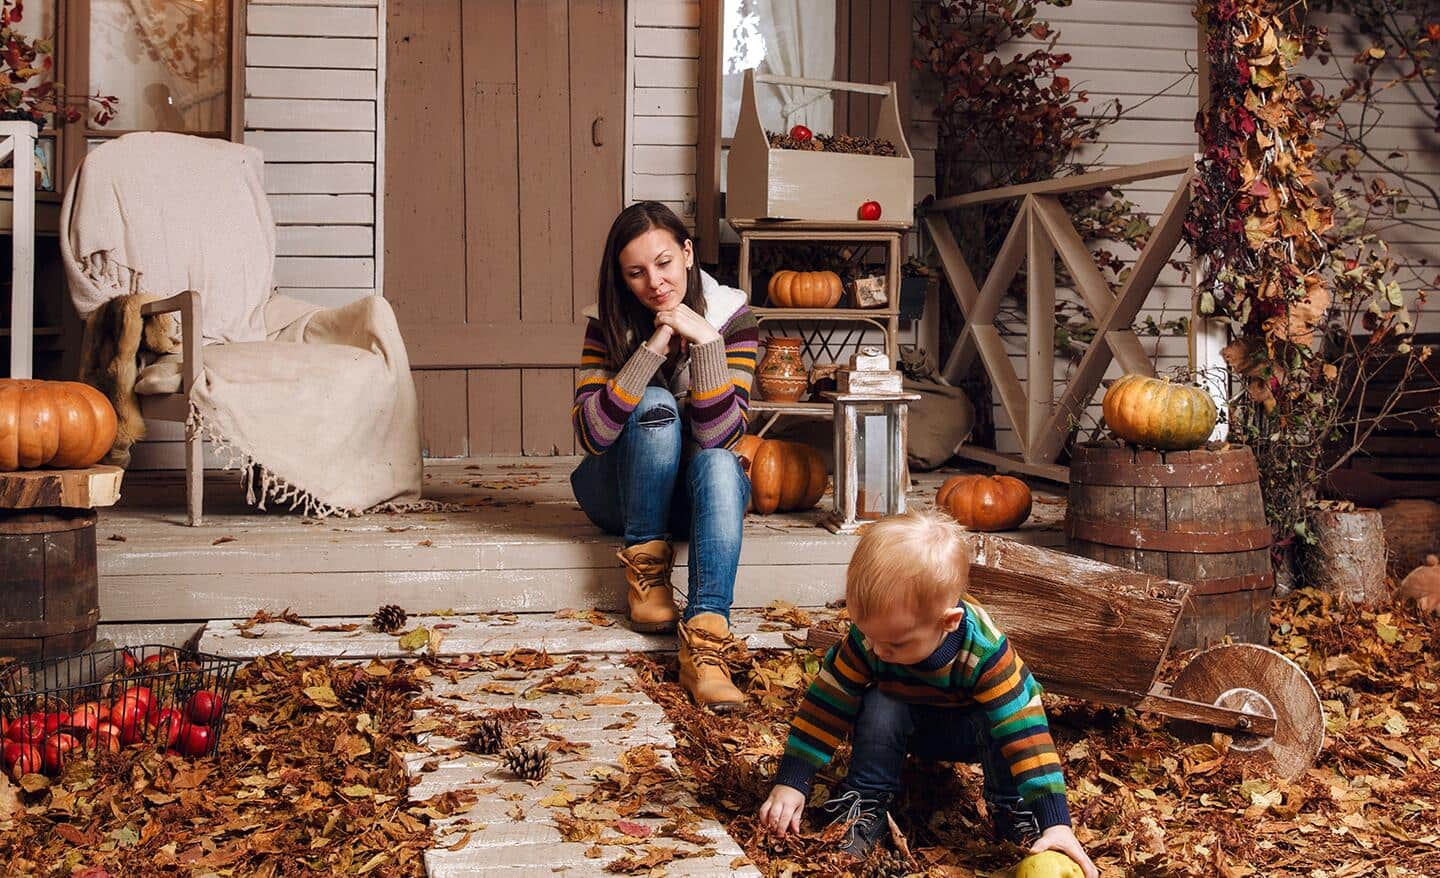
Currently in my last trimester expecting our fourth baby. Let’s just say I have been to many baby showers, & I love seeing with baby shower trends come out each year. This Fall, Pumpkin Patch themed parties have been circulating around social media. I got inspired to create a fun Pumpkin Patch themed baby shower to throw for my sister who is also expecting…and below is a step by step guide to how I made it!
Step 1
Visit your local Home Depot during the Fall and grab a variety of different sized pumpkins and gourds. My local Home Depot had lots to choose from, and made it so easy to grab all in one place.
Step 2
The Home Depot had bails of hay in store that made for perfect stacking around the table to set up the pumpkins. The hay gave instant pumpkin patch vibes and you can do as little or as much as you want.
Step 3

Head inside to the Fall décor section and find all the fun dried fall florals, pinecones, and straw/corn stacks. Adding these on the table in Mason jars made for a gorgeous table scape & we even added them to the food + present tables.

Step 4
Grab some spray paint and go find some dried/fallen leaves. I spray painted leaves and strung them to a piece of string to make it look like falling leaves above the table. So easy, and The Home Depot had everything I needed to make it.
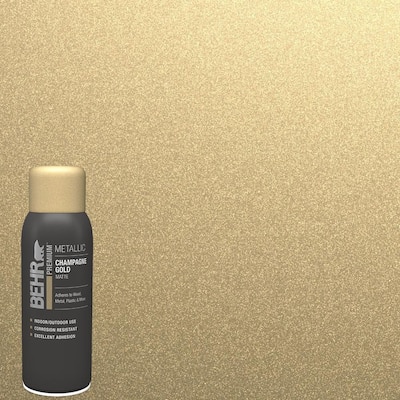
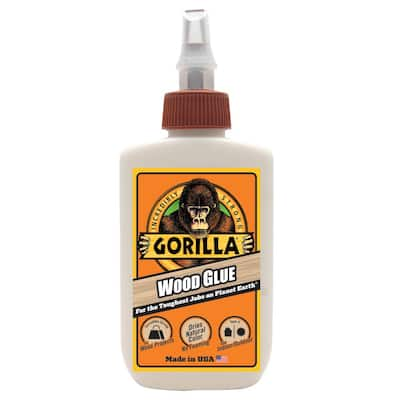
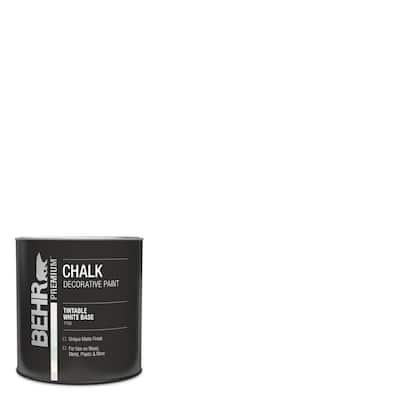
Step 5
Make a sign! This sign was made with wood and chalk paint. Super easy to do & DIY’ing it makes it way more customizable for whatever party you’re throwing. Just need some wood, wood glue, and chalk paint.
Put it all together and we get this!

This post was created in partnership with The Home Depot. The author may have received compensation for this article and associated images or video, potentially in the form of products and/or services. All expressed opinions and experiences are the author’s own words.