Renter-Friendly DIY Faux Fireplace With Smart Tiles

Last updated August 21, 2024

A performing songwriter by trade, Jen Woodhouse has released three albums, toured the world, and has licensed her music to national television shows, commercials, and films, including Keeping Up with the Kardashians, MTV’s The Real World and Road Rules, Starbucks, United Way, and more. Most recently, Jen has added ‘DIY Blogger’ to her eclectic resume. A musician, military wife, and mother to two young children, Jen authors The House of Wood as her creative outlet for all things DIY and design, where she documents her adventures in woodworking, furniture and interior design, and home decor. Jen’s work has been featured on Elle Decor, House Beautiful, Good Housekeeping, Country Living, and Apartment Therapy. Jen is a TV spokesperson for Hometalk, the largest home and garden community on the web and has worked with such brands as The Home Depot, RYOBI Tools, Minwax, Kreg, General Electric, among others. In addition to designing and drawing up plans with in-depth tutorials on her blog, Jen is a charismatic and engaging speaker. She was invited to speak at the Haven Conference in Atlanta, Georgia last year. This year, she will be returning as a speaker at the Haven Conference, as well as the Snap Conference in Salt Lake City, Utah.
A Note From The Home Depot
This DIY faux fireplace is beautiful and renter friendly!
Jen Woodhouse of The House of Wood transformed her living room by adding a fireplace. Using Smart Tiles, Jen was able to create a the perfect look in no time. Read on to find out how you can use peel and stick tiles in your home.
Table of Contents
Step 1: Build the Firebox
Step 2: Install the Smart Tiles
Step 3: Build the Pillars and Header
Step 4: Paint the Fireplace

Need a place to hang your holiday stockings but don’t have a fireplace? No problem! Build this beautiful renter-friendly DIY faux fireplace and use Smart Tiles for the easiest tiling job ever. The peel-and-stick tiles add a realistic and elegant touch. A faux fireplace never looked so real!

You can either build this DIY faux fireplace out of sheet goods (I chose MDF) or you can use dimensional lumber. The choice is yours; I drew up the plans so that you can do either. For exact dimensions and 3D diagrams, download the building plans here.
Step 1: Build the Firebox

Drill ¾ in. pocket holes as shown and construct the firebox with 1 ¼ in. pocket screws and wood glue. The above photo is the view from the back.

Here is the front view of the firebox. This will be the surface where the Smart Tiles will be placed.
Step 2: Install the Smart Tiles

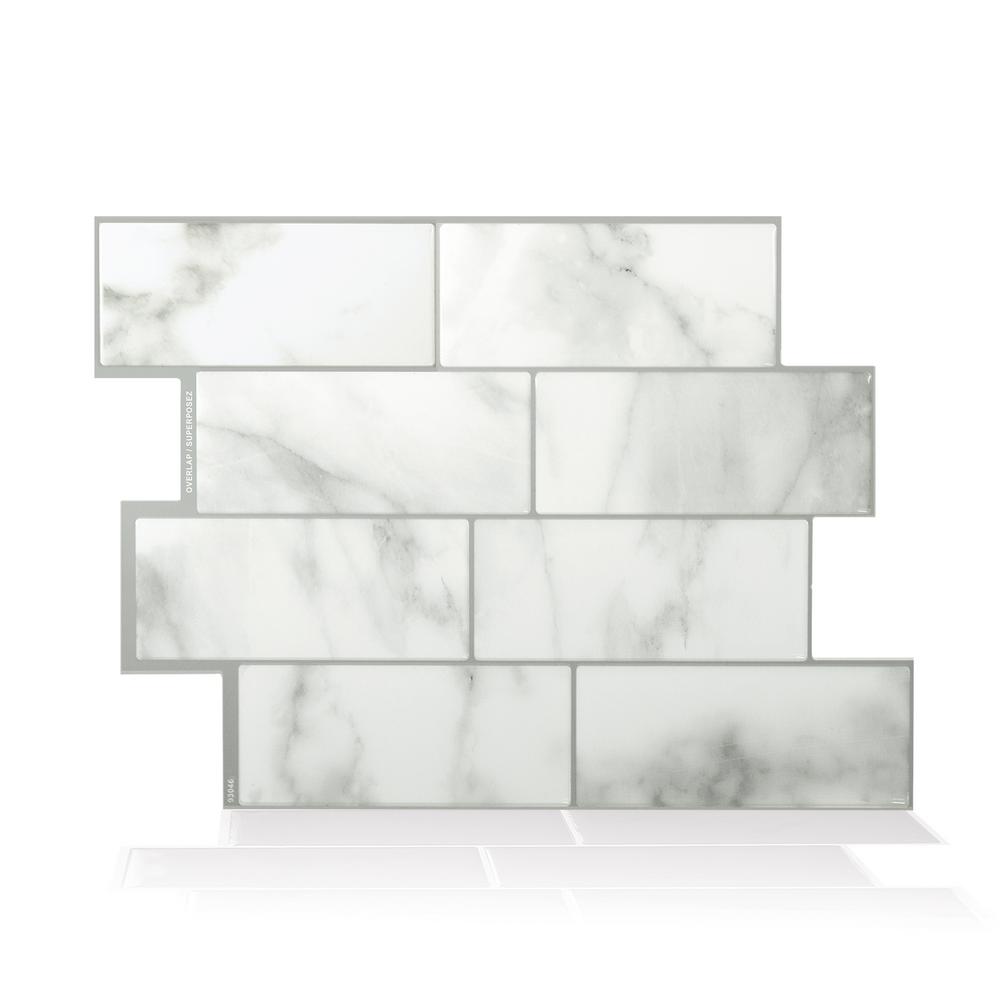
Now it’s time for the fun part: the tiling, but without all the mess! The Smart Tiles came in a neat little package like this. They were thin and flexible, like three-dimensional stickers.

I chose the Metro Carrera Tiles; I couldn’t believe how real they looked!

Simply peel the backing off and pressed the tile into place. Peel and stick–so easy! No need for fancy tools or messy grout!

The Smart Tiles come with an overlap edge on one side of the tile sheet. Stick the next tile onto the previous one, covering the overlap edge. Press firmly to adhere.


When tiling over a convex corner, I simply marked where the corner would be, then used a box cutter to score a straight line on the tile. Use a straight edge to guide your cut lines.

Then I folded the tile where I scored it and simply peeled the backing and stuck it in place.


I continued to install the Smart Tiles until the entire surface of the firebox was covered. Soon, I was left with this beautiful thing.

So pretty, right? This has been the easiest and fastest tiling job I’ve ever done!
Step 3: Build the Pillars and Header
After the Smart Tiles were installed, I finished building the rest of the DIY faux fireplace. The base of the fireplace is a simple box built from MDF.

The next step was to build the pillars and the header. Here are the two pillars. Once again, I used pocket hole joinery here.

I painted a scrap sheet of ¼ in. plywood with black chalkboard paint and attached it to the back of the firebox with 1 in. staples and wood glue. It would be so cute to draw a crackling fire and some logs onto that chalkboard, wouldn’t it?
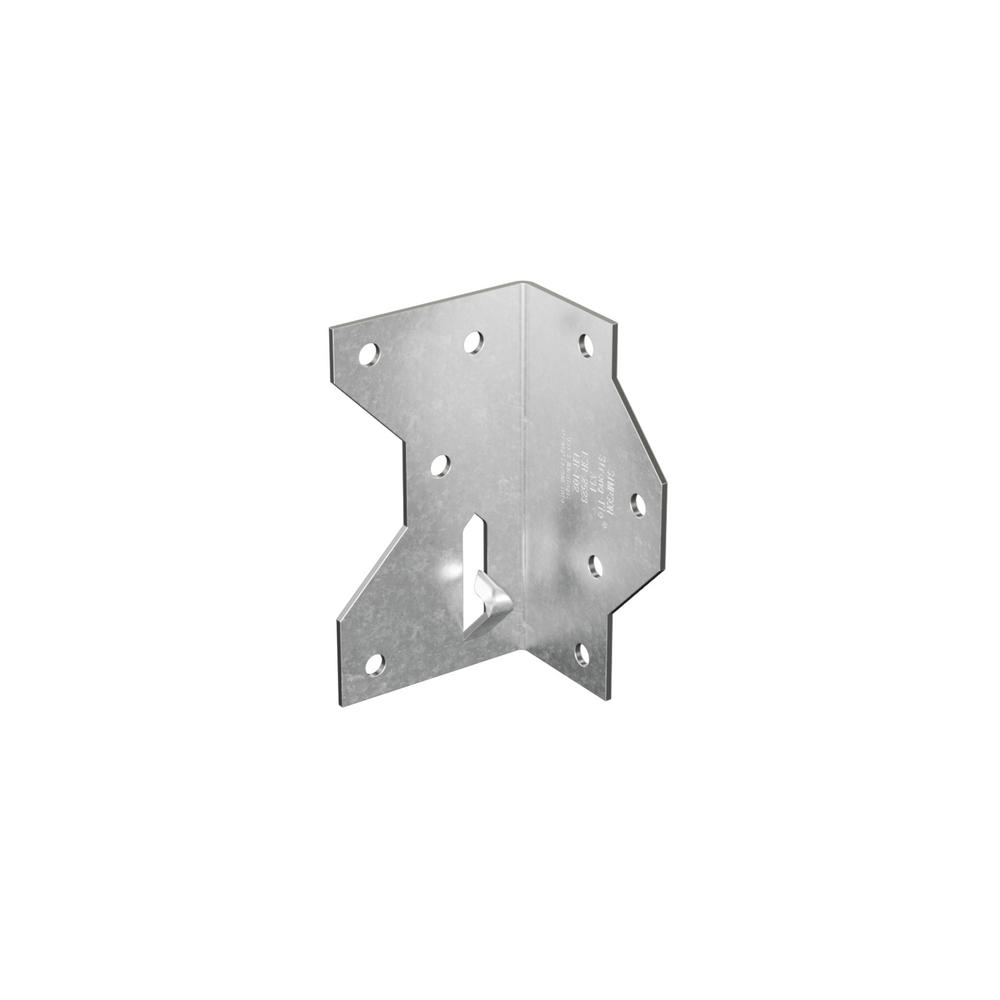
Then I dry-fitted the parts to make sure everything fit perfectly and attached the pillars to the base with
these Simpson Strong-Tie framing angles. Now it’s time to add the mantel. I placed the mantel on top and attached it to the fireplace with 2 in. countersunk wood screws. Then, I added the decorative molding to the face of the fireplace with 1 ¼ in. brad nails and wood glue.
Step 4: Paint the Fireplace

Finally, before painting the MDF, I removed the tiled firebox and set it aside. Because MDF tends to absorb paint quite a bit, I sprayed a couple of coats of primer before spray-painting it white. Even with the primer, I used three coats of spray paint.

Once the paint dried, I added the firebox back in. Then, I attached it to the base with more framing angles.

I love how it turned out! For a more built-in look, attach matching baseboards. The Smart Tiles add such elegance and class to this DIY faux fireplace and installation was quick and simple.
This post was created in partnership with The Home Depot. The author may have received compensation for this article and associated images or video, potentially in the form of products and/or services. All expressed opinions and experiences are the author’s own words.