Resurfacing Hardwood Floors With a Rental Floor Sander

Last updated August 21, 2024

Sarah is an Interior Designer, DIYer, Graphic Designer, Blogger, wife, and puppy mom to a happy, spirited Annabelle! Her blog is a place for Sarah and her husband to share their home and DIY adventures - trying to make a house their home, by getting their hands dirty and creating spaces that make them smile :) Together with her crazy/grand ideas and David's creativity and ability to figure them out, they spend a lot of weekends (and some week days) adding personalization to their home. Sarah believes that with a little creativity, time and effort, you don't need a lot of money to make your home look fabulous!
A Note From The Home Depot
Sarah Dorsey of Sarah M. Dorsey Designs is a fearless rennovator and DIYer. But even she admits she was a little intimidated by the idea of renting a floor sander and refinishing her hardwood floors.
It turns out there was nothing to fear. She and her husband did a magnificent job sanding and resealing their floors over a couple of weekends. Sarah takes us through all the steps of her floor refinishing project.
Table of Contents
Step 1: Prep the Room and Floor
Step 2: Pick Up Your Floor Sander
Step 3: Prep the Sander
Step 4: Sand Your Floor
Step 5: Sand the Edges of the Room
Step 6: Remove Any Excess Finish
One of the main selling points when we bought our house was the hardwood floors throughout. Add in the gorgeous floor-to-ceiling windows, and we were sold! However, after years of the sun beating down on the floors, the stain was worn and faded. Sanding and refinishing the floors was the perfect option to bring the floors back to life.

You can see our floors were badly worn in spots.
By renting a floor sander from the Tool Rental Department at Home Depot and putting in a few weekends of work, we were able to easily refinish our floors ourselves. If you can refinish a piece of furniture, you can refinish your floors!
Step 1: Prep the Room and Floor
Remove all furniture from the space. Carefully remove all baseboard trim. Tip: Use a pry bar with a thin block of wood against the wall to protect the drywall. Also, number the back of the trim and the wall so putting it back is easy. If your space is open, consider sealing it off with plastic to reduce dust from traveling.
Step 2: Pick Up Your Floor Sander

Rent a floor sander, and purchase sandpaper from the Tool Rental Center at your Home Depot store. The associate there will be able to help you estimate how much sandpaper you’ll need. It’s also returnable if you purchase too much. We used 80 grit, 100 grit, and 120 grit sand paper. If your floors have more damage or an uneven surface, you may need to start at a lower grit.
At first, we were apprehensive about renting a drum sander because they can easily cut the floor too much. After doing a little research and talking with the associates at the Tool Rental Center, we decided to give it a try.
Step 3: Prep the Sander
Place the sandpaper on the drum. We used 80 grit to start; this reduced the risk of making cut marks. The sand paper slides on and off without any adjustment. It’s fairly tight, so takes a little effort, but we found it only needed to be changed a few times.
The sander has a dust collector bag which works fairly well. If you’d like to increase the dust collection, attach a shop vacuum where the dust collector bag connects. We also recently purchased a dust collector for our wood shop. It worked very well at capturing the air borne dust. This isn’t essential, but really helped keep the air clean. We used it both while we sanded and after.

Step 4: Sand Your Floor
Place the power cord over your shoulder to avoid running it over with the sander. Running with the board, start on one side of the room, turn the sander on and lower the drum as you start moving to feather the cut. You’ll also want to raise the drum as you get to the opposite wall to again feather the cut.
It’s important to keep the sander moving at all times when the drum is down to avoid it cutting too deep. It is easy to raise the drum up and down, so we found that it was easy to avoid cutting too deep.

Step 5: Sand the Edges of the Room
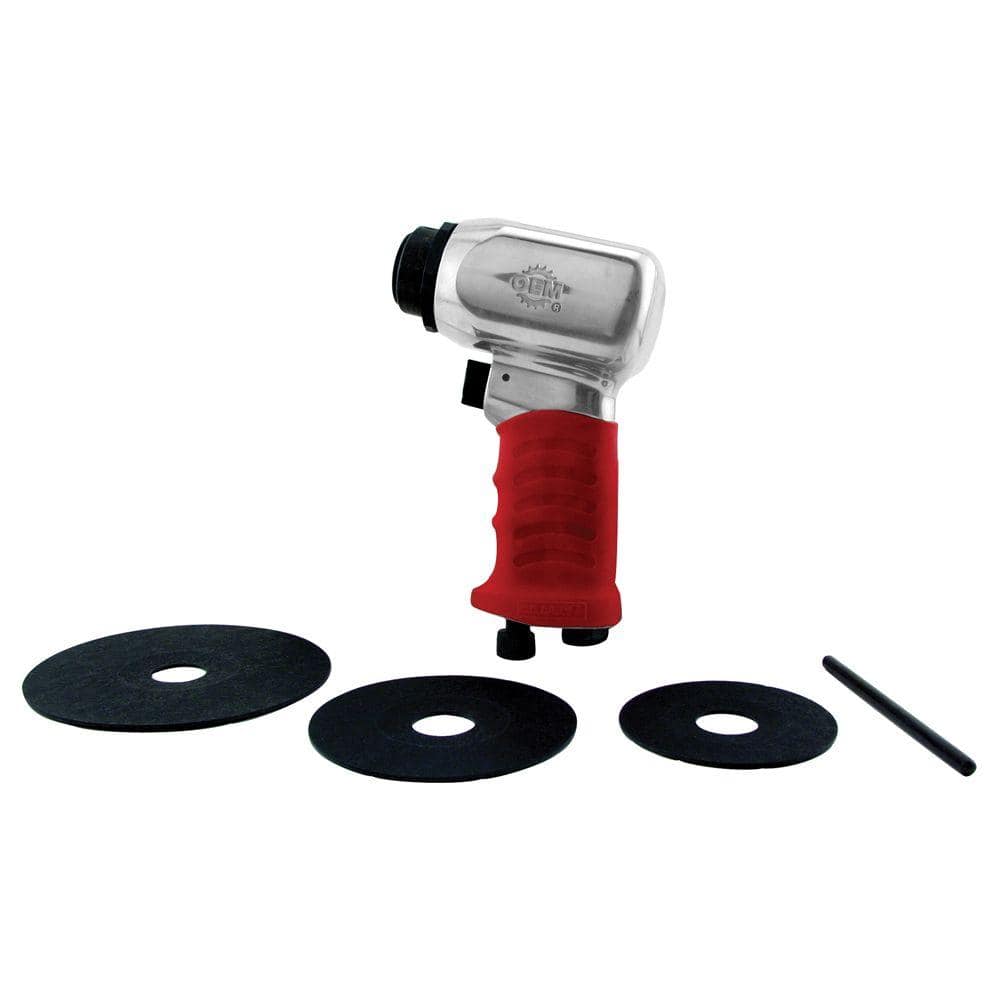
This step can be done before or in conjunction with the main sanding. Using a sander with a corner attachment, sand all corners with 60 grit sandpaper.

Sand all edges with the hand held orbital sander with 60 grit sandpaper.

Step 6: Remove Any Excess Finish
Since we didn’t use an aggressive grit sander paper (i.e. 24 grit) we had a few spots where the finish was left on our floors – where the floors were slightly uneven and the sander couldn’t reach. We removed any excess finish with the hand held orbital sander. This step could have been avoided if we used a more aggressive paper. Since this was our first time with the drum sander, we opted to add this step to avoid potentially damaging our floors.
Once finishing all of the sanding steps with the 80 grit paper, repeat the sanding steps with 100 grit sand paper and then again with 120 grit. The first pass is the most difficult, and the higher grits go faster.
Step 7: Remove All Dust From Your Space
To start, we wore clean socks to prevent any oils from discoloring the unsealed floors. Vacuum the floors very well, especially crevices.

Remove dust from all walls and windows with a clean microfiber cloth or tack clot.

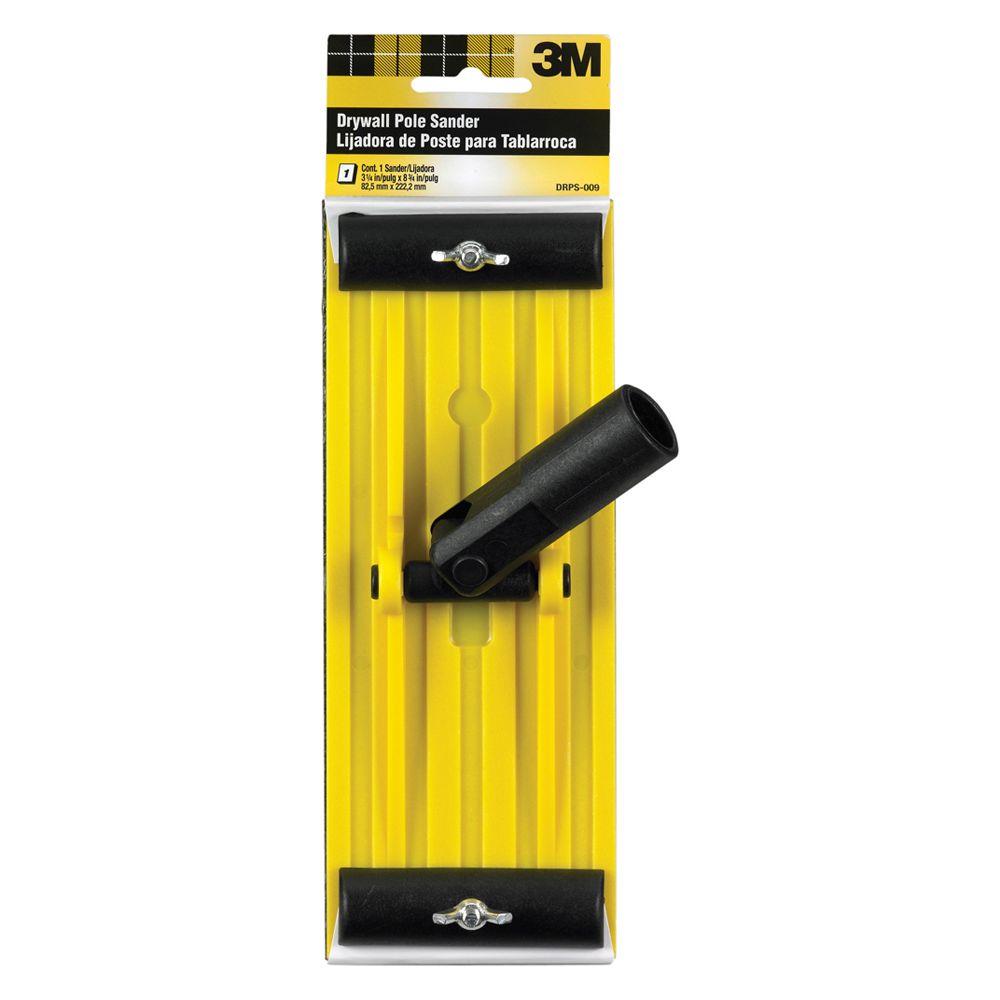
Finish the floors with a clean microfiber cloth or tack cloth. The cloth can also be attached to a pole sander for larger spaces. Once done, lower blinds to prevent direct light from hitting the sealer for application and curing. Carefully look over the space to make sure all dust has been removed to prevent it sticking in the finish.

Step 8: Seal the Floors
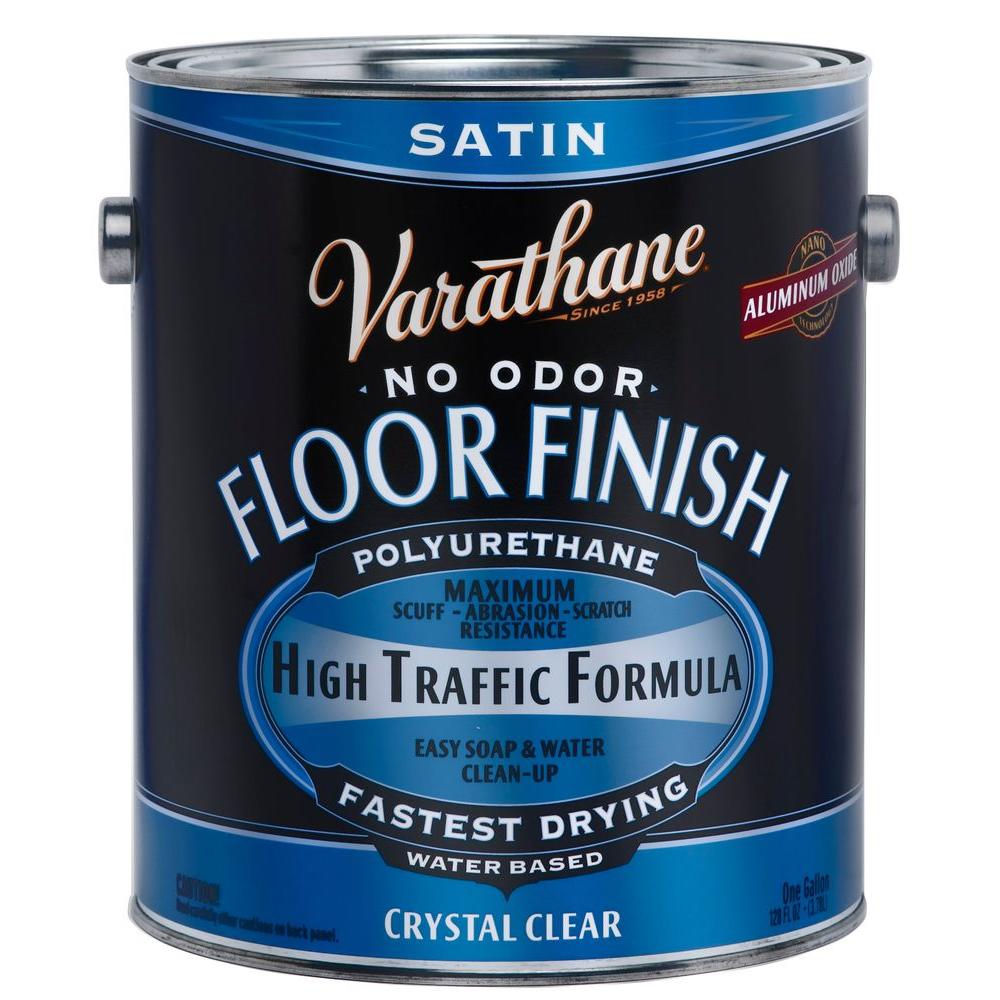
We wanted the wood to look as natural as possible, so we decided on Varathane Floor Polyurethane in Satin. After reading several reviews online, we were confident that it would go on well and be durable.
We opted for a water-based Polyurethane. Since we’re living here while we refinished the floor, we wanted an odor-free sealant. Also, oil-based sealant tends to yellow over time, and we wanted it to stay as close to the natural wood color as possible.

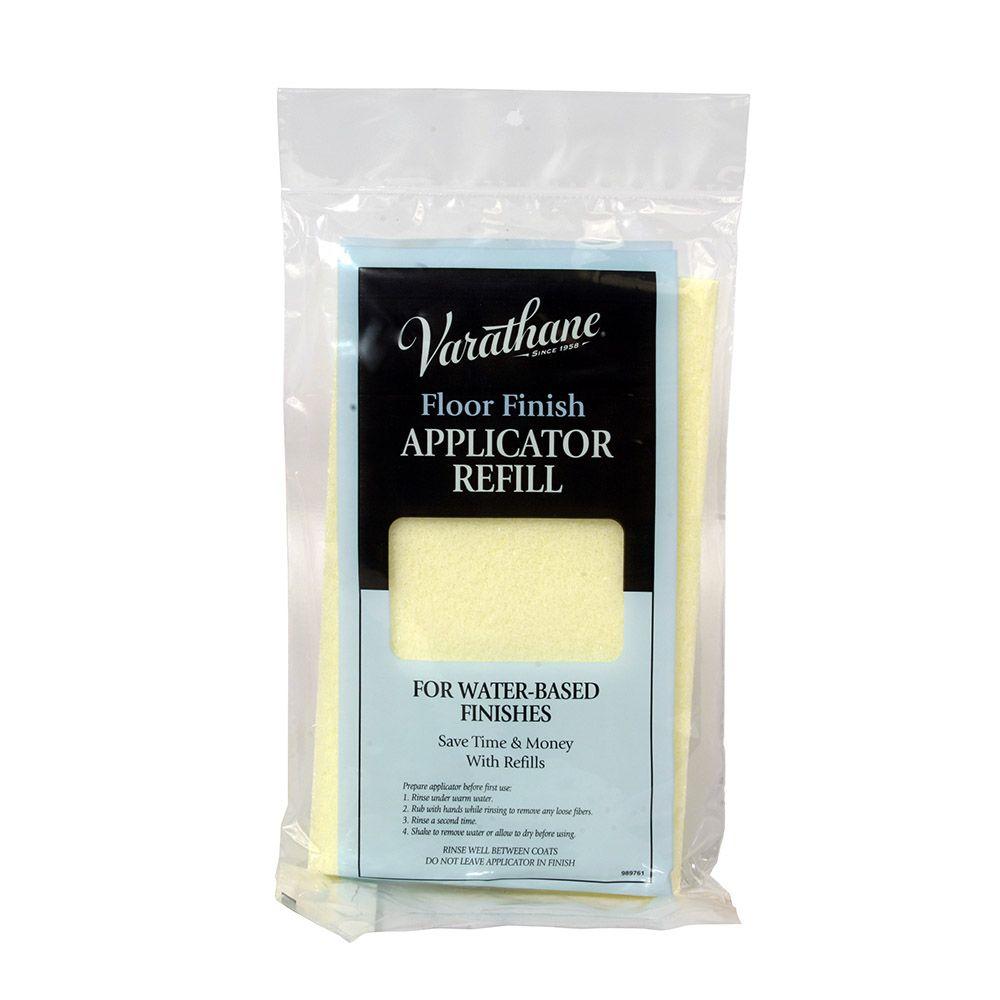
Rinse the floor finish applicator under water and remove any loose fuzz, then attach the applicator to a pole.
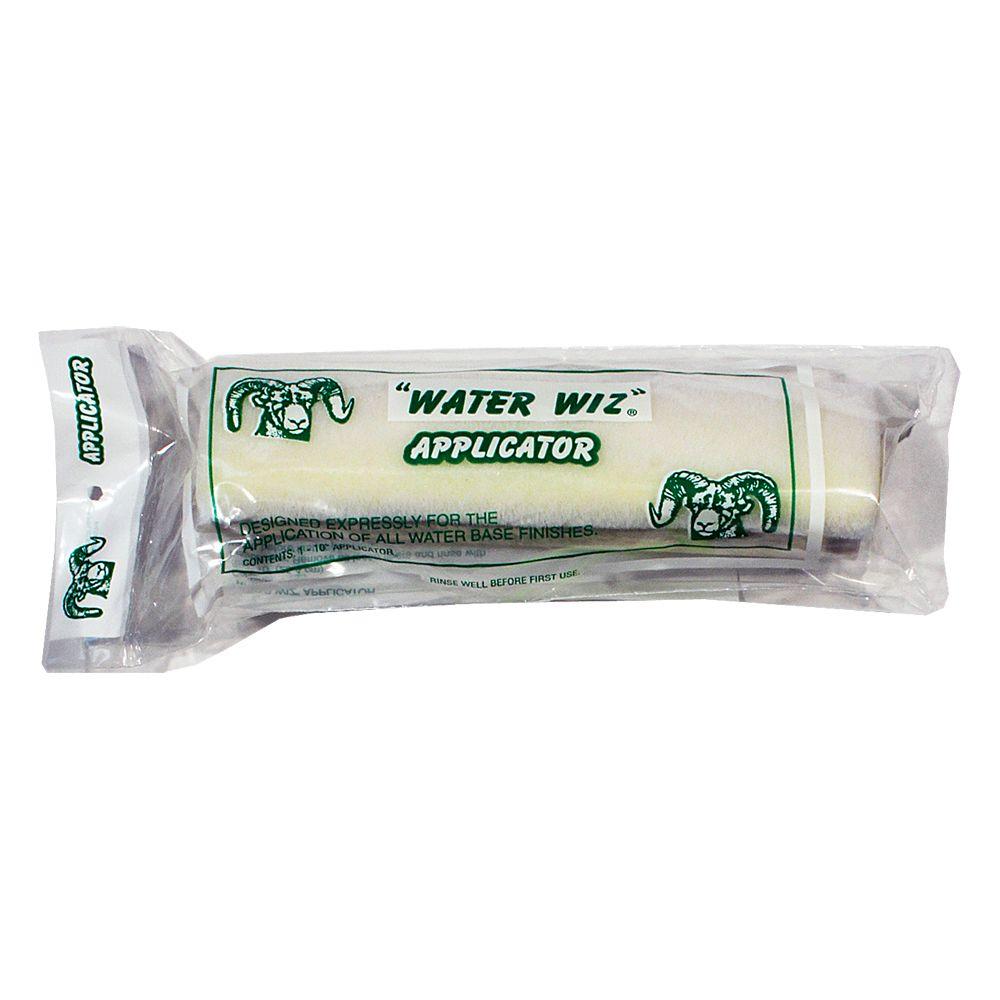
We tried two different applicators and highly recommend the “Water Wiz“. It helped put on an even coat without building up the sealer.
Wearing clean socks, we started in the furthest corner of the room. We placed the sealant tray on a clean plastic bag to catch any drips.

To get started, we cut in the edges with a paint brush and brushed the floor poly on. It helps to have two people for this step, one to cut in and the other to do the overall. Also, if one person stays low, they can catch the reflection of the sealer and tell the other where to apply more.
Don’t over brush the sealer, it will self level. Work your way to the exit. Let the sealer dry and reapply per the instructions on the sealant. We applied four coats, waiting two hours between coats.

Step 9: Finish the Floors
There were tiny fibers of wood that stuck up after the first coat of sealer. Per the instructions on the sealant, we put on three coats of sealer. Let it dry for two hours between coats and used a drywall pole sander with 220 grit sandpaper all over the floor to gently sand it.

After removing the dust with a microfiber cloth, we applied the final coat of sealer. Note: for our 20 x 10 space, we used about half a gallon of sealant.
Step 10: Let the Sealant Cure
We let the sealant cure per the directions. The longer you wait, the more durable it will be!

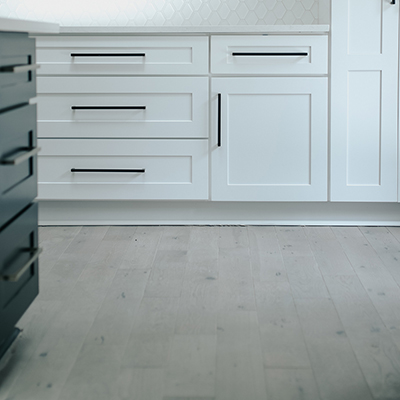
I love the subtle sheen of the satin finish.

We also recently painted, added window treatments (look for a tutorial on my blog soon!). The Fiddle Leaf tree was also purchased at The Home Depot!

Our vintage rug looks beautiful with the refinished floor.

We added aerial beach prints to the room.
Our DIY Parson’s Desk and our new vintage Bertoia chairs are also the perfect addition!

Below is a shot of the room before refinishing the floor.

You can see that it looks extremely different. With the like-new floors and paint. It’s so much brighter and fresher!

We’re currently building a new railing and have plans for a few built in details, so be sure to check my blog for office updates!
We completed this space in two weekends (with several breaks). However, it could have easily been completed in a weekend: one day sanding and one day sealing. I hope this will inspire you to tackle your own worn wood floors!
Sarah Dorsey is an interior designer and DIYer who lives outside Washington D.C. with her husband David and their beagle/terrier Annabelle. She blogs about design-build projects and restoring thrift store finds at Sarah M. Dorsey Designs. In their spare time, she and her husband are transforming their passive solar, post and beam home into their dream house, one DIY project at a time.
Talk to the associates at your local Home Depot’s Rental Desk about renting tools from The Home Depot. You can get more information, too, online at our Tool and Truck Rental page.
This post was created in partnership with The Home Depot. The author may have received compensation for this article and associated images or video, potentially in the form of products and/or services. All expressed opinions and experiences are the author’s own words.